The Cricut Joy is the perfect little entry level crafting machine, however it’s not entry level in terms of capabilities, quite the opposite. Today I am sharing How To Make Cricut Joy Stickers with vinyl plus a free PNG SVG Summer Cricut Joy Sticker Template Download. This is a super easy little project, and this is the very reason I adore the Joy. Not only for the complex, but the downright simple. Those little projects you can make in minutes, alone, or with the kids.
One of my favourite features of my Cricut Maker is making print and cut labels and stickers, labels and gift tags, (click on the links to see the projects). I have to say when I first got the Joy my heart sank a little when I realised it wasn’t compatible with print and cut. However, it more than makes up for that with this amazing sticker feature. Also see how to make Cricut Joy stickers and labels.
If you want to see me create my projects, follow me on Tik Tok and Instagram.
Can The Cricut Joy Cut Stickers?
Yes and its super easy. Cricut smart vinyl comes in a variety of lengths, hence you can make sticker sheets as long or as short as you want. This is a great activity to do with kids. But also a wonderful way of making reward sticker sheets. Or for older children to make sticker sheets for school projects, or just because they want too.
What a wonderful way to cover art lessons or just enjoy afternoons crafting. And not only do you cover art but also problem solving, ICT, maths and working out area. I mean come on, educational crafting has to be a winner right?
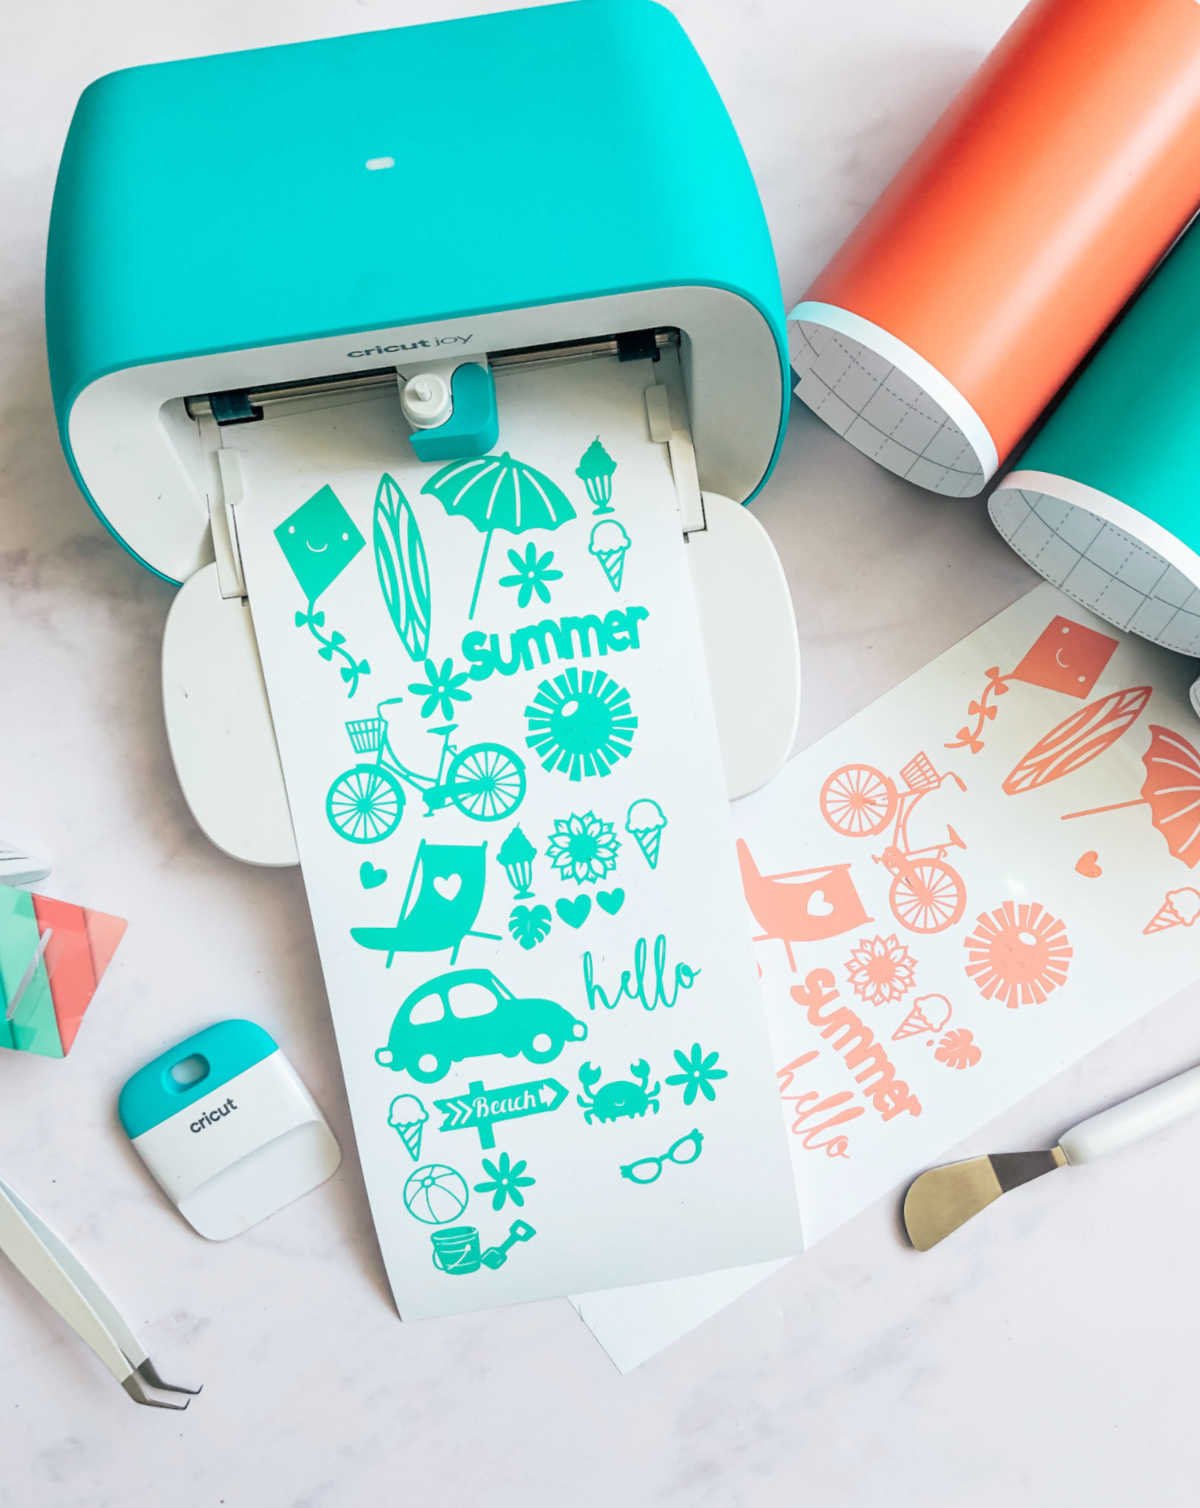
This Cricut Joy Smart Vinyl, Removable In Hydrangeas
5 pack comes with a choice of colours, Petal, Coral, Mint, Teal and Lavender. Each sheet is 5.5″ x 12”. Thus the perfect size to make ready made sticker sheets with each sheet costing roughly £1.50.
How To Make Vinyl Stickers With The Cricut Joy?
You Will Need
- Cricut Joy
- Design Space
- Cricut Removable Smart Vinyl
- Or Cricut Regular Size Removable Vinyl With A Blue Cutting Matt
- Weeding Tool
What Can I Use Cricut Joy Stickers For?
- Stickers sheets, nothing gave me more joy as a child than sheets of stickers.
- Seasonal window decals
- Wall decals
- Decals for parties
- Reward charts
- Home made board games
- Envelope seals
- Pantry labels
However today we are making sticker sheets just for fun. And do you know thats ok to, if you can’t craft for fun then when can you?
How To Design Your Cricut Joy Stickers In Cricut Design Space?
Designing Your Stickers
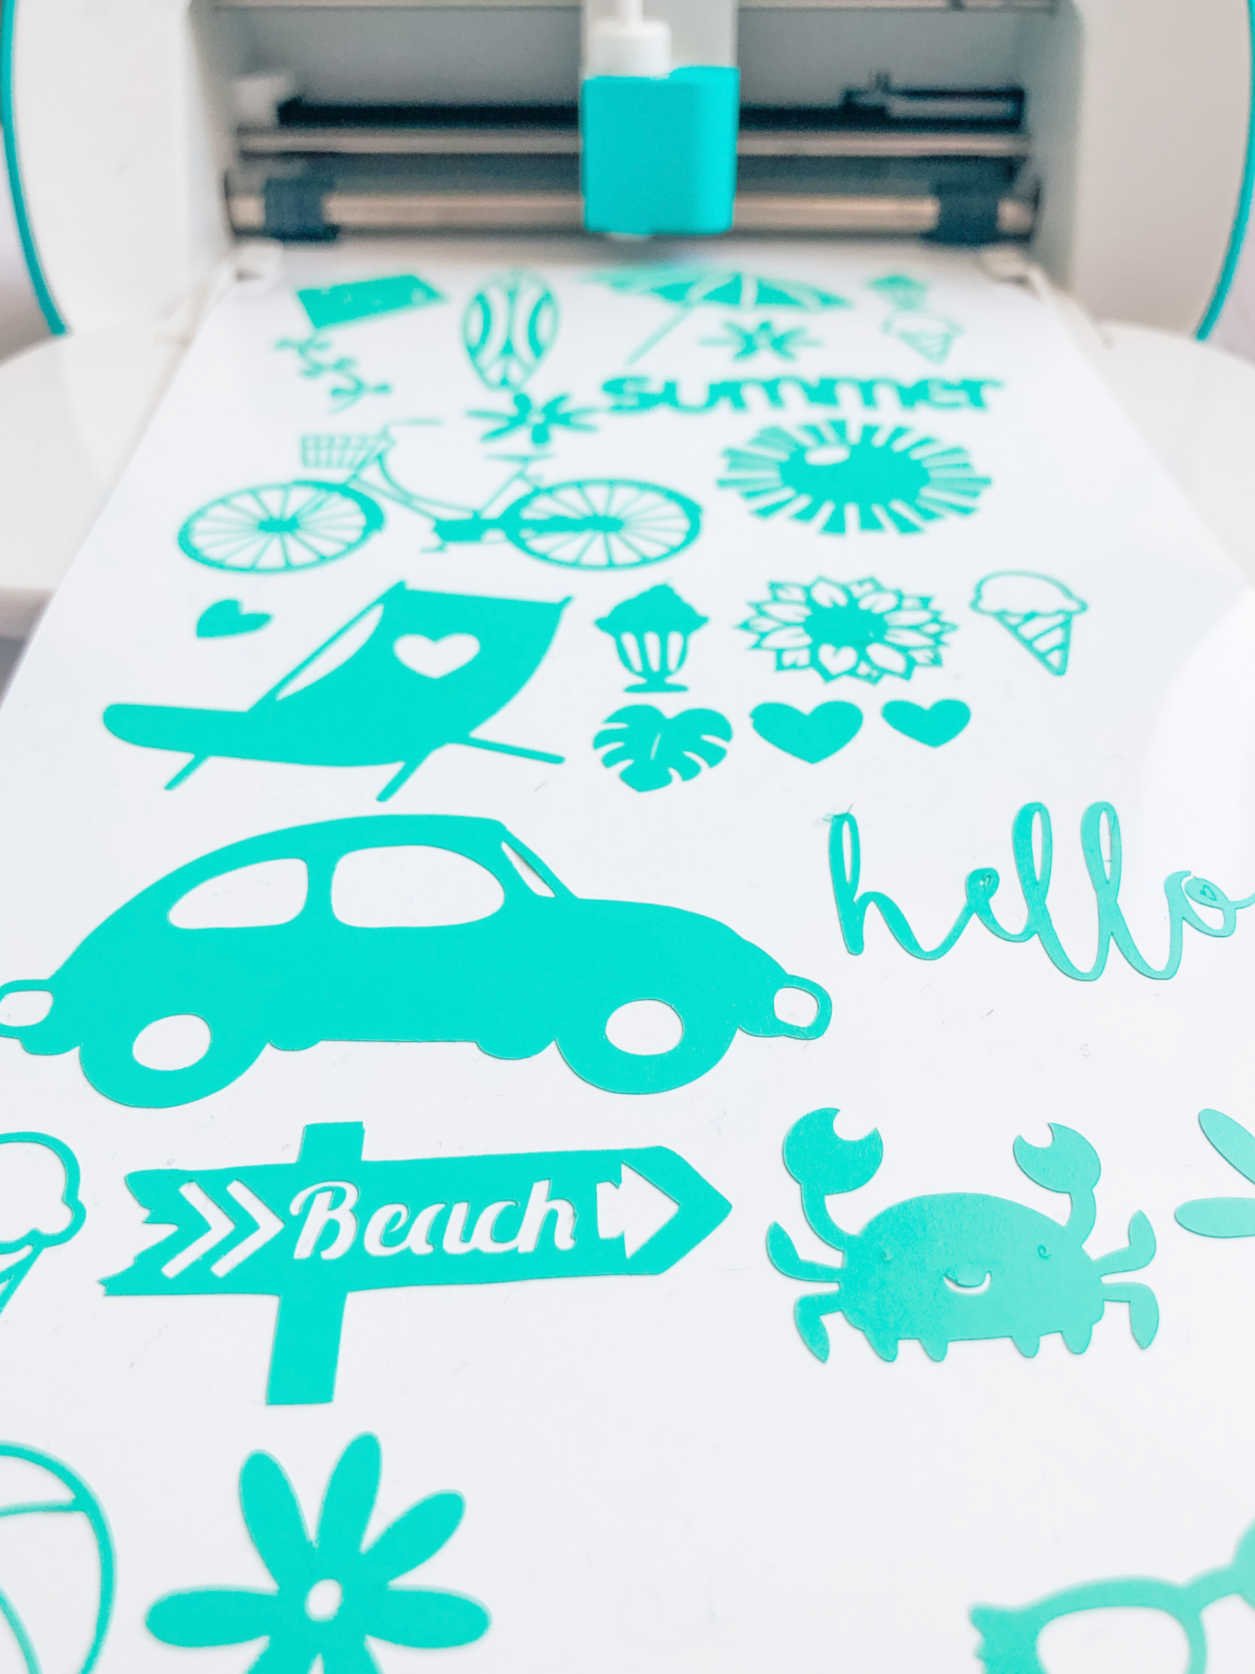
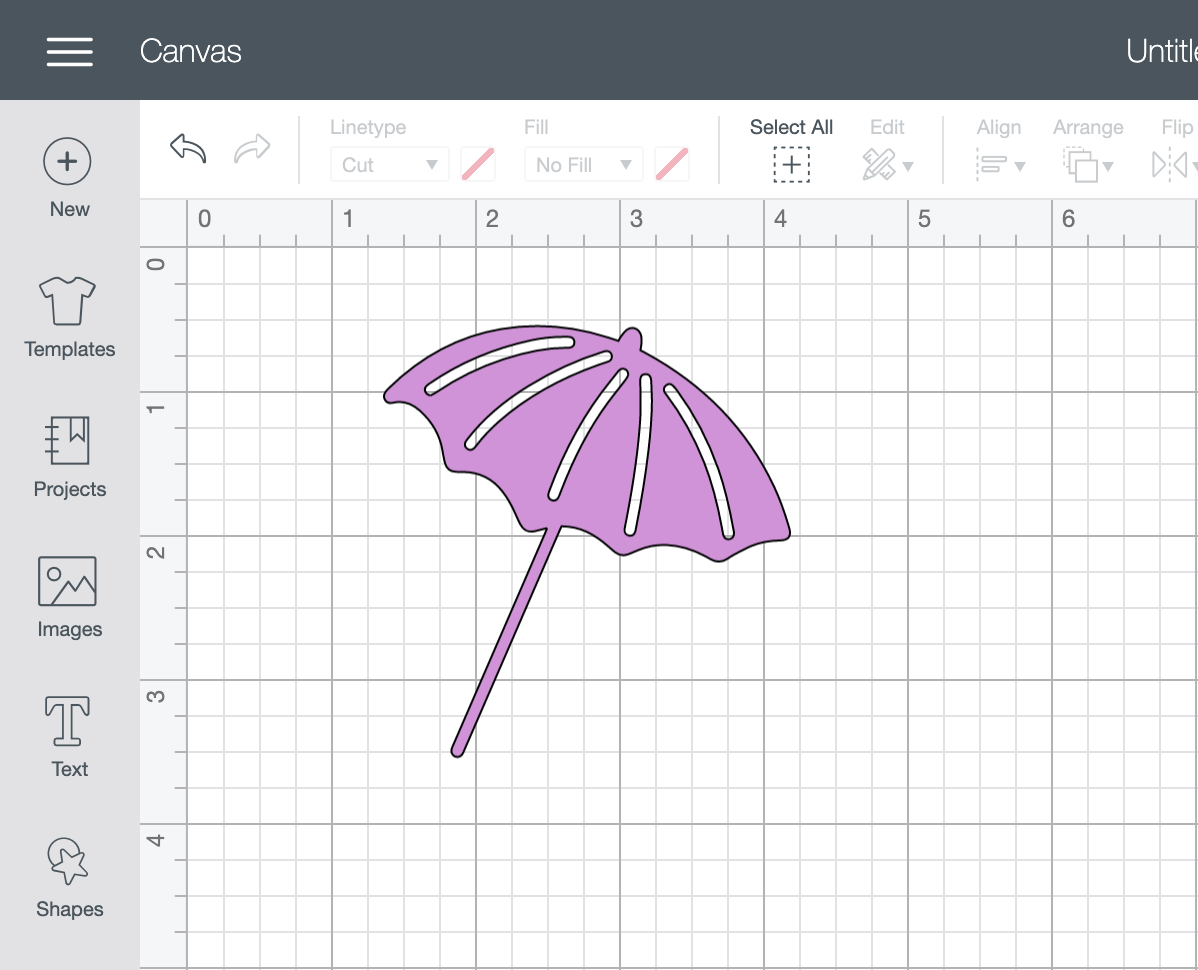
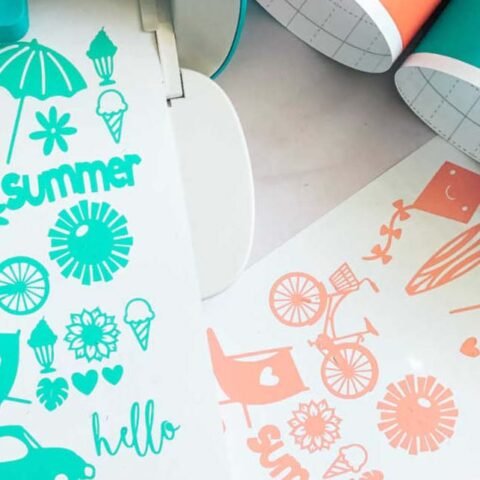
Select images in the left hand bar and search images. The sheets I have made are summer themed so I searched ice cream, summer, beach and then also searched bike and car. I wanted to be able to create a summer beach feel, thus searched all the things I would associate with summer.
When selecting your images, single images work better like the one below. Also check the image is fully connected so it peels in one piece.
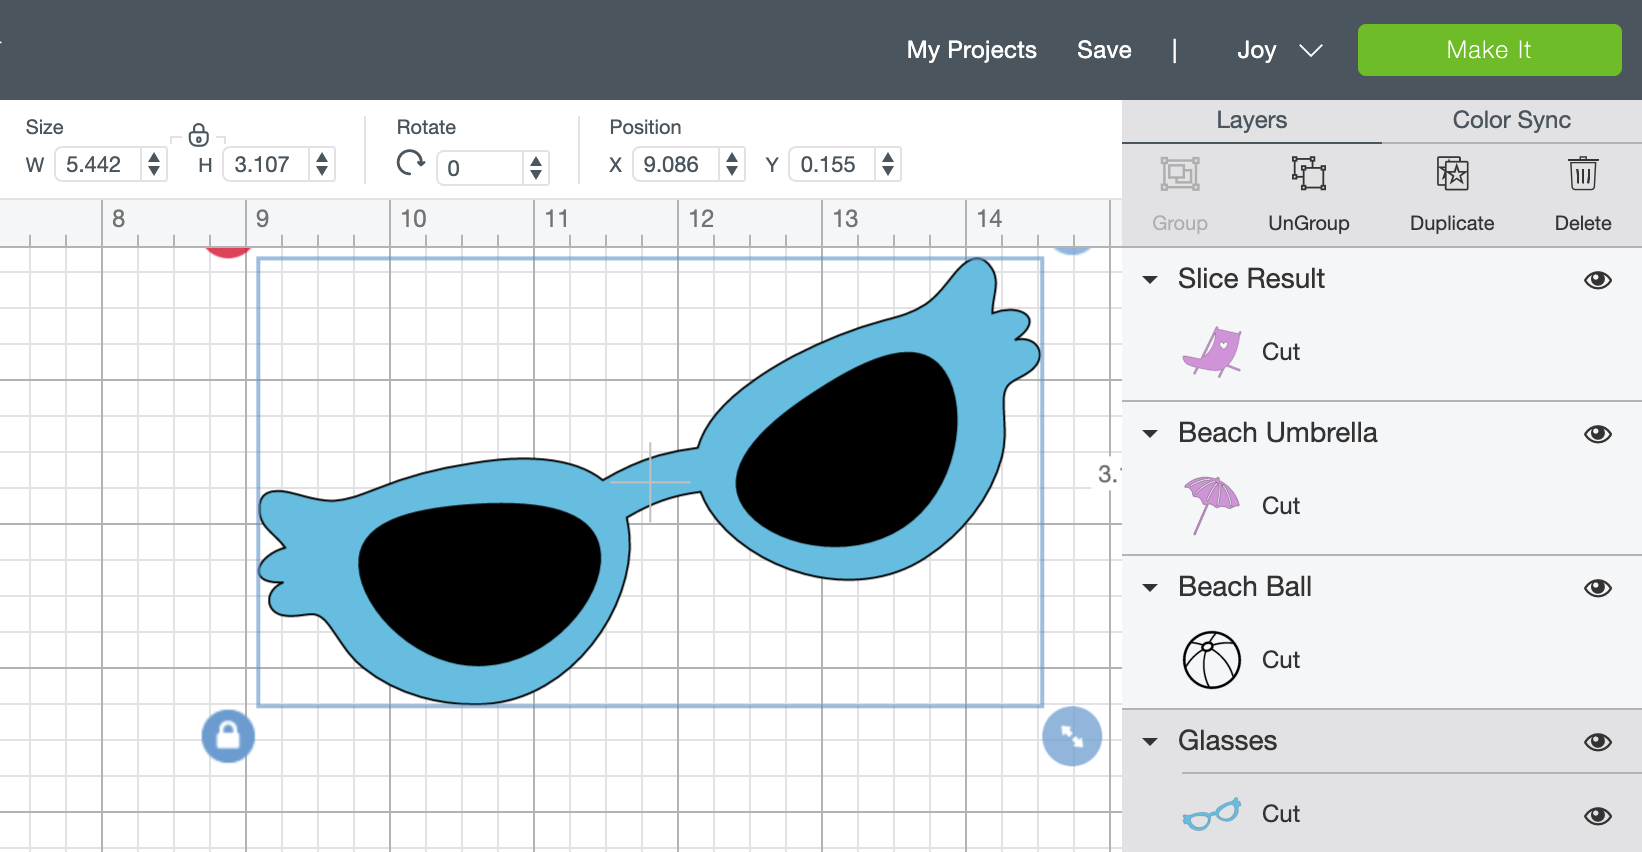
Decide on a colour for your mat images. All images must be the same colour before sending to cut to successfully cut onto the same vinyl sheet.
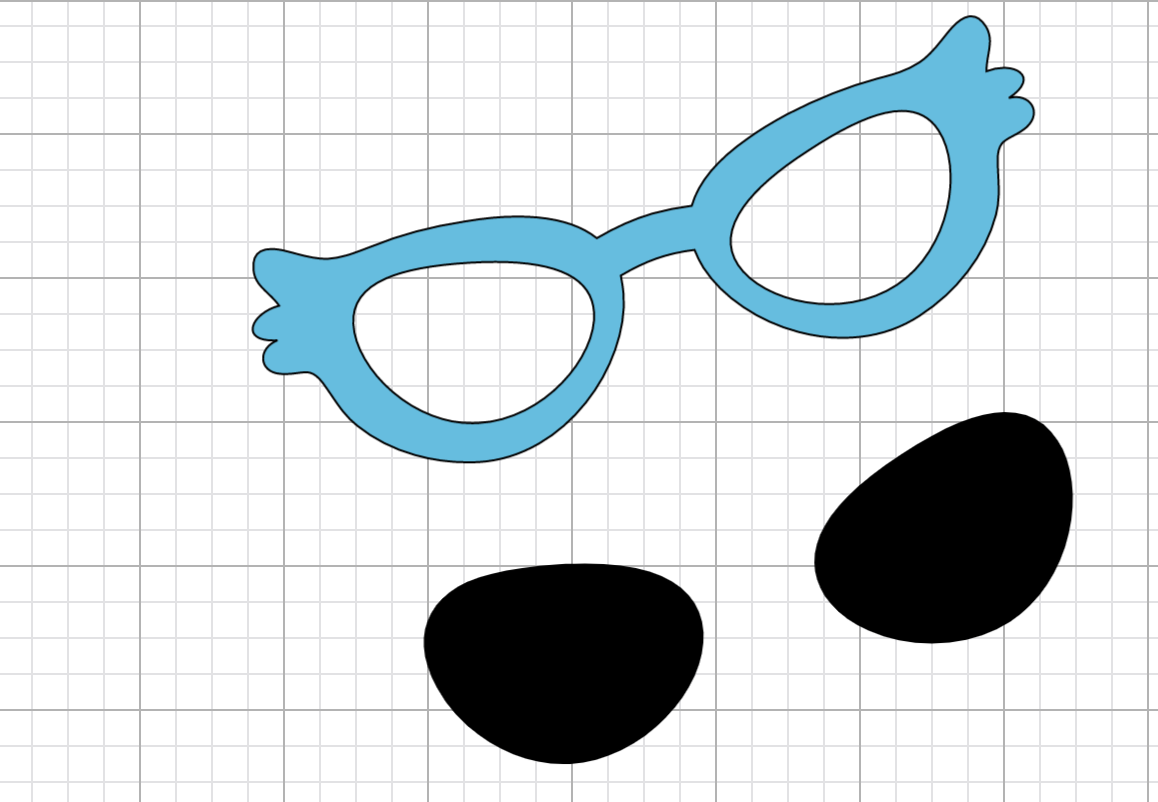
If you choose a sticker image that has multiple layers you have 2 options. You can ungroup it and remove parts you don’t need, see the right hand corner on the image below. Or you can weld it, however this will make it one solid image. To remove the black glass I ungrouped and discarded the glass.

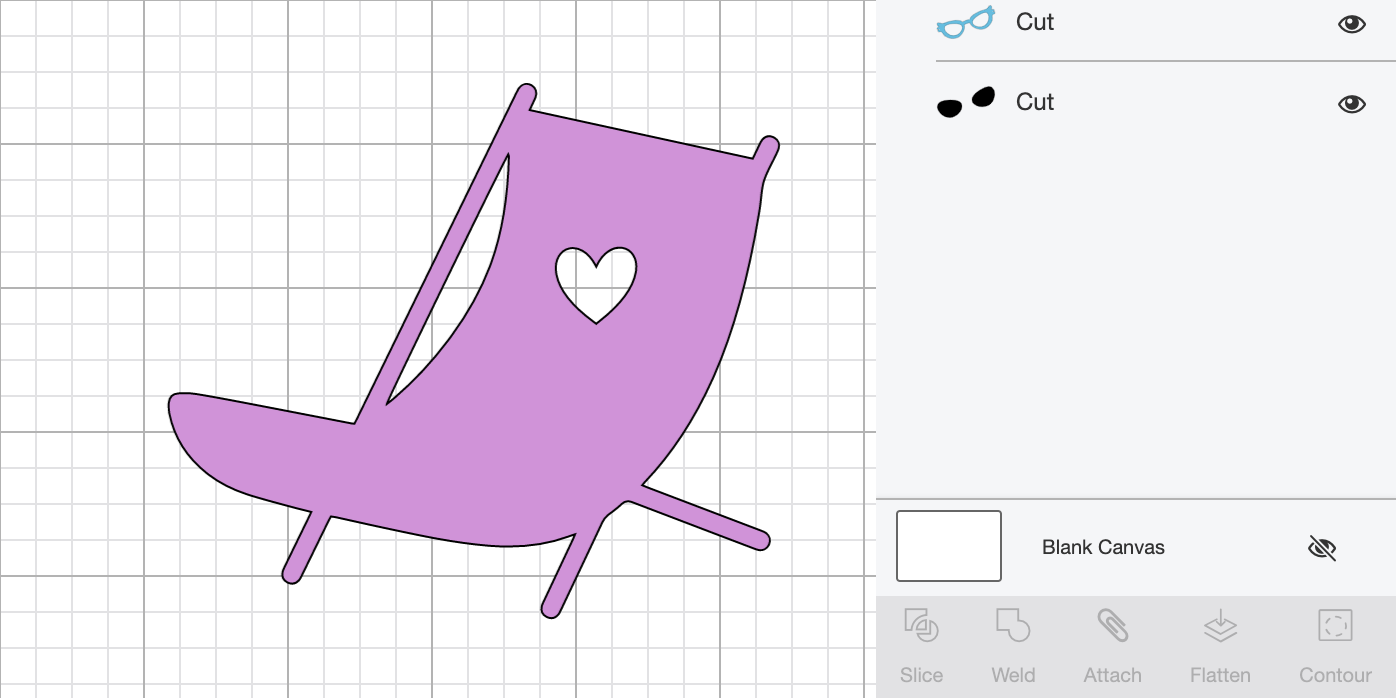
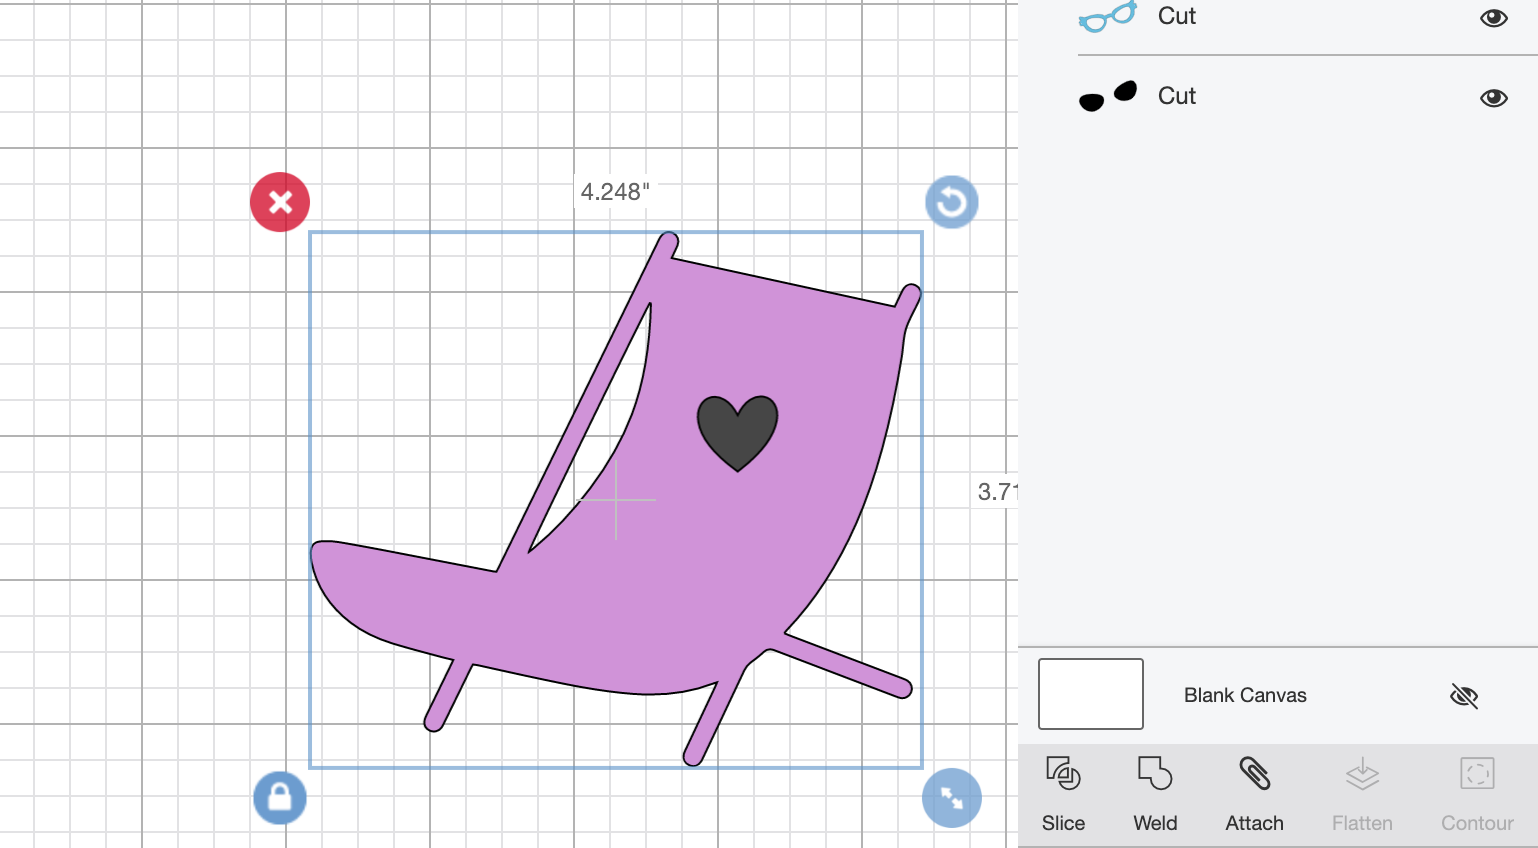
If you want to cut shapes into a single image for your stickers like the deck chair below, simple layer the image you want to slice. Right click and highlight to select and click slice in the bottom right corner.

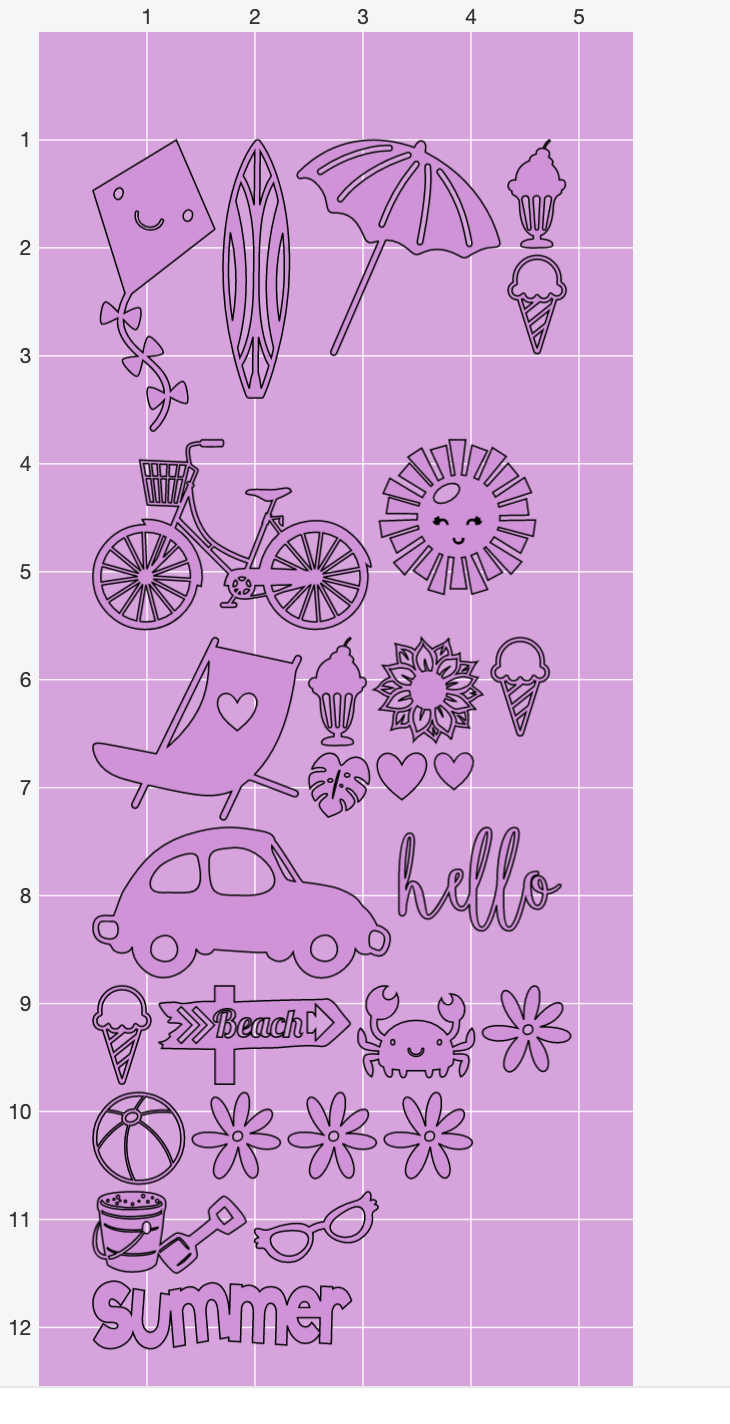
To build your images for your Cricut Joy Vinyl Stickers and to ensure you have the right amount, work on the mat between 4.5″across x 11” down ( Or longer if you have longer vinyl). This will give you a visual idea of how much more space you have.

Cutting Your Cricut Joy Vinyl Stickers
Click on MAKE IT in the top right hand corner to get an idea of how your stickers will cut. Design Space will shuffle to save space and avoid waste, however this doesn’t always work out. You will have to choose your material before you get to see your cut mat view. Here you will see the final cut layout.
The Joy will now pull the vinyl through to check there is enough for your cut.
How To Avoid Wasted Space On Your Cricut Cutting Mat?
You can see on the image below that I have spaces on my cutting mat view, to avoid wastage you can add a couple of new images to cut, however to make space you must drag images around on the mat.
To drag an image simply click on it and drag it, this is such a great way to avoid have negative space and wasting vinyl. You can keep doing this until your mat is full. The lines sound the edge of the mat represent the out cut limit, it won’t allow you to go over that line.
After cutting my stickers I have realised that I could have dragged them much closer together, thus getting many more stickers.

To Put Your Stickers On A Window?
If you are cutting Cricut Joy Vinyl Stickers to put on a window make sure you click mirror to reverse the image if you want them to appear from the front. If you are making stickers for the window ensure you do use removable vinyl!
To Cut These Cricut Joy Stickers
If You Have Design Space Access Click the links the SUMMER STICKERS.
Or Download The Stickers Here.
Simply click here or on the image below to get my free Cricut Joy Sticker download and I will pop it across to you in PNG and SVG form.
However, make sure your pop-up blocker is turned off. Here’s how you upload the files to Cricut Design Space.
If the files don’t arrive please check my trouble shooting page.


Please note this post contains affiliate links.
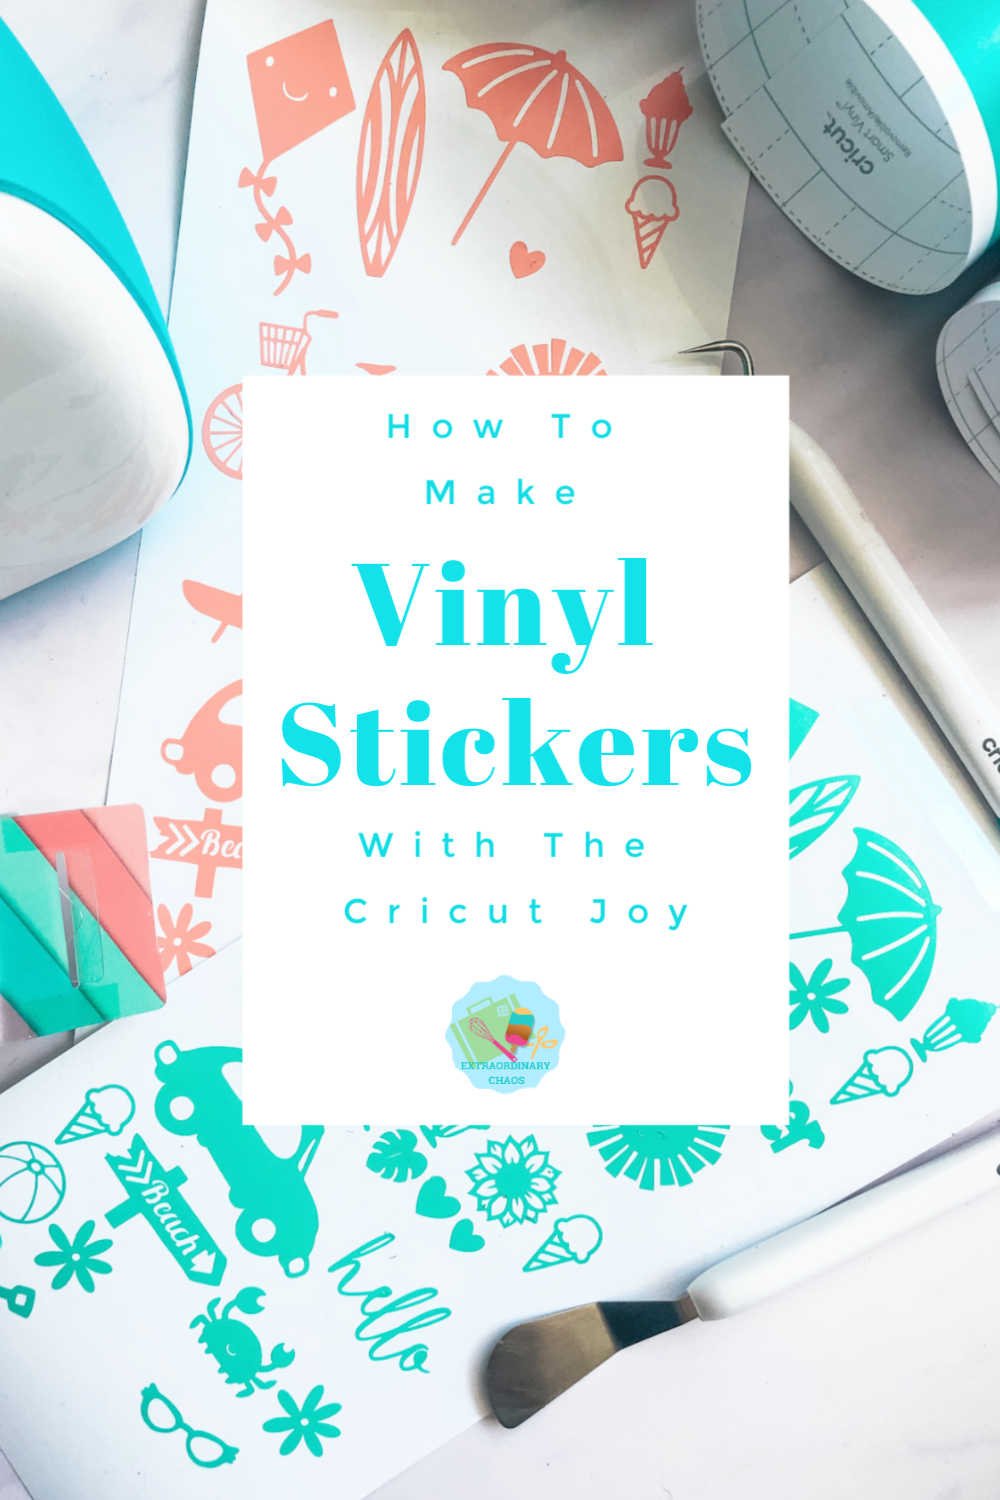
How To Make Cricut Joy Stickers
How to make Cricut Joy Stickers with Vinyl sheets, which can be made in gift sized sheets for school projects, crafting and wall decals.
Materials
- Cricut Removable Smart Vinyl
Tools
- Cricut Joy
- Design Space
- Or Cricut Regular Size Removable Vinyl With A Blue Cutting Matt
- Weeding Tool
Instructions
- How To Design Your Cricut Joy Stickers In Cricut Design Space?
Designing Your Stickers.Select images in the left hand bar and search images. The sheets I have made are summer themed so I searched ice cream, summer, beach and then also searched bike and car. - I wanted to be able to create a summer beach feel, thus searched all the things I would associate with summer. When selecting your images, single images work better like the one below. Also check the image is fully connected so it peels in one piece.
- Decide on a colour for your mat images. All images must be the same colour before sending to cut to successfully cut onto the same vinyl sheet.
 If you choose a sticker image that has multiple layers you have 2 options. You can ungroup it and remove parts you don’t need, see the right hand corner on the image below.
 - Or you can weld it, however this will make it one solid image. To remove the black glass I ungrouped and discarded the glass.

 If you want to cut shapes into a single image for your stickers like the deck chair below, simple layer the image you want to slice. Right click and highlight to select and click slice in the bottom right corner.
 To build your images for your Cricut Joy Vinyl Stickers and to ensure you have the right amount, work on the mat between 4.5″across x 11” down ( Or longer if you have longer vinyl). This will give you a visual idea of how much more space you have.
- Cutting Your Cricut Joy Vinyl Stickers
Click on MAKE IT in the top right hand corner to get an idea of how your stickers will cut. Design Space will shuffle to save space and avoid waste, however this doesn’t always work out. You will have to choose your material before you get to see your cut mat view. Here you will see the final cut layout.
The Joy will now pull the vinyl through to check there is enough for your cut. - How To Avoid Wasted Space On Your Cricut Cutting Mat?
You can see on the image below that I have spaces on my cutting mat view, to avoid wastage you can add a couple of new images to cut, however to make space you must drag images around on the mat.
To drag an image simply click on it and drag it, this is such a great way to avoid have negative space and wasting vinyl. You can keep doing this until your mat is full. The lines sound the edge of the mat represent the out cut limit, it won’t allow you to go over that line.
After cutting my stickers I have realised that I could have dragged them much closer together, thus getting many more stickers.
- To Put Your Stickers On A Window?
If you are cutting Cricut Joy Vinyl Stickers to put on a window make sure you click mirror to reverse the image if you want them to appear from the front. If you are making stickers for the window ensure you do use removable vinyl!
Notes
What Can I Use Cricut Joy Stickers For?
Stickers sheets, nothing gave me more joy as a child than sheets of stickers.
Seasonal window decals
Wall decals
Decals for parties
Reward charts
Home made board games
Envelope seals
Pantry labels
Recommended Products
As an Amazon Associate and member of other affiliate programs, I earn from qualifying purchases.
Brilliant but what setting did you use please to cut out the stickers?
Hi Viv I always cut stickers on printable vinyl setting so it only kiss cuts x
I have vinyl but do you print the stickers on sheets?
Hi Celes, the Cricut Joy stickers are cut into the vinyl, it doesnt print x
So how does the Cricut joy know how to cut around each different sticker shape.
Hi Diann you set it all up and Cricut Design space before you cut it.
Love this tutorial! The Joy Stickers are so cute and I can’t wait to make them. Your instructions are clear and easy to follow. Thanks for sharing this tutorial!
You are so welcome