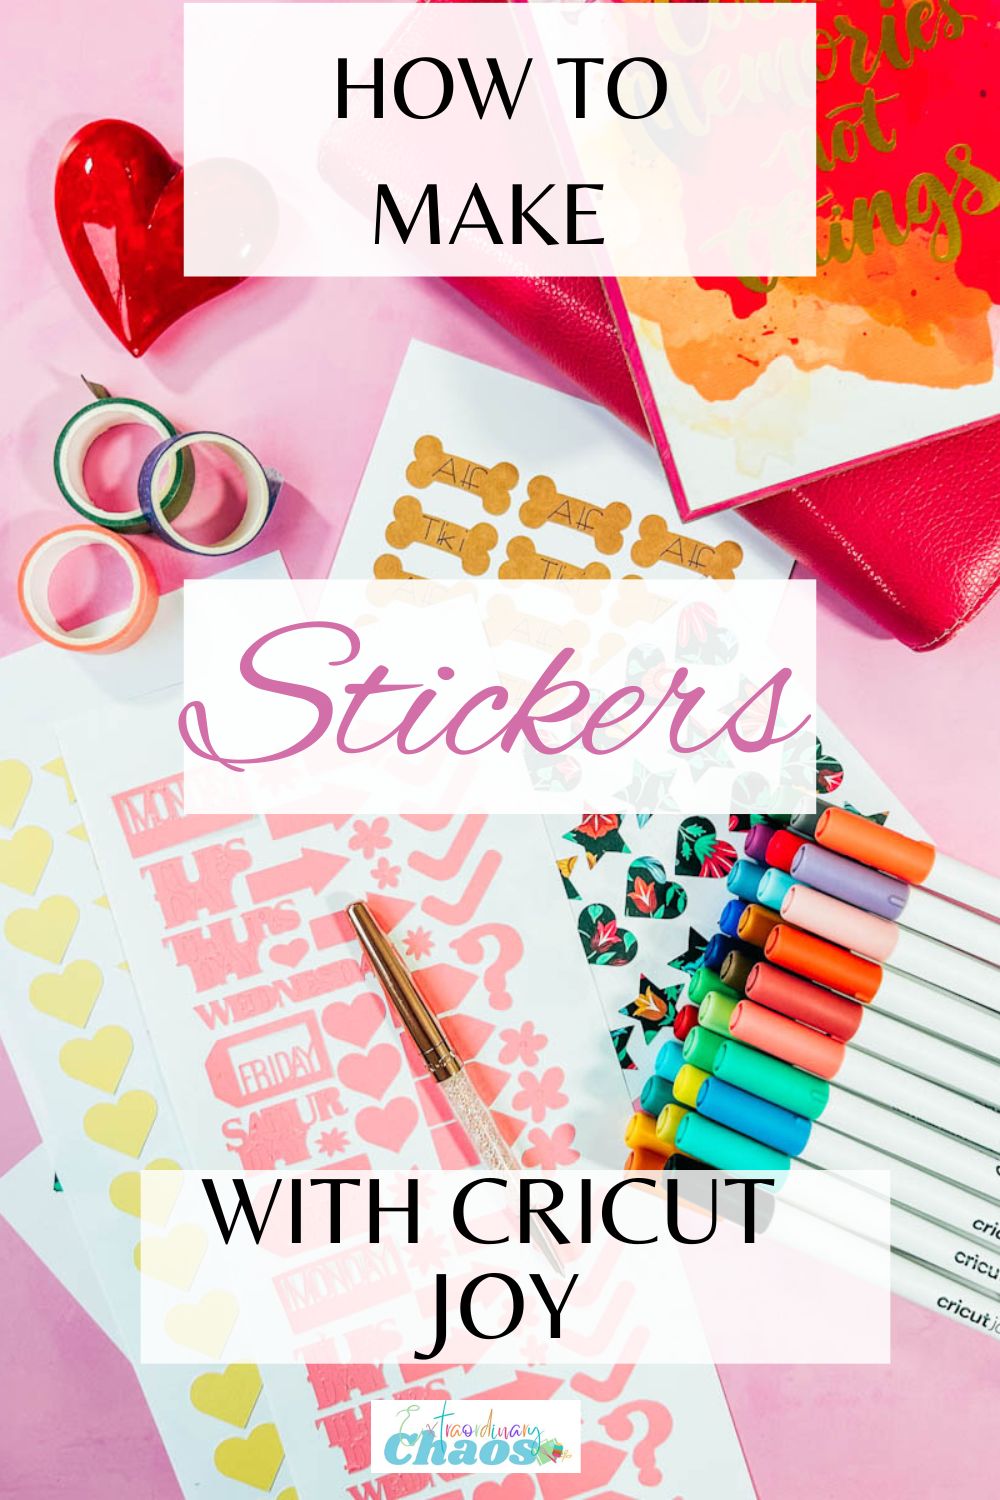
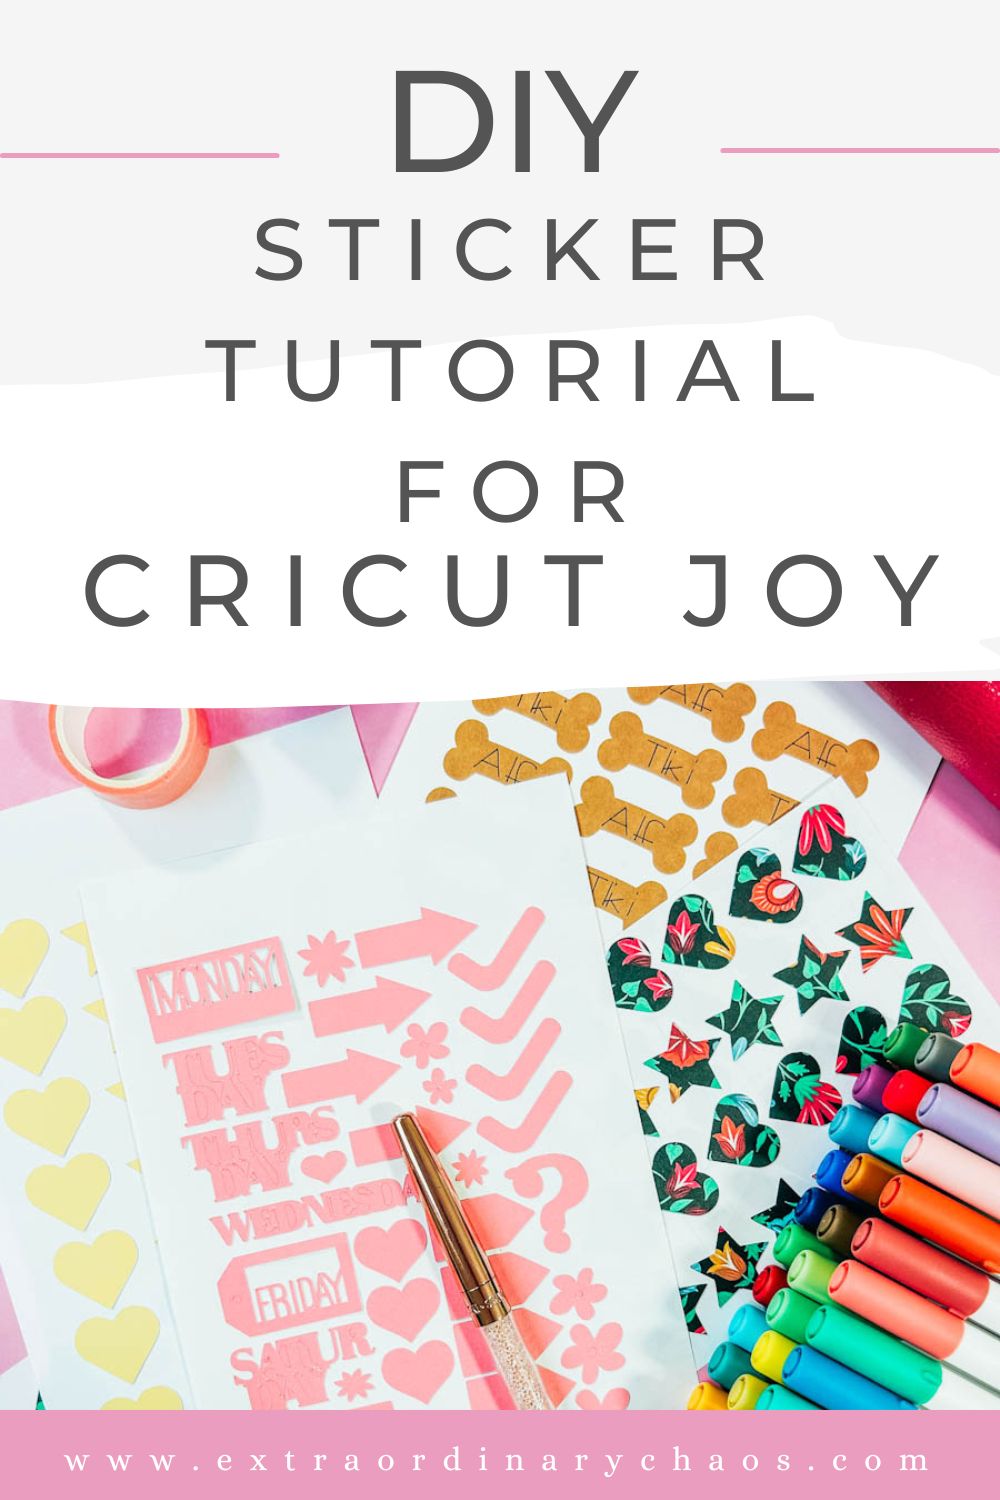
Today we are going to to share how to make you very own Cricut Joy Stickers. In this post you will learn how to make your own stickers on your Cricut Joy with these simple, step by step methods, that you can use over and over again to create any design and pattern of stickers you want.
The great thing about the Cricut Joy is that it’s portable and versatile. Thus giving you endless possibilities of working on the go. As long as you have your phone or Mac you can work anywhere. And this is a great way to make custom labels, printable labels and messages. Plus of course planner stickers and bullet journal stickers. These stickers are also great for crafts with kids and creating decal sets and scrapbooking stickers.
If you want to see me create my projects, follow me on Tik Tok and Instagram.
Simply follow our step by step tutorial to get on the road of Cricut Joy sticker design and I guarantee you won’t believe how easy making stickers is?
This post may contain affiliate links. Which means I may receive a small commission if you click a link and purchase something that I have recommended at no extra cost to yourself. As an Amazon Services LLC Associates Program, Cricut and Glowforge associate, I earn from qualifying purchases.
How do you make custom stickers on Cricut Joy?
What materials do you need to make stickers with a Cricut Joy?
- Cricut Joy Machine
- Fine Point Blade
- Cricut Design Space
- Brayer
- Weeding Tool
- Scraper
- Cutting Mat
- Pens To Fit The Cricut Joy
And Any Of The Following
- Cricut Joy Smart Label Paper
- Smart Writable Vinyl
- Patterned Sticker Paper
- Permanent or Adhesive Vinyl
- Smart Vinyl
What sticker paper can I use with Cricut Joy?
You can use any sticker paper you simply have to cut it to size. However Cricut have also create a range of materials especially for sticker making such as Cricut Joy Smart Labels, Smart Sticker Paper and Patterned Sticker Paper. You can also use regular vinyl it’s great for making coloured sticker decals.
How To Design Your Cricut Joy Stickers?
Start by opening Cricut Design Space click new project and check design space is set for the Cricut Joy. To do this click to tab in the right corner of the top bar in Cricut Design Space. You can also make stickers in the Cricut Joy app, but I prefer the desktop version or Cricut Design Space.
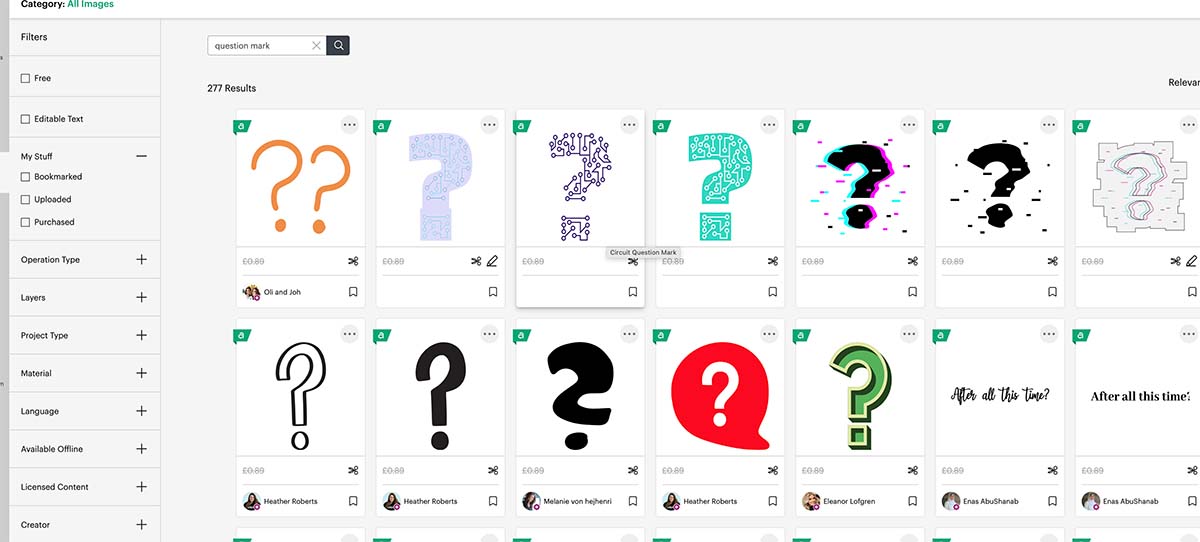
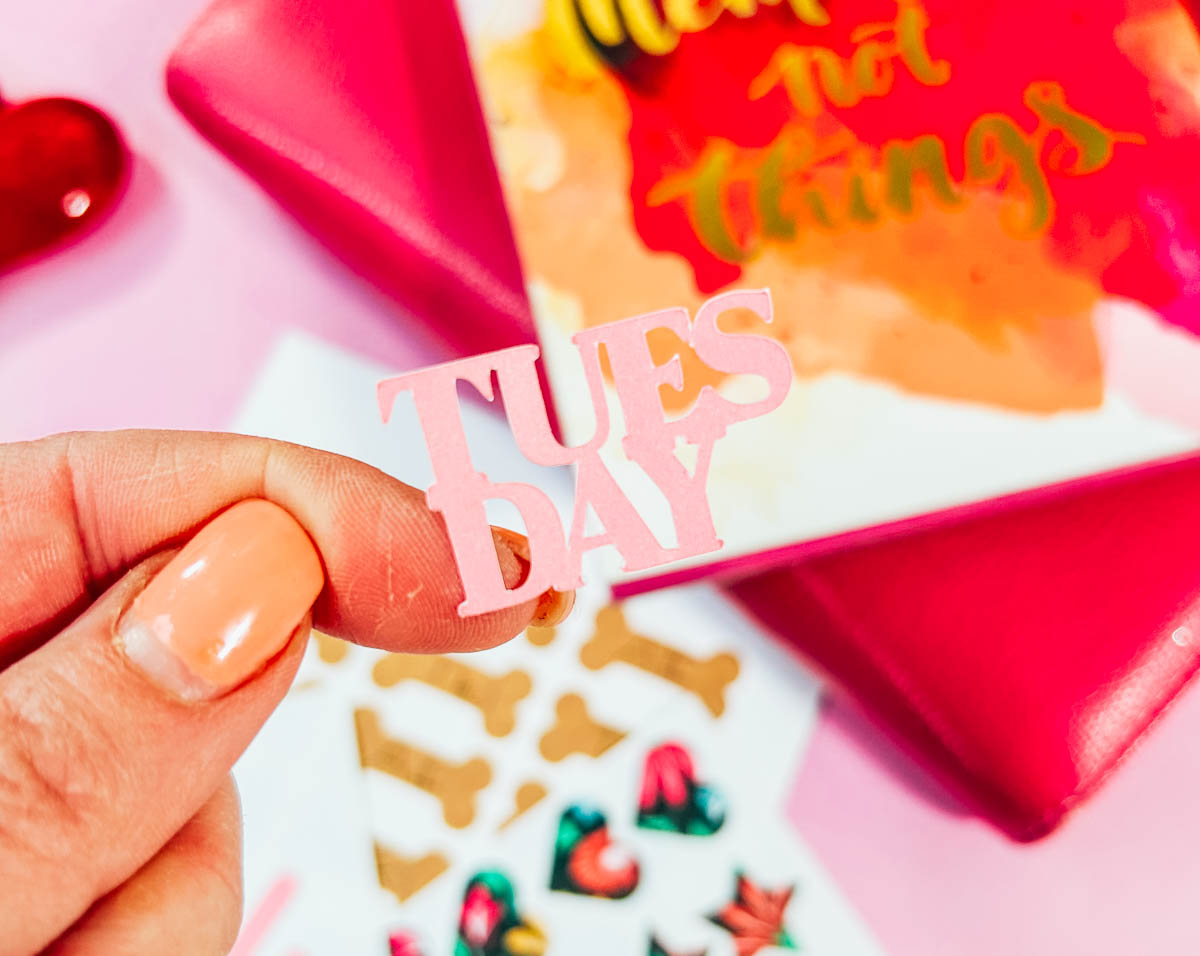
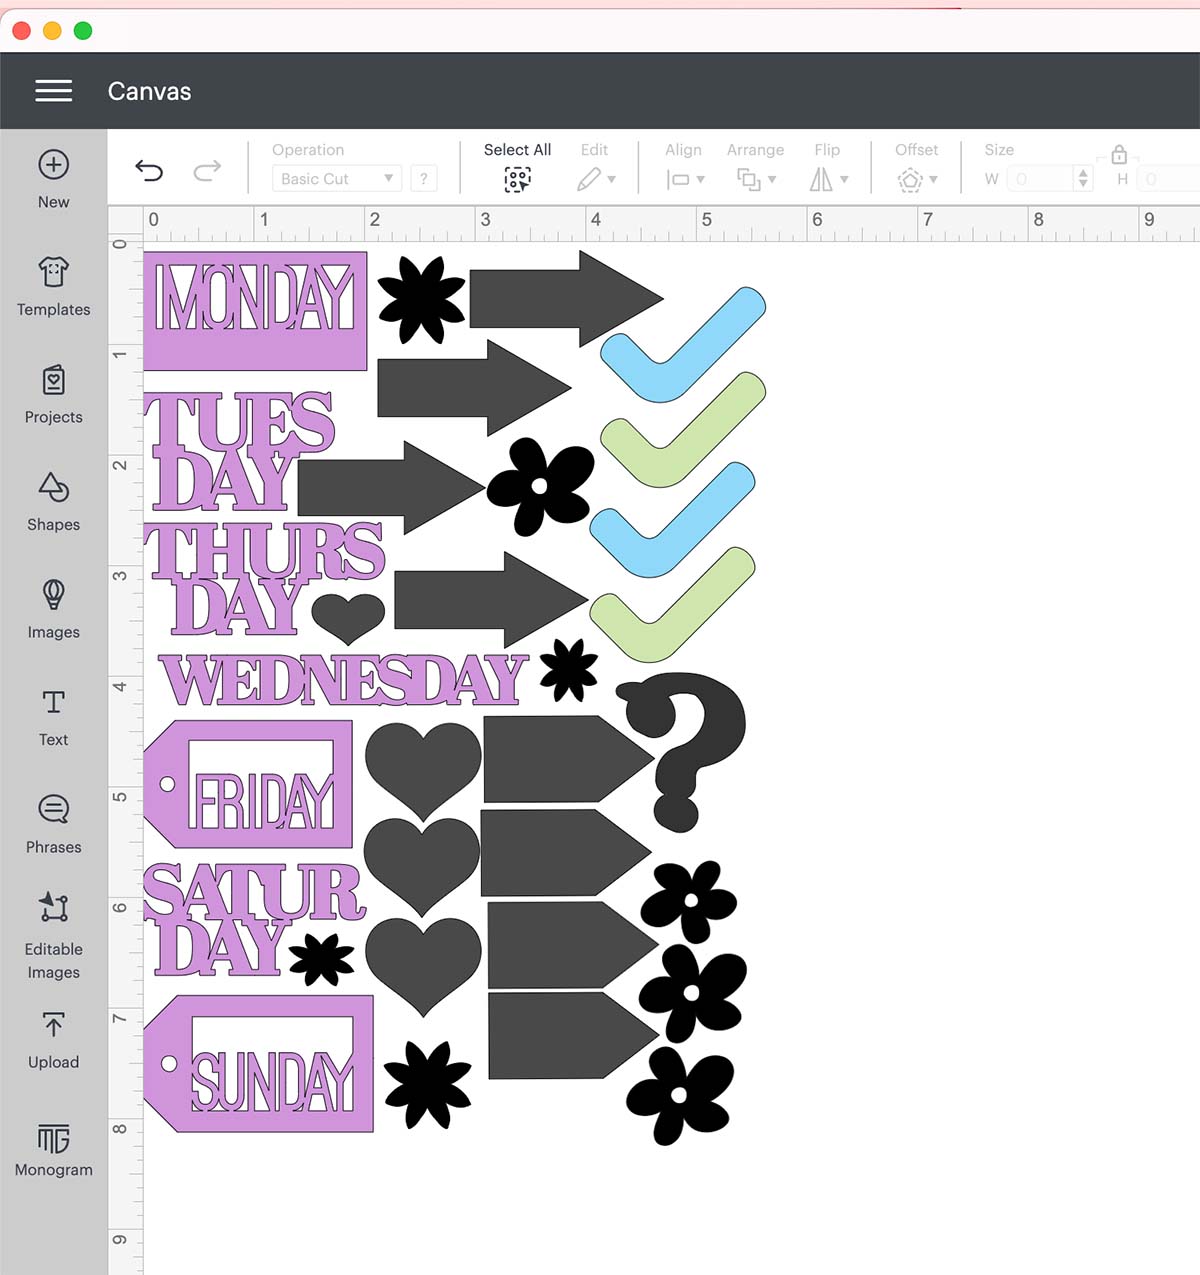
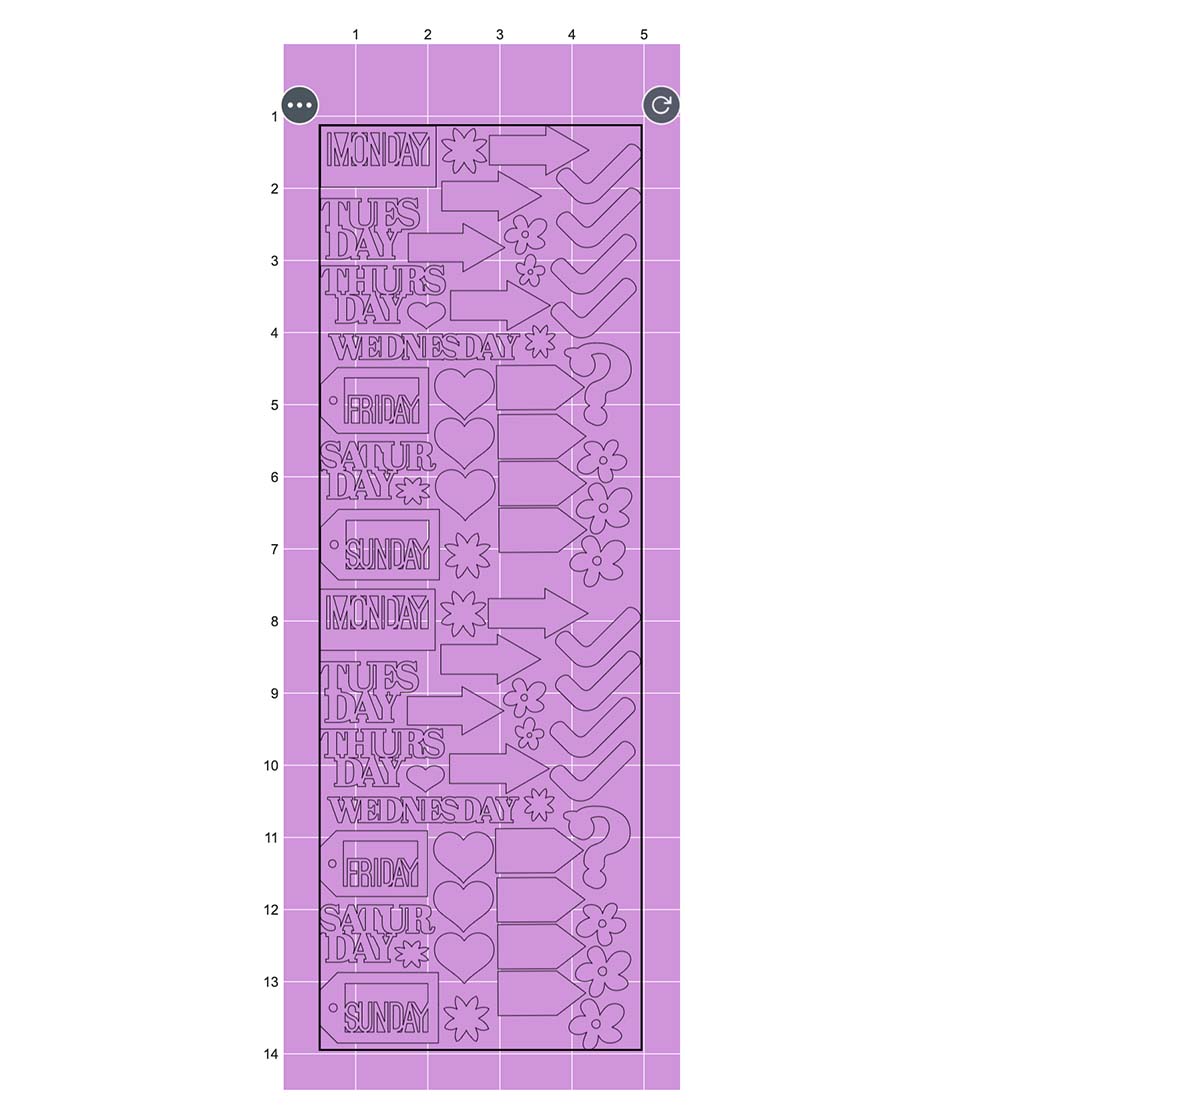
Now go into design space images and shapes and choose shapes and words from the left tool bar for your Cricut Joy Stickers. You want to look for Chunky images and words. For this project I have made planner stickers or bullet journal stickers so searched days of the week. Then you add accents, I have used flowers, arrows, hearts and question marks.
If you have A Cricut Access Subscription you will have more options, but there are free images you can use if not. However also check out where to get free images for Cricut and Silhouette here.
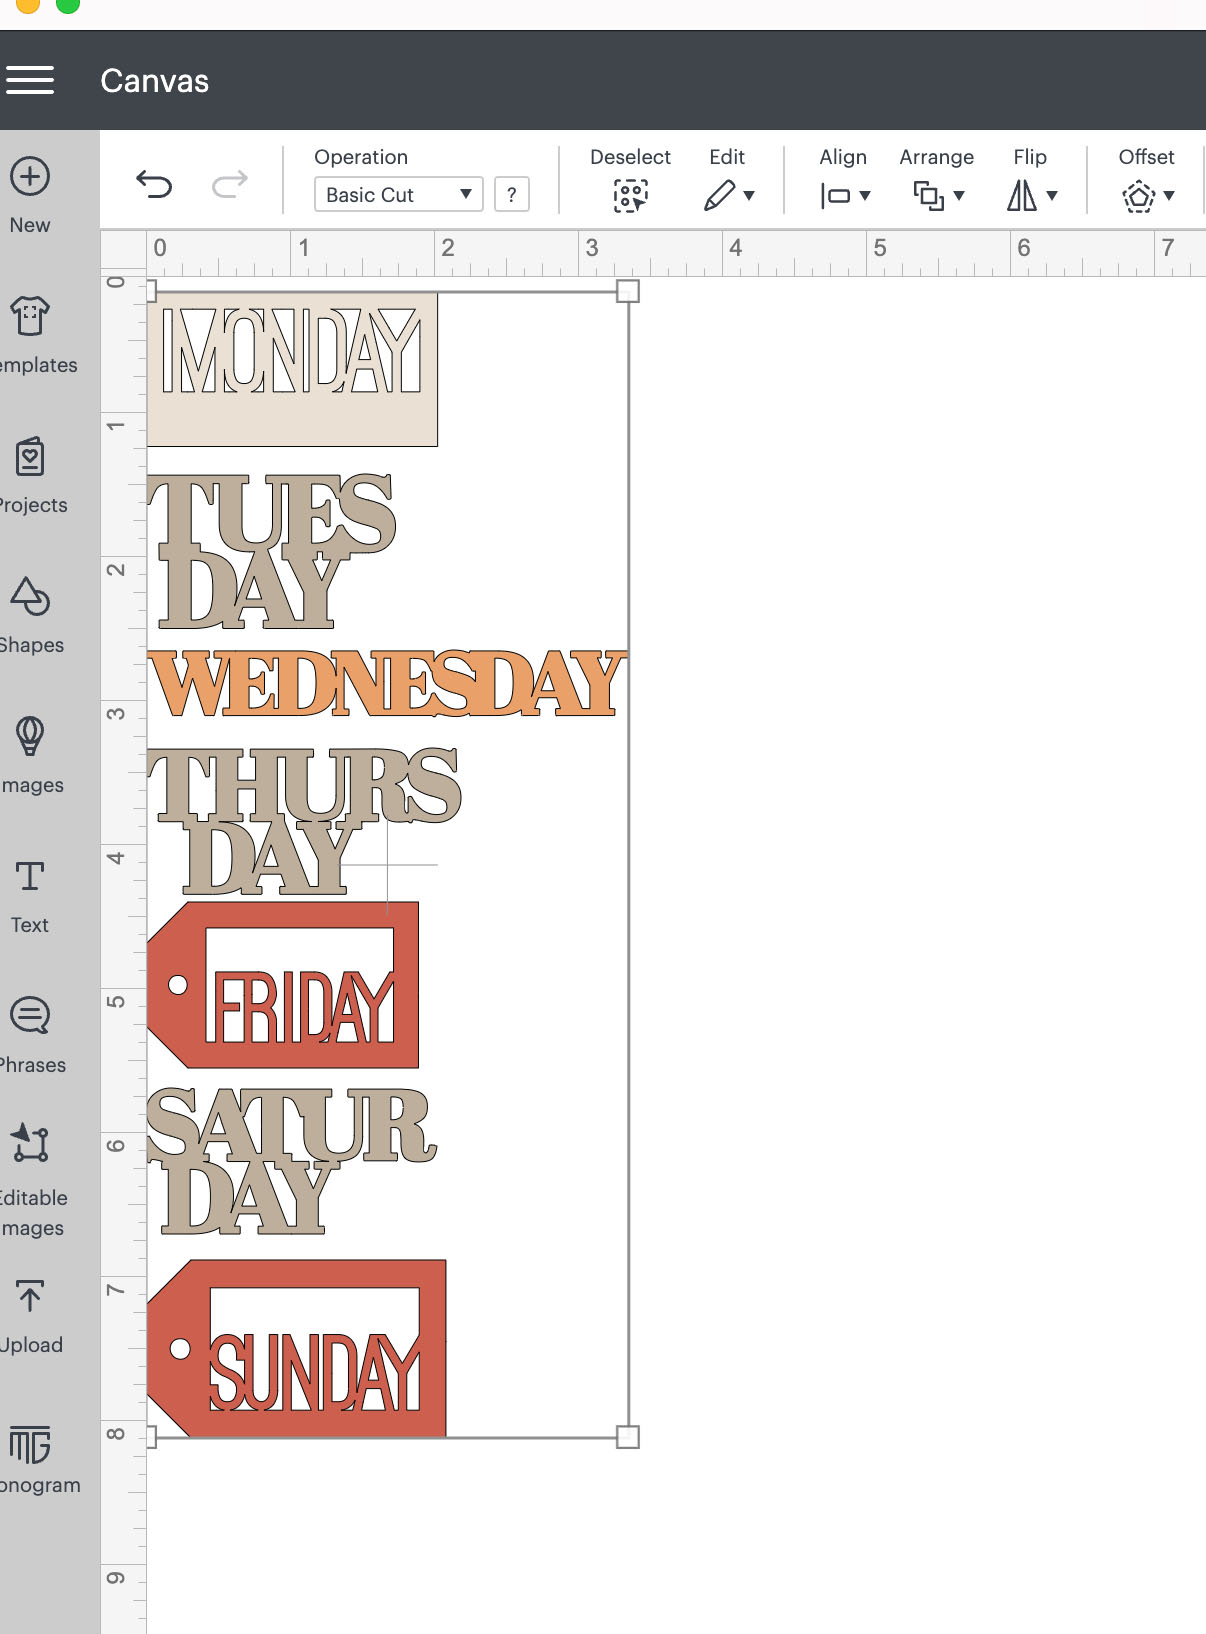
Ideas For Shapes And Words To Create Planner Stickers
- Days of the weeks
- Motivational Words
- Speech Bubbles
- Arrows
- Hearts
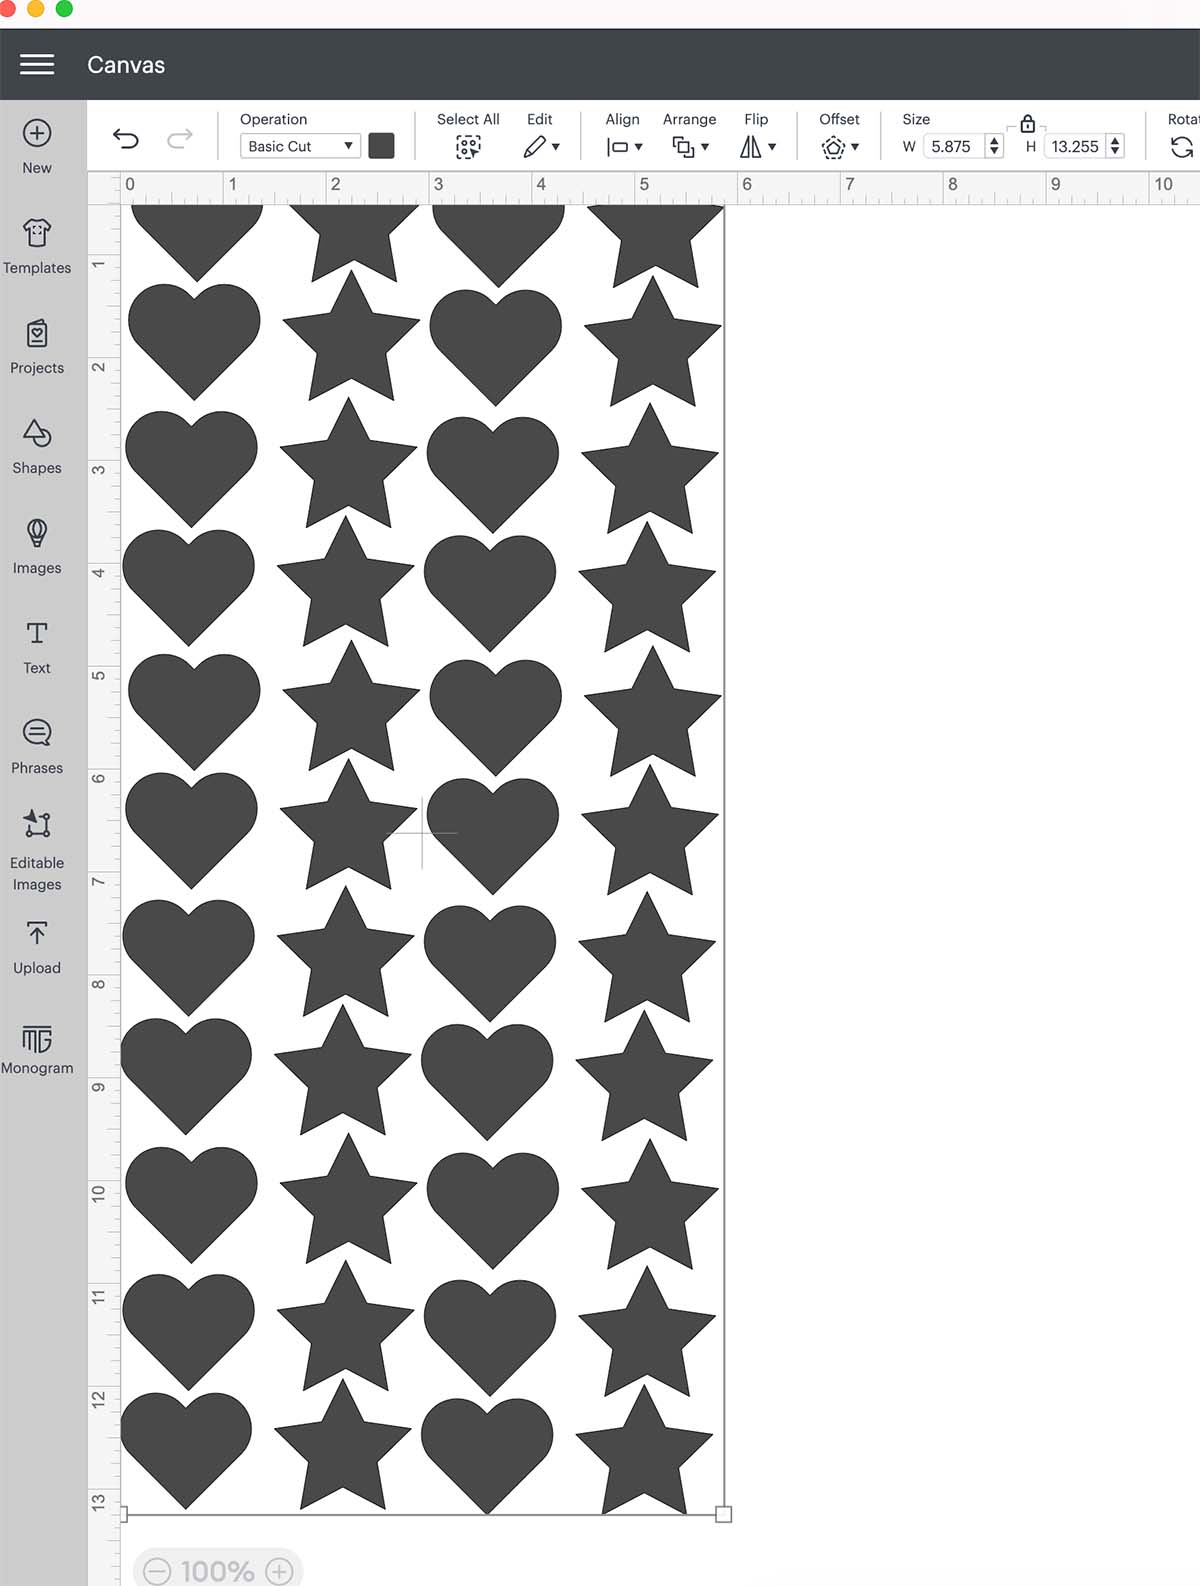
- Stars
- Question Marks
- Basic Shapes
Arrange Your Stickers
Once you have chosen your words and shapes, right click and select all and make them the same colour by choosing operation, colour on the top bar. This is very important and you want the project to all cut on one sheet of sticker paper. If you have chosen any words or shapes that are delicate you may want to create a slightly offset with the offset tool to make the work chunkier.

Additionally, if any of your stickers have layers you might want to consider flattening them using the flatten tool. This will take away some detail, however if you are creating single layer stickers then this step is necessary. Simply select the image and click the contour tool on the top menu, you can now choose how large your contour layer will be. This will leave you with a larger contoured layer. Simply delete the original layer.
Now arrange them in an oblong shape, you cannot cut your stickers wider than 4.5 inches so alignment is very import. Although the length depends on what material you are using, if you have a light grip mat or smart materials. I like to arrange and align my stickers so they are in an organised pattern, not overlapping but also not wasting excess space.
Making Cricut Joy Labels With Smart Labels And Cricut Pens
You are now at the point that your stickers are ready to cut, however with a few more simple steps you are also able to add messages or make Cricut Joy labels with the writable smart label and smart vinyl materials.
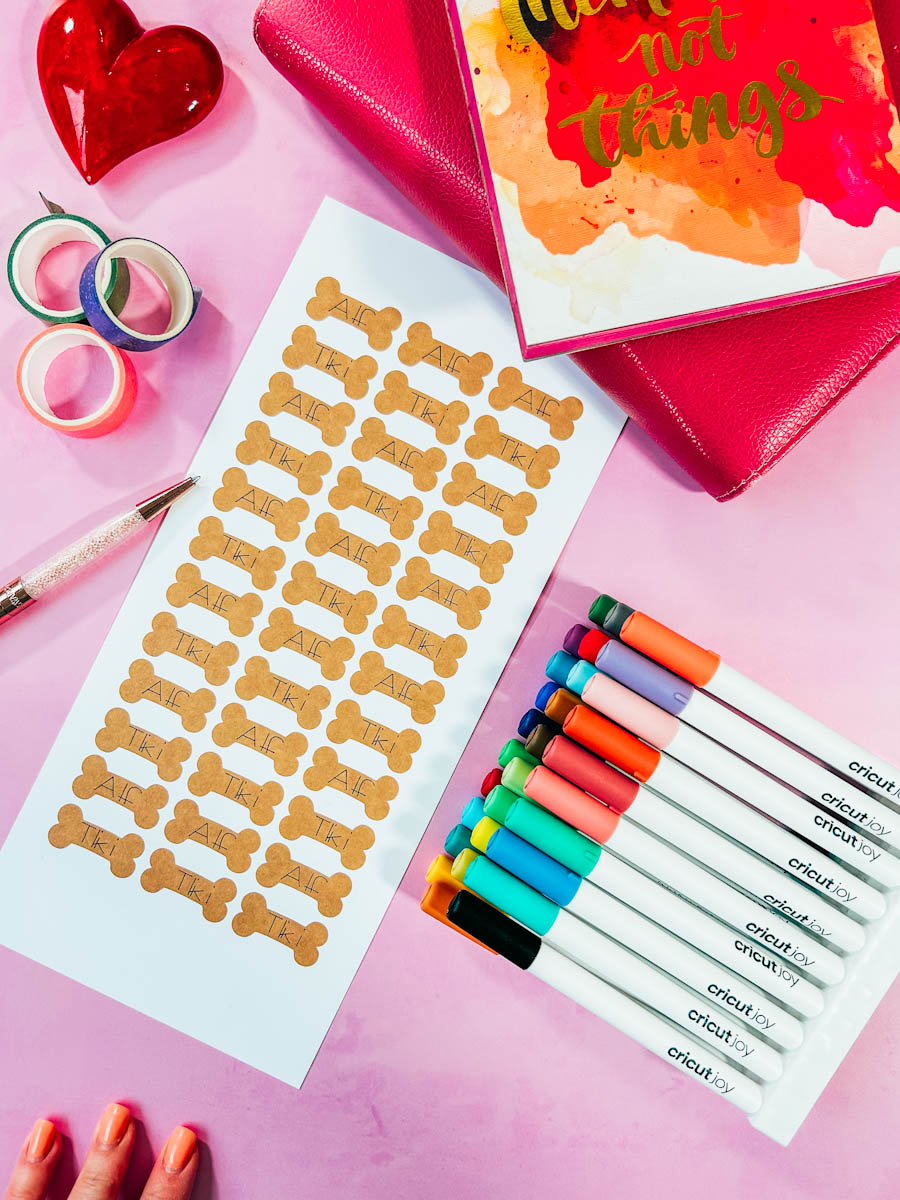
Here I have created food stickers for our dogs food. I like to prepare their food in advance and find this the best way to label their food. However can be used for so many kinds of food and kitchen labels.
Once you are happy with the alignment, select all and click weld. Do this before adding any text not after as you will loose the text. This ensures the sheet or stickers will cut onto your sticker cardstock exactly the same as they appear on the screen.

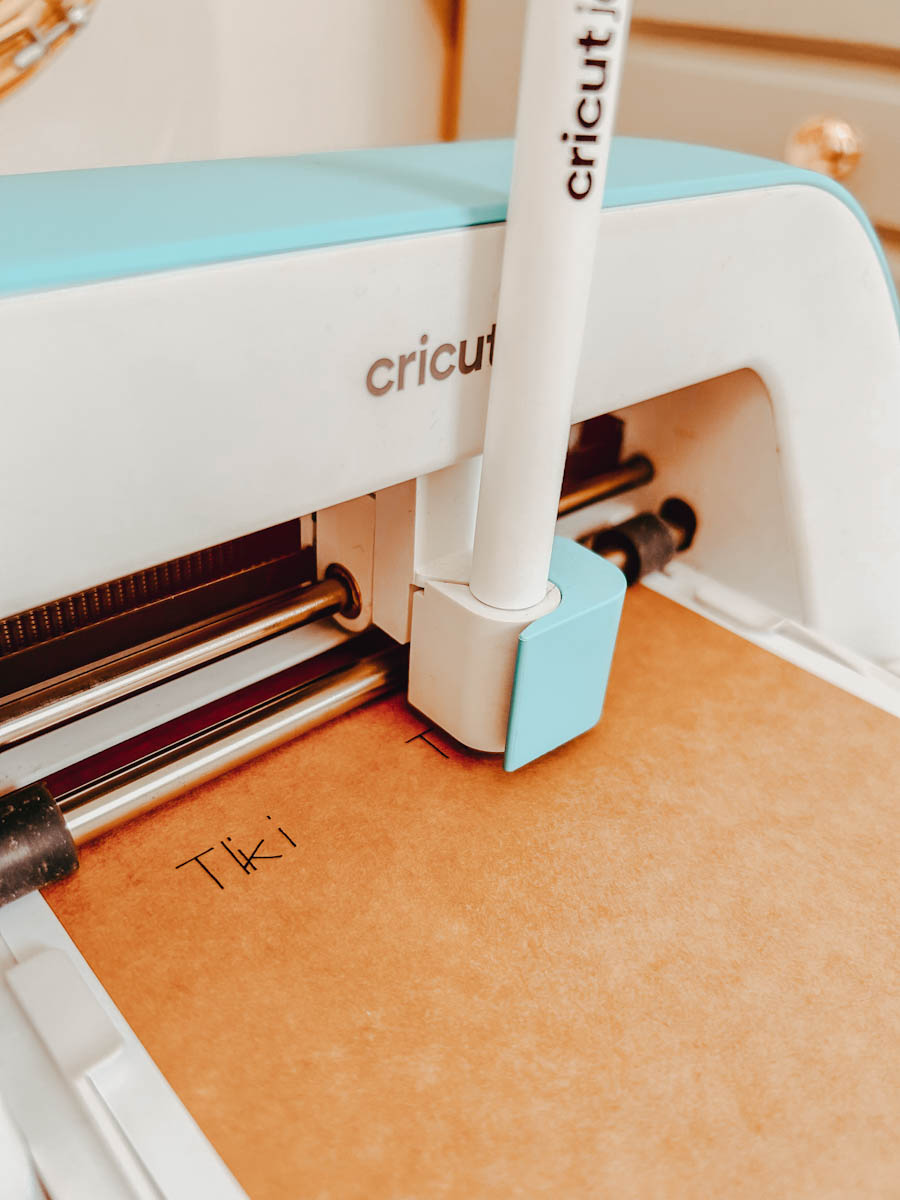
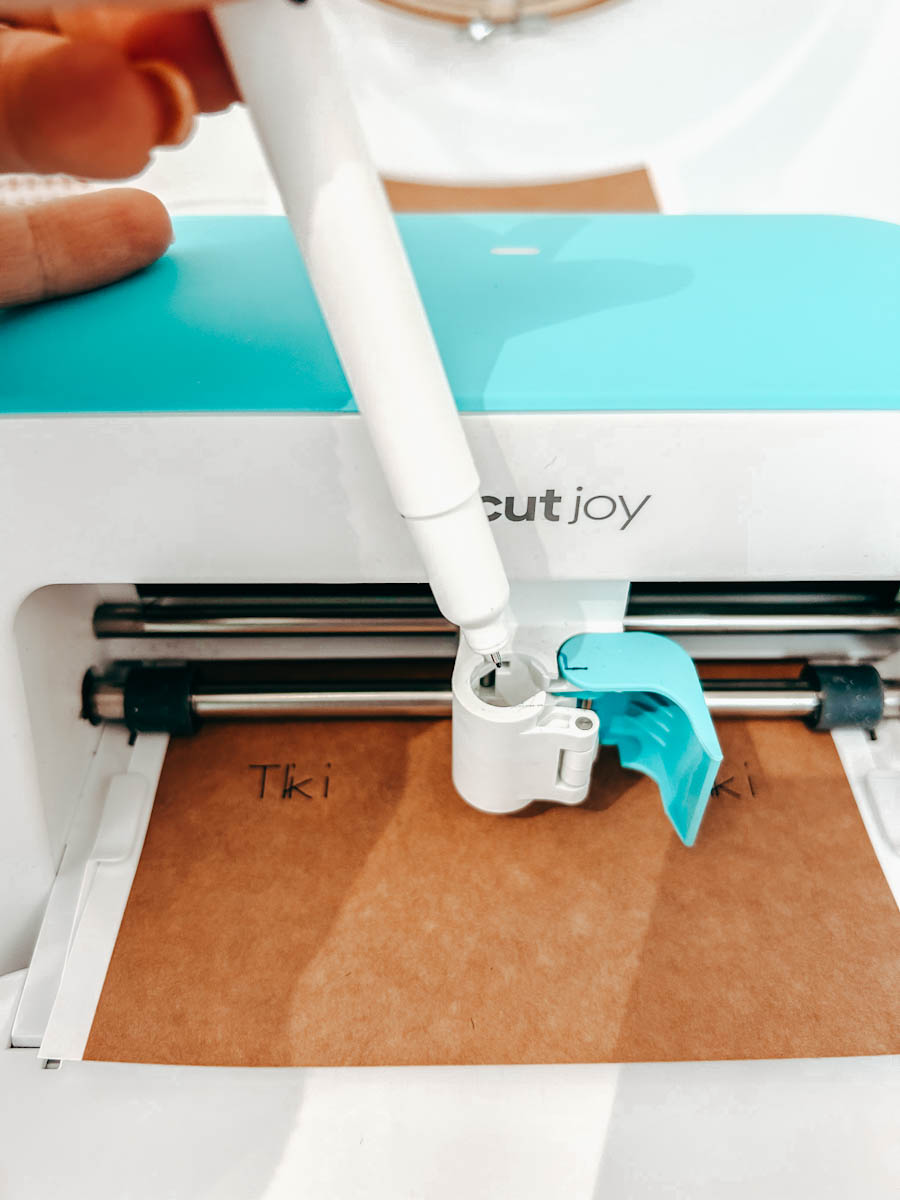
As its for the dogs I chose dog bone shapes in Design Space Images and clicked text in the left toolbar, now click on the text in the top bar and click refine to choose writing, lastly choose your writing font and type your message, names or words.
Next position the words on the stickers, click select all and press attach in the bottom right hand bar. This will attach the words to the stickers, therefore your Cricut Joy will know where to cut and where to write.
Cut Your Cricut Joy Stickers
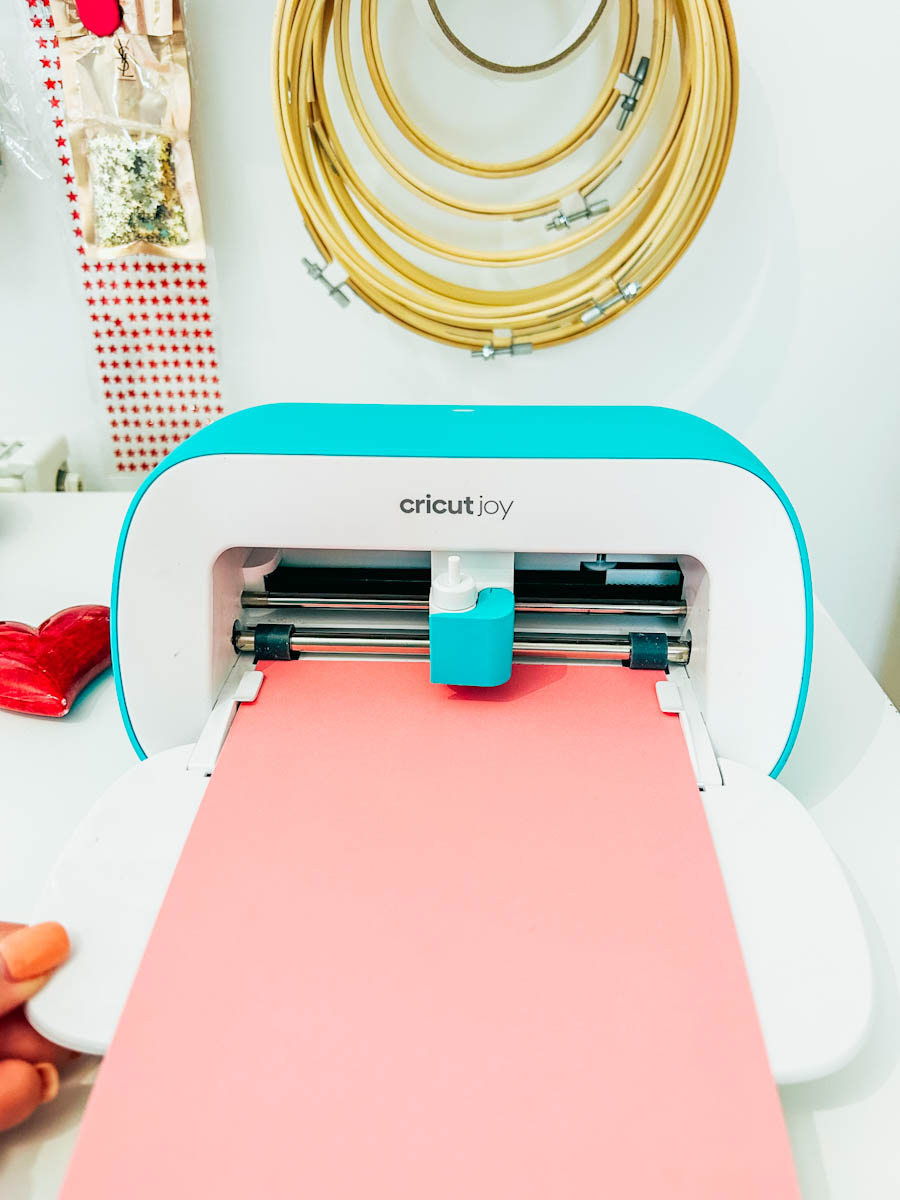
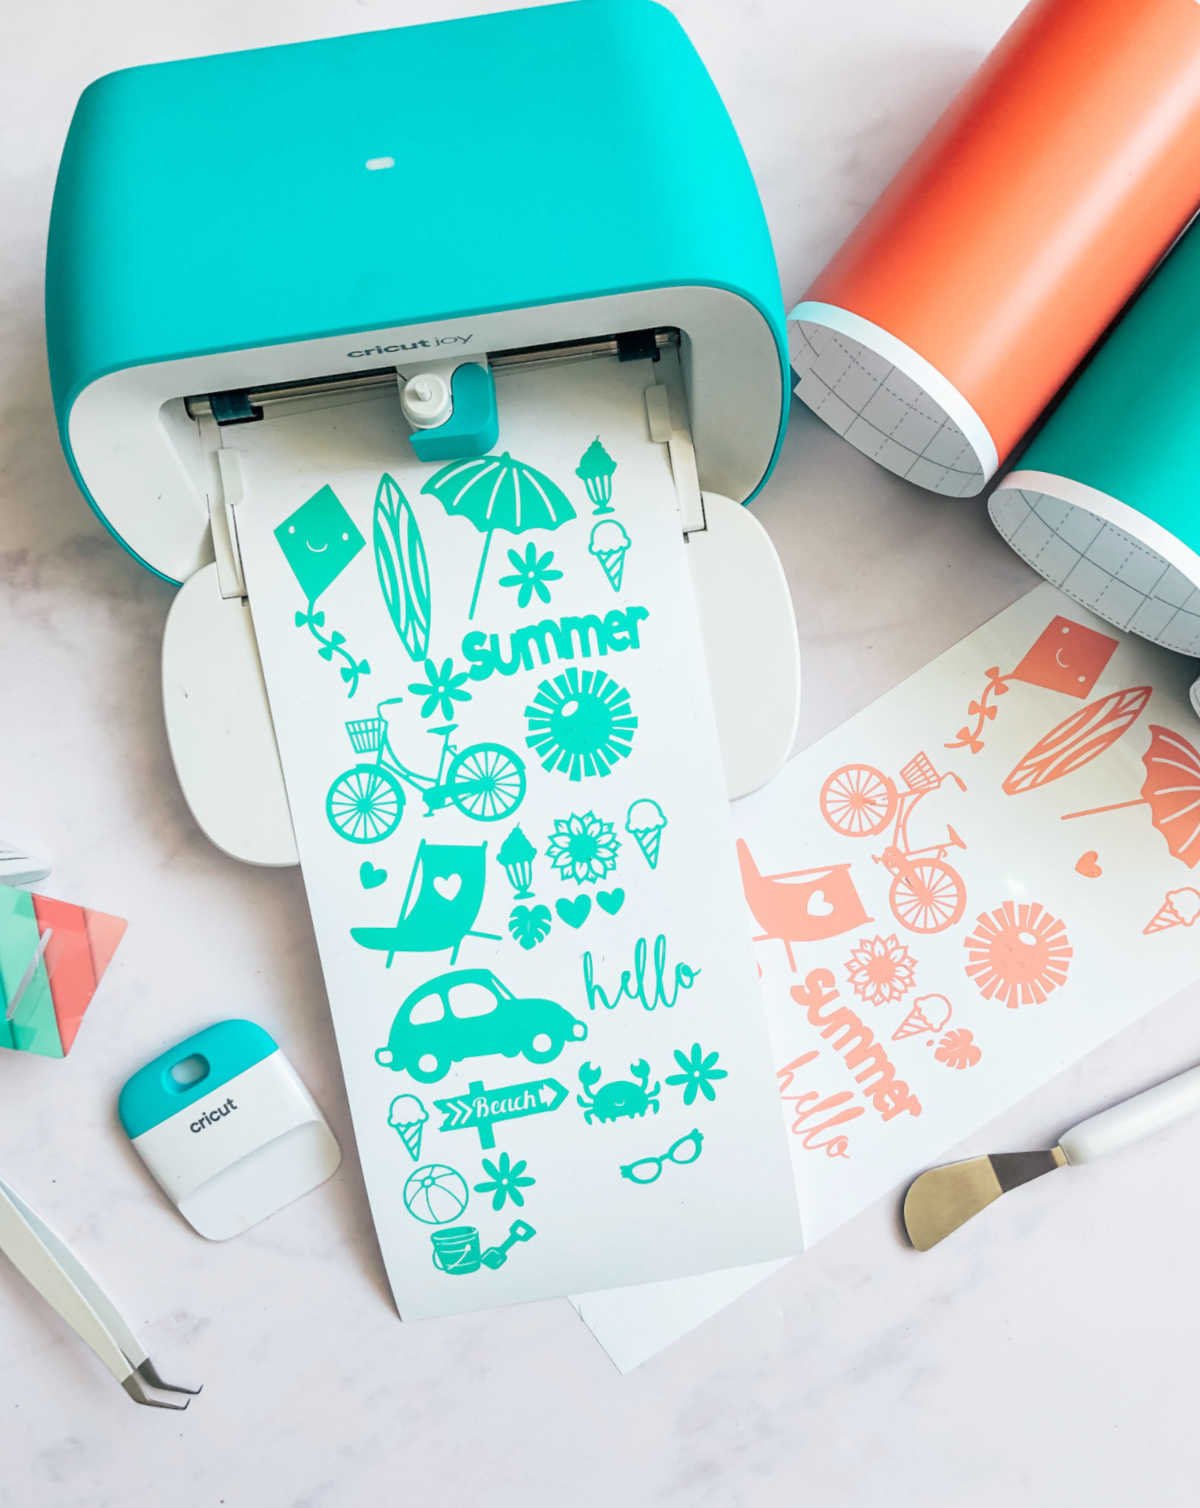
When you are happy click make it, you will be taken to the print preview screen where you are able to do a quick visual check to ensure no stickers are overlapping, if they are then go back and rearrange, if you have welded click the back arrow until they are unleaded. Then choose your material on the preview screen and when prompted load the sticker paper into the Cricut Joy.
As you can see I can cut my Cricut Joy stickers on several types of sticker paper to illustrate the choice you have using patterned papers. I suggest words unless large and chunky are better cut on plan sticker paper. However there is a great choice of bright colours to choose from. (I haven’t weeded all the stickers on the pink sheet below, but figured I would do it as I use them.)

If You Are Making Cricut Joy Labels?
You will be asked to add the Cricut Pen into the holder first. To do this simply unclip the blade by flicking the teal lever on the blade. Popping out the blade and replacing with the pen before clamping shut. Pop in your smart label paper and the Cricut Machine will now create its magic and write your labels. When it’s fished it will ask you to replace the blade and cut the out line of the labels.
If You Are Making Planner Stickers?
If you aren’t using the draw feature, simply follow instructions in design space, choose your materials and feed your smart materials into the Cricut Joy. If you aren’t using smart materials, attach your sticker paper or vinyl to a lightgrip mat and roll over with a brayer to adhere to the mat. It’s now time to feed you paper into the Cricut Machine.
When Your Cricut Has Finished Cutting Your Stickers
Simply unload the stickers and remove the outer sticker paper. If you have made detailed stickers, you can choose so weed your stickers or weed when you use them.
Can Cricut Joy Make Vinyl Stickers?
Yes, vinyl stickers are easy to make on the Cricut Joy following the above tips, also see our Vinyl Sticker Post for step by step instructions.
Can You Make Vinyl Decals With A Cricut Joy?
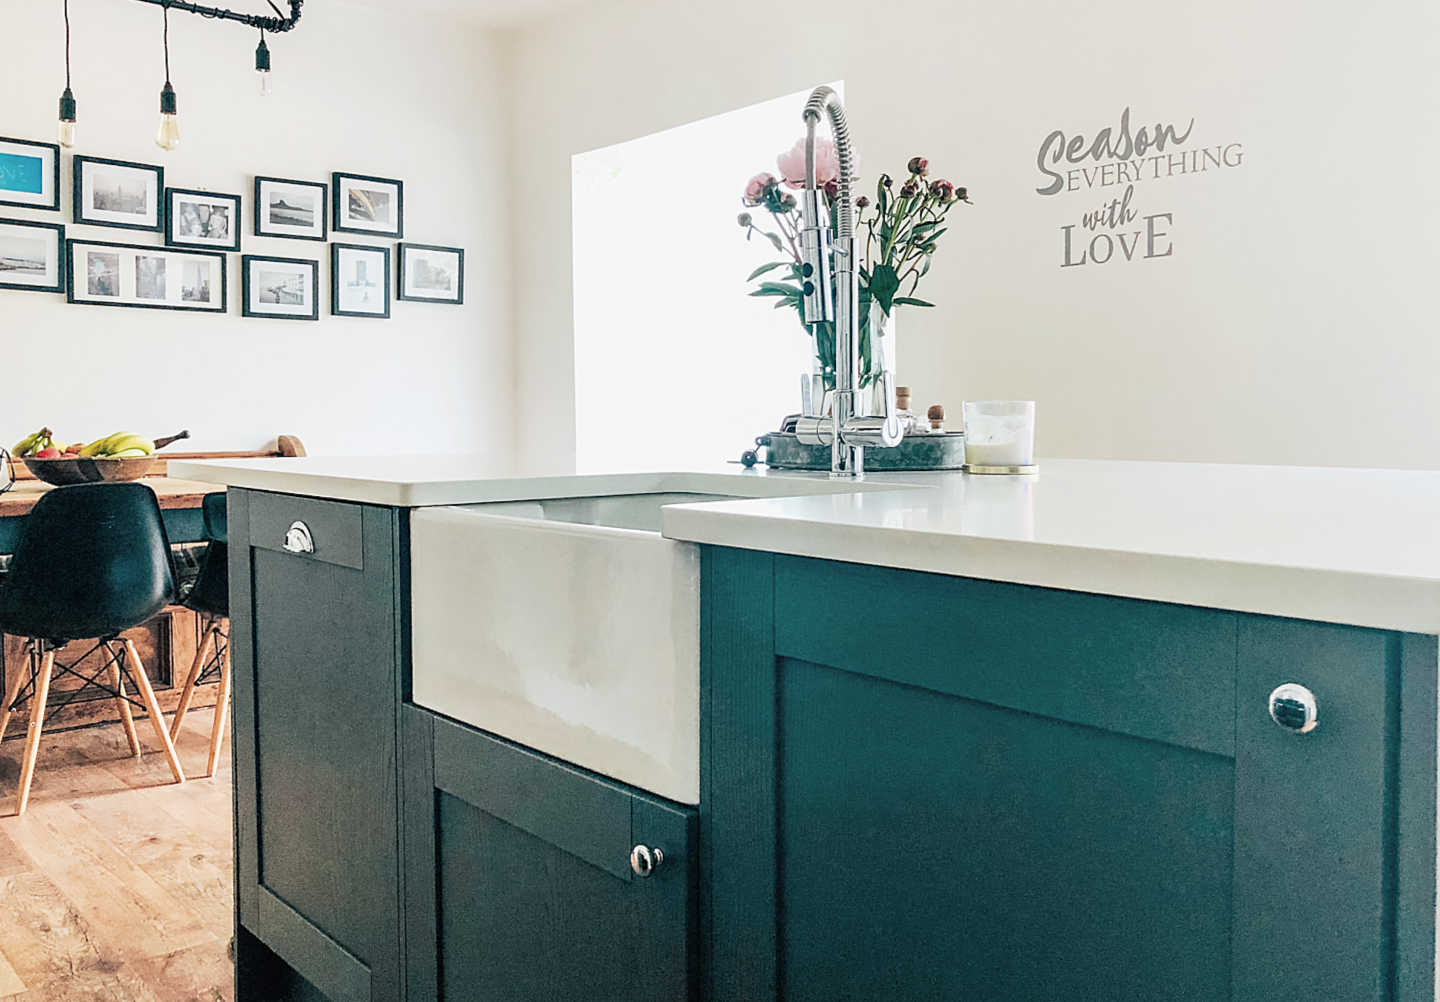
Yes I have previously made large vinyl wall decals with the Cricut Joy and its so easy. Also check out our SVG Alphabets for ideas to decorate children’s bedrooms and nurseries or classroom decor.
Can Cricut Joy Cut Printed Stickers?
No the Cricut Joy does not print-then-cut stickers, however with a little perseverance I am sure there is a way to make printable stickers on the Cricut Joy using a printer and printable sticker paper so watch this space. However if you have a Cricut Maker or Explore Air check out our Print then Cut step by step tutorial.
What Is The Best Cricut For Stickers?
This table will tell you which Cricut Machine makes which stickers and labels. Depending on you Cricut Machine depends on the process to make Cricut Stickers. However this quick guide may help.
| Sticker Type | Cricut Joy | Cricut Maker/Maker 3 | Cricut Explore Air |
|---|---|---|---|
| Sticker Shapes | Yes | Yes | Yes |
| Written Labels | Yes | Yes | Yes |
| Print-Then-Cut | No | Yes | Yes |
| Patterned Sticker | If you use patterned paper | Yes | Yes |
| Printable Labels | No | Yes | Yes |
| Name Tags | Yes | Yes | Yea |
Hope that has helped and if you need any design space tips and advice check out these posts.
- How to use Cricut Design Space
- Uploading image to design space
- Slicing in Design Space
- Welding in Cricut Design Space.