A question I get asked by many Cricut beginners is how to make print and then cut stickers with Cricut Maker or Explore models. And the answer is a huge yes; if you have a Cricut Maker or Cricut Explore Air, you can make print and cut stickers very quickly, and there are several ways to do this. Today I will take you through my step-by-step tutorial, How To Make Cricut Stickers in Cricut Design Space, using printable sticker paper.
If you have a Cricut Joy, you can also make your very own sheet of stickers. However, these are vinyl decals cut-out stickers, but they are still super cute. Check out my guide to making Cricut Joy Stickers.
If you want to see me create my projects, follow me on Tik Tok and Instagram.
How to Make Print Then cut Stickers With a Cricut Maker or Explore Machine
What is the Best Cricut for Making Stickers
It would be best to have a Cricut with the print and cut feature; for this, you will need a Cricut Maker, Explore, Explore Air or Maker or Explore Air 3. The Cricut Joy will not make print and cut stickers. However, you can cut vinyl stickers with the Cricut Joy.
What Do You Need To Make Stickers With Cricut
- Printer, either an Inkjet Printer or laser printer, OK. I use the HP Envy 5020 (Make sure you calibrate your printer to your Cricut before using it for the first time, you will find the calibration button by clicking on the three lines next to CANVAS in the top left corner of Design Space)
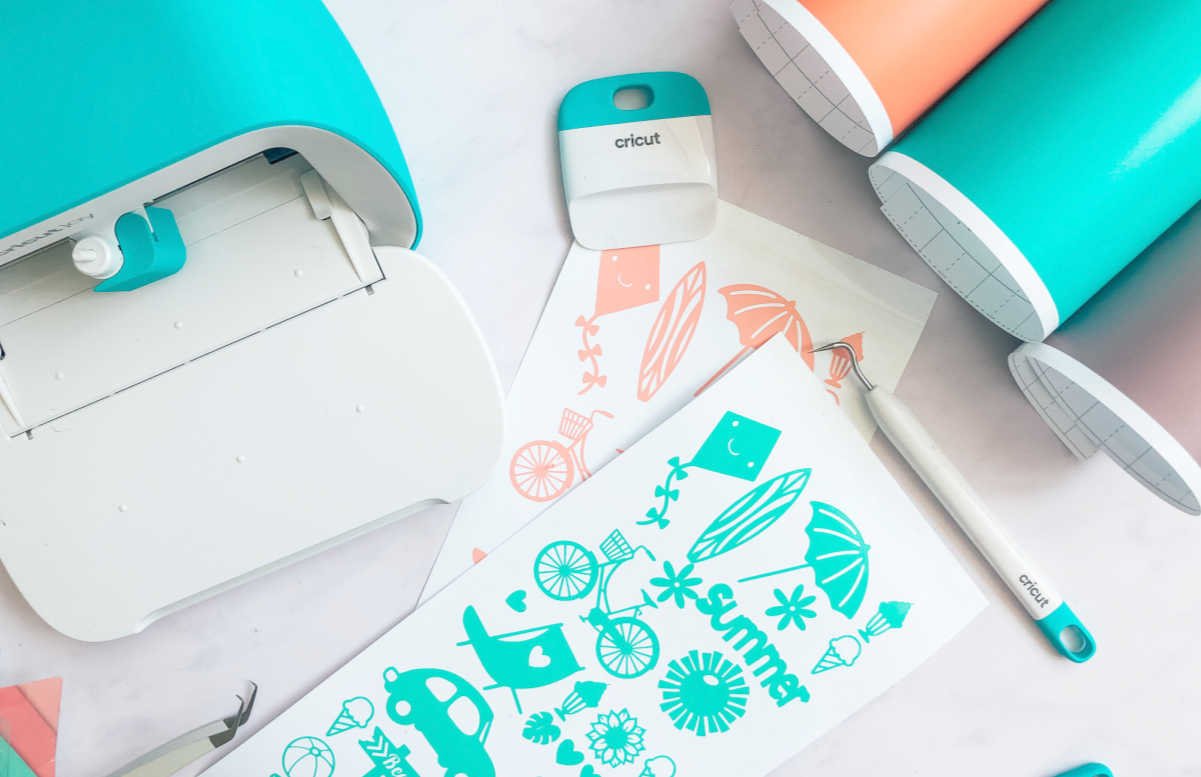
- Cricut Tool Kit
- Our Free Sticker Template
- Printable Sticker Paper ( from Amazon)
- Or Printable Vinyl
- Cricut Mat
- Cricut Sticker Paper ( Although this depends on your Printer)
- Cricut Maker or Cricut Explore Air
- Fine Point Blade
Which Is The Best Sticker Paper For Die Cut Stickers?
I much prefer the Evergreen printable sticker paper when creating print and then cutting stickers; this comes in gloss and mat. Gloss looks excellent, but matt is much more durable. The Cricut printable vinyl is also great but a little more expensive.
If you are planning on using the Cricut sticker paper? Remember, it is pretty thick; my printer cannot feed it through. So check your settings to see the weight the printer can pass.

Start By Deciding On A Template For Your Cricut Stickers
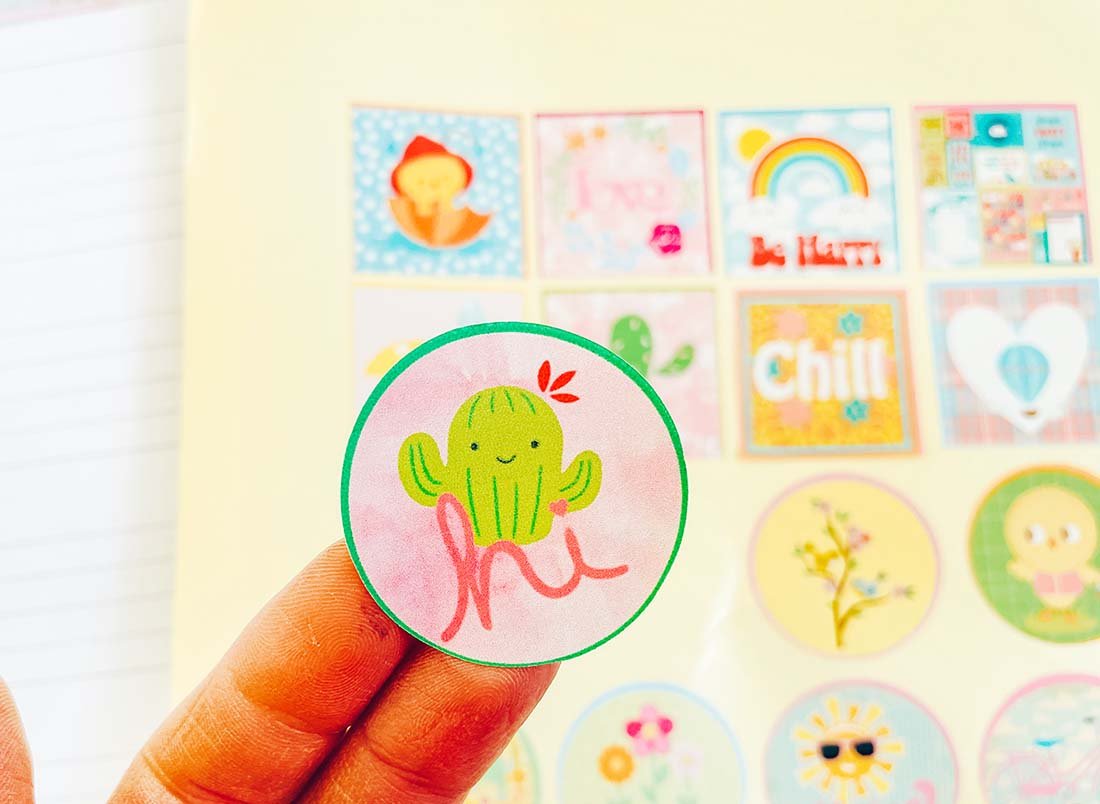
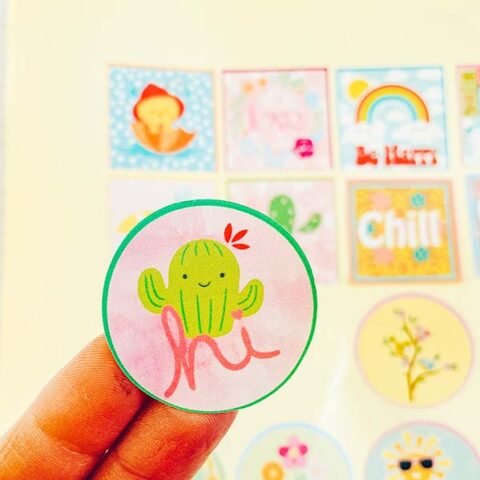
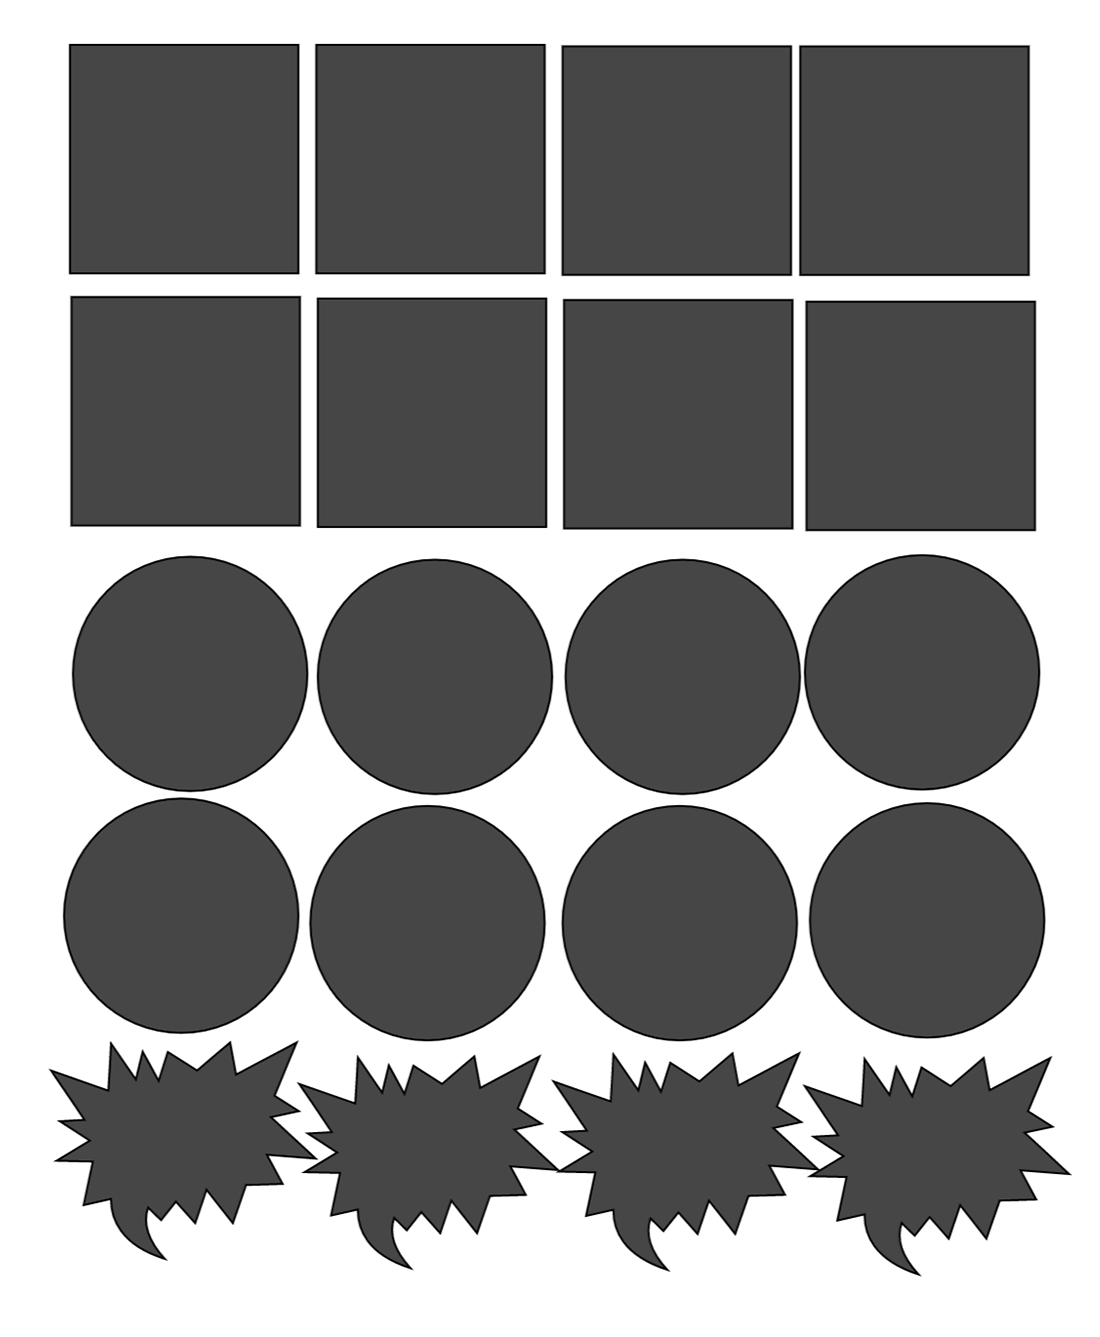
It’s a good idea to set a template pattern for your sticker design; for the stickers I am making today, I have chosen three simple shapes, square, circle and zigzag speech bubble. This way, you can plan what stickers to want to make or at least have an idea of how many stickers and what size they will be; you need to be aiming for an overall length of 6.75. x 9.25 or less to use the print and cut feature.
If you make the pattern yourself, position your sticker layout, right-click, and select attach in the bottom right-hand corner of the Cricut Design space. This will connect your layers; now duplicate and put one copy to one side and un-attach the other. You currently have one template to work on and one as a spare
You can also scroll down and click to download my Cricut print, then cut free SVG files template to upload and use. Download, and upload the sticker template to Cricut Design Space and ungroup it to edit and use. Here’s how to add them to Design Space.
How To Design Stickers In Cricut Design Space
Choose An Image
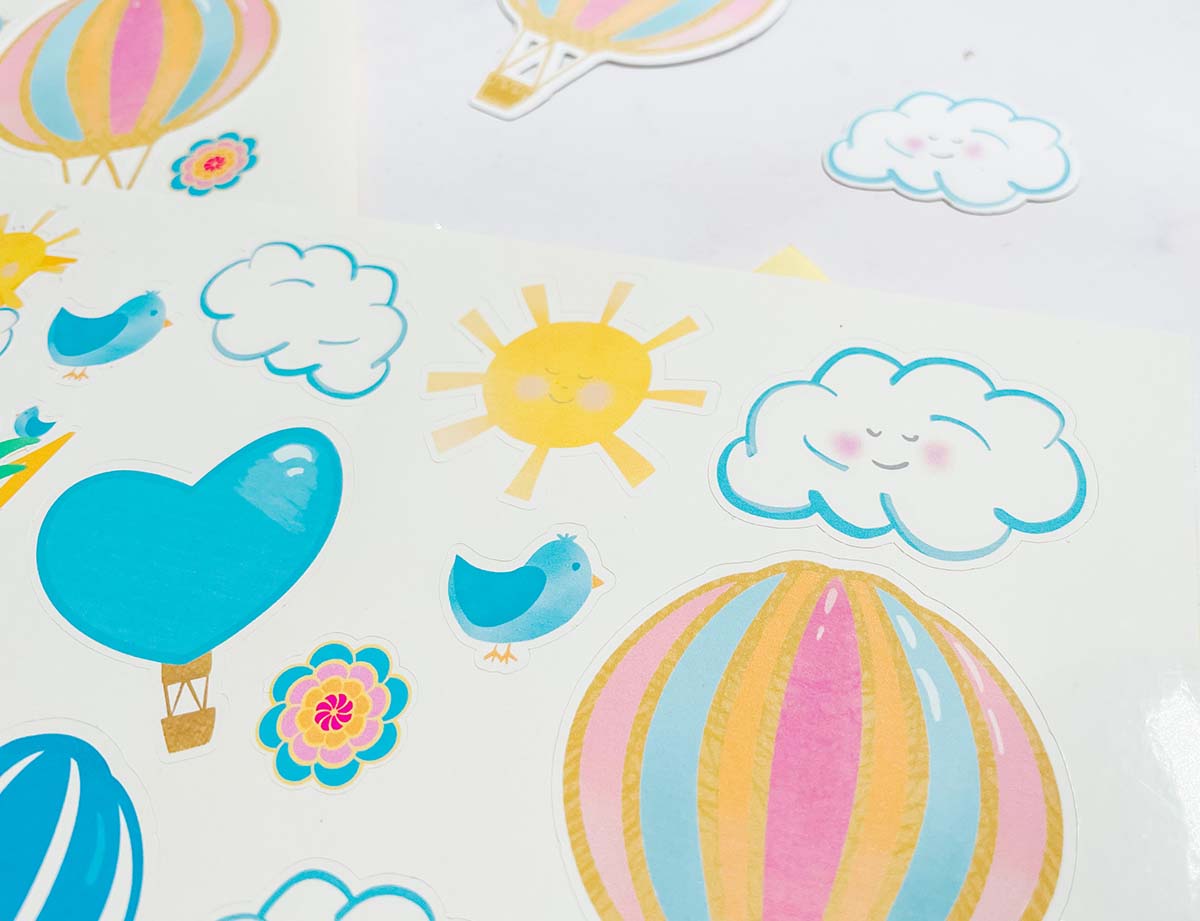
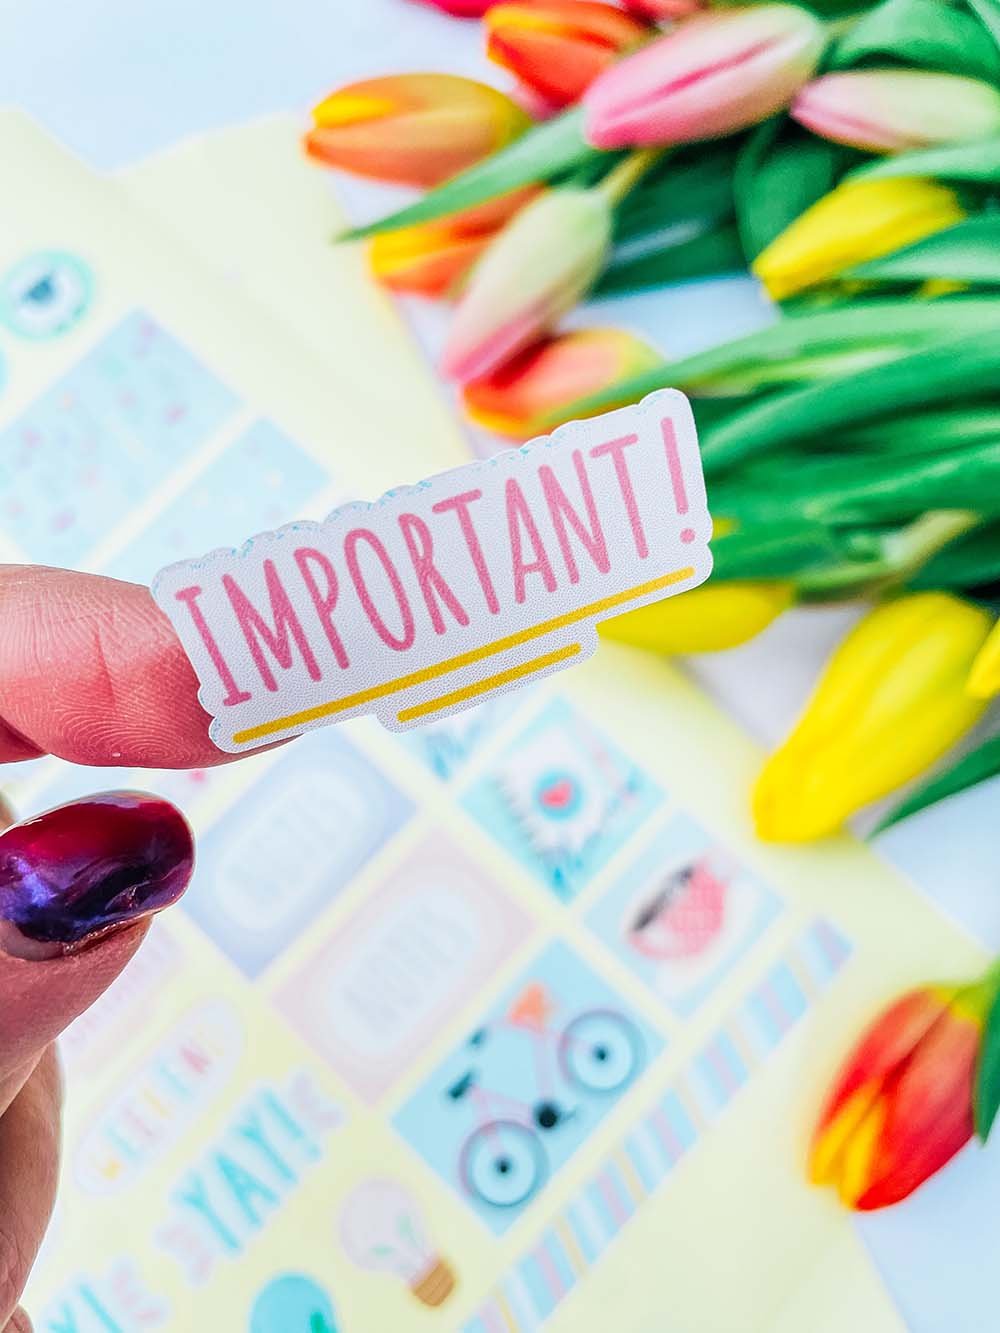
To design your stickers start choosing a selection of images in the Cricut design space; I typed in rainbows, happy, spring and positive and selected my pictures. You can choose any image, even cut and layered prints. There is more choice if you have a Cricut access subscription. However, there should also be a selection of free images.
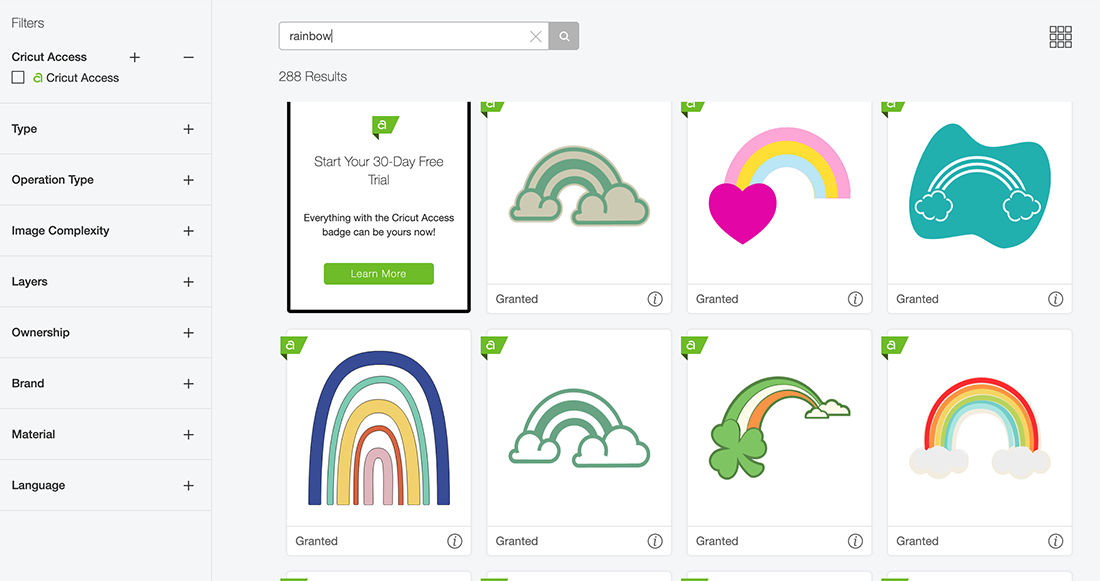
Once you have all the images for your print then cut stickers and build the stickers one by one. Starting with your first template, drag the 1st template square over from the template set and choose your first image.
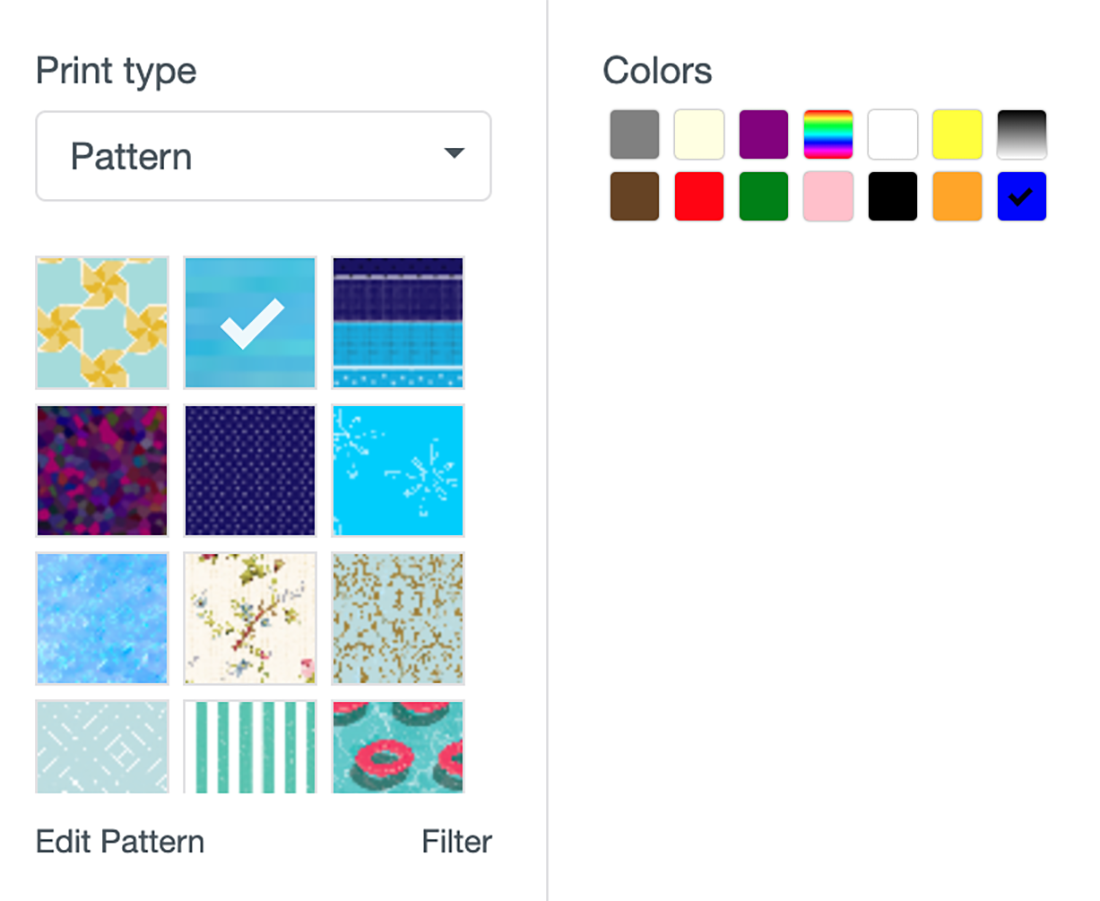
Choose Your Background Pattern
Once you have decided on your image, choose your sticker background. This enables you to create custom stickers. On the top menu bar, click fill and select a pattern for the background.
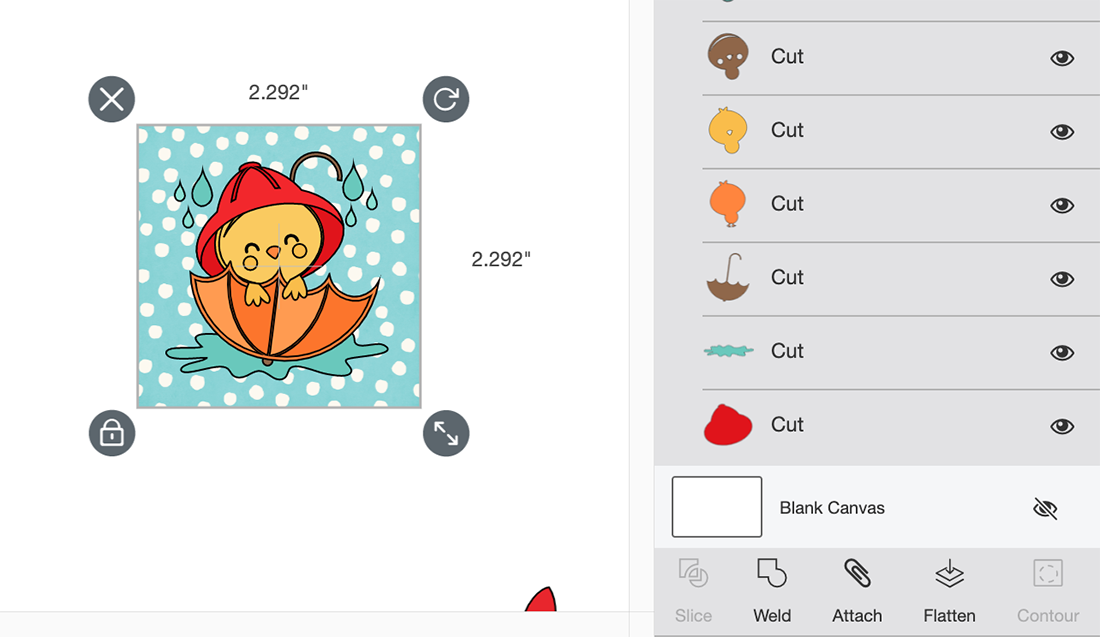
Flatten Your Image To Create A Printable Sticker
Now hover your image over the top of your background and size it to fit on your background before selecting all and clicking the flatten tool in the bottom right corner. This will flatten the whole sticker image into a flat printable image.
Using the offset feature, you can now create a white outline for your stickers. Click on the offset tool on the top menu bar and choose the size of your offset layer. Click Apply and change the colour to white or any other colour you choose. Now select and click flatten to create one print and cut image.
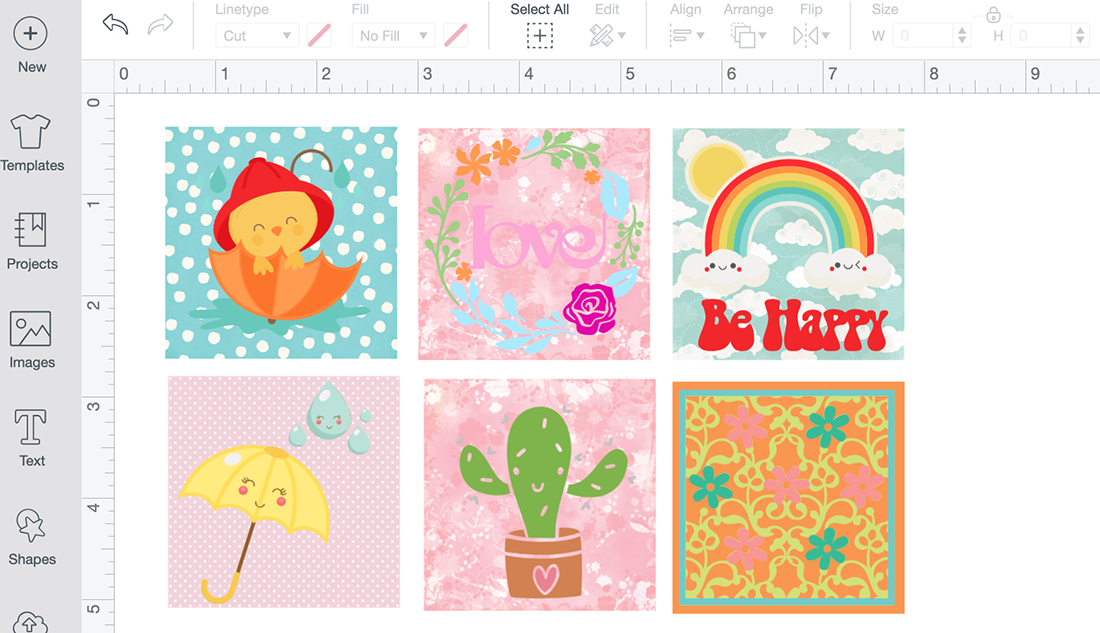
Organise Your Sticker Layout
When the images are flattened, they look visibly different; the colours are more blended and softer. You can now re-arrange your stickers, right-click and attach them, and view all the layers on the layer panel; if you want to change any layer colours, you can do it here by clicking on the layer and selecting the colour options.
Attaching ensures your stickers stay together and organised when you send them to print and cut; this is an excellent way of avoiding wastage.
How To Print Cricut Stickers
Once you are happy with your stickers, click on the corner and drag the attached images until they are the correct size to print and cut. They need to be 6.75. x 9.25 or less to use the print and cut feature. This is why I work to a template, I feel I can organise my stickers, and there is less wastage as I can fill as much of my sticker sheet as possible.
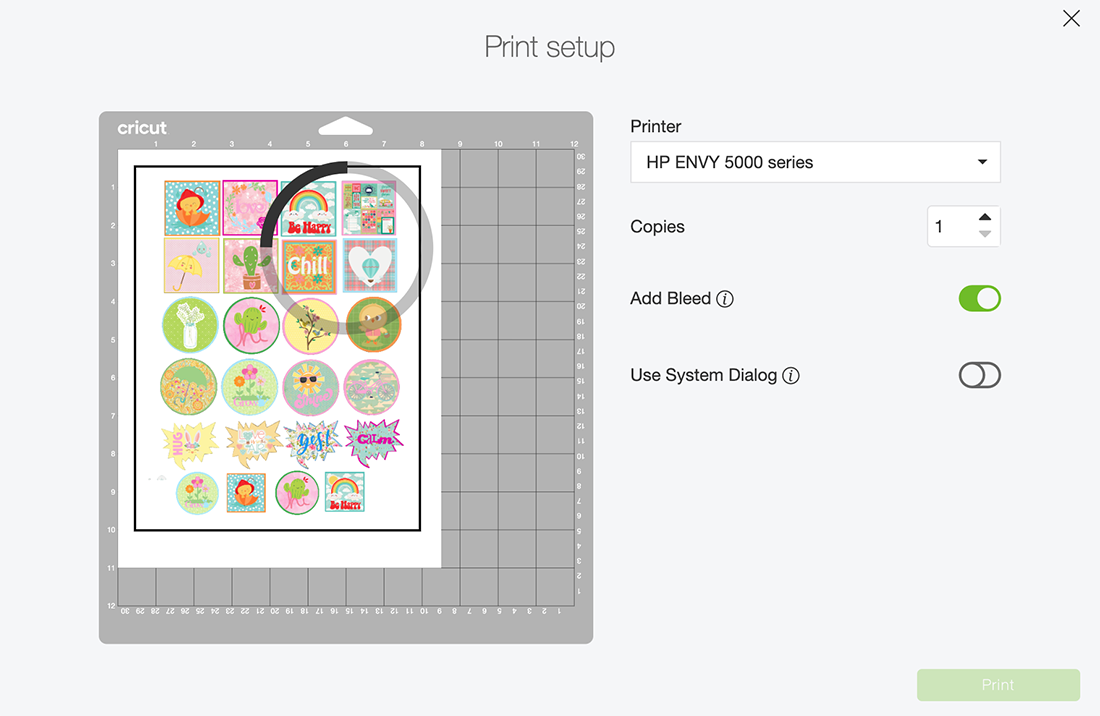
How To Get A Great Print Quality
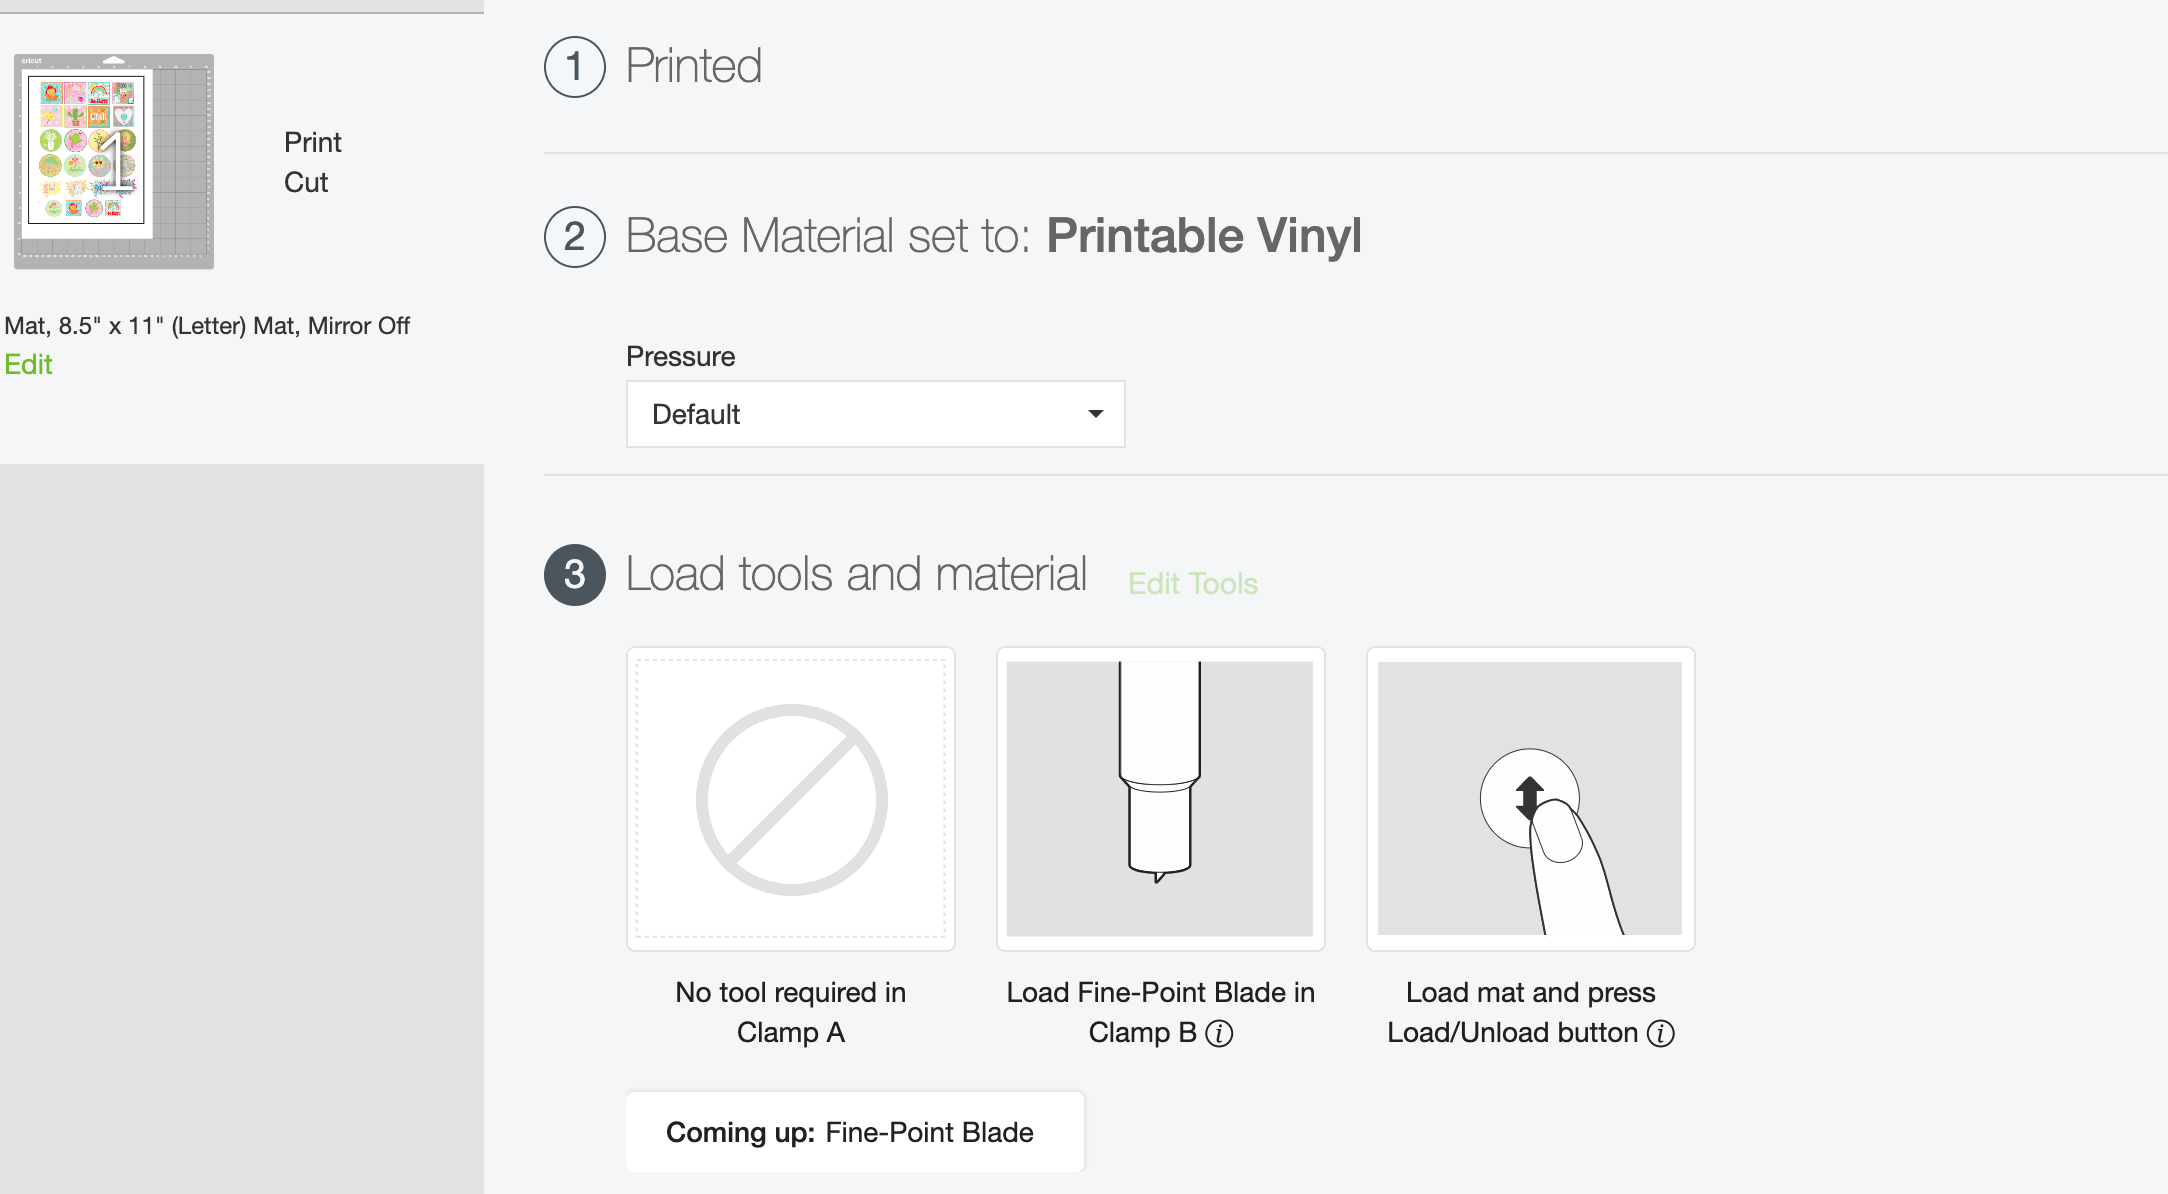
Now click make it, this will take your print then cut the image to the print preview page; ensure you correctly feed your sticker paper into the printer and press print; when you see the print preview screen select use system dialogue; here you can choose a fine print quality for a better quality print. If your system dialogue box doesn’t pop up, reduce design space and it will be sat behind, select fine and send to print and cut.
When you unload your printer avoid touching the black registration marks around the edge of the printed stickers as I find this smudges easily.
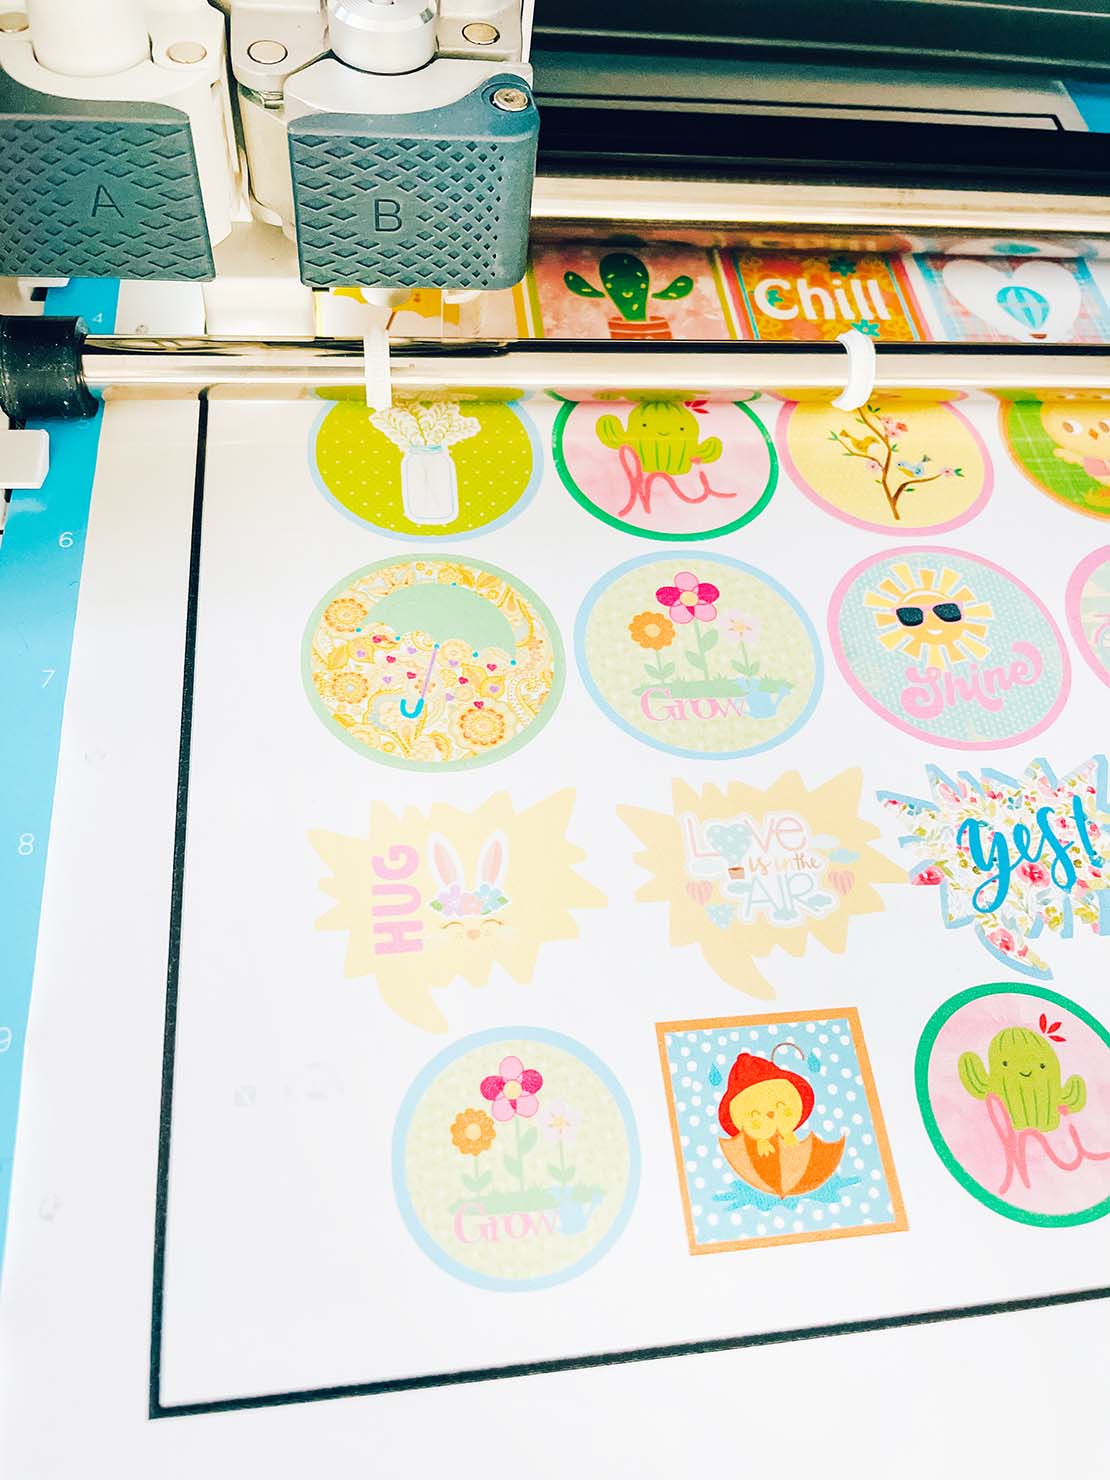
Cut Your Cricut Print Then Cut Stickers
Once printed, gently load the sticker sheet on your cutting mat, don’t roll it with a brayer as you usually would; gently press around the edge so it doesn’t smudge the registration box. But always ensure I use a sticky mat.

You will now be taken to the cut screen, where you can choose your material. I always use printable vinyl; this is the perfect setting to kiss cut the stickers. This successfully cuts the top sticker layer only. And press go on your Cricut.
What Is Kiss Cut And How Do I Kiss Cut Stickers?
Kiss cut means the fine point blade of the Cricut Machine will cut the top layer of the sticker paper but not the backing sheet. To do this, you choose printable vinyl, sticker paper or washi settings in Cricut Design Space when sending your stickers to cut.
Troubleshooting Cricut Print Then Cut
Your Cricut Is Saying It Can’t Cut
Click the calibration button and calibrate your Cricut machine to your printer. This will ensure the print-then-cut feature works correctly,
Cricut Can’t Read The Registration Marks.
Check no direct sunlight or lights are shining on your Cricut machine. This can affect the sensors; avoid direct sunlight or bright lights.
Next, try moving the printable sticker sheet slightly on the mat. When my Cricut can’t read the registration marks, I adjust the paper position so it is sitting on the 1-inch axis, which often resolves the issue.
The System Dialog Box Doesn’t Show
Click to reduce Cricut Design Space, and the system dialogue box will be behind; for some reason, it won’t pop up in front of the design space.
The Cut Is Not Even
If the stickers are not cutting correctly or the alignment is wrong, recalibrate your Cricut machine to the printer. Also, move away from direct sunlight or spotlights, which can affect the sensors and results.
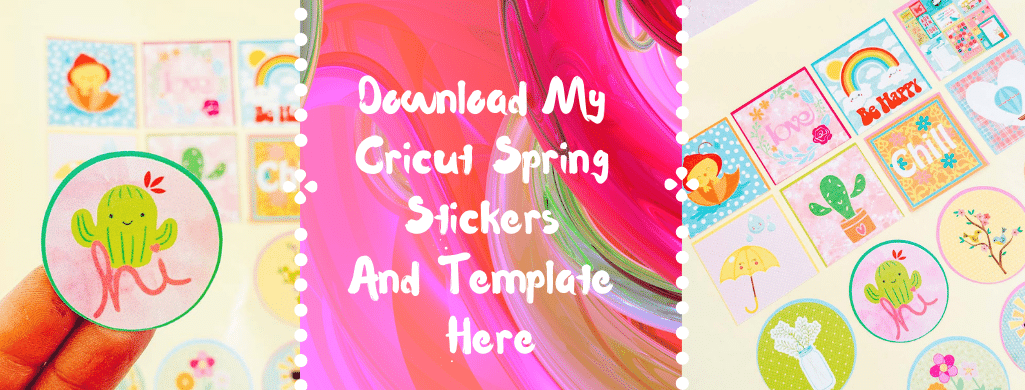
To Get My Free Spring Print Then Cut Stickers And Sticker Template.
Click here or the image below to get your free print, then cut sticker downloadable spring stickers and sticker template; follow these instructions to add to Cricut Design Space.
More Print And Cut Projects.
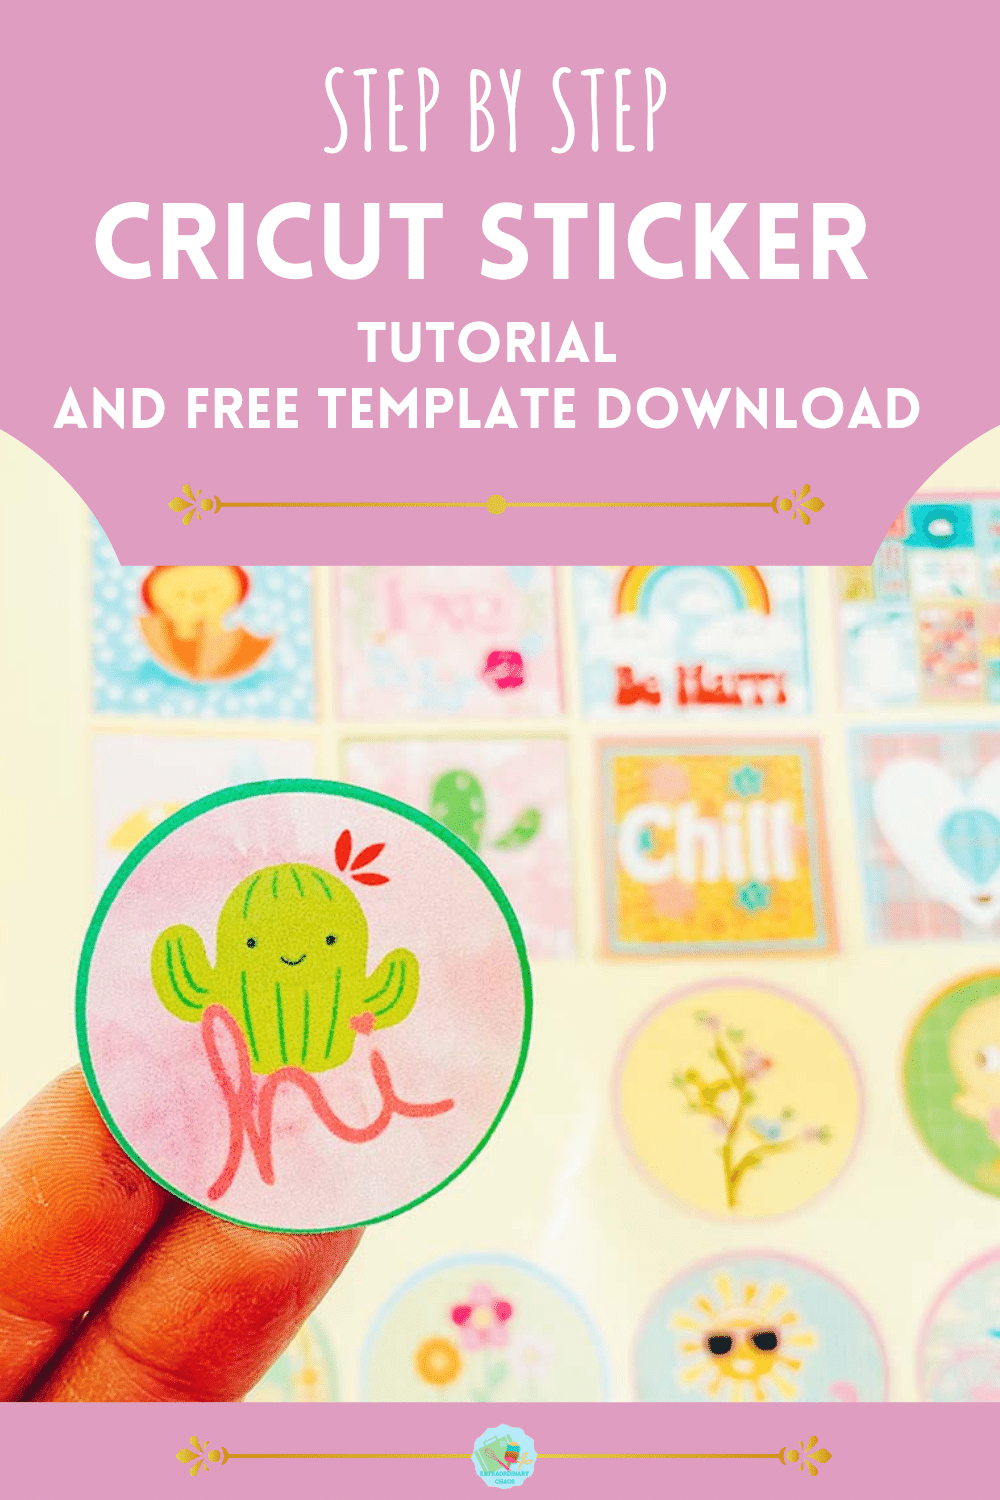
How To Make Stickers With Cricut
How to Make Stickers With A Cricut, A Step by step tutorial taking you through designing stickers and print and cut in Cricut Design Space and free spring sticker template
Materials
- Glossy sticker printer paper.
- 10 sheets for £2.99
- Or 50 for £8.99
Tools
- Printer, I use the HP Envy 5020 (Make sure you calibrate your printer to your Cricut before using for the first time, you will find the calibration button by clicking on the 3 lines next to CANVAS in the top left corner of Design Space)
- Scissors or guillotine
- Cricut Maker
- Cutting Mat
- Cricut Tool Kit
Instructions
- It’s a good idea to set a template pattern to start with, for the stickers I am making today I have chosen 3 simple shapes. This way you can plan what stickers to want to make, or at least have an idea of how many stickers and what size they will be, you need to be aiming for an overall size of 6.75. x 9.25 or less to use the print and cut feature.
If you make the pattern yourself position your layout and then right click and select attach in the bottom right hand corner of Cricut Design space. This will connect your layout together, now duplicate and put one copy to one side and un attach the other.
You now have one template to work on, and one as a spare. You can download my template to upload and use, however won’t be able to edit it, although it will make a great guide. But the template it is in design space ready to access in design space if you follow this link. You can now edit each template square one at a time to create your stickers.
- Design Stickers In Cricut Design Space To design your stickers start by selecting some images in design space, I typed in rainbows, happy, spring and positive and selected my images. You can choose any images, even cut and layered images.
 . Now hover your image over the top of your background and size it to fit on your background before selecting all and clicking flatten in the bottom right corner. This will flatten the whole image into a flat printable image.
  When the images are flattened they look visibly different, the colours are more blended and softer. You can now re-arrange your stickers, right click and attach your stickers together. Attaching ensures your stickers stay together and organised when you send to print and cut
- How To Print Stickers With Cricut Once you are happy with you stickers, click on the corner and drag the attached images until they are the correct size to print and cut. They need to be 6.75. x 9.25 or less to use the print and cut feature. This is why I work to a template, I feel I can organise my stickers and there is less wastage as I can fill as much of my sticker sheet as possible.
Now click make it, this will take you to the print preview page, ensure you feed your sticker paper is the correct way into the printer and press print, when you unload your printer avoid touching the black guide line around the edge of the printed stickers as I find this smudges easily Once printed, gently put the sticker sheet on your cutting mat, I don’t roll it with a brayer as I usually would, simply gently press around the edge. But always ensure I use a sticky mat.
  You will now be taken to the cut screen, here you can choose your material. I always use printable vinyl, this successfully cuts the top sticker layer only. And press go on your Cricut.
 You will now be taken to the cut screen, here you can choose your material. I always use printable vinyl, this successfully cuts the top sticker layer only. And press go on your Cricut.