Having recently had the opportunity to play about with Cricut Infusible Ink. It had me wondering what more I could do with infusible ink. I love the projects you can make, but there has to more right? I wanted to find something I could give as a gift. After a bit of research I came up with these cute hanging ceramic gifts, made with Infusible Ink Coasters.
Infusible Ink Coasters are perfect for such projects as making tree hangers and message hangers that make wonderful gifts.
What You Will Find Here
Infusible Ink Coasters Can Be Used To Make;
- Baby’s 1st Christmas hangers
- New baby hangers
- Bridal shower gifts
- Used for themed Christmas Trees
- Positive messages
- Themed decor hangers
- Alphabet hangers
- Family Names

How To Transform Cricut Infusible Ink Coasters To Hangers?
You Will Need
- Cricut Joy or Maker
- Cricut Joy Blue Cutting Mat
- Brayer And Tweezers
- Cricut Ceramic Coaster
- Infusible Ink
- Cricut Easy Press
- Cricut Easy Press Mat
- Small Drill
- Ribbon
- Piece of white card stock
- Butcher paper ( Supplied with the ink)
- Kitchen tongs
Check out my full Infusible Ink Guide for detailed step by step instructions on getting the best out of Infusible Ink.

Design Your Image For Your Infusible Ink Coasters
Design your Infusible Ink image bearing in mind that you will be making a hole in the top of your coaster.
Don’t forget to mirror your image before sending it to cut. Roll the Infusible Ink onto you cutting mat and using the brayer tool to roll it out and secure. Now send to cut.
Once cut you can weed your image. Bend the transfer image to crack it, then weed with your tweezers.
How To Drill A Hole Into A Ceramic Coaster With A Dremel Drill
I used a small Dremel Drill but you could also potentially use a small drill bit or you can buy special drill bits for making holes in tiles for a hand drill.
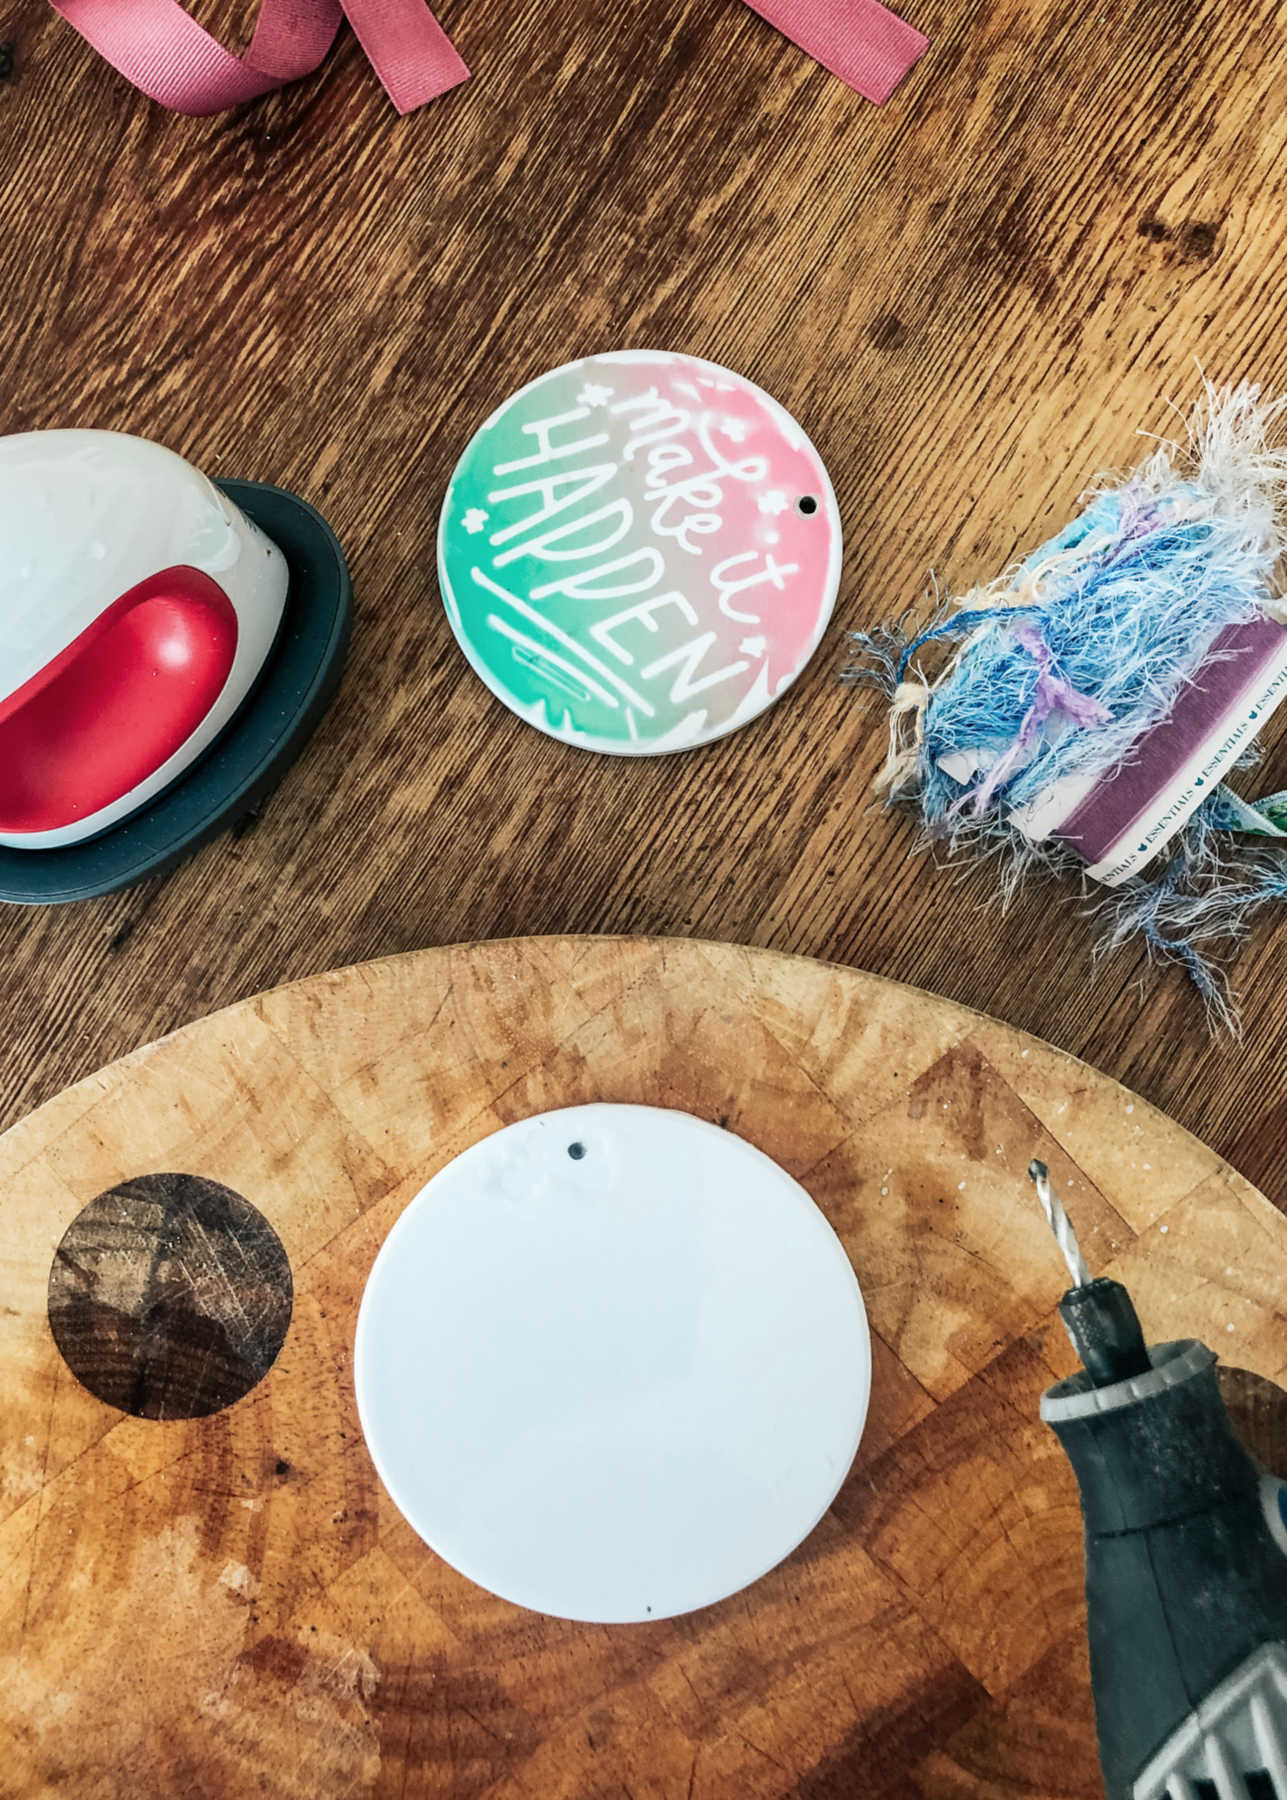
Start by marking out your hole at the top of your ceramic. I experimented with drilling the hole from the top and bottom and found that drilling through from the top shiny edge had a far better result and didn’t damage the front glaze.
If you look at the above image, and the top coaster which was drilled through the back, it took a little of the front glaze off. This didn’t happen when I drilled through the front.
Use a wet cloth or sticker over the area you are going to drill to make first contact, this prevents the drill slipping and scratching the ceramic. Once you have made an indentation keep adding water and using light pressure on the drill.
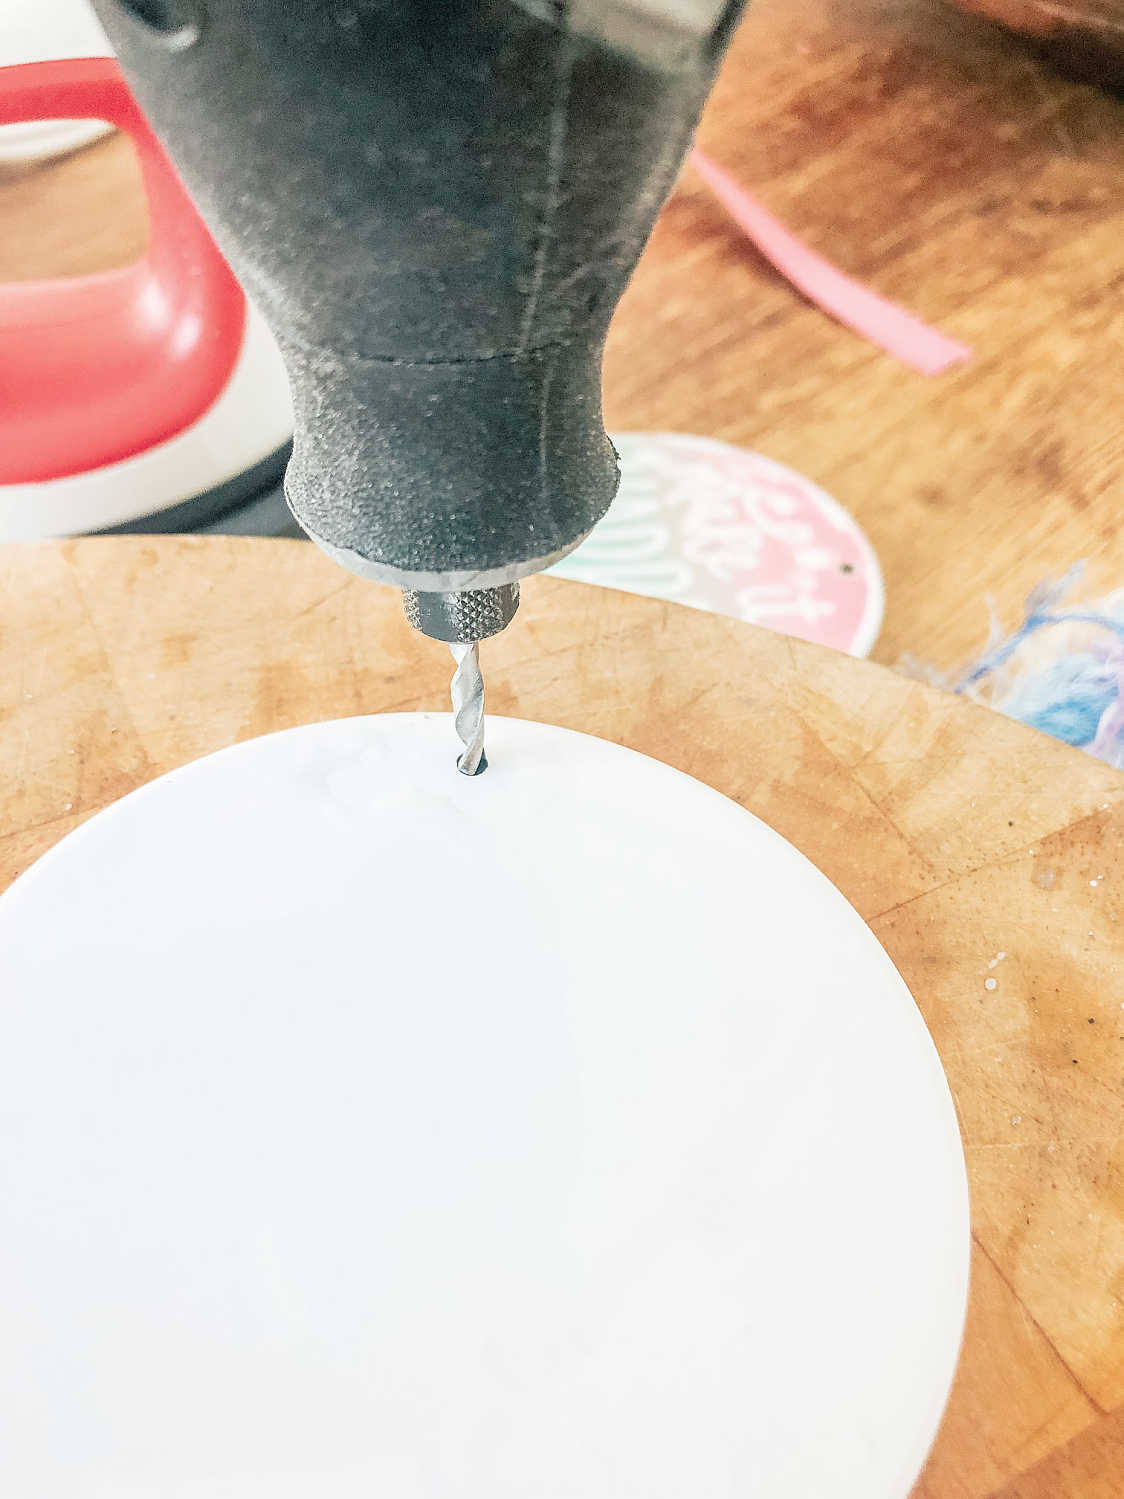
I used a wet kitchen towel to drip into the hole, this stops the ceramic getting to hot and splitting. Notably, don’t use too much pressure, I found working gradually and keeping the coaster hole wet gave the best result. Whilst also being careful to dry my hands before touching the electric drill.
Ensure you keep a grip of the coaster as one you break through it, the coaster can spin and cause breakage. Once you have broken through to the other side make sure your hole is even by running the drill round the edge of the hole.
Stack Your Project
- Cricut EasyPress 2
- Butcher paper
- Cricut blank face down ( For some reason face up works better for me)
- Infusible Ink Transfer Sheet design, face up
- White card stock
- Cricut EasyPress Mat
Transfer Your Image
Press with the heat press on 400° with no pressure for 240 seconds. Always check the heat guide as it can vary depending on your base products.
Once the timer has finished lift the heat press straight up to avoid smudging. Now allow it too cool, the coasters take quite some time to cool down. If you have to move it use cooking tongs do so safely as they are mega hot.

Now Tie With A Ribbon
Finally, when the coaster has cooled down you can now remove the transfer paper and tie with your ribbon, however do ensure you double knot the ribbon.