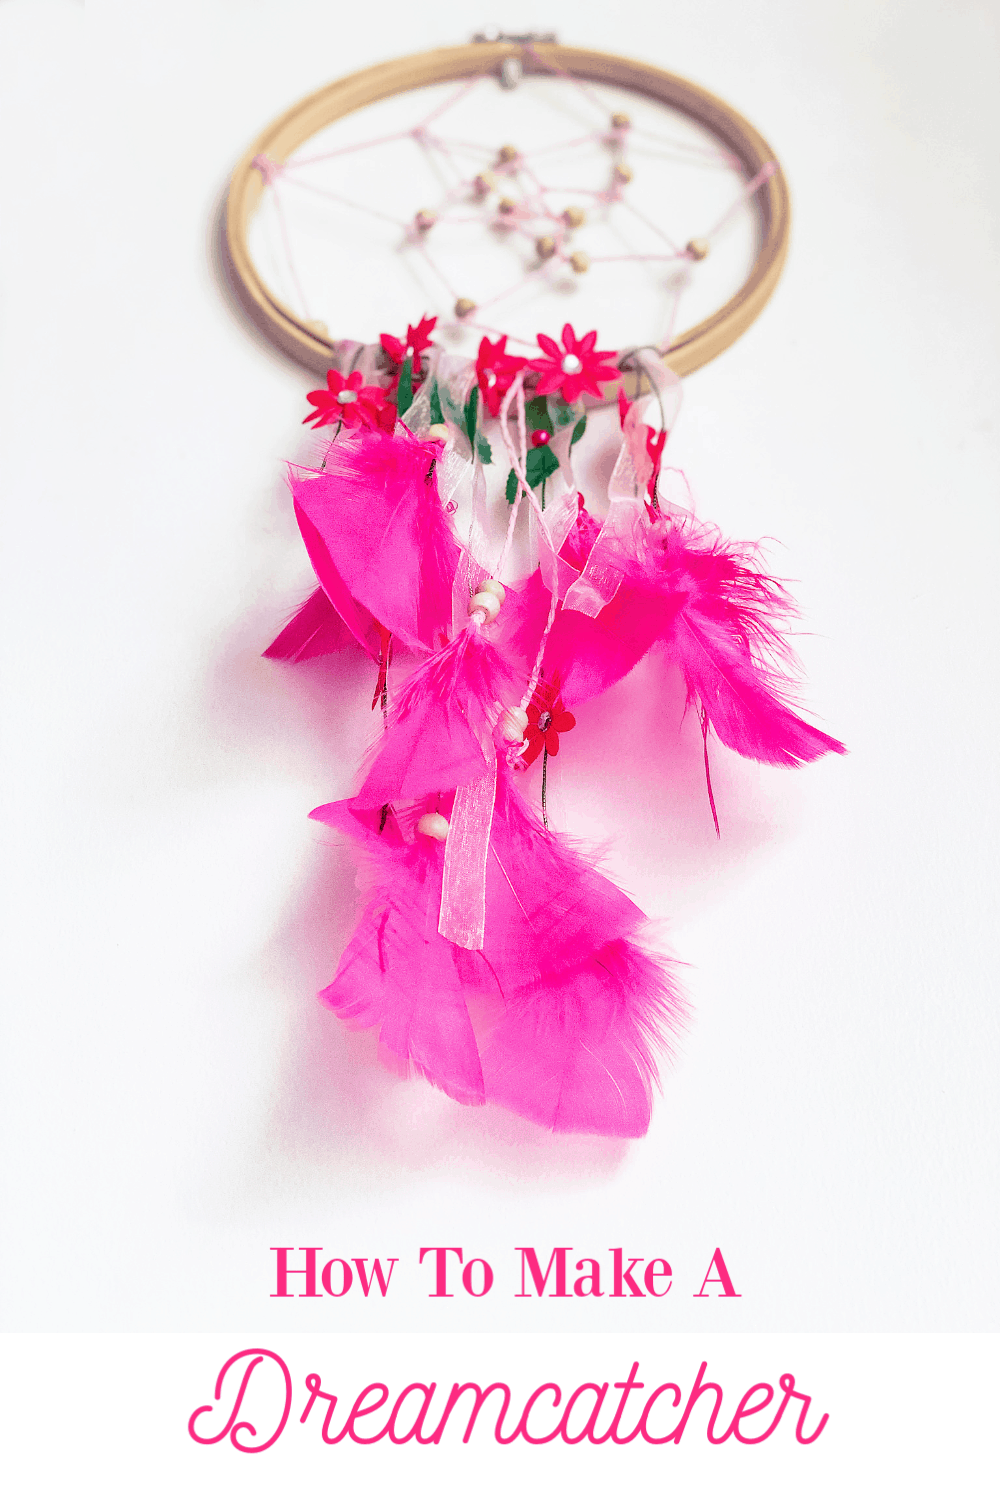
This super easy step by step tutorial on How To Make A Dreamcatcher has been a really pleasant surprise to me. I have wanted to make one for quite some time now. However fully expected the whole business of making a dreamcatcher to be a lot more difficult.
How To Make A Dreamcatcher With Embroidery Hoops.
What Are Dreamcatchers?
Dreamcatcher originate from American Indian tribes as a talisman to ward off bad dreams. They believe that the night air is full of good and bad dreams.
If you want to see me create my projects, follow me on Tik Tok and Instagram.
Legend states the web part was used the catch the dreams. It would absorb bad dreams and pass the good dreams down to those sleeping below.
What a glorious story to share with little ones who are going through night terrors.
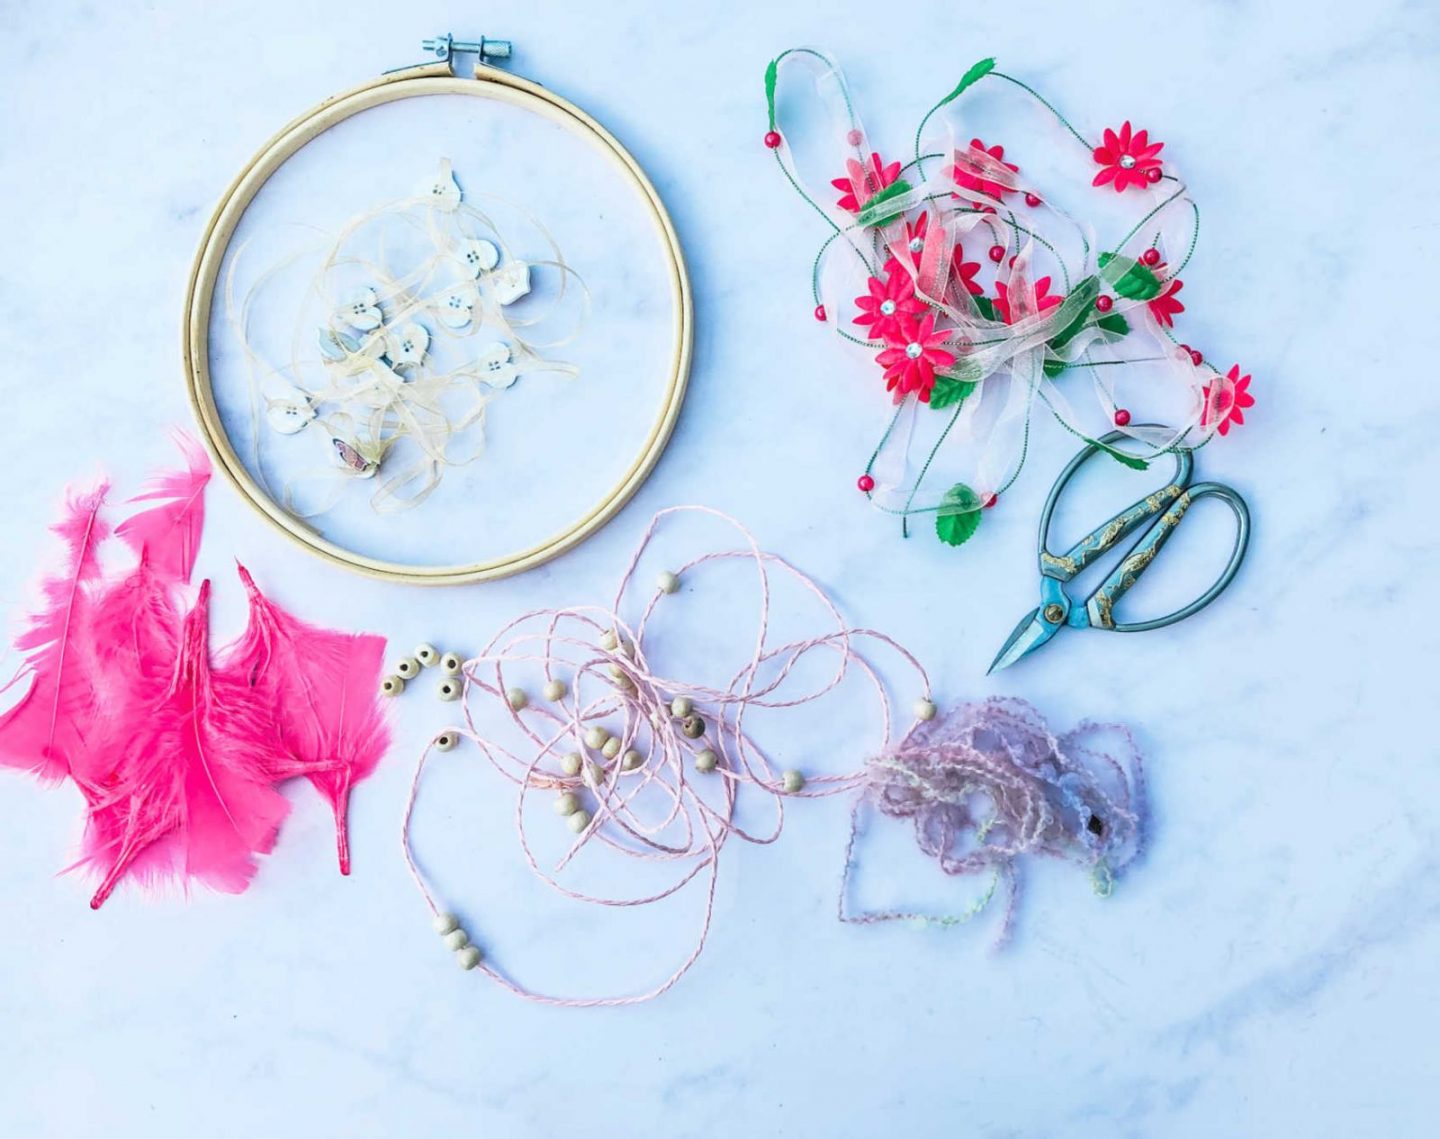
What Materials Do You Need To Make A Dreamcatcher?
Embroidery hoops, the size depends on the size you want your dreamcatcher
Yarn
Beads
Ribbon
Feathers
Craft scissors
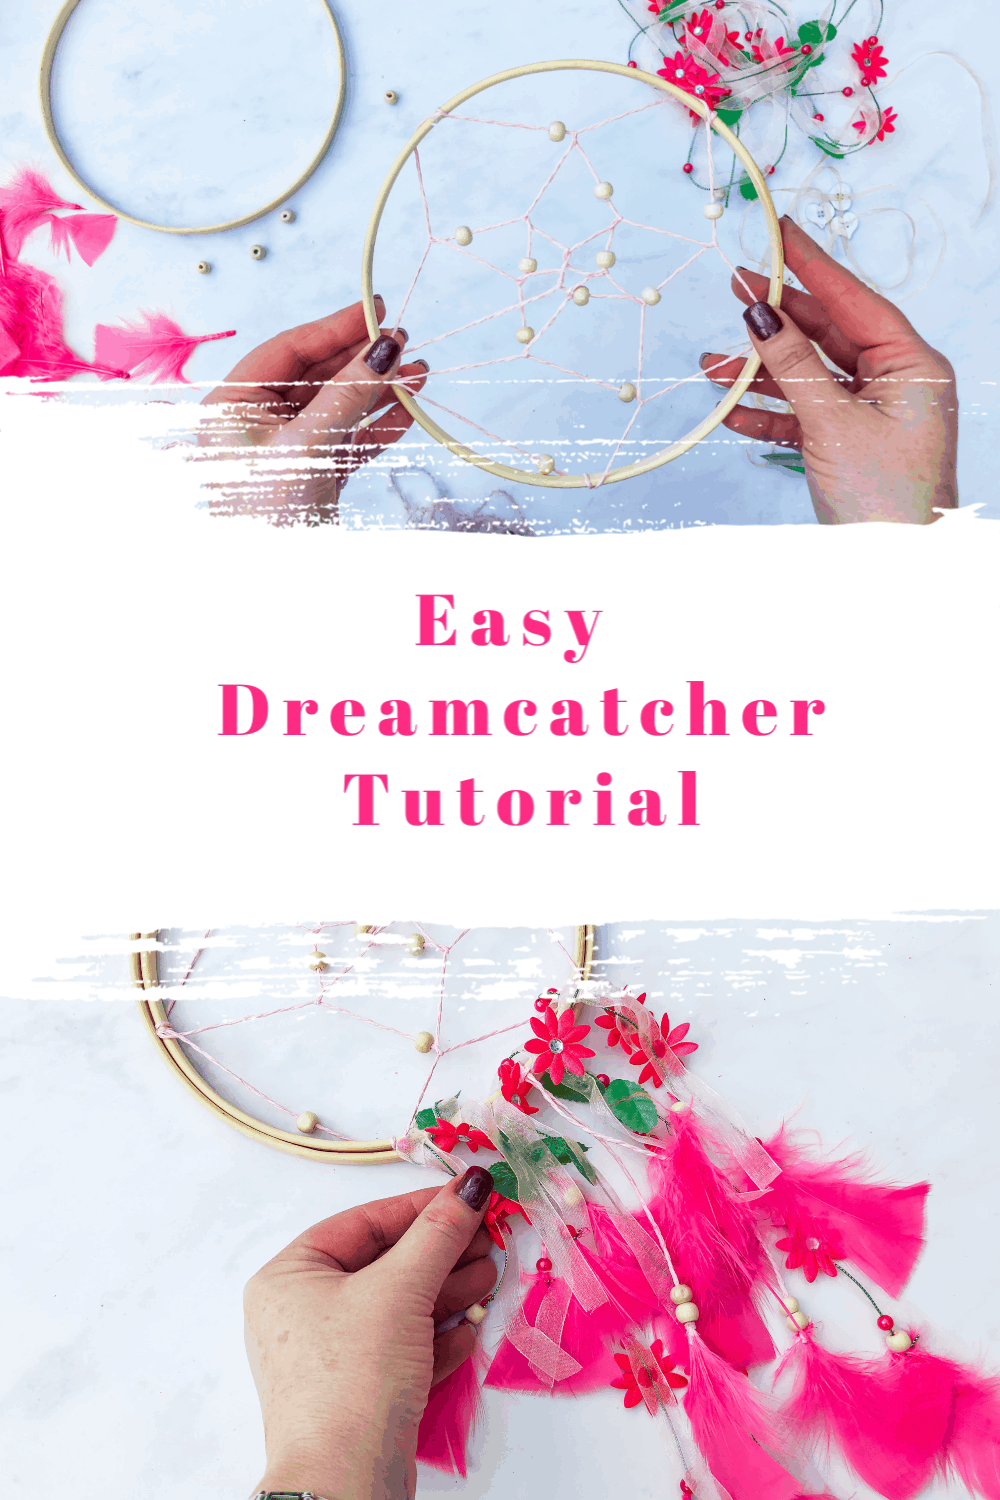
Step By Step How To Make A Dreamcatcher
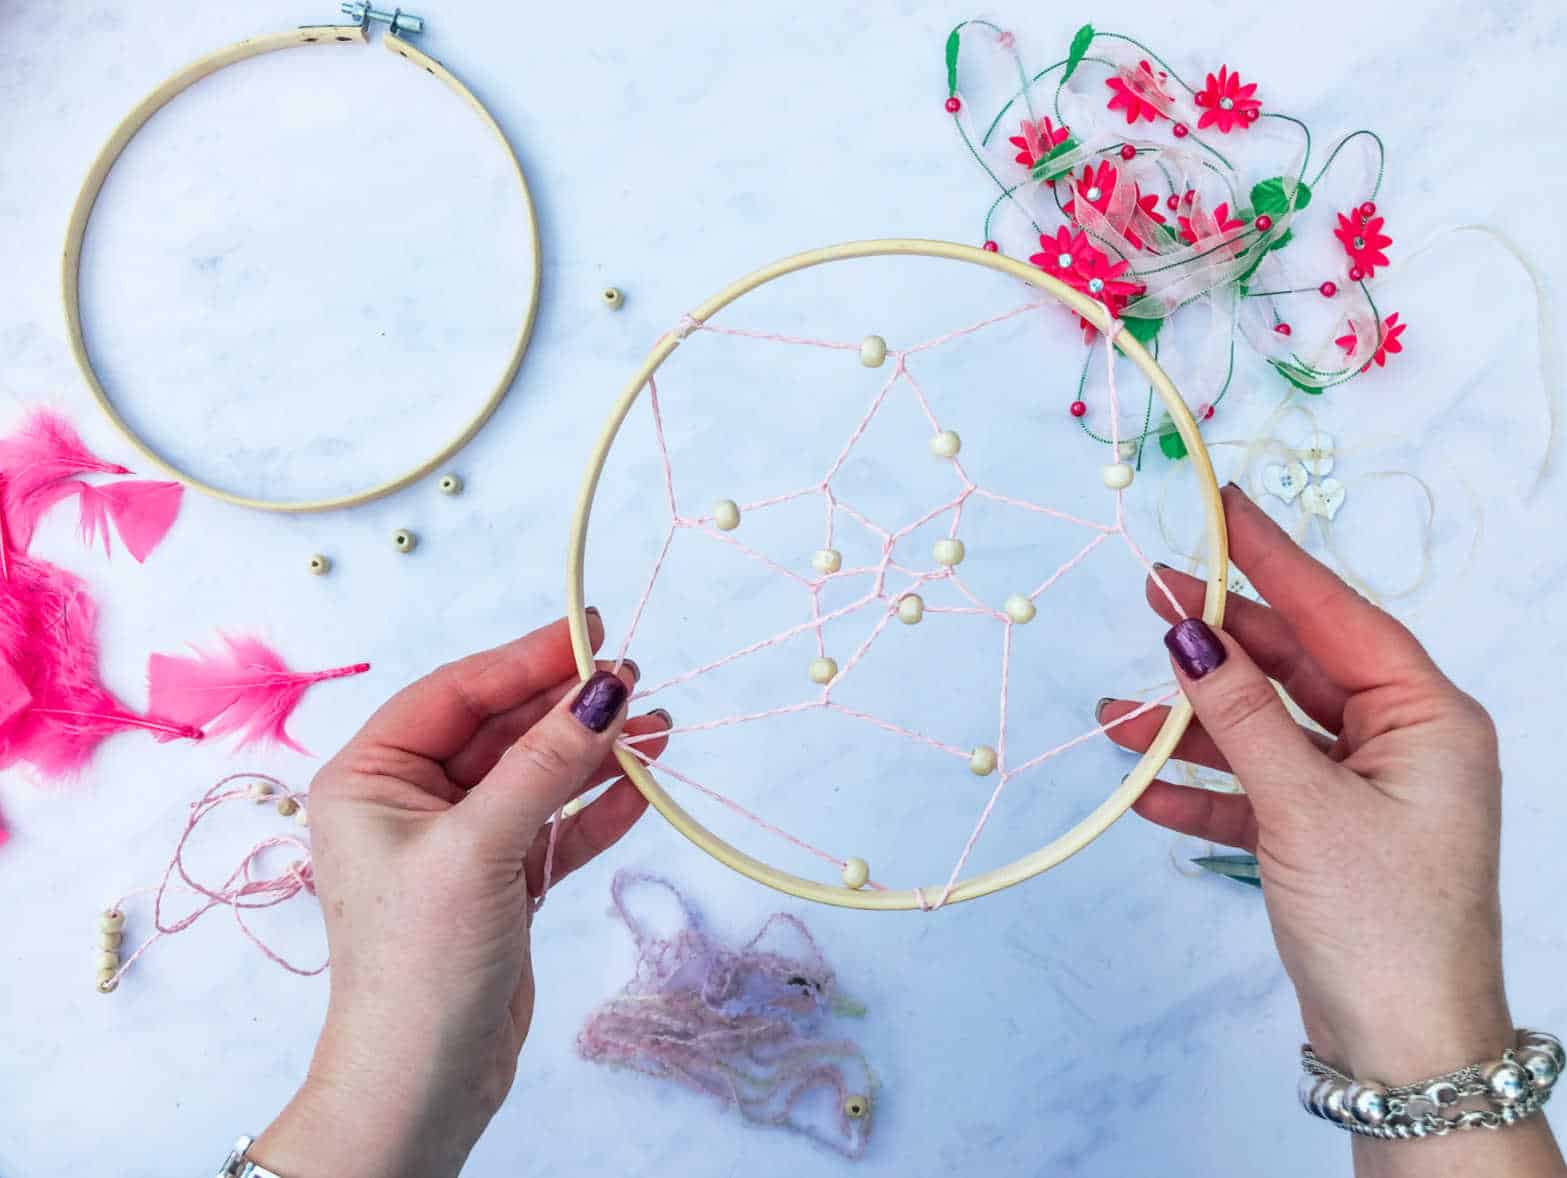
Begin By Making The Web Section
Firstly start by opening your embroidery hoop and putting the outer hoop to one side.
Secondly start the web by knotting your chosen yarn tightly onto the outer edge of the hoop. If you are adding beads, thread on on before going onto your next knot.
Now pull the yarn along the hoop wrap it round, then pass the yarn over, through and behind to create tension.
Keep doing this until you have covered the whole perimeter of the hoop. I managed this 5 times.
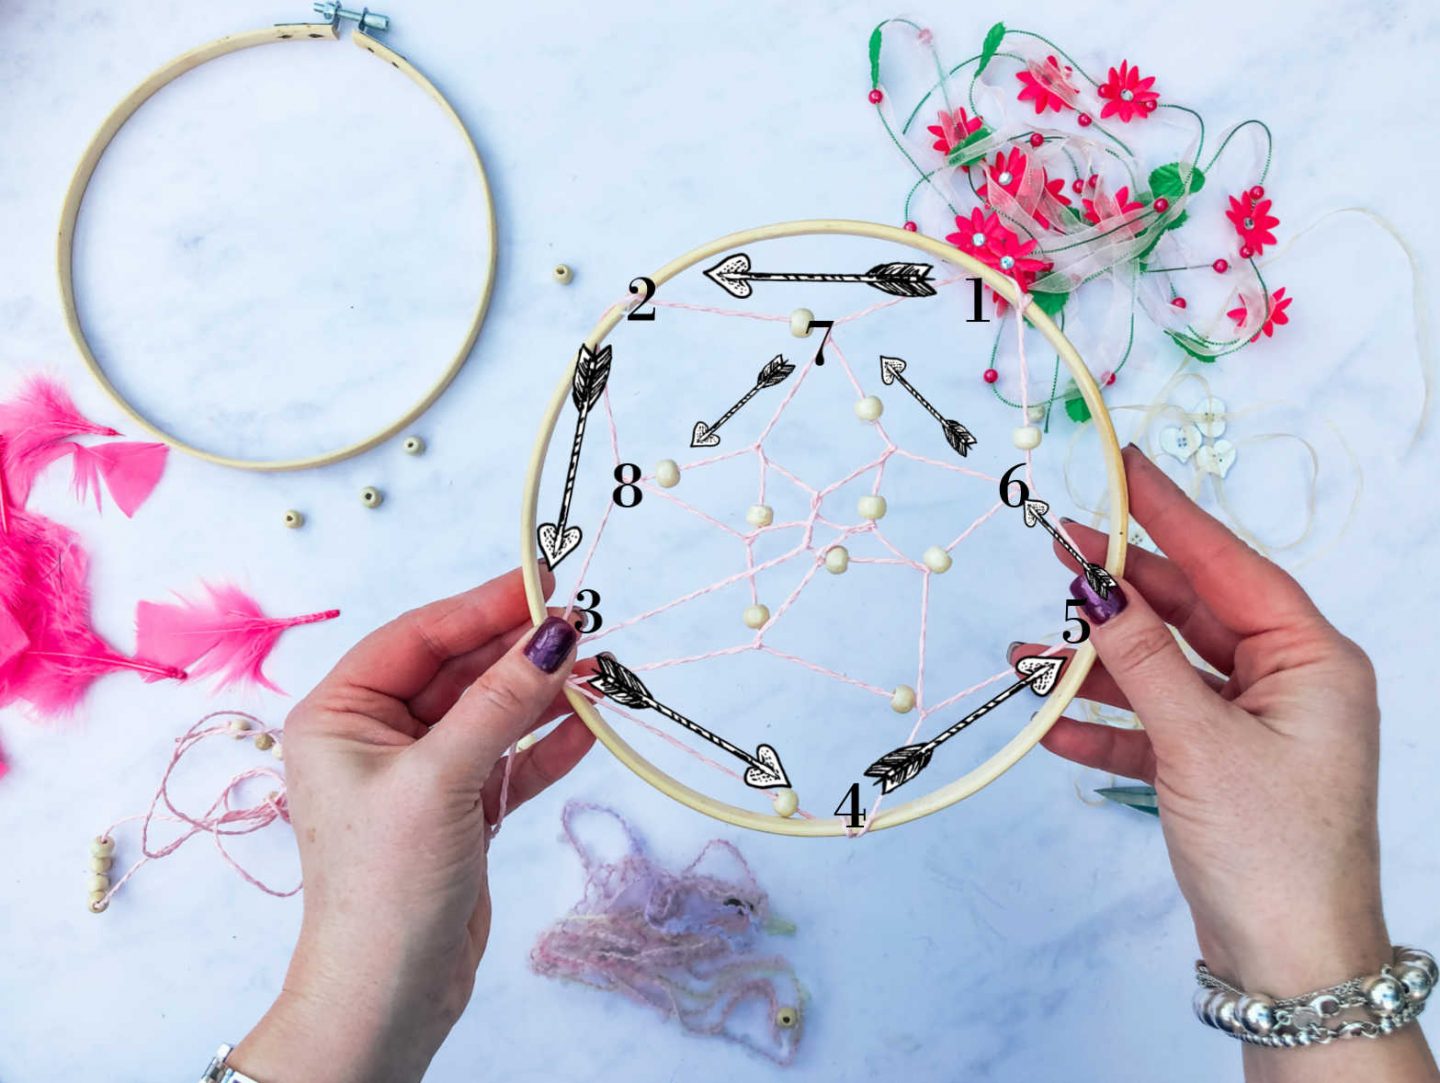
Next move into the next level by starting at the centre of one of the taught yarn sections, ensuring you wrap the yarn around and pass though to create a knot.
Once secure, move on to the centre of the next section repeating the wrapping and knotting.

Keep going, moving inwards in a spiral until you reach the centre.
Finally, tie the yarn tight and if you are working with beads add a bead to finish off.
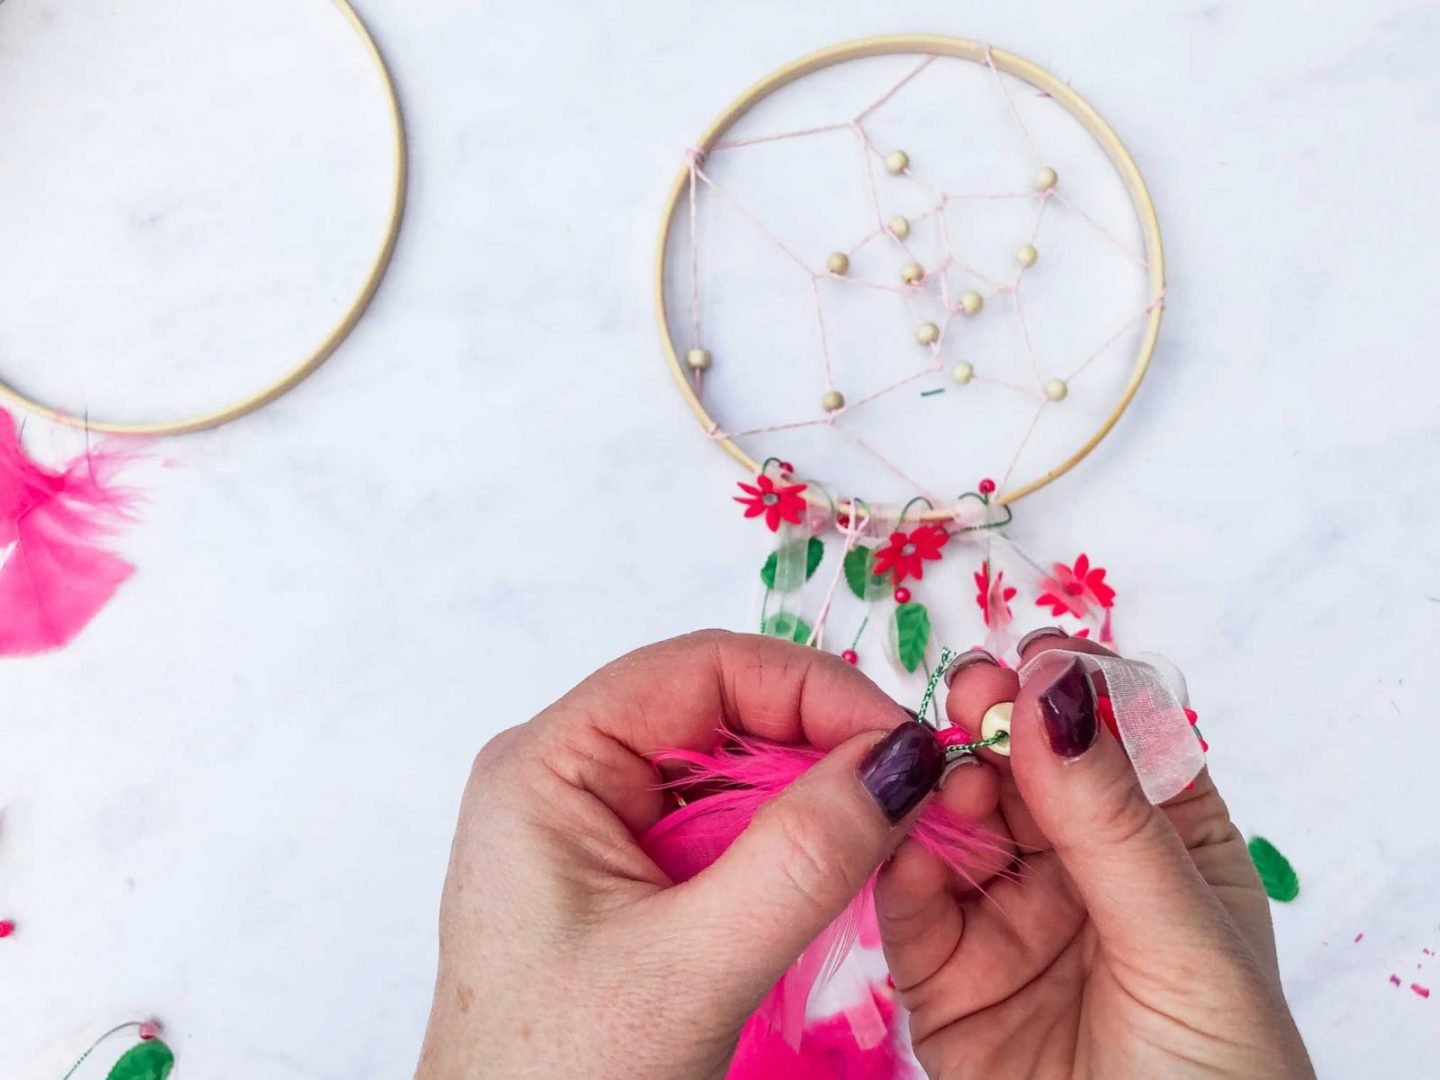
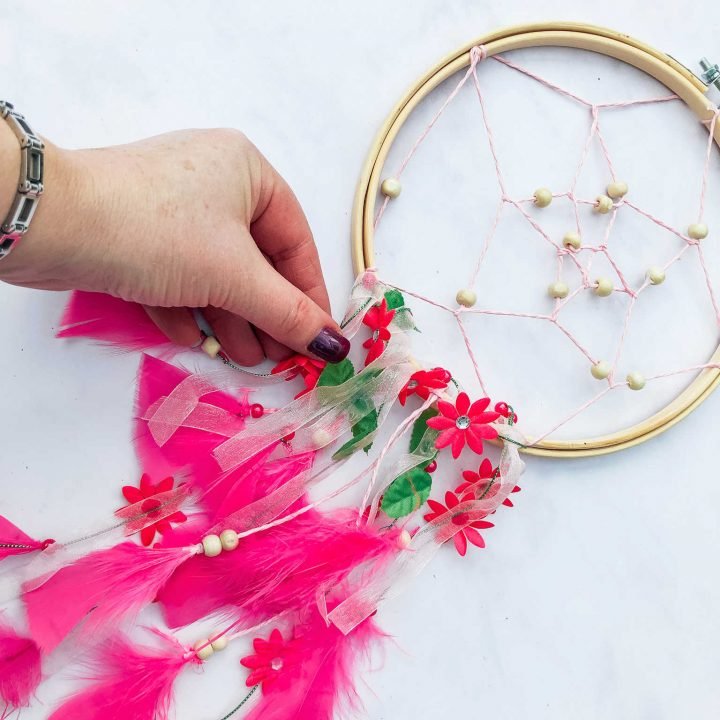
Adding The Tails
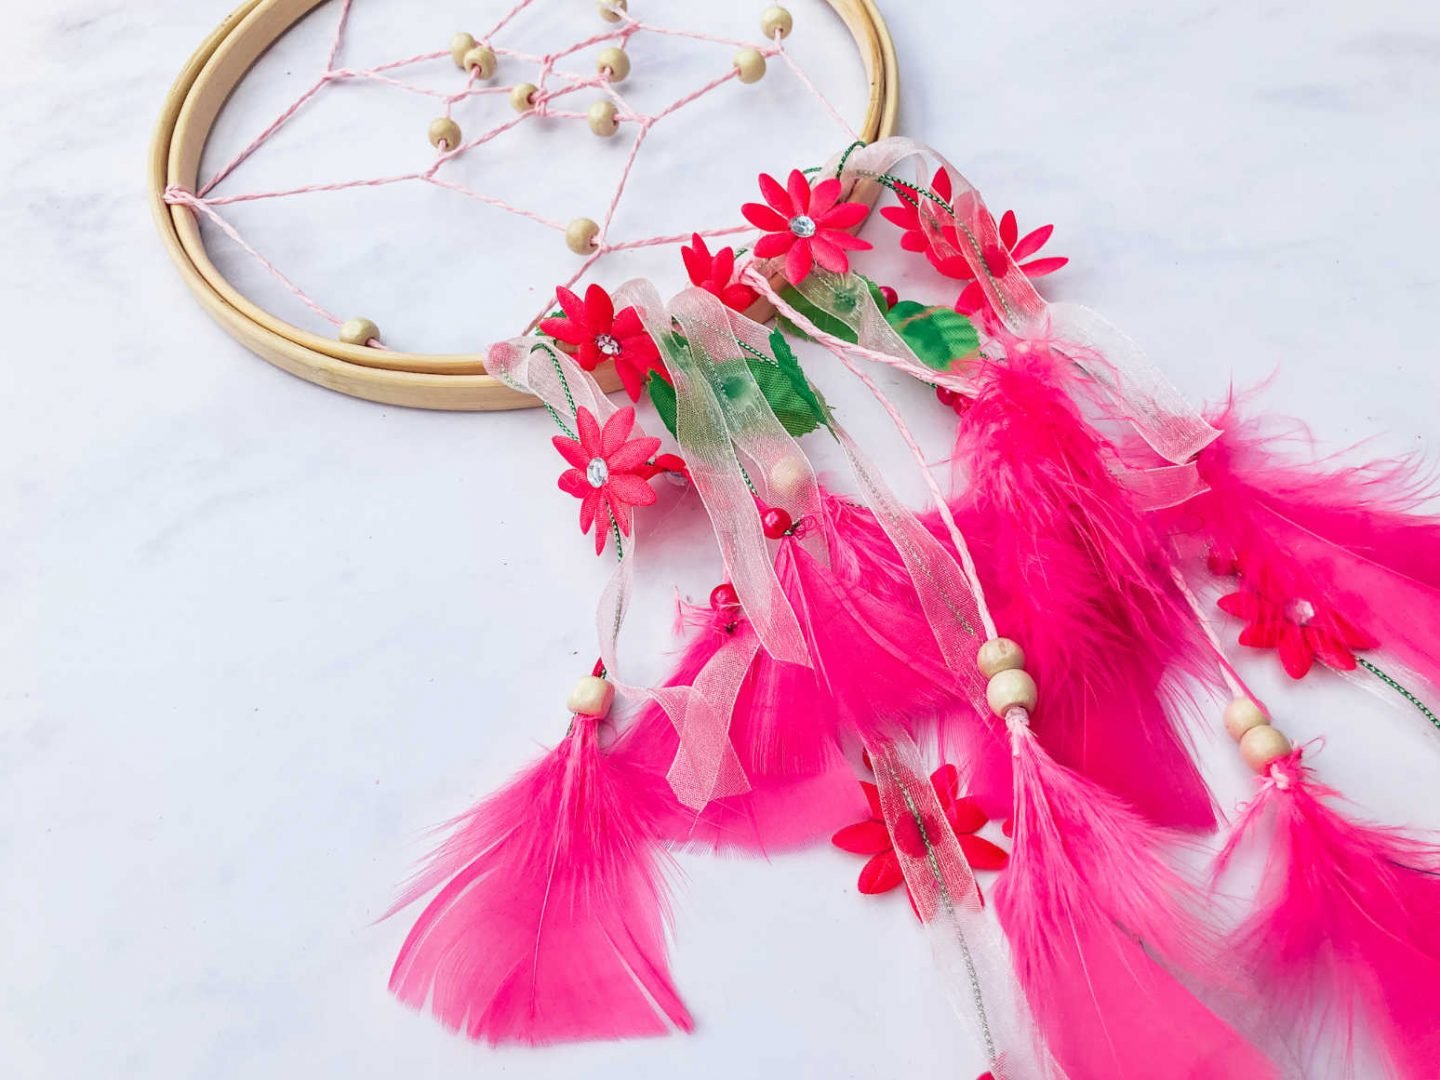
To add the trailing part of your dreamcatcher decide on which ribbons you are going to use. I chose a plain yarn and flowery double layered ribbon.
Measure the lengths remembering to cut double the length you require.
Following this, thread a bead onto the end of each length.
Now tie a feather to the end of each length and pull the bead down over the knot to secure it.
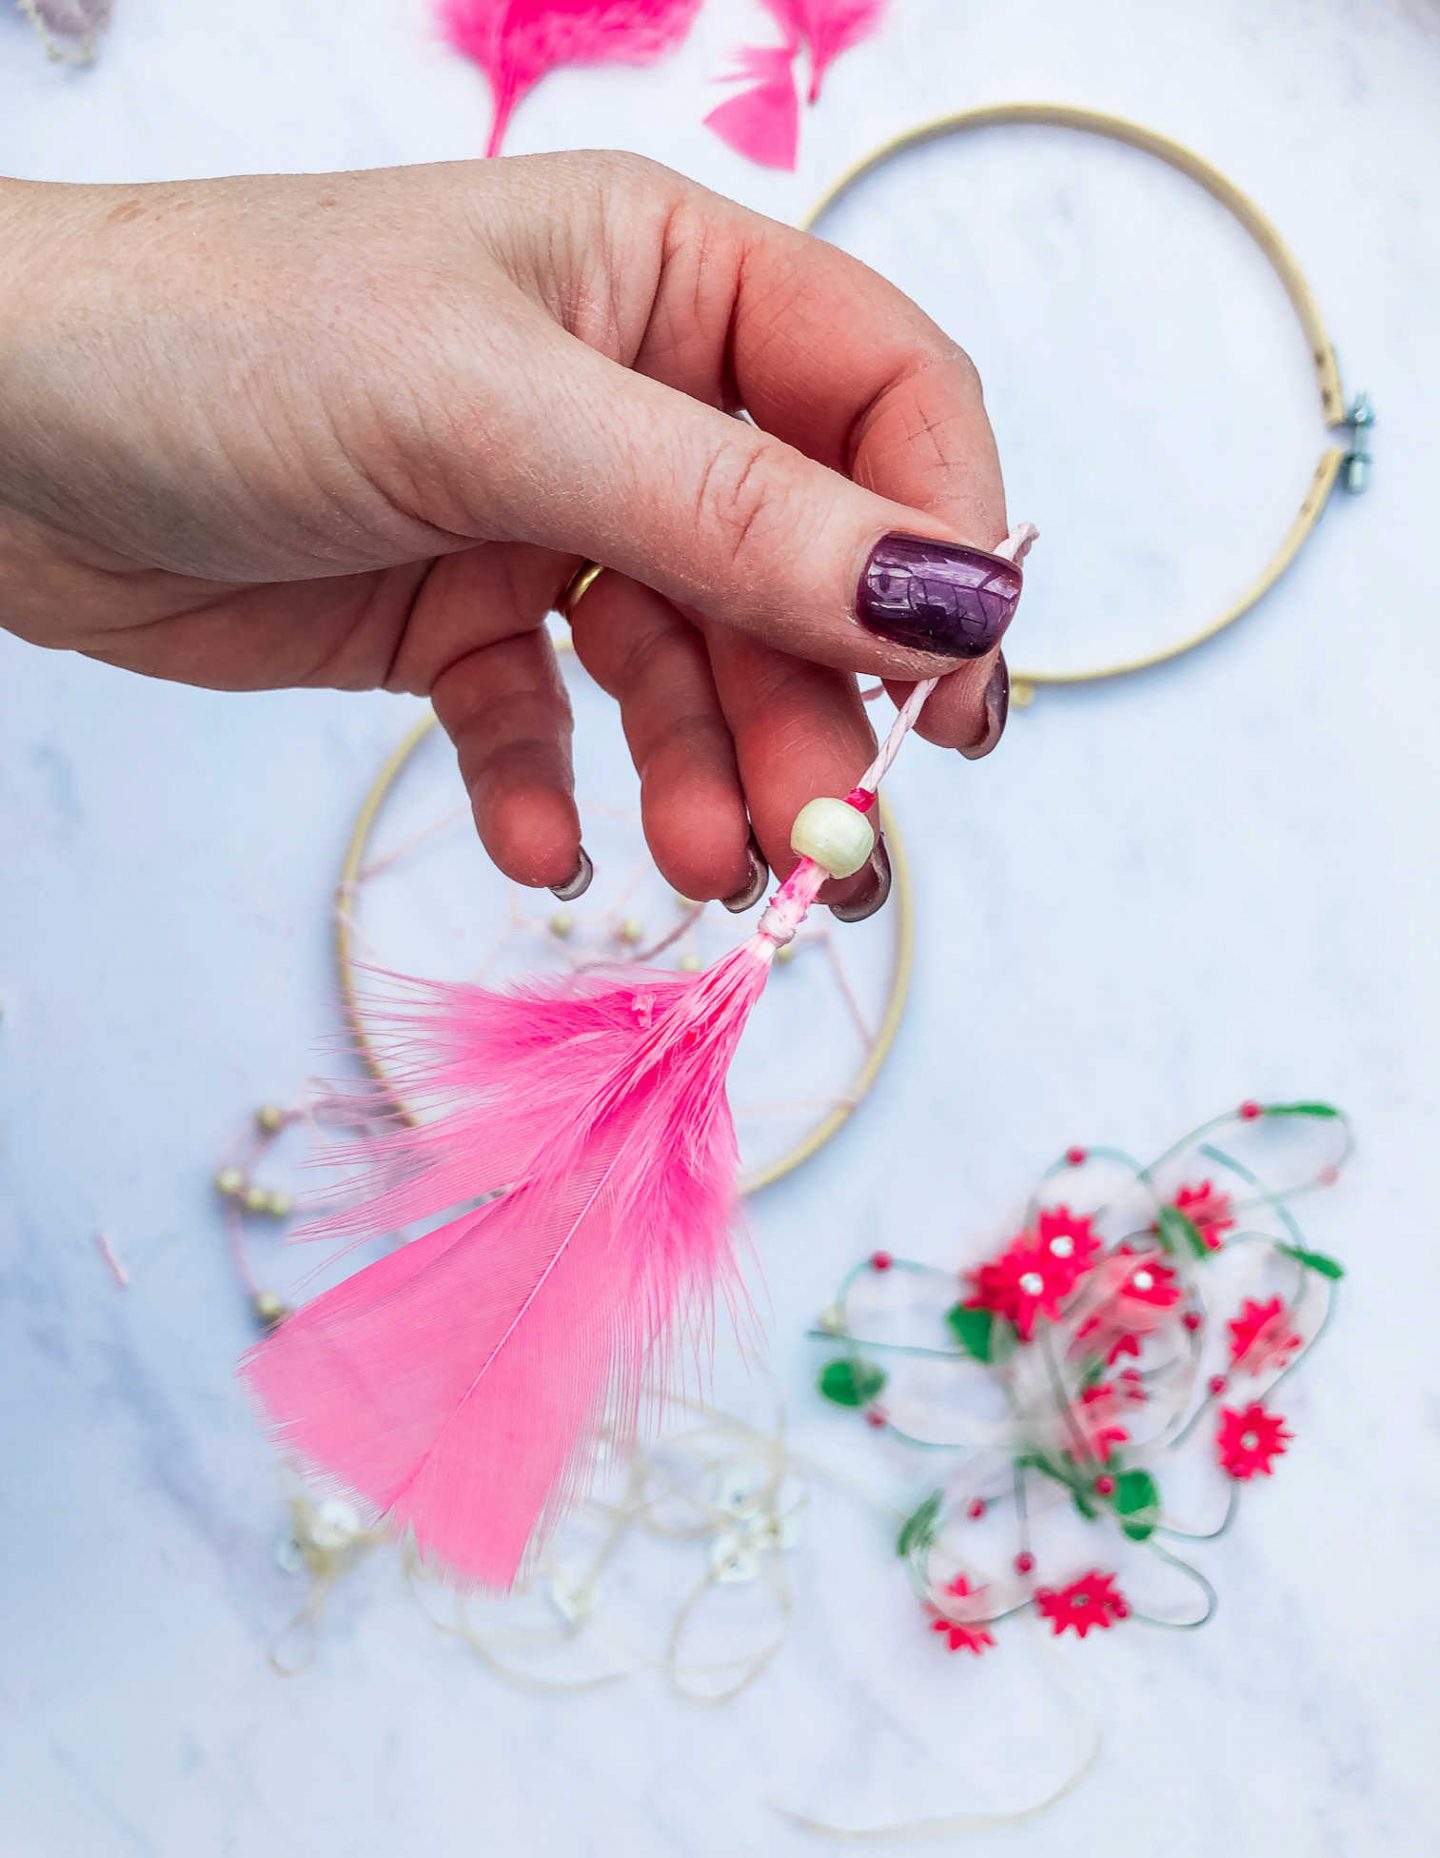
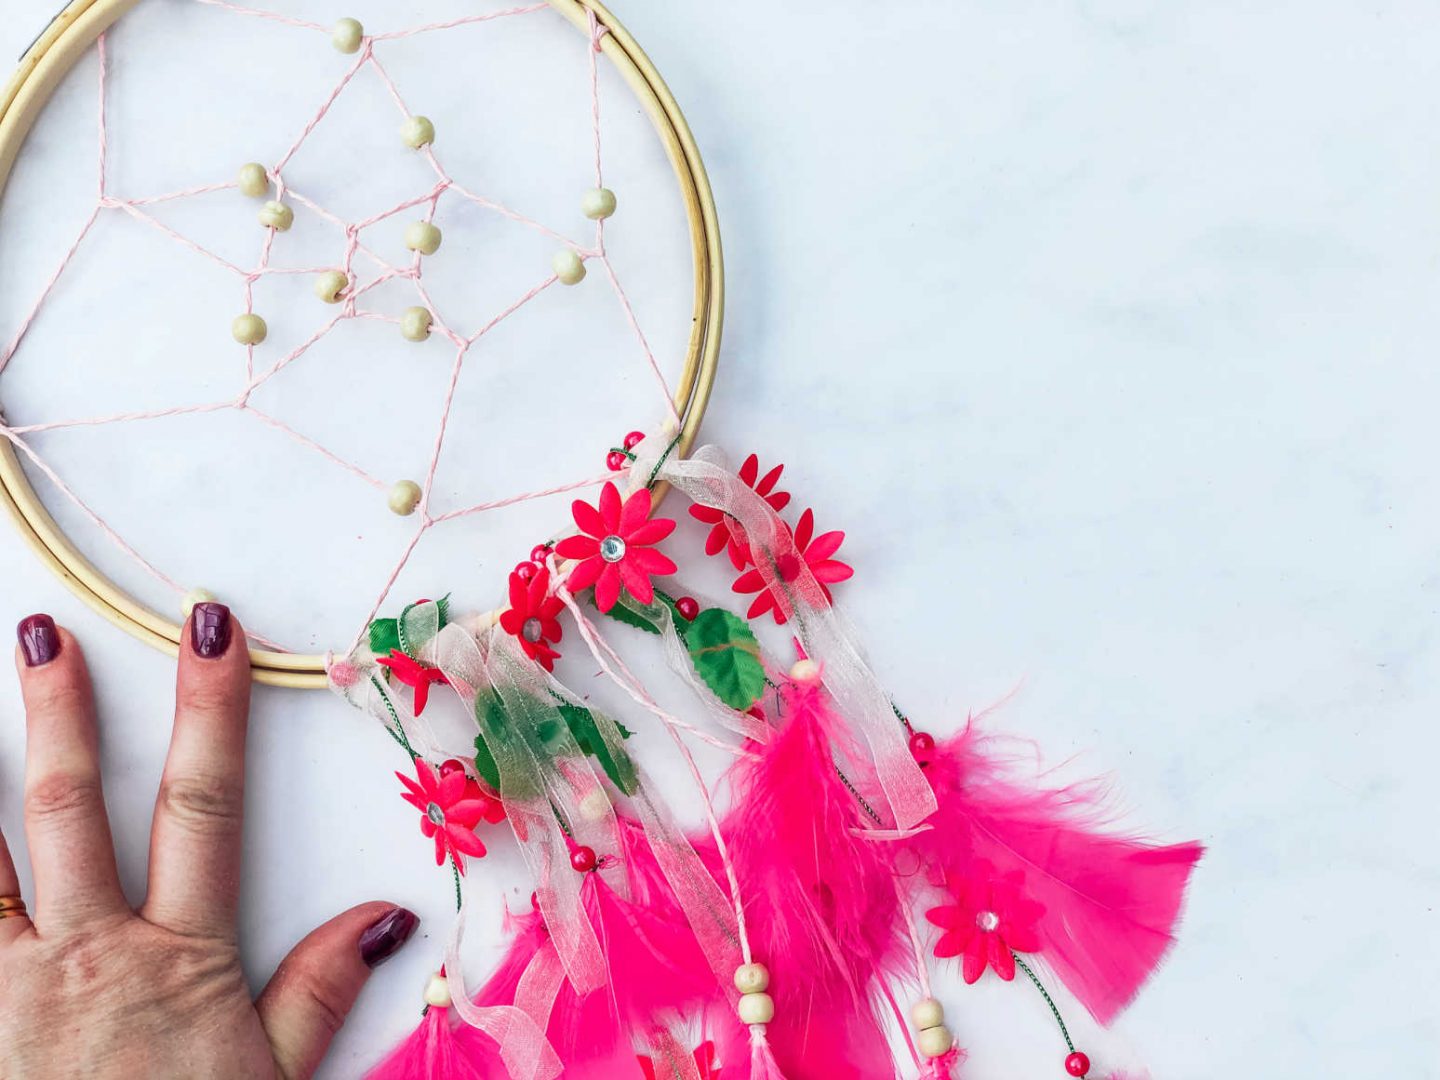
Fold each length in half, place under the bottom of the hoop and thread the ends through to create a loop and tighten.
Now place the top of the embroidery hoop over the top from the back or the dreamcatcher. This will tighten and secure the tails and push them forwards.

And there you have it, this is unquestionably the perfect dreamcatcher to sit pride of place about any self respecting pink lovers bed. And please be reassured this dreamcatcher is without a doubt super easy to make.
More more craft tutorials check out my craft section here.
Pin For Later
How To Make A Dreamcatcher Step By Step
This is super easy step by step tutorial on How To Make A Dreamcatcher.
Materials
- Embroidery hoops, the size depends on the size you want your dreamcatcher
- Yarn
- Beads
- Ribbon
- Feathers
Tools
- Craft scissors
Instructions
- Firstly start by opening your embroidery hoop and putting the outer hoop to one side.

- Secondly start the web by knotting your chosen yarn tightly onto the outer edge of the hoop. If you are adding beads, thread on on before going onto your next knot.
- Now pull the yarn along the hoop wrap it round, then pass the yarn over, through and behind to create tension.

- Keep doing this until you have covered the whole perimeter of the hoop. I managed this 5 times.
- Next move into the next level by starting at the centre of one of the taught yarn sections, ensuring you wrap the yarn around and pass though to create a knot.
- Once secure, move on to the centre of the next section repeating the wrapping and knotting.
- Keep going, moving inwards in a spiral until you reach the centre.
- Finally, tie the yarn tight and if you are working with beads add a bead to finish off.
- Adding The Tails
To add the trailing part of your dreamcatcher decide on which ribbons you are going to use. I chose a plain yarn and flowery double layered ribbon. - Measure the lengths remembering to cut double the length you require.
- Following this, thread a bead onto the end of each length.

- Now tie a feather to the end of each length and pull the bead down over the knot to secure it.

- Fold each length in half, place under the bottom of the hoop and thread the ends through to create a loop and tighten.
- For the final step place the top of the embroidery hoop over the top from the back or the dreamcatcher. This will tighten and secure the tails and push them forwards.


Notes
This dreamcatcher can be made in a variety of colours, you can also weave an accent or accessory in the web.
This is so pretty Sarah! Have pinned x
Ah thanks so much !I have to say I loved making it. x
That looks so easy to do! I’m going to see if I can make one for my sisters birthday.