As crafters we are split into two groups, sticking to what you know and playing safe. Or explorers who love to challenge themselves and try our new innovative products and machines. I think I sit in the latter camp, however am not an instruction reader, I like to dive in and learn by experience. Working with Cricut Infusible Ink has taught me that sometimes you just have to follow the instructions. However, if you do the outcome is so much more rewarding.

What You Will Find Here
How To Use Infusible Ink
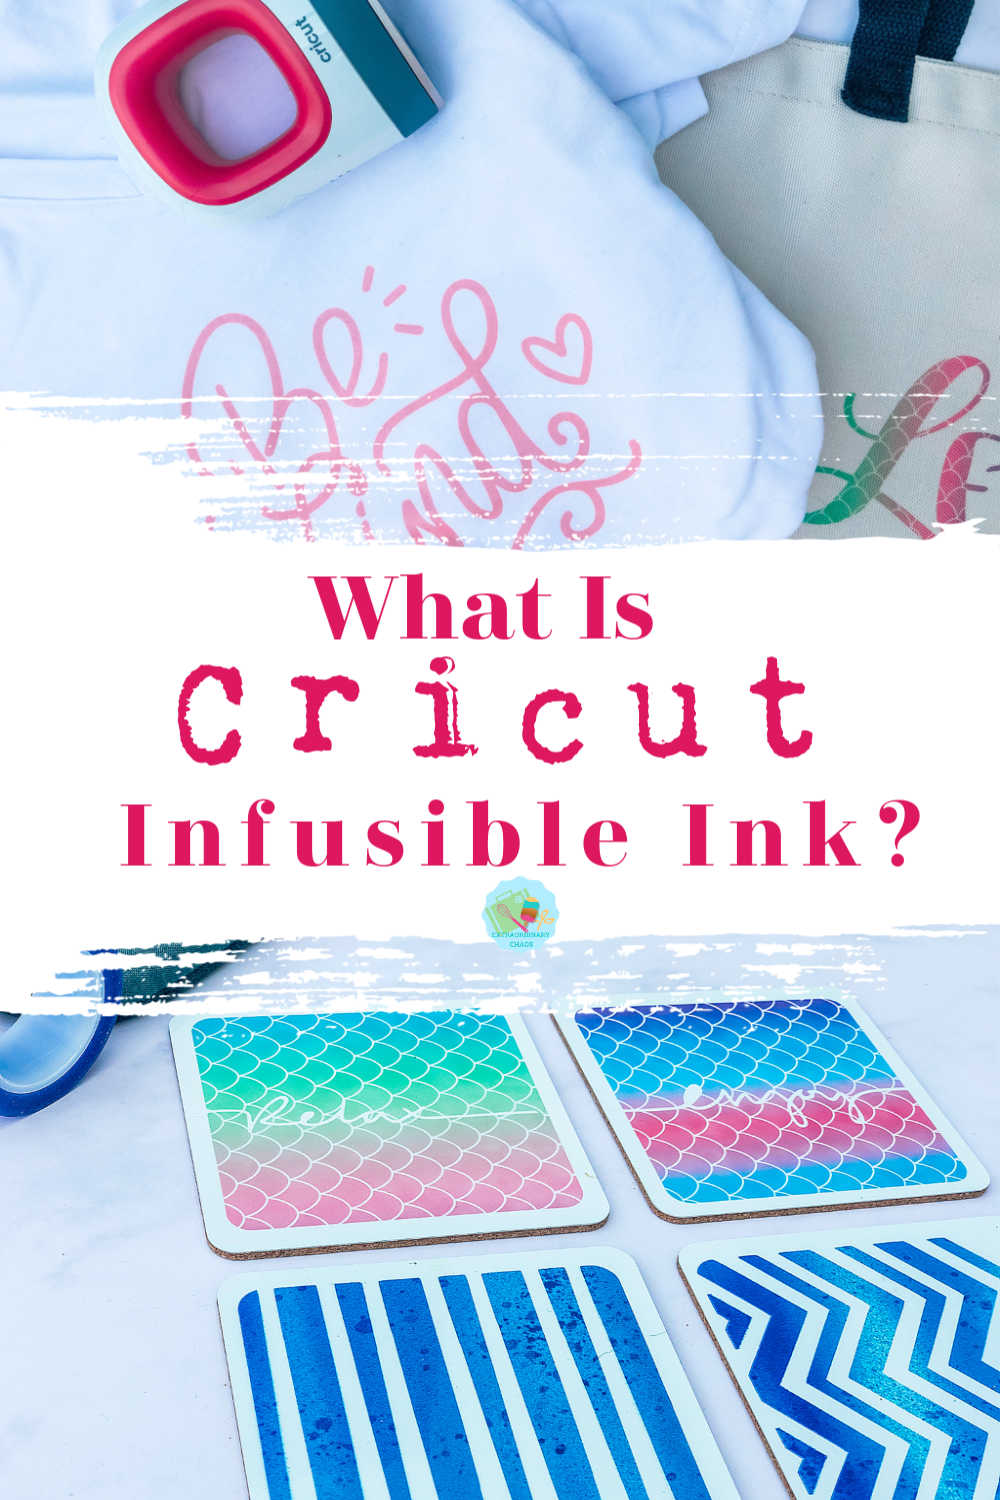
What Is Cricut Infusible Ink?
It’s exactly what it says on the tin. Ink that you can infuse onto products such a bags, t shirts and coasters to create an image or pattern that is blended into the fibres of the fabric they are infused onto. If you follow the instructions and get it right it is nothing short of spectacular. However failing to follow all the rules results in a not so spectacular result, which was quite frankly disappointing.
But here’s what you need to remember, in this case and in my experience if it goes wrong it is most probably down to operator error. However don’t be put off using infusible ink, it is genuinely a wonderful product.
But this is one product that requires attention to detail, if you follow the rules you will genuinely fall in love with infusible ink.
To Get Started You Will Need.
- Cricut machine.
- Infusible ink transfer sheets
- Infusible Ink pens (Optional)
- White card stock
- Infusible ink blanks
- Cricut Easy Press 2
- Cricut heat mat
- Cooking tongs I know odd, but trust me on this one!
What Is An Infusible Ink Blank?
An Infusible Ink blank is the base product you need to create with infusible ink. In order for the ink to work correctly the blanks must be made of certain materials. Currently you can purchase the following official Cricut products.
- T shirts
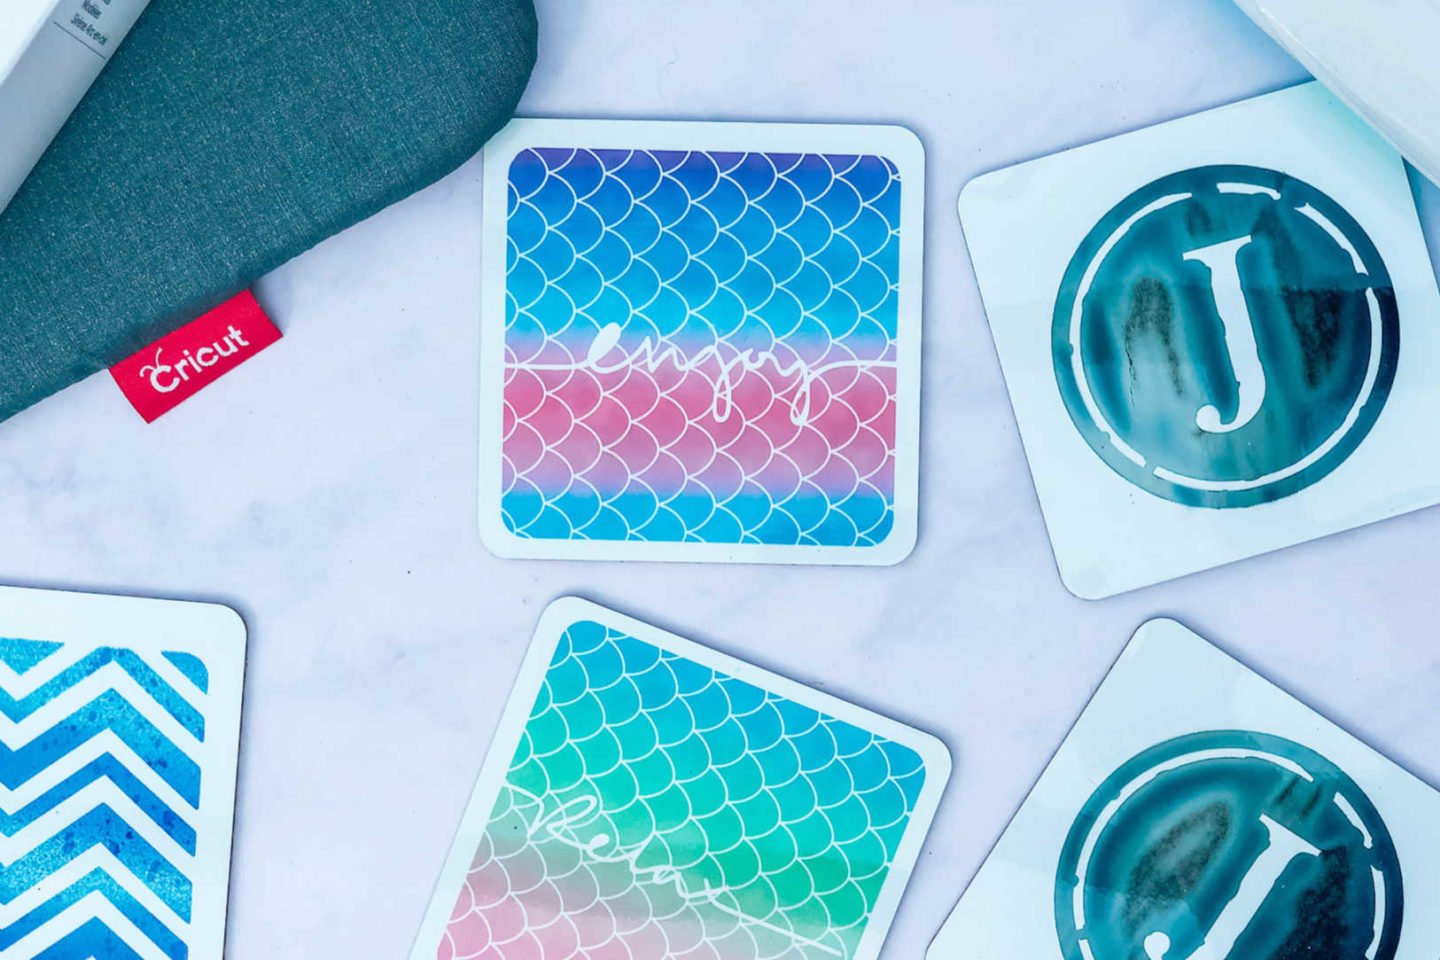
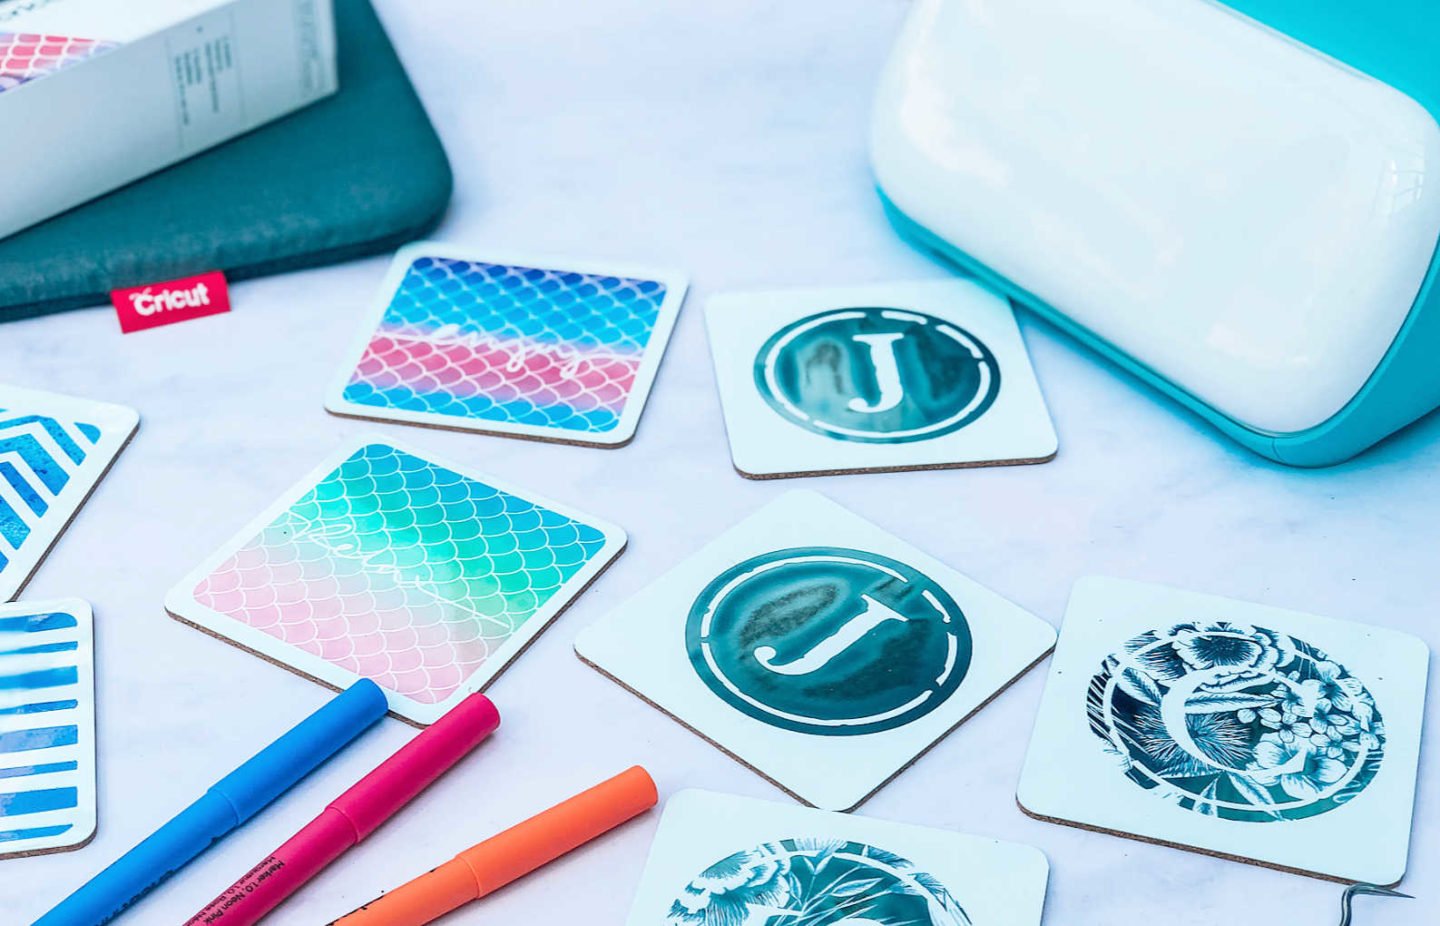
- Cork coasters
- Ceramic coasters
- Tote bags
- Baby body suits
Do You Have To Use Cricut Blanks With Infusible Ink?
Of course Cricut recommend you do to get the best out of the product, however some suggest you are able to also use sublimation blanks. Although not all are compatible, this is really is down to trial and error.

How To Use Infusible Ink?
Infusible ink comes in the form of transfer sheets or pens. They appear pale in colour however become vibrant when infused onto your chosen blank. To activate your transfer sheet you must heat infuse it onto a Cricut Blank.
Start by creating your design in design space like you would with any Cricut project.

Once you are happy with your design send to your chosen machine. You can get a great selection of Infusible Ink For The Cricut Joy, but also 12x 12 sheets for all other machines.
Send your image to cut ensuring you mirror it.
Place your transfer sheet onto the cutting mat, also ensuring the ink side is facing upwards and press cut.
Once the project is cut, remove the transfer sheet from the cutting matt and weed. Avoid touching the ink on the Infusible Ink transfer sheet as much as possible, also ensure your fingers are clean and dry when you do so.
To successfully weed your infusible ink transfer sheets, start by rolling the card and as you do this the excess pops away from the design. Now use tweezers to pull excess away.
Prepare your Easy Press using this guide.
Whilst the easy press is heating wipe your blank with a link free cloth or roller to remove any residue.
Now cover and pre heat your blank before stacking your project to prepare for pressing. Also ensuing stack your project in the correct order, see below.
Heat Press Infusible Ink Stacking Order
- Cricut EasyPress 2
- Butcher paper
- Cricut blank face down
- Infusible Ink Transfer Sheet design, face up
- White card stock
- Cricut EasyPress Mat ( This order will differ depending on blank, please check the heat guide)

How To Transfer Your Image
Position your design on your blank. Place the blank with design face down on card stock ( check the guide as this may differ)
Cover with clean butcher paper and center your press with no pressure, following the heat guide instructions, also avoid moving your press.
When the timer beeps lift press straight up to avoid smudging and remove the butcher paper.
Let your project cool completely before touching. Particularly coasters, which remain very hot for some time. I use cooking tongs to removed butcher paper and projects if still hot.
Can You Use A Regular Iron And Ironing Mat?
A regular iron is difficult to regulate the temperature, thus your transfer could be patchy. It is better to use a Cricut Easy Press.
I tested for results with an ironing mat and Cricut Heat Mat, the difference was huge. The ironing mat result was patchy and uneven.
The black coasters below made with the non Cricut mat are patchy and uneven. Whereas the mats made using the official Cricut Mat are solid and even. I have to say the difference in results astounded me.
What if Your Infusible Ink Does Not Transfer Properly?
Ensure you use the official Cricut Heat Mat.
Have you kept the easy press still during pressing? Movement can cause your image to smudge and cause a blurring effect.
Try flipping your blank over, I find I get better results if I press with the with the blank facing up and the transfer sheet on top. Try the Cricut official way first, if it doesn’t work using your heat tongs flip the image and retry.
My Final Thoughts?
If you use it correctly it’s a wonderful product, great for making personalised gifts or indeed tailor designs to suit your interior. I am looking forwards to see more blanks on the market as I genuinely love the result Infusible Ink gives you.