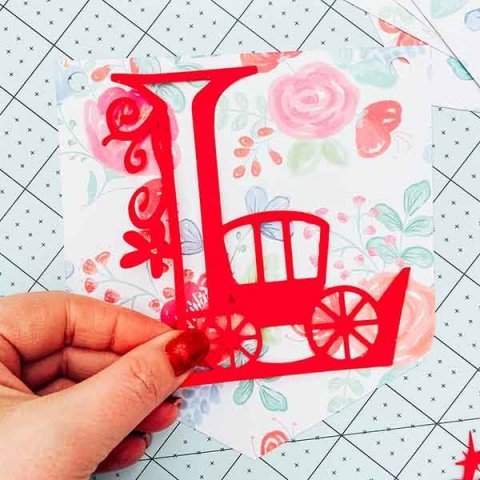
Last week I shared my Dinosaur Alphabet cut file post, which is perfect for themed parties and cutting into decals to decorate bedrooms. However what about the Princess lovers amongst us? You see dinosaurs are amazing, but not loved by all right? So I have created a cute set of Cricut Princess Alphabet Cut Files For Home Decor & Craft Projects.
If you want to see me create my projects, follow me on Tik Tok and Instagram.
I have 2 boys who were strictly in camp dinosaur, however I am also aware that there are girls and boys out there who adore princesses and all things pink. So this Cricut Princess Alphabet is for them, to create cards, decorate bedrooms and wonderful themed Princess parties.
Because we all love a bit of pink in our lives, and nothing makes me smile more than pretty princess themed projects.
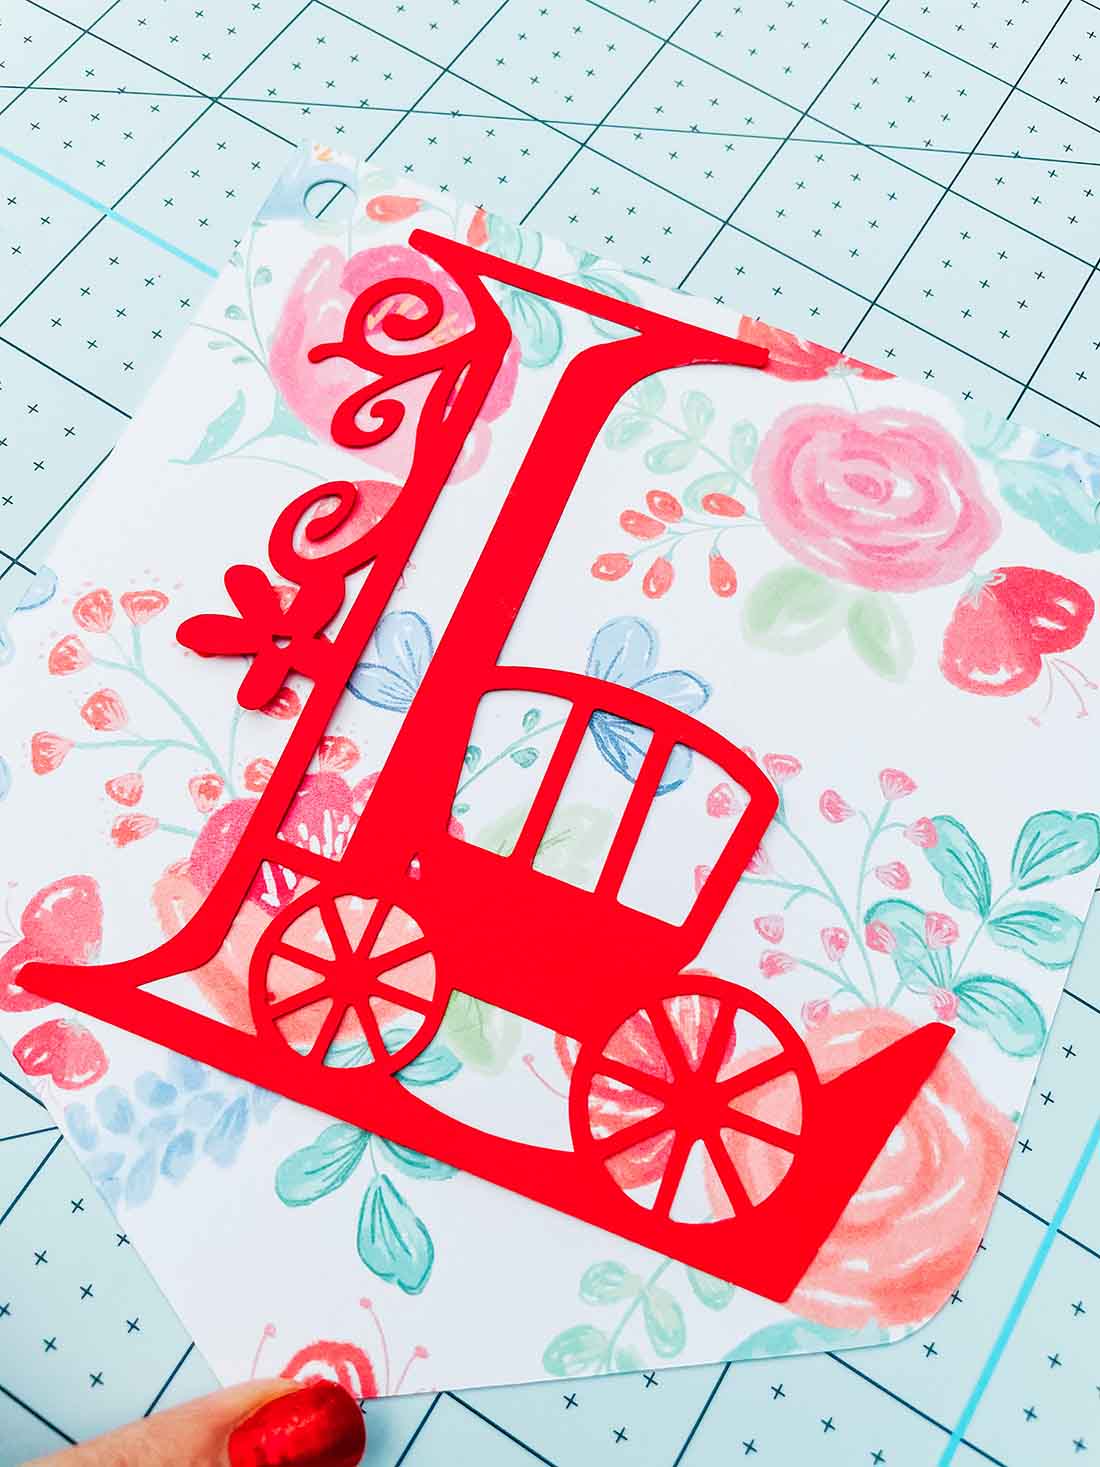
Project Ideas For My Cricut Princess Alphabet And Numbers
- Paper Cut Letters And Words
- Princess Themed Meals Or Parties
- Personalised Birthday Cake Toppers
- Princess Themed Personalised Birthday Cards
- Party Invitations
- Wall Decals With Vinyl For Themed Bedrooms
- Use Pegs And String For Hanging Princess Banners With Names
- Framed Art
- Iron On Vinyl Hoops
- Classroom Decor
- Decoupage Princess Cushions
- Scrapbooking Pages And Memory Books
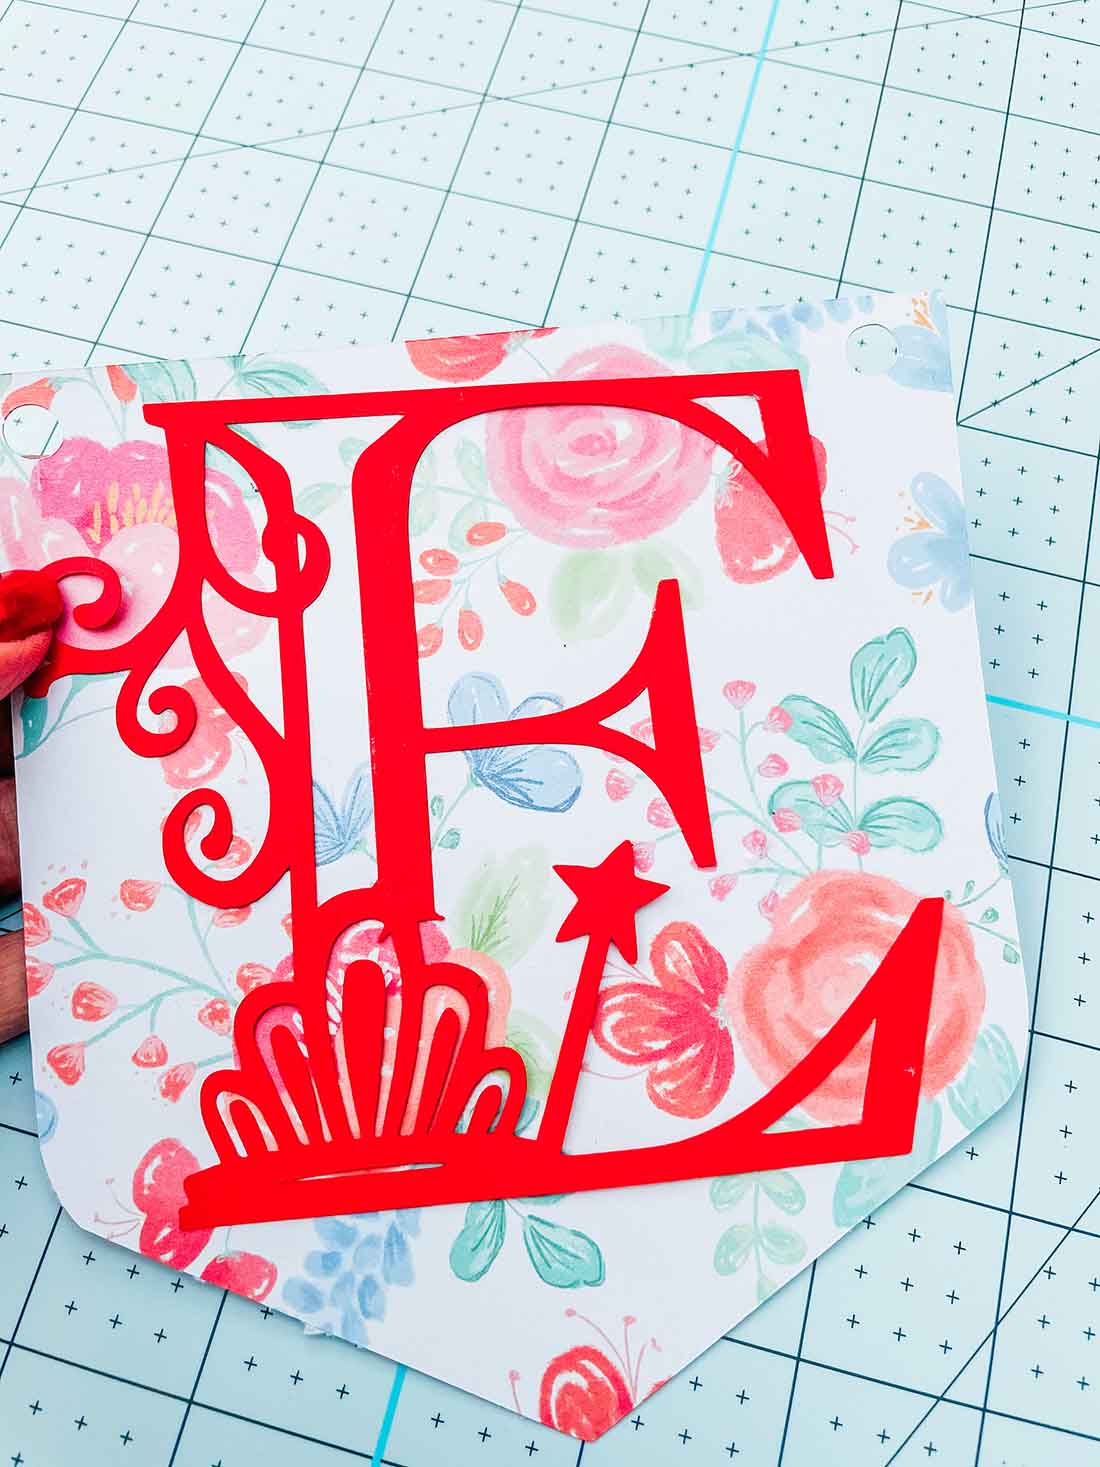
You Will Need
- Cricut Maker Or Cricut Joy
- Cutting Mat
- Weeding Tool
- Brayer
- Tweezers
- Scraper
- Colour heavy paper, or light card stock.
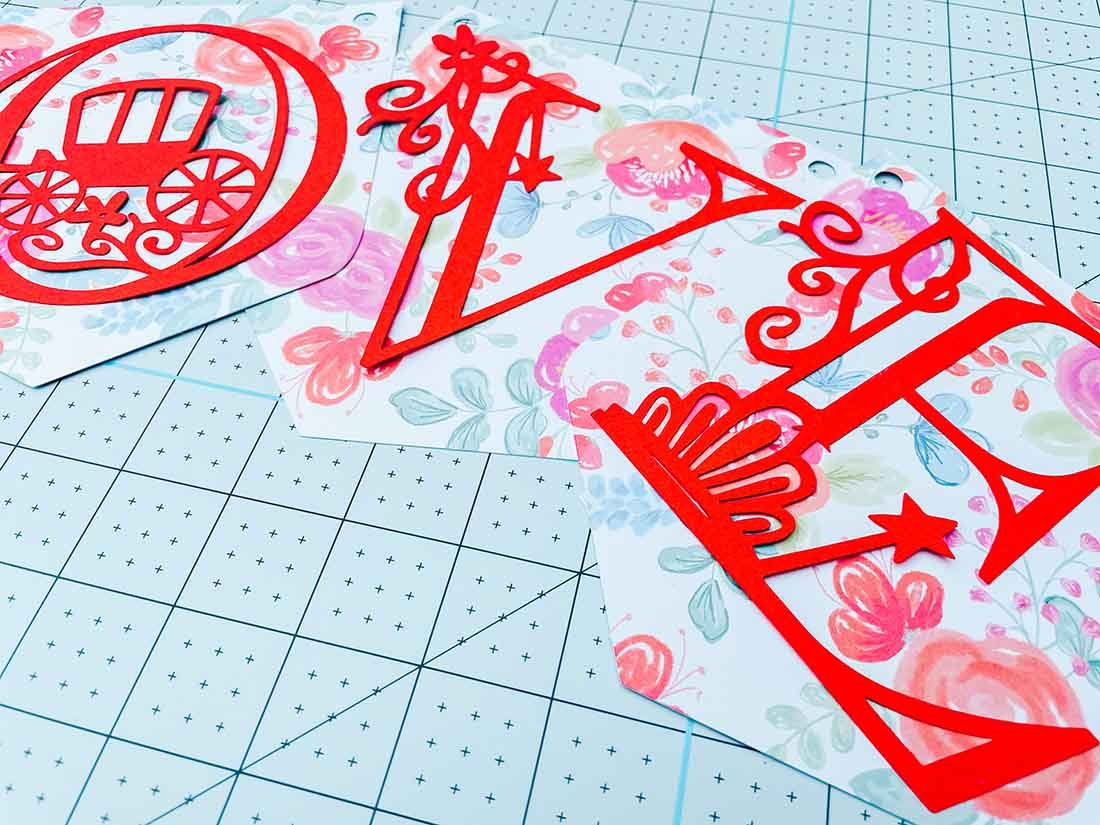
How To Make Your Cricut Princess Alphabet
Search for princess and party in Cricut Design Space as I wanted the set to be perfect for all princess themed home projects, crafts and scrapbooking but also creating great party decorations.
Also I chose Academy Engraved alphabet, there is a huge choice of styles, however I prefer an open font for cuts and creating. It gives me more scope.
Making Your Own Cricut Princess Themed Alphabet?
Simply pull in the princess elements you want to use and weld together, it’s a long process and can take a day to do a full alphabet. However is so rewarding once finished and you have created a whole alphabet. However you can also save the work as use my free set.
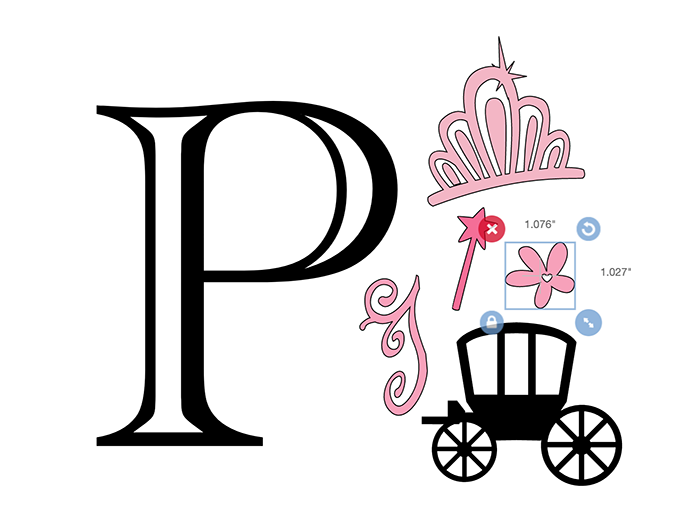
It’s important to make sure you join all of your princess elements together, and also consider what media your projects is for vinyl is better for smaller intricate cuts, but card stock is great for framed artwork and scrapbooking.
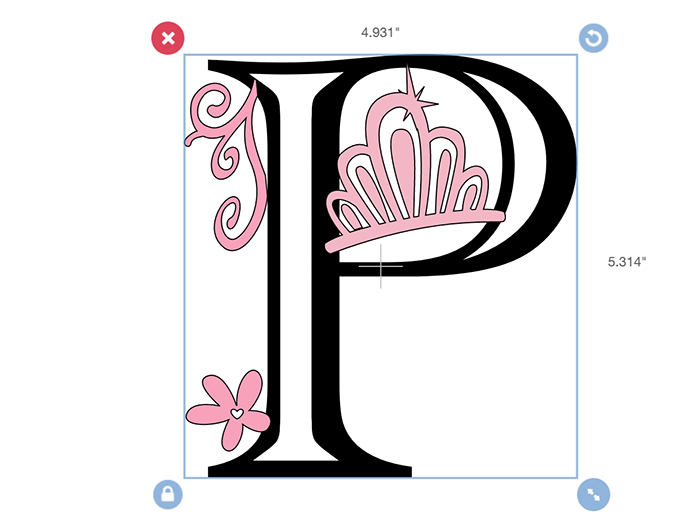
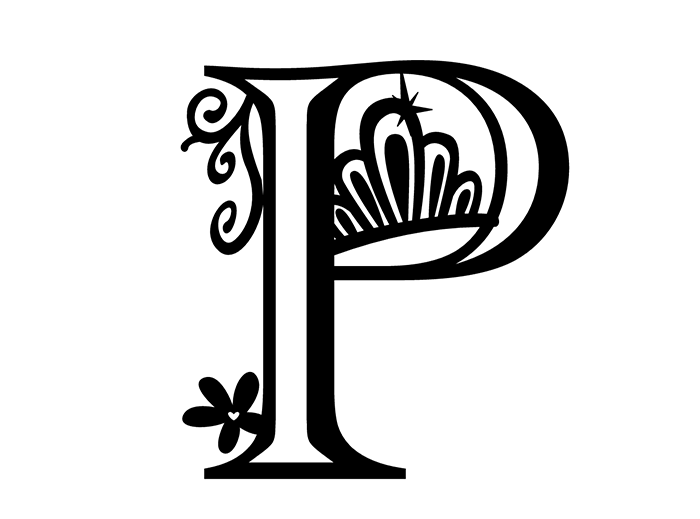
If you want an alphabet to cut smaller, ensure the cut is not too complicated and fiddly. However on larger projects and vinyl you can add more detail. Once you are happy with your design, right click and press weld in the bottom right hard corner.
If You Want To Use This Free Cricut Princess Alphabet?
Click here or the image below to get your free downloadable png files and follow these instructions to add to Cricut Design Space. Don’t forget to turn off any pop up blockers.
Uploading Your PNG Files To Cricut Design Space.
Click on upload image and select browse.
Choose your Princess Letter PNG of SVG files, SVGs upload easier than PNGS which need a few extra steps, but in the grand scheme of things still take no time at all.
You will be brought to a window with options, select complex file, then continue. The next window allows you the take the back of your file, but I have done this for you.
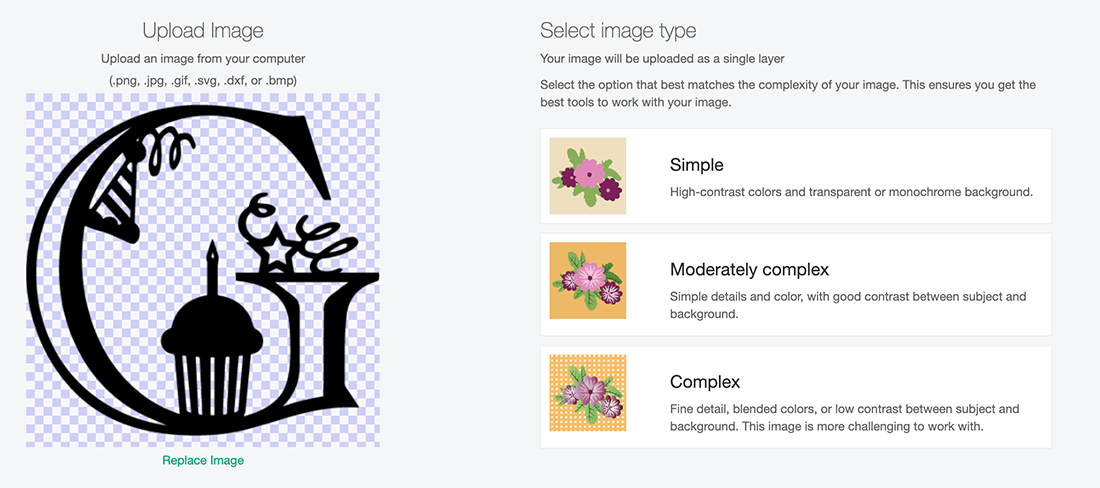
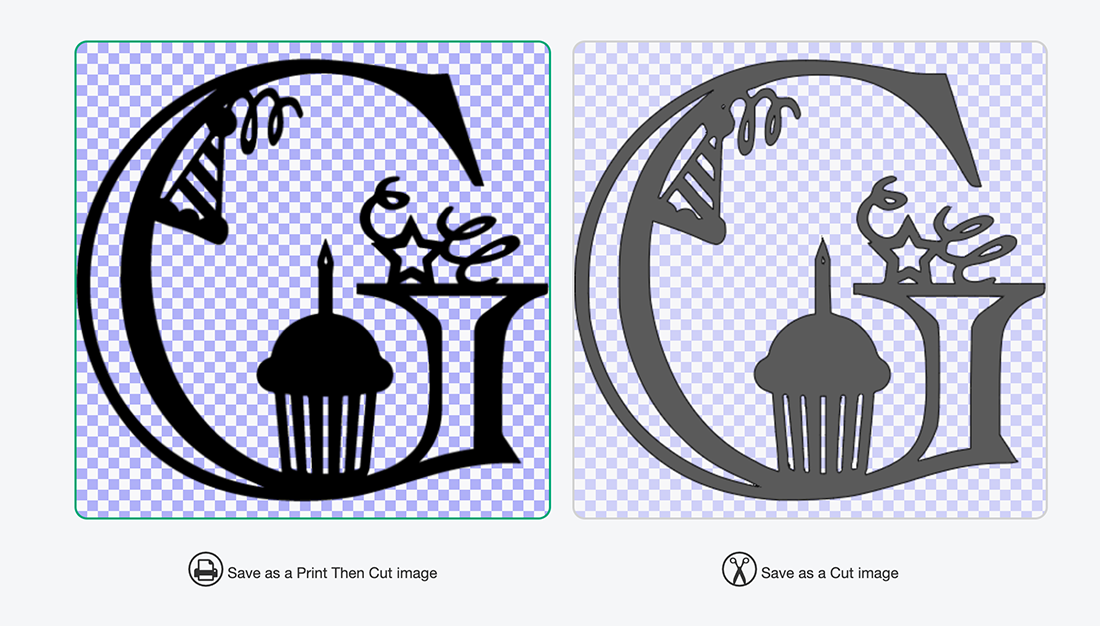
When you reach the save screen click save as a cut and continue. Do this one by one until you have all of your chosen letters and numbers. Once this is done, you can select all the letters you have uploaded and pull onto your mat in one go.
Cutting Your Princess Alphabet
When you’ve chosen the Princess PNG/SVG Alphabet letters to cut, send to your Cricut. Ensure you use your brayer to roll the paper, vinyl or card to adhere to the mat and remove any bubbles or creases.
Also make sure you set your material and cut pressure to match whatever material you’re cutting. If I’m using card, I always set my pressure to more for a cleaner cut. Additionally I find Vinyl will cut much smaller that card.
When your Cricut has finished cutting, discard the outer area of the paper/ vinyl this pulls away easily.
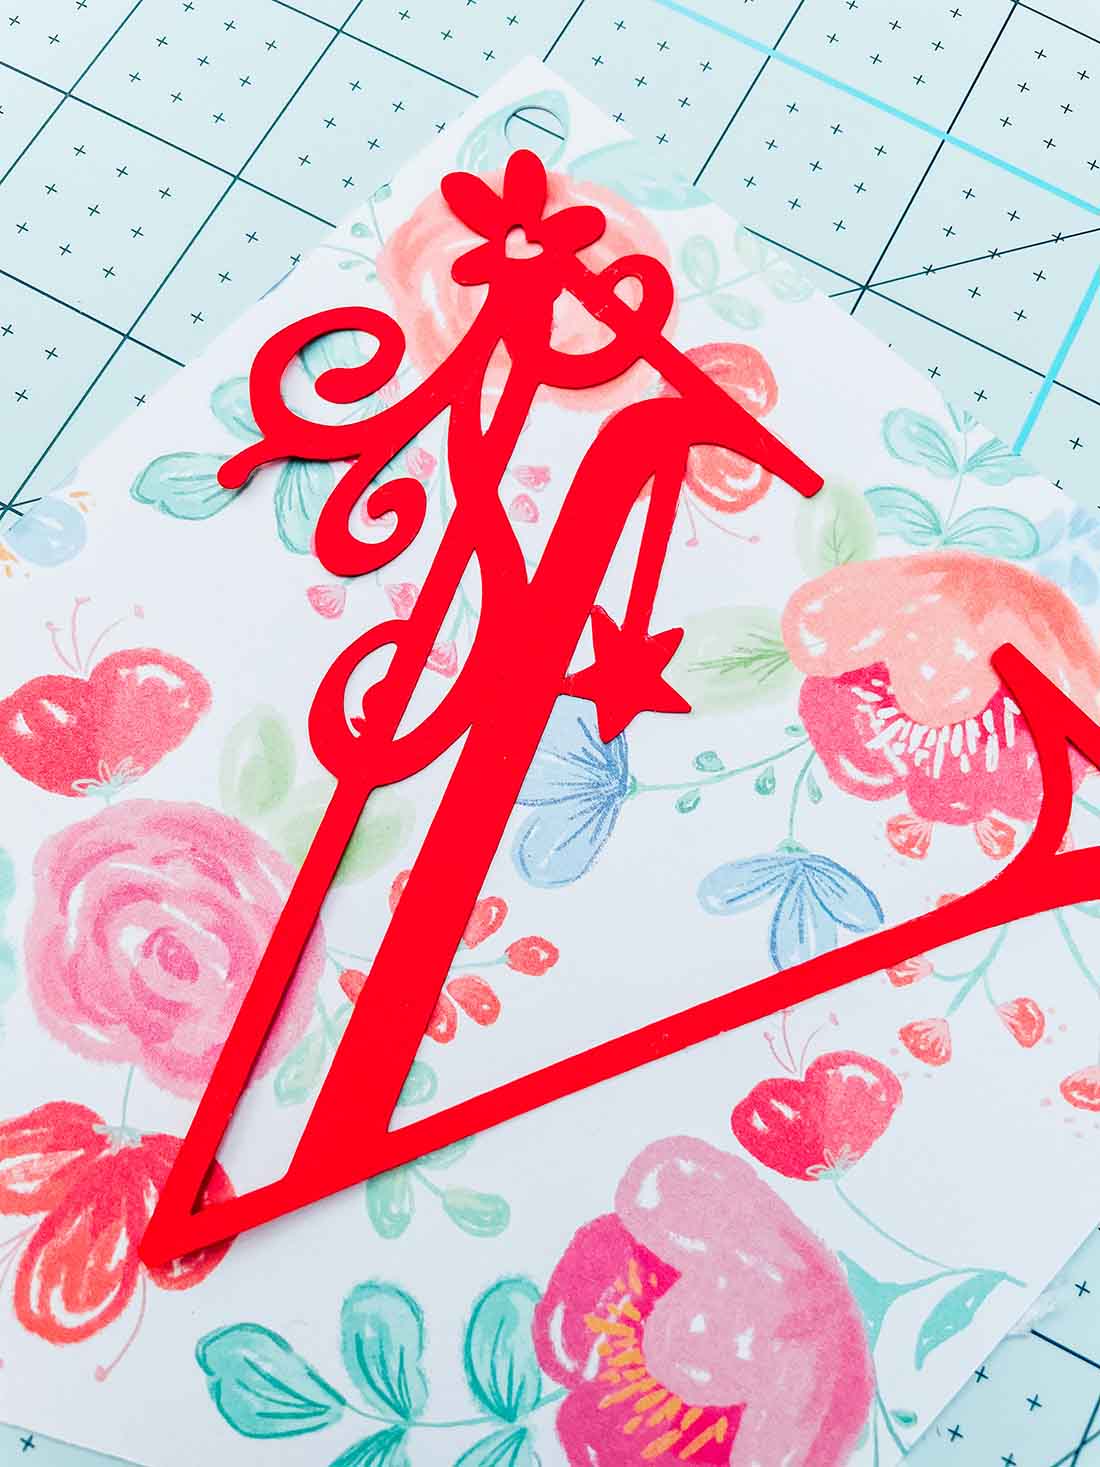
Now lift a corner of your letter with tweezers, the letter will then lift away in one piece.Use the weeding tool to remove any areas that need gently weeding and removing.
Please do pop over to Instagram, and give me a follow and if you make a project tag me! I love seeing everyone else’s makes and chatting crafting. I could do that all day!
Other Cricut Alphabet Ideas
Cricut Princess Alphabet
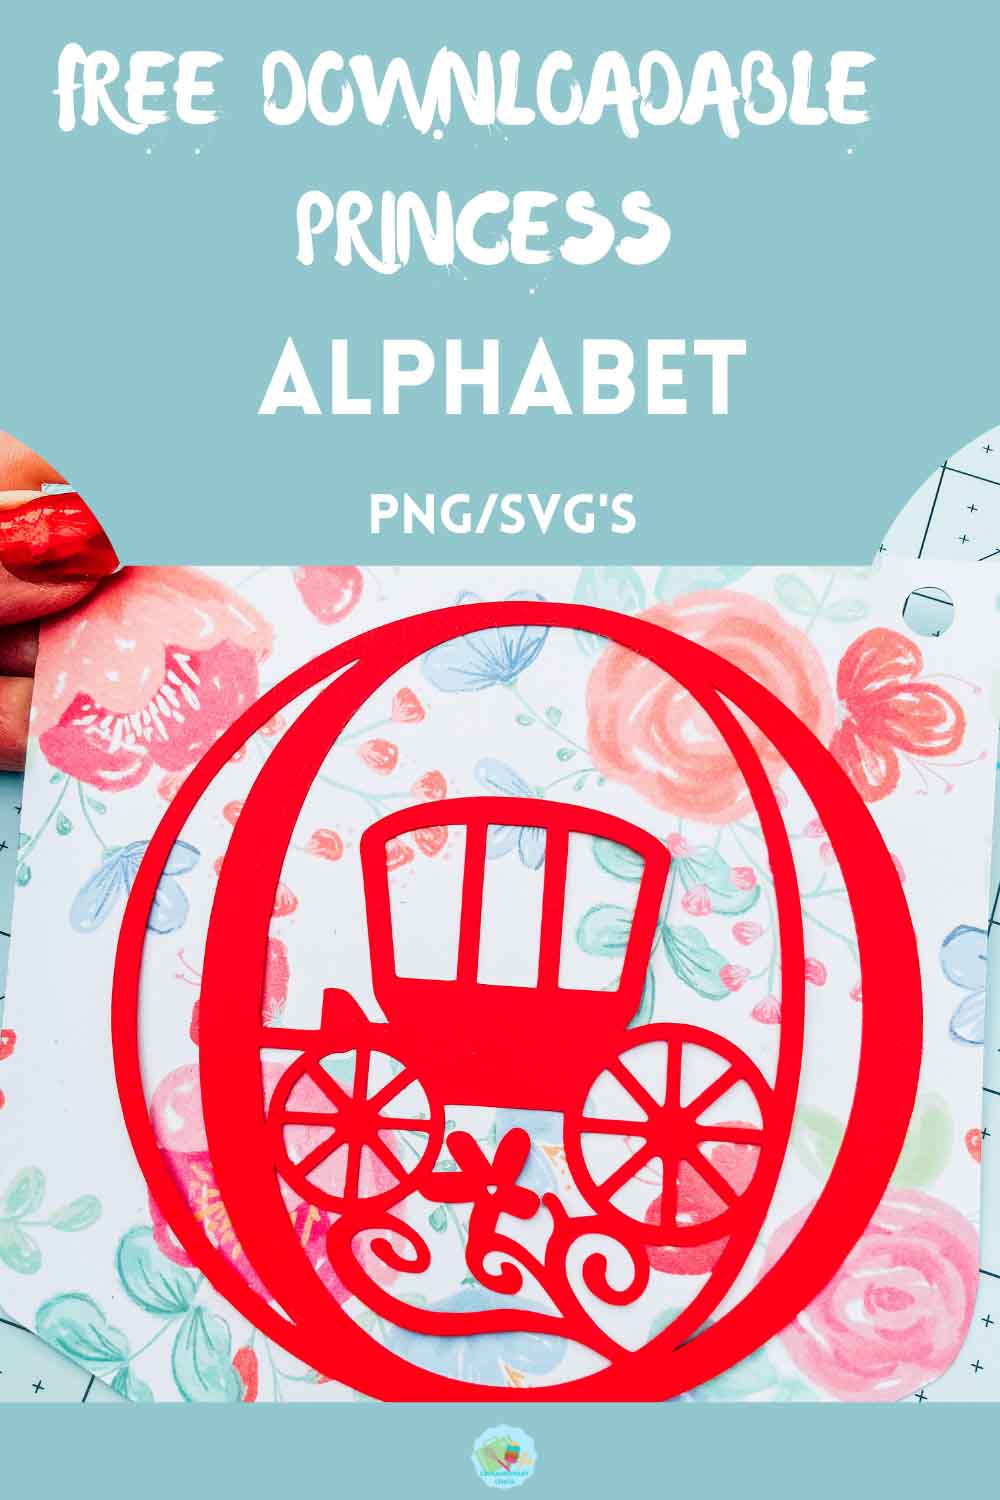
Free Cricut Princess Alphabet Cut Files, PNG, SVG, For Home Decor & Crafts to create Princess themed bedrooms, cards & scrapbook layouts
Materials
- Colour heavy paper, or light card stock.
- Vinyl
- Or Infusible Ink
Tools
- Cricut Maker Or Cricut Joy
- Cutting Mat
- Weeding Tool
- Brayer
- Tweezers
- Scraper
Instructions
- How To Make Your Cricut Princess Alphabet
Search for princess and party in Cricut Design Space as I wanted the set to be perfect for all princess themed home projects, crafts and scrapbooking but also creating great party decorations. Also I chose Academy Engraved alphabet, there is a huge choice of styles, however I prefer an open font for cuts and creating. It gives me more scope. - Making Your Own Cricut Princess Themed Alphabet?
Simply pull in the princess elements you want to use and weld together, it’s a long process and can take a day to do a full alphabet. However is so rewarding once finished and you have created a whole alphabet. However you can also save the work as use my free set.It’s important to make sure you join all of your princess elements together, and also consider what media your projects is for vinyl is better for smaller intricate cuts, but card stock is great for framed artwork and scrapbooking.
If you want an alphabet to cut smaller, ensure the cut is not too complicated and fiddly. However on larger projects and vinyl you can add more detail. Once you are happy with your design, right click and press weld in the bottom right hard corner.
- Uploading Your PNG Files To Cricut Design Space.
Click on upload image and select browse.
Choose your Princess Letter PNG of SVG files, SVGs upload easier than PNGS which need a few extra steps, but in the grand scheme of things still take no time at all.
You will be brought to a window with options, select complex file, then continue. The next window allows you the take the back of your file, but I have done this for you. - When you reach the save screen click save as a cut and continue. Do this one by one until you have all of your chosen letters and numbers. Once this is done, you can select all the letters you have uploaded and pull onto your mat in one go.
- Cutting Your Princess Alphabet
When you’ve chosen the Princess PNG/SVG Alphabet letters to cut, send to your Cricut. Ensure you use your brayer to roll the paper, vinyl or card to adhere to the mat and remove any bubbles or creases.
Also make sure you set your material and cut pressure to match whatever material you’re cutting. If I’m using card, I always set my pressure to more for a cleaner cut. Additionally I find Vinyl will cut much smaller that card.
When your Cricut has finished cutting, discard the outer area of the paper/ vinyl this pulls away easily.
Now lift a corner of your letter with tweezers, the letter will then lift away in one piece.Use the weeding tool to remove any areas that need gently weeding and removing.
Notes
Project Ideas For My Cricut Princess Alphabet And Numbers
Paper Cut Letters And Words
Princess Themed Meals Or Parties
Personalised Birthday Cake Toppers
Princess Themed Personalised Birthday Cards
Party Invitations
Wall Decals With Vinyl For Themed Bedrooms
Use Pegs And String For Hanging Princess Banners With Names
Framed Art
Iron On Vinyl Hoops
Classroom Decor
Decoupage Princess Cushions
Scrapbooking Pages And Memory Books
Recommended Products
As an Amazon Associate and member of other affiliate programs, I earn from qualifying purchases.

these are Beautiful.great job
thanks
Thank you so much Jenell xx