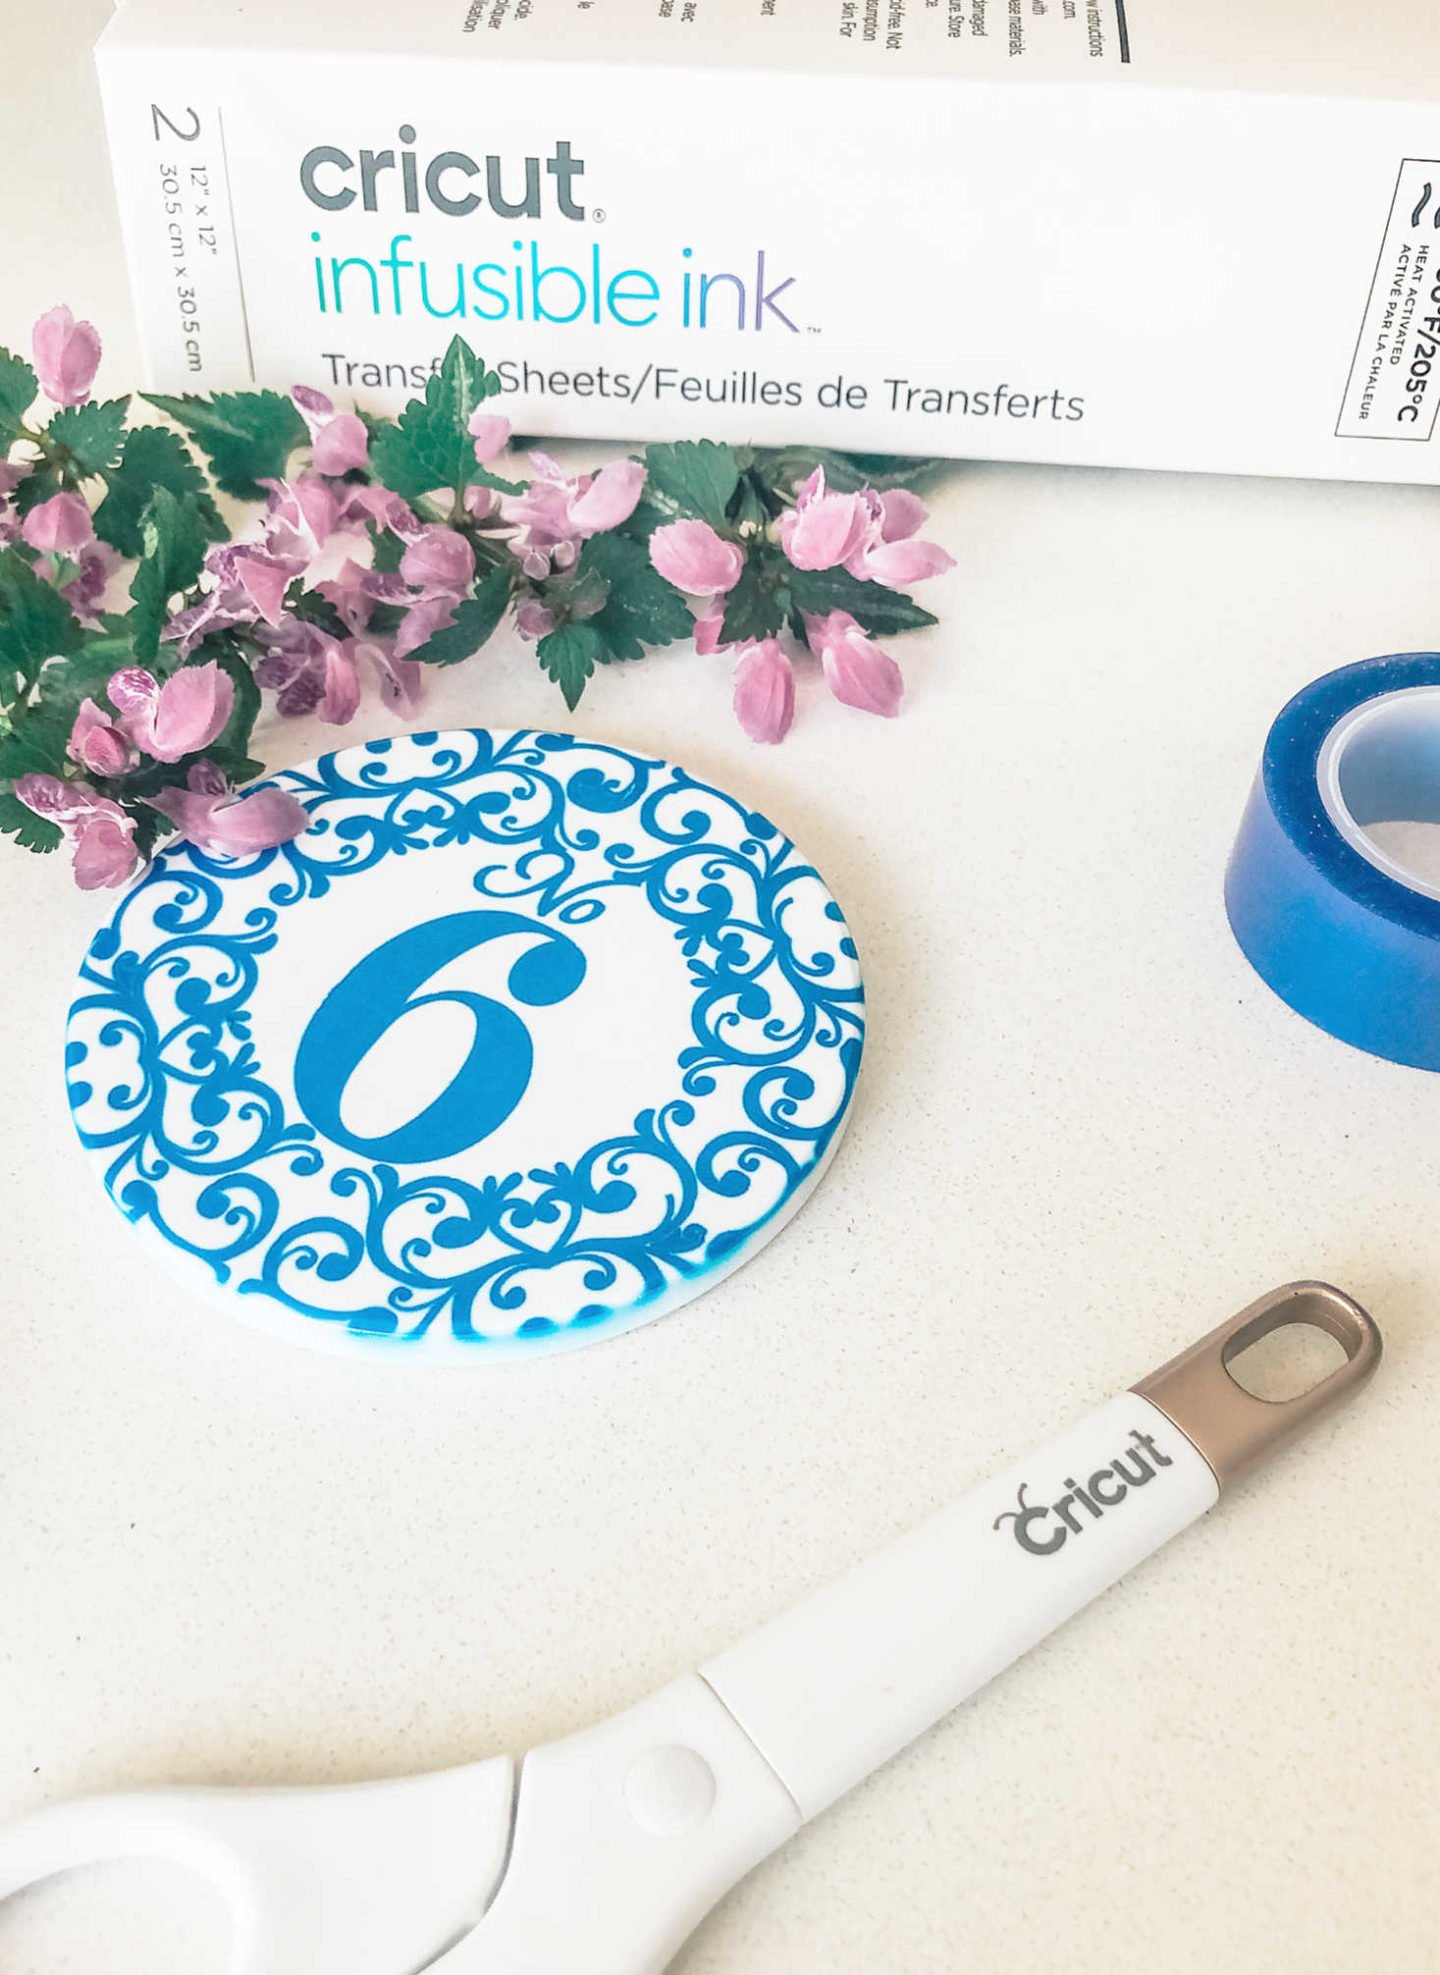
I have been loving having a play with Cricut Infusible Ink. Its such a great product, however what interests me most is thinking out of the box and creating alternative projects with the Cricut blank such as this cute hanging ornament. Today I am going to share how to make a super easy Ceramic Door Number With Infusible Ink.

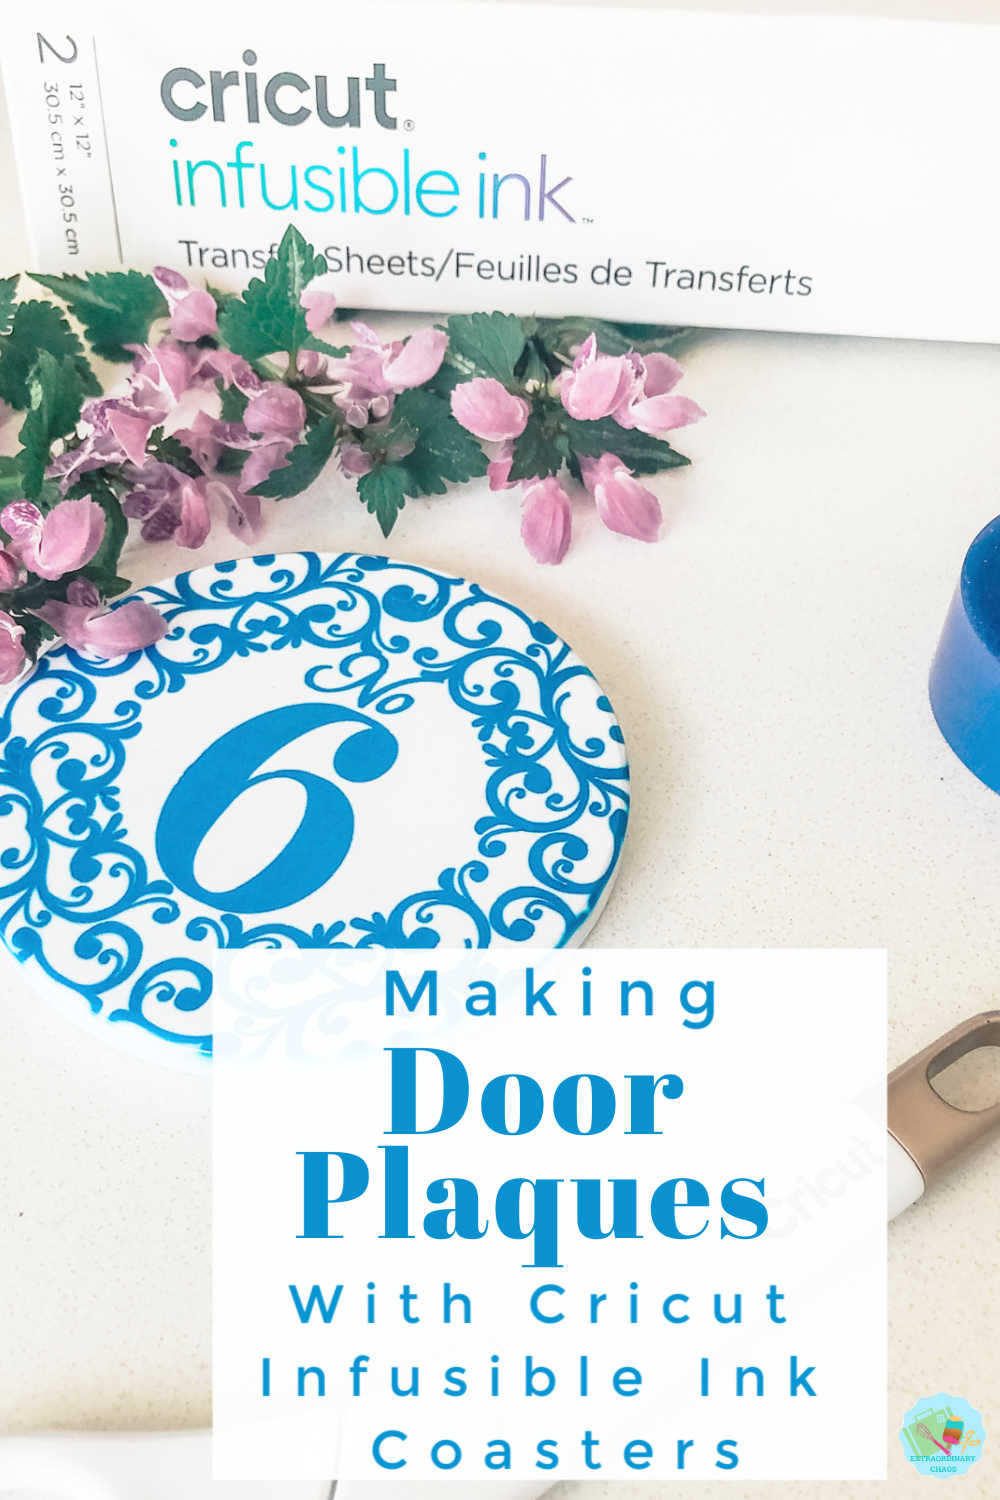
How To Make A Ceramic Door Number With Infusible Ink
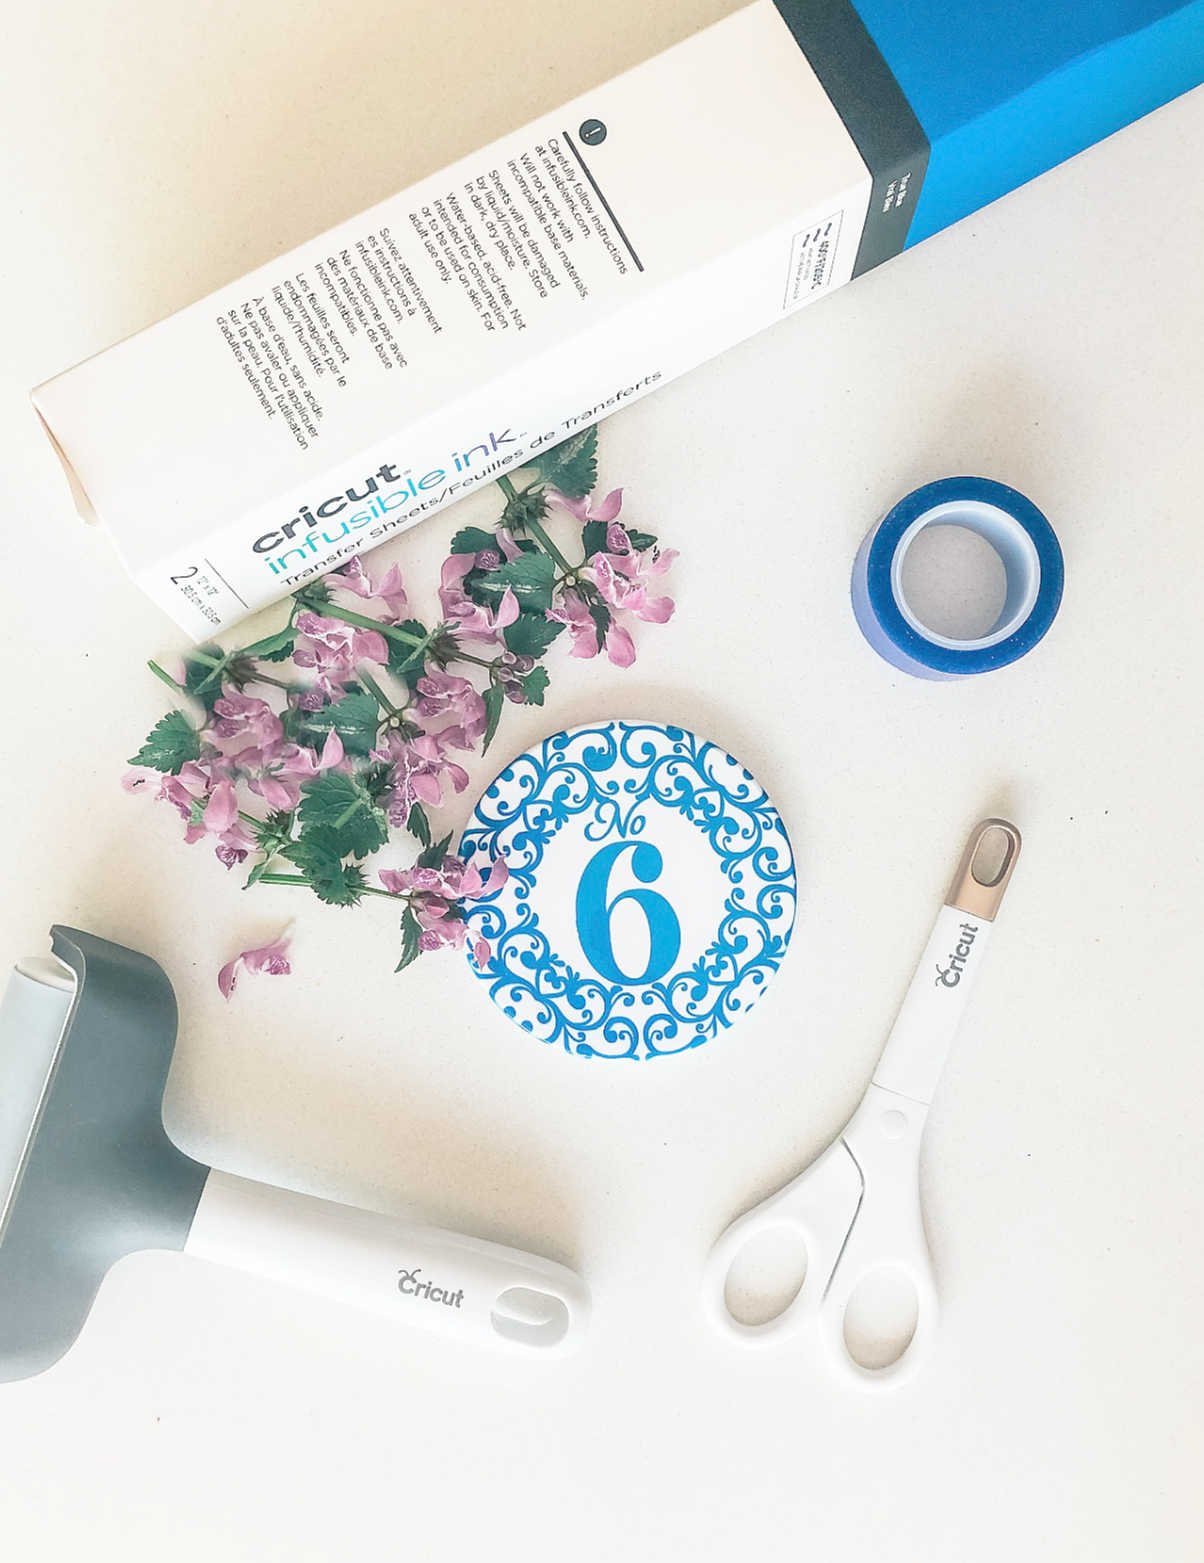
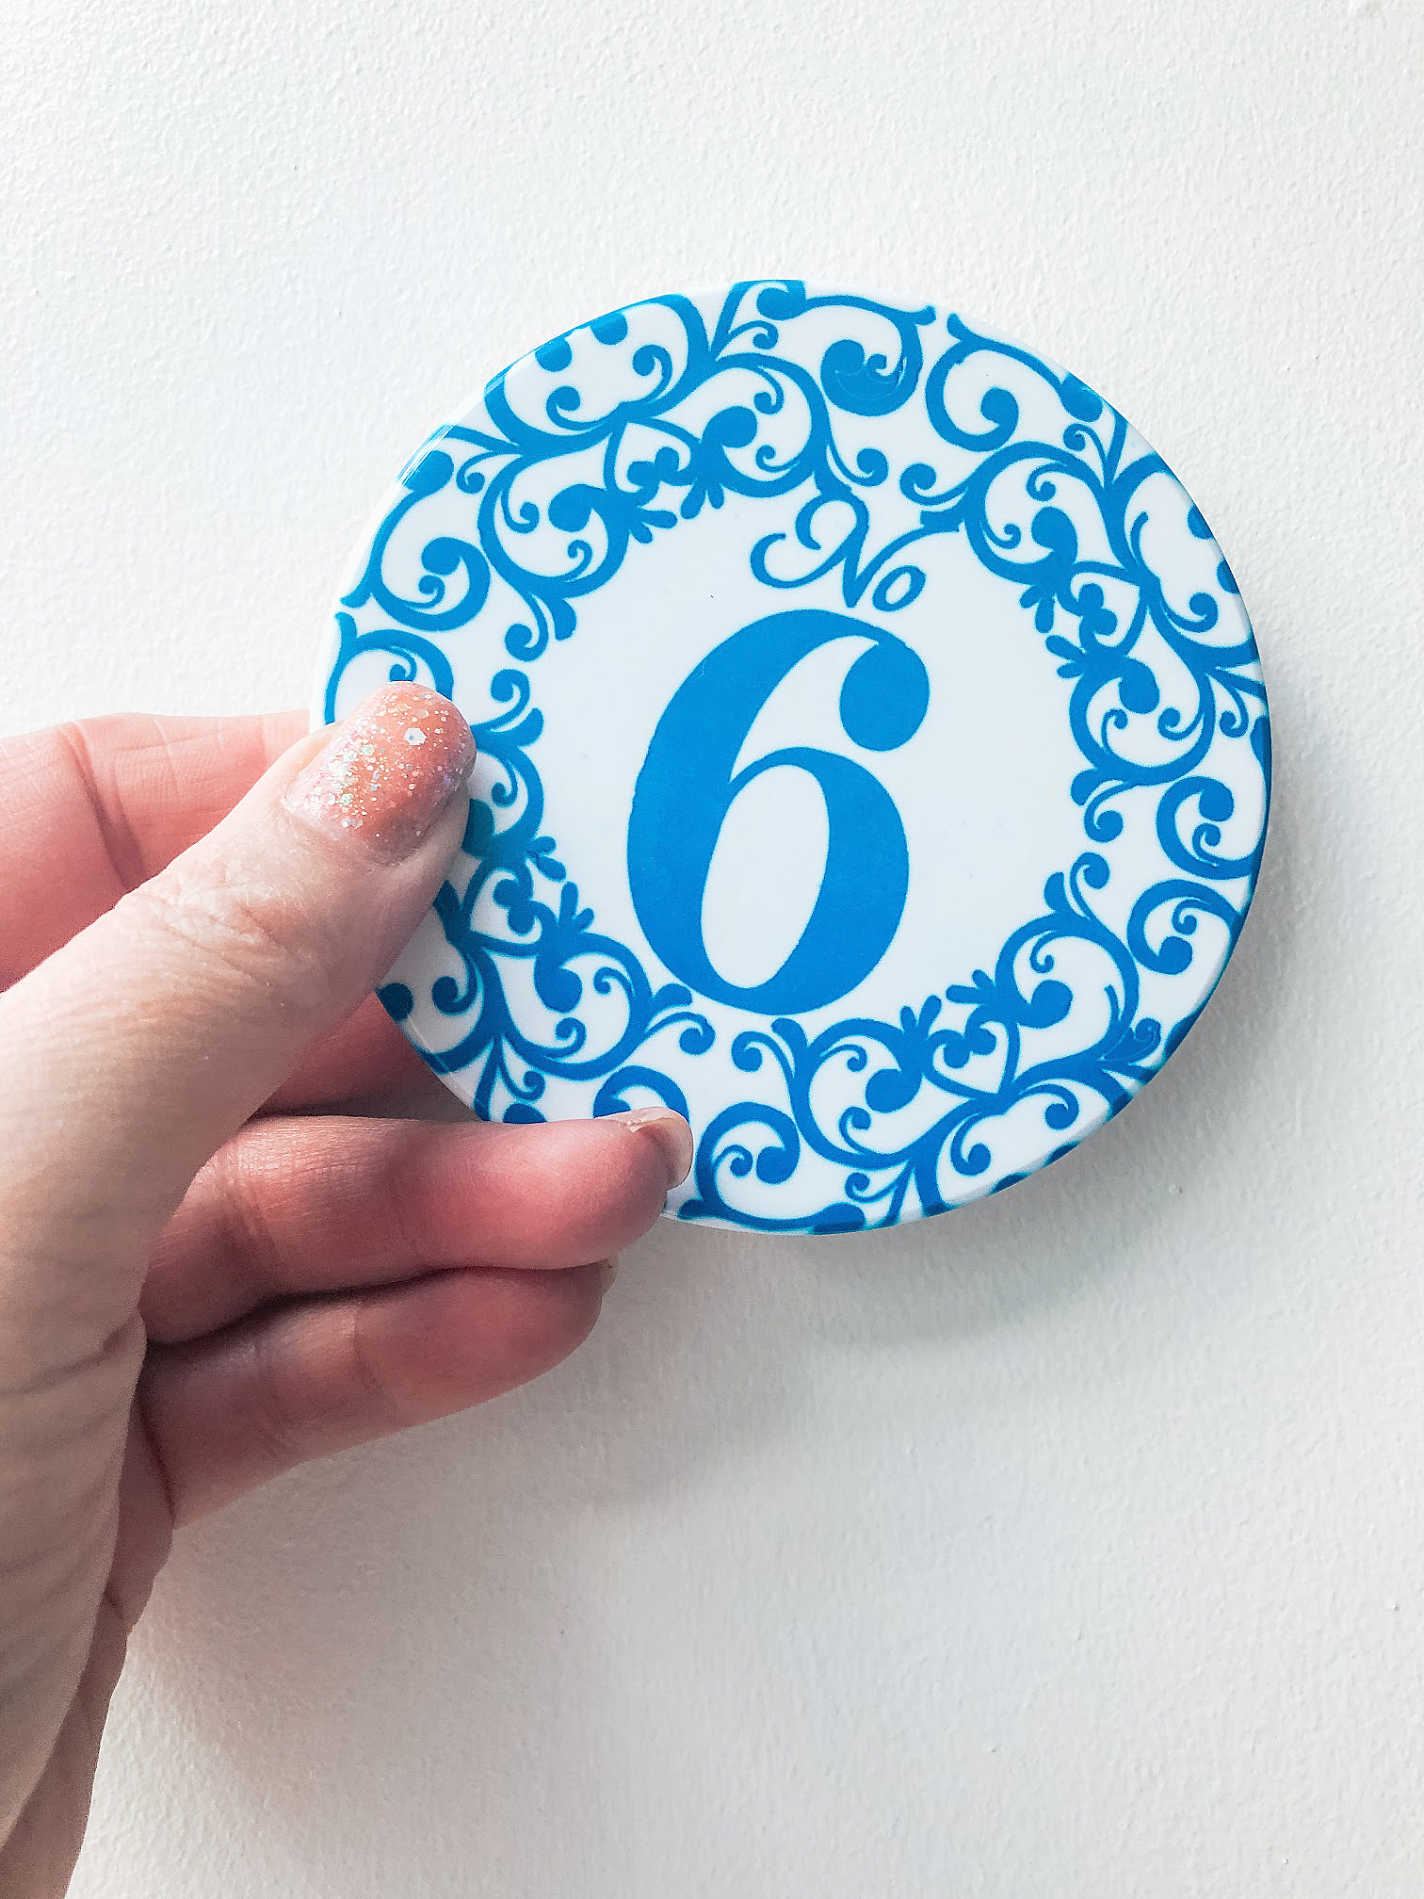
I have gone for a greek style door number, there’s nothing sunnier than Mediterranean blues to make you smile on the coldest of the winter days. Also click here for the Design Space project where you can simply add a number.
If you want to see me create my projects, follow me on Tik Tok and Instagram.
You Will Need
- Cricut Joy or Maker
- Cricut Joy Blue Cutting Mat
- Brayer And Tweezers
- Cricut Ceramic Coaster
- Infusible Ink
- Cricut Easy Press
- Cricut Easy Press Mat
- No Nails Glue
- Piece of white card stock
- Butcher paper ( Supplied with the ink)
- Kitchen tongs
Choosing Your Patten For Your Ceramic Door Number In Cricut Design Space
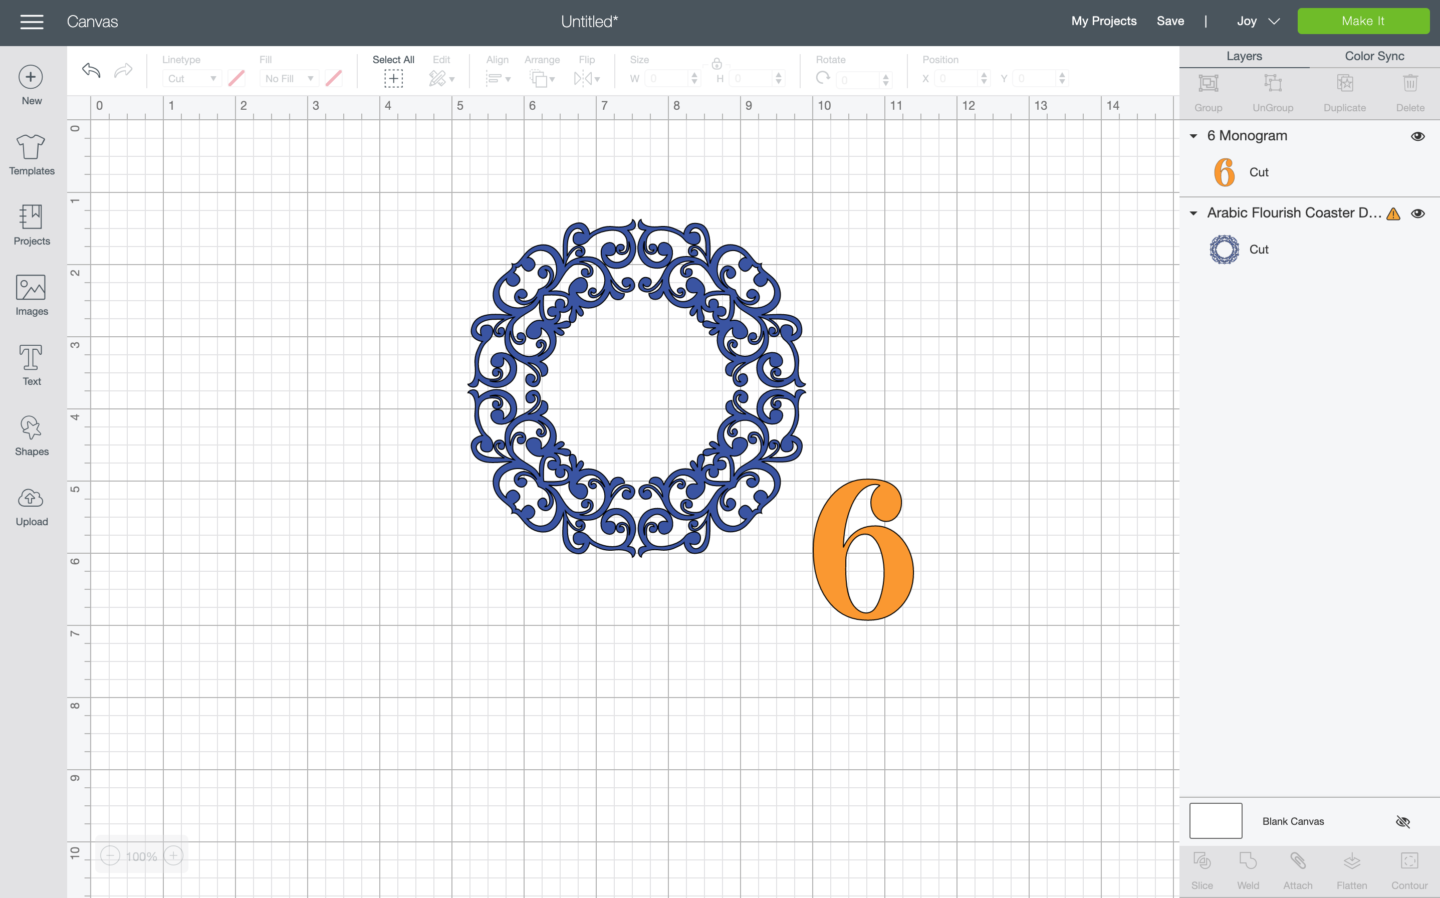
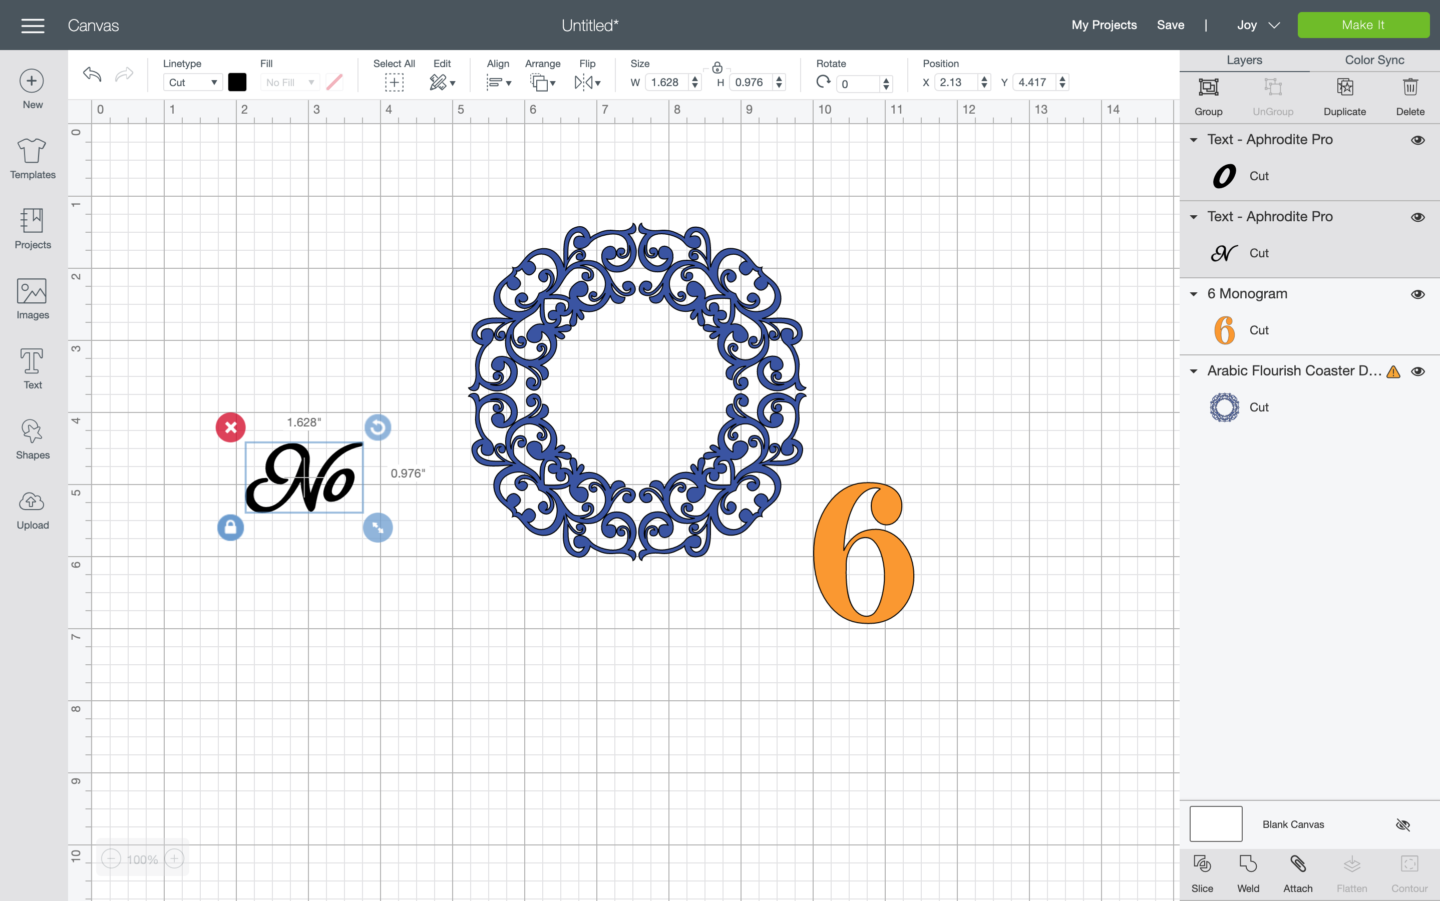
Search coaster in images in Cricut Design Space, from here you can choose a design, if you see a solid circle design it is simple to slice the centre of the image out using a circle. Click here to find out how. However the image I chose was a perimeter image which fitted perfectly with what I was looking for.
Once happy with the outer image choose your number, I searched the number in images as I find it easier to navigate and see rather than adding text. I simply ungrouped the no 6 to take away the outer layer.
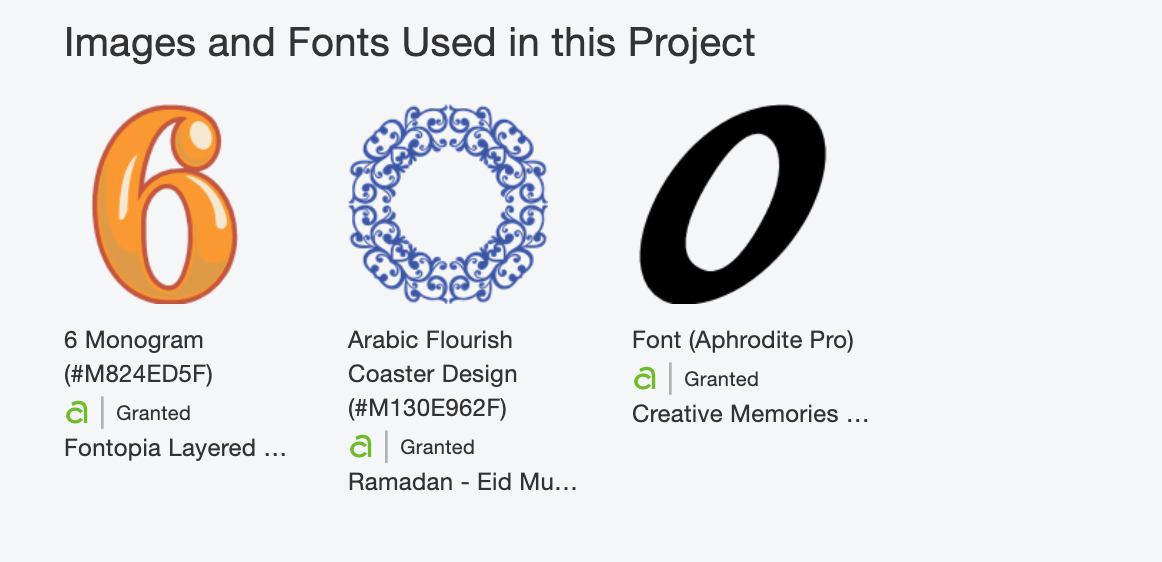
I chose Aphrodite Pro font for my N and O to make No for number. However the letters were not close enough so I ungrouped and re welded when I was happy with the positioning.
Once I was happy I positioned my designs and welded together ready to send to cut. If you do get this stage wrong, quickly press undo and redo your placement.
Sizing Your Image In Cricut Design Space
I wanted my image to fall over the edge of the coaster so there was no white space on the top outer edge. I placed my coaster on my Cricut cutting mat to measure, thus ensuring the measurement was slightly larger than the coaster.
Cutting Your Design
Because you place the Infusible Ink on your cutting mat with the colour facing upwards, do ensure you mirror your image when you send it to cut.
Transferring Your Ceramic Door Number With Infusible Ink
Stack Your Project
- Cricut EasyPress 2
- Butcher paper
- Cricut blank face down ( Face up seems to work better for me)
- Infusible Ink Transfer Sheet design, face up
- White card stock
- Cricut EasyPress Mat
Transfer Your Image
Press with the heat press on 400° with no pressure for 240 seconds. Always check the heat guide as it can vary depending on your base products.
When the timer has finished lift the heat press straight up to avoid smudging. Now allow it too cool, the coasters take quite some time to cool down. If you need for some reason to move your coaster, use cooking tongs as they are mega hot. Dont attempt to pick up without tongs under any circumstance until they are fully cooled down.
Attaching Your Door Number
Attach to the wall or your door with no nails glue. Alternatively, should you want to put a hole through your coaster check out this post to see how.

More Craft Ideas
Please note this post contains affiliate links.