Summer is coming; sometimes, you want an easy craft project to make with kids. Or you want a simple concept to add to your crafting skills. This super easy tutorial will take you through how to make a paper fan and upscale these easy DIY paper fans into a gorgeous card.
Of course, there are many uses for these fans: cards, banners, scrapbooking pages; the list goes on! But today I will look at making the fan as a fan summer craft for kids or an easy but beautiful card.
If you want to see me create my projects, follow me on Tik Tok and Instagram.
How To Make A Paper Fan
You Will Need
For The Fan
- 2 x 3.5 squares of double-sided coloured of patterned scrapbook paper or craft paper. Not too thick as it makes it hard to fold and bend.
- Scissors
- String
- Glue gun or craft glue
- 2 Lolly sticks or craft sticks
- Cricut Maker and card mat if you want to cut your squares with a scalloped edge.
For The Card
- Blank card and envelope or cardstock to make your greeting card.
- Washi tape
- Card stock for centre circle ( could be cut on a Cricut, with a stamp or by hand)
- Happy Birthday decal ( I cut mine with vinyl on my Cricut), but you could also use a sticker decal or stamp.
- Stick on mini pearls in a corresponding colour
- Large, strong sticky pads
- Glue gun
How To Make A Paper Fan With Lolly Sticks
Start by cutting two squares out of your pieces of paper. I cut mine 3.5 inches x 3.5 inches with a scalloped edge on my Cricut Maker. However, you can make your fan any size without the lolly sticks. A large fan is great for party decorations, this would look great, made in all different sizes, with a larger fan and lots of smaller fans in a display.
If you would like to use my template, click and save the image below and upload it to design space following these instructions.

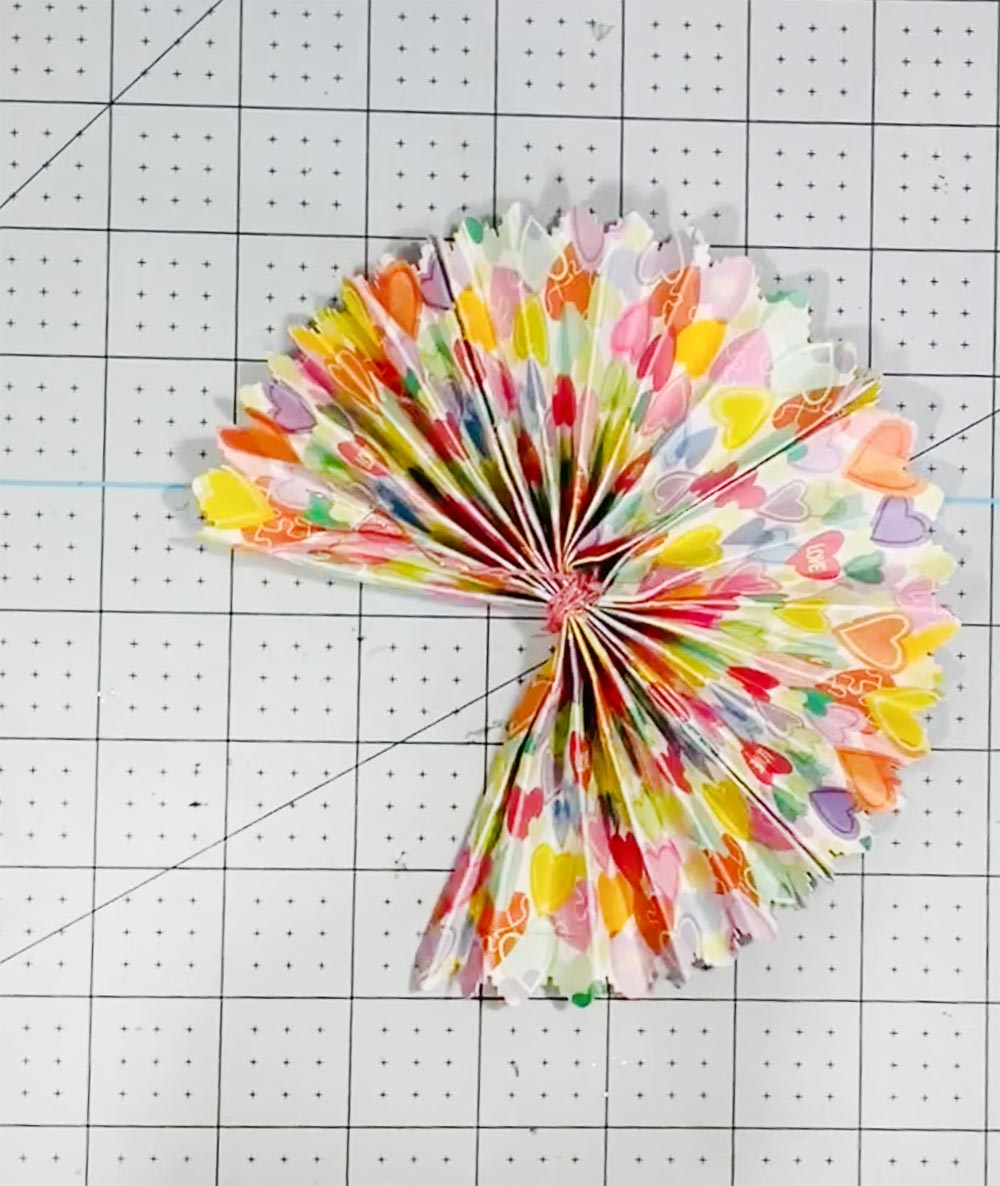
Start by folding your two square pieces of paper accordion style into 1cm folds. However, if you have a scalloped edge, be sure to keep this in the outside edges as you fold. Once folded, press down on your fan shape to secure the folds; you can use a ruler for this.
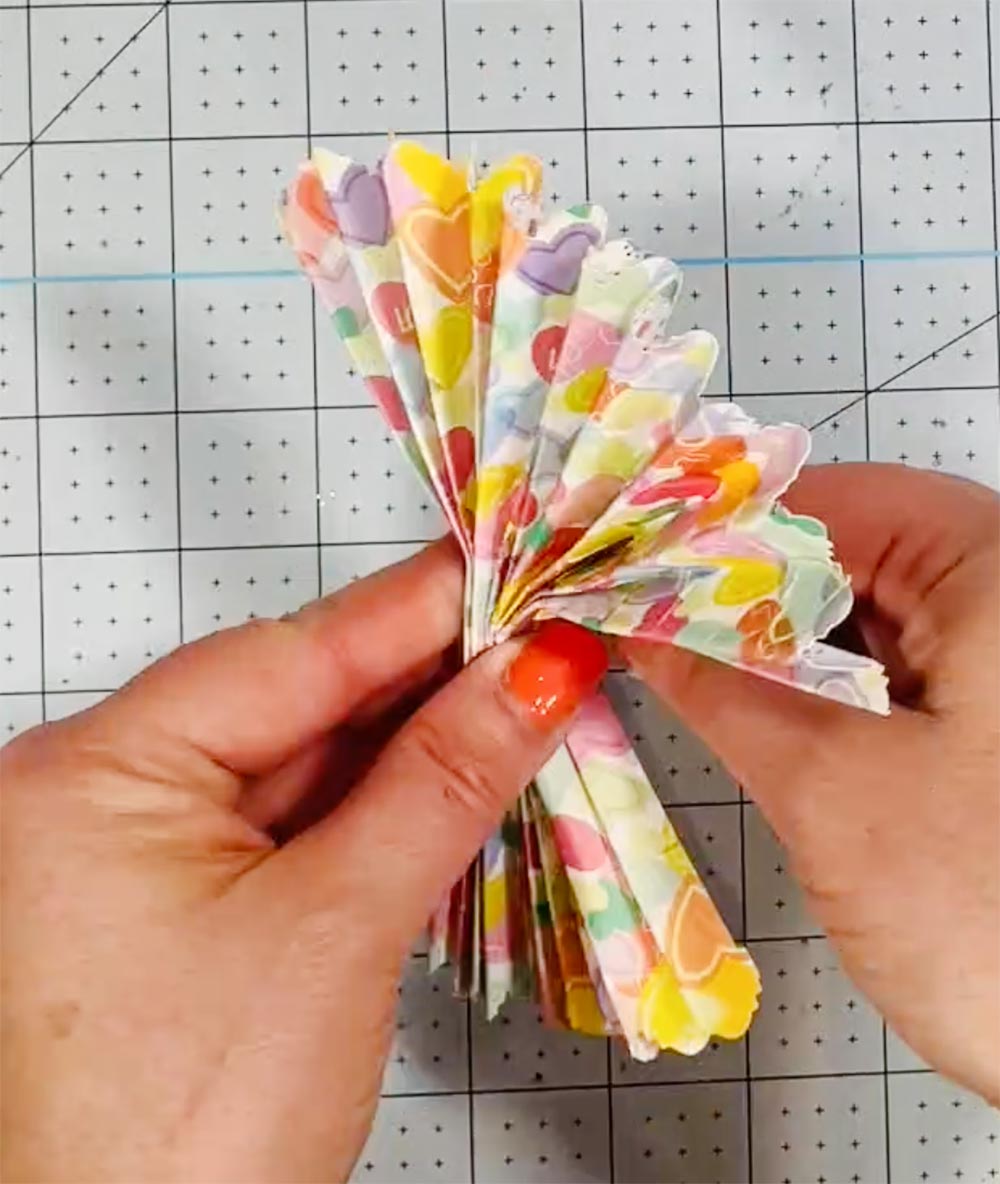
Now, glue together both squares with strong glue and hold them together until you are confident the glue is dry. Once dry, tie the centre tightly to create a bow shape. Then, once the string is secure, tease two of the edges together and glue them to secure them; this will start to form your fan shape.
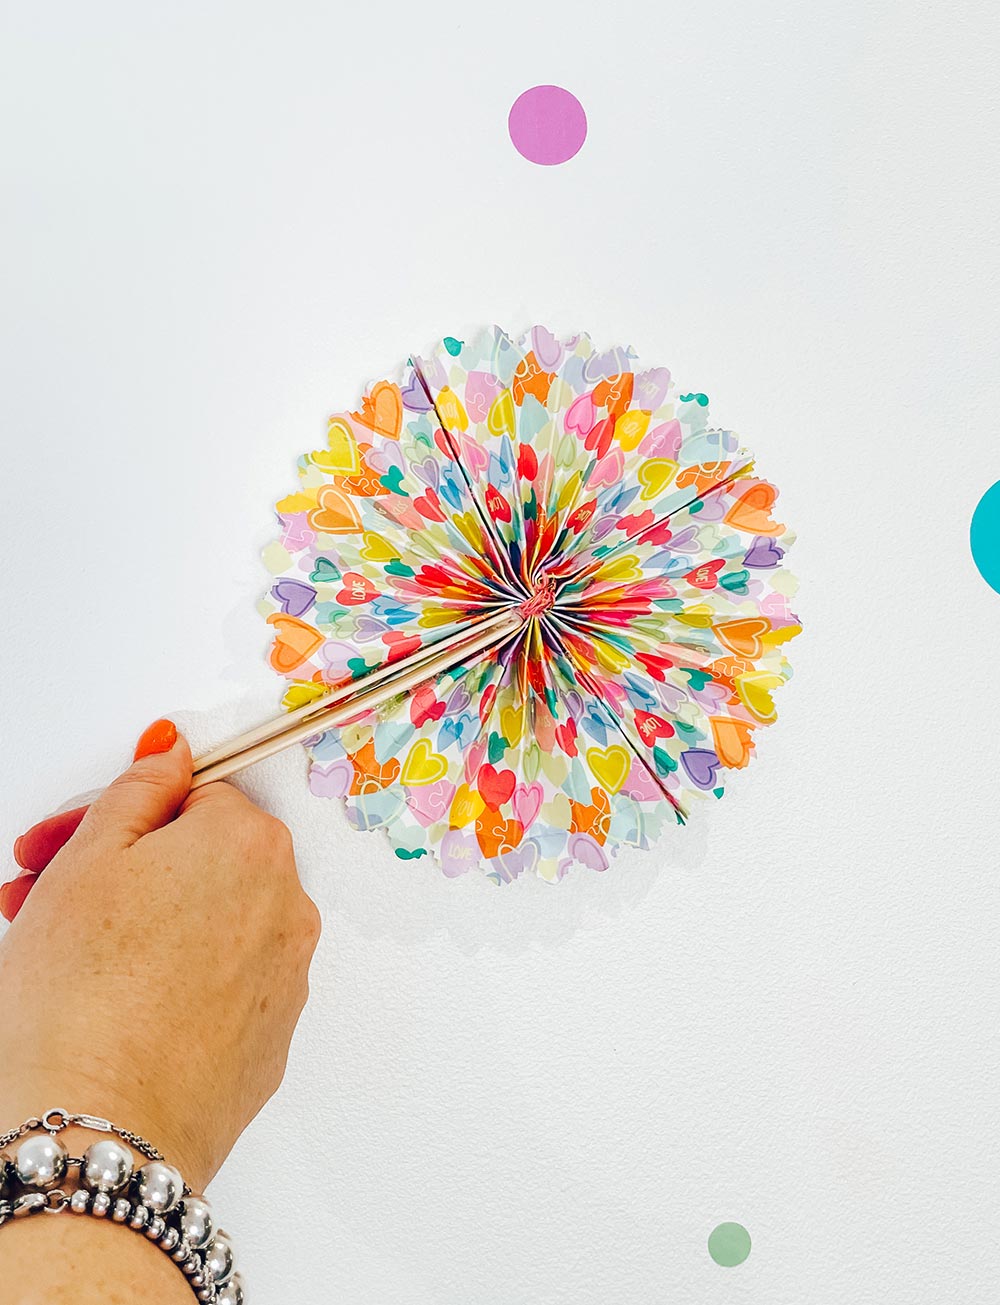
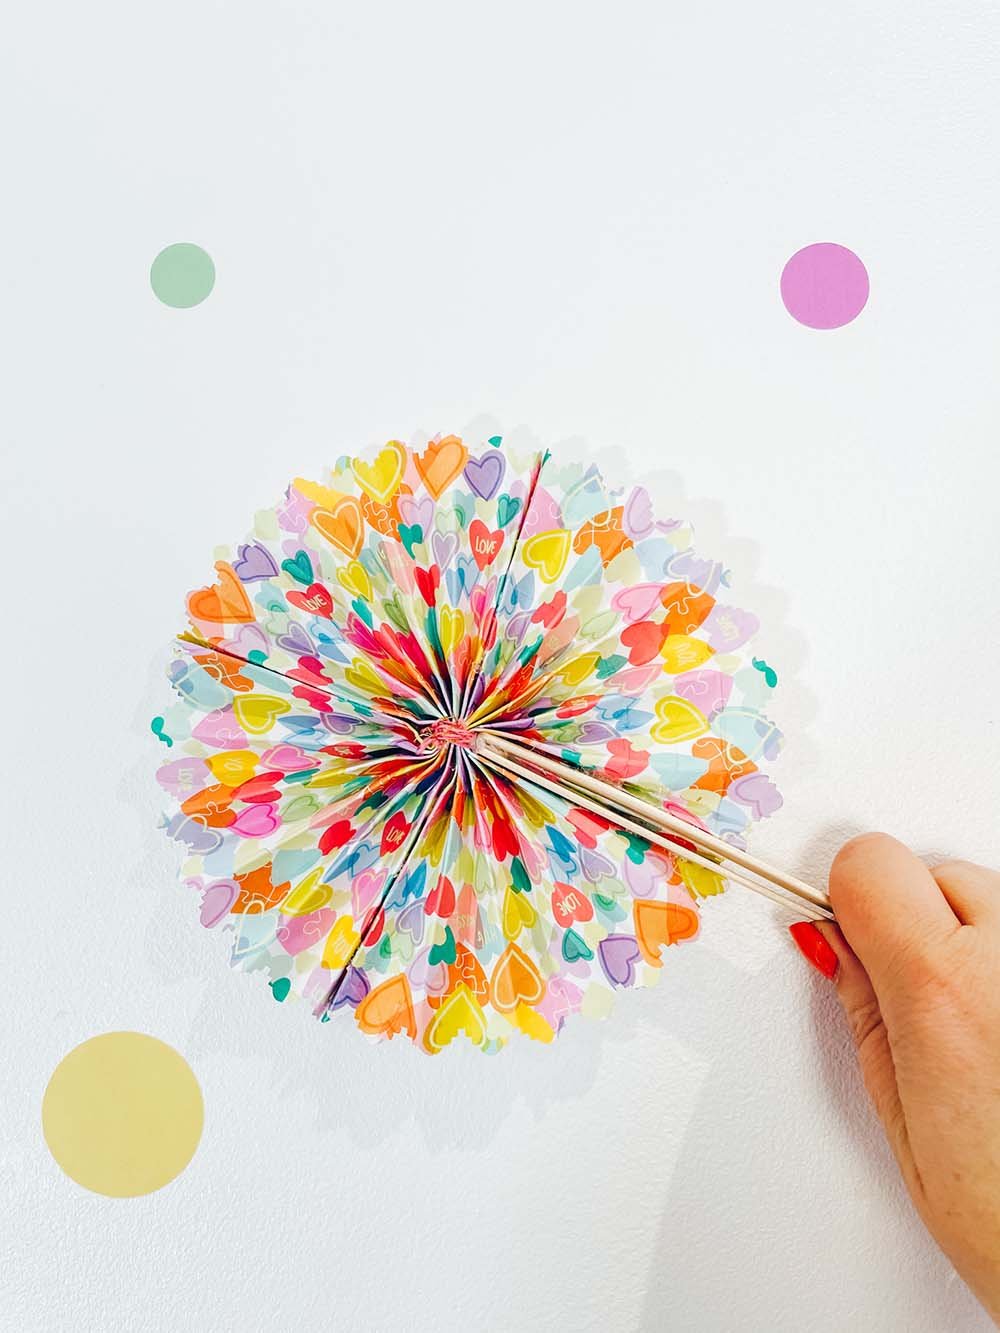
Next, when the glue is dry, glue lolly sticks to the remaining two edges and allow it to dry, forming your fan handles. This will give you a cute paper fan; you can stop here!

This is a great summer craft for decorations, banners and crafting with kids. However, if you want to learn how to make a paper fan card, then read on.

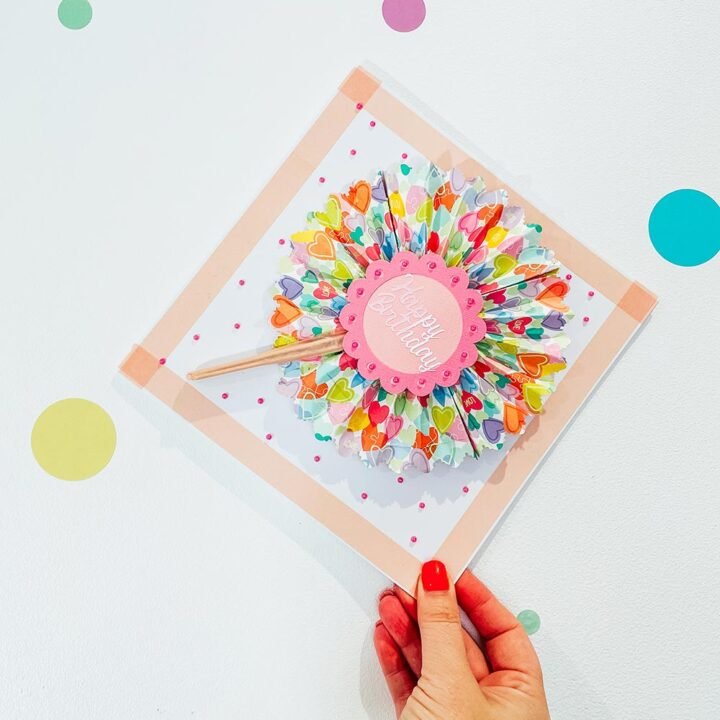
How To Make An Origami Fan Flower Card
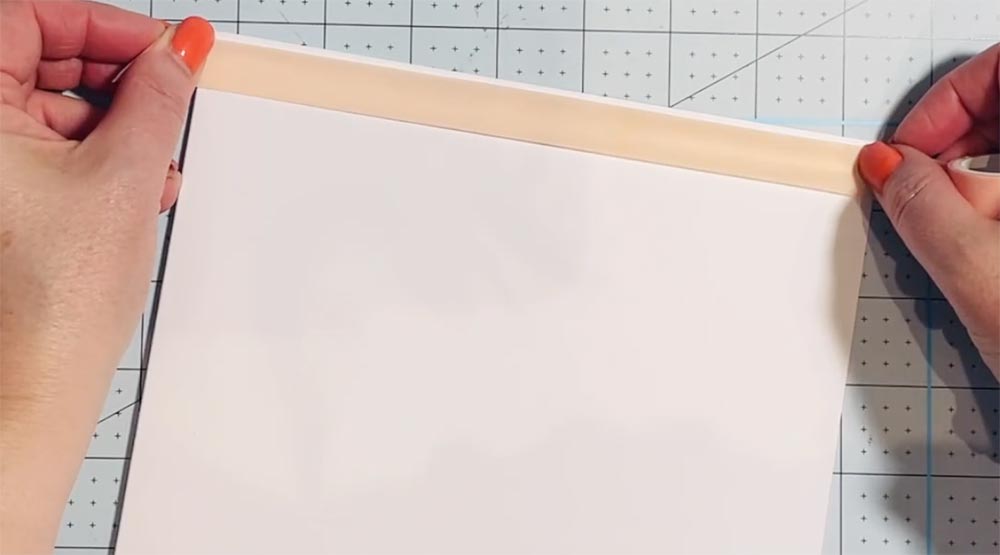
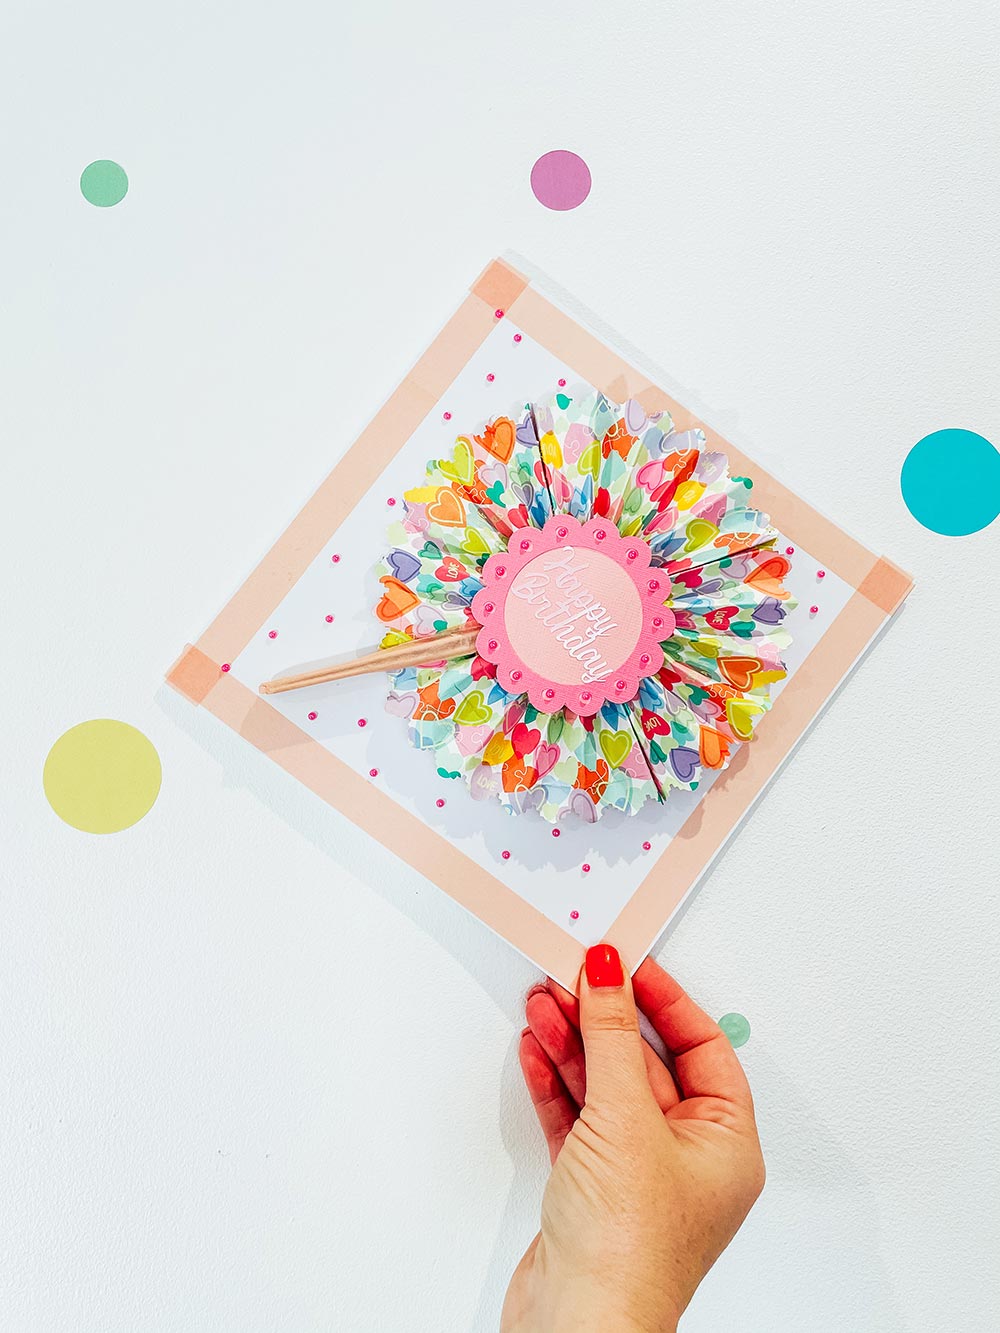
Put your fan to one side, and use the washi tape to create a border on your blank card. I chose a plain natural tape, although you could go bolder and brighter; anything goes here.
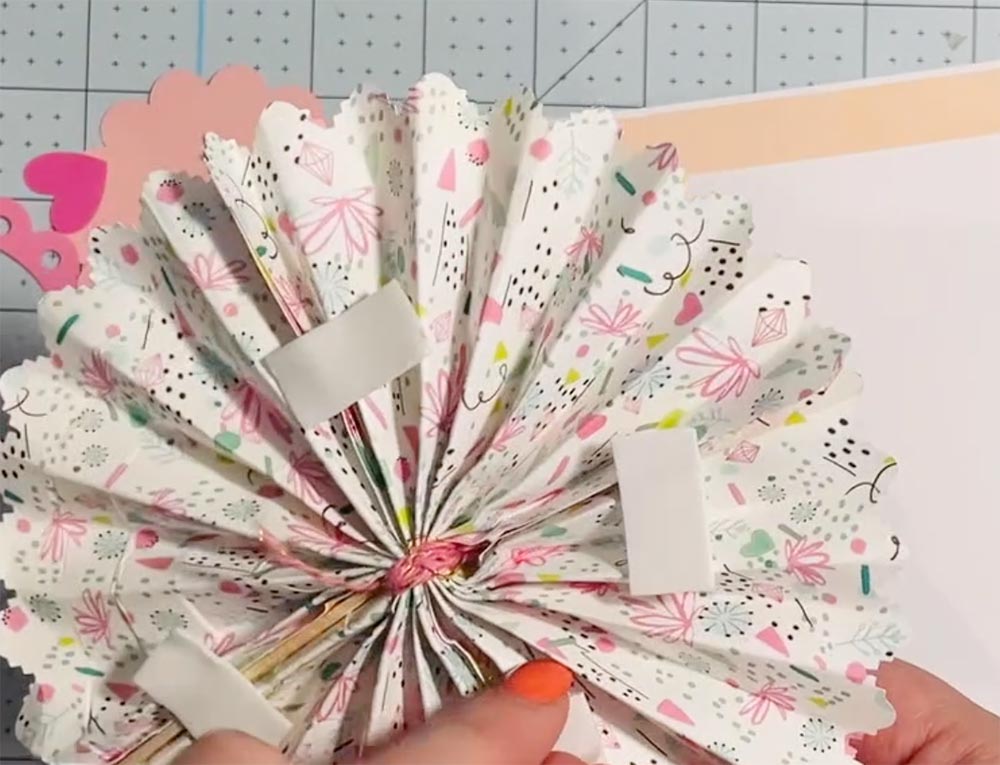
Once your order is in place, stick strong double-sided sticky pads to the back side of your fan and secure it to the card.
Then, either cut out the centre portion and message on your cutting machine. Or use a stamp and punch to create a centre. You could even make a smaller fan with tissue paper.
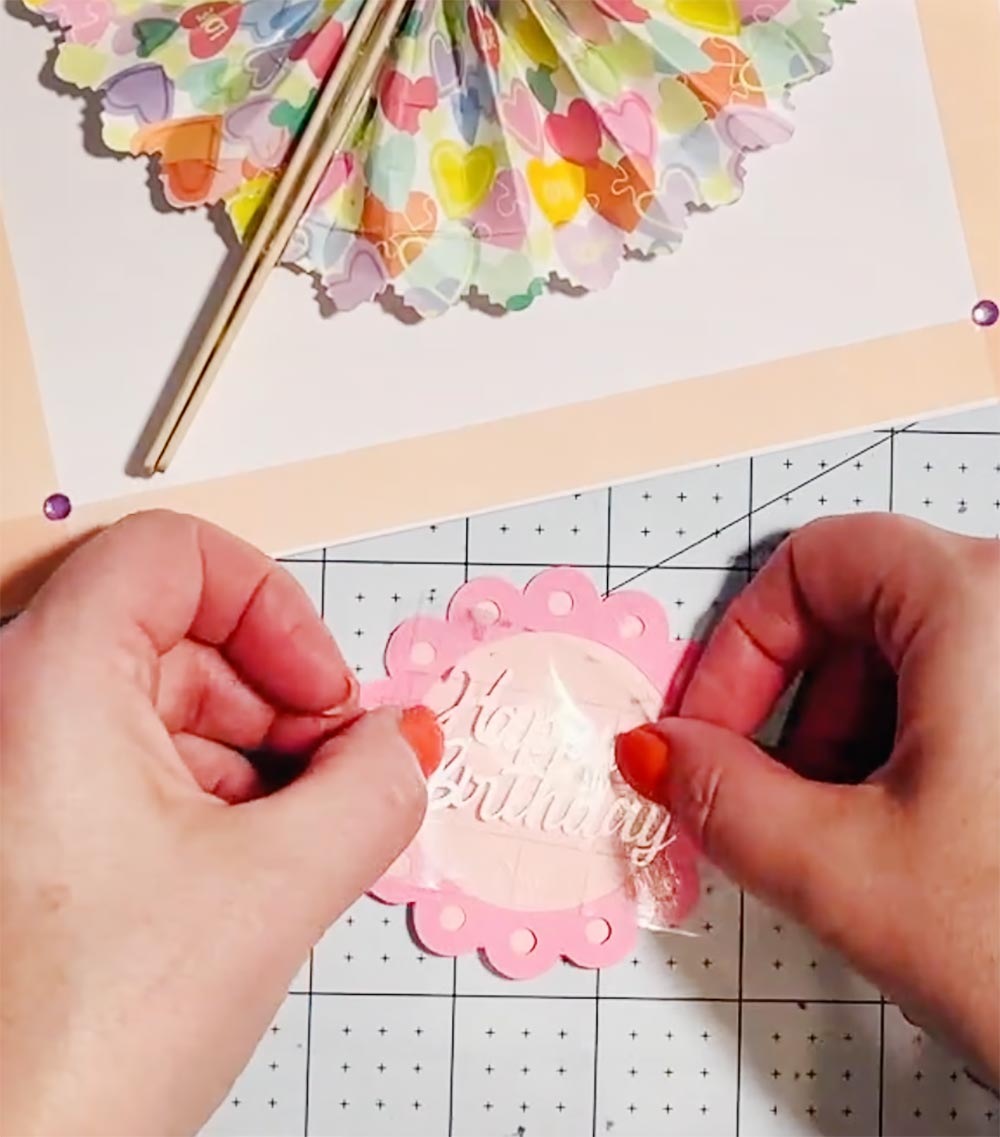
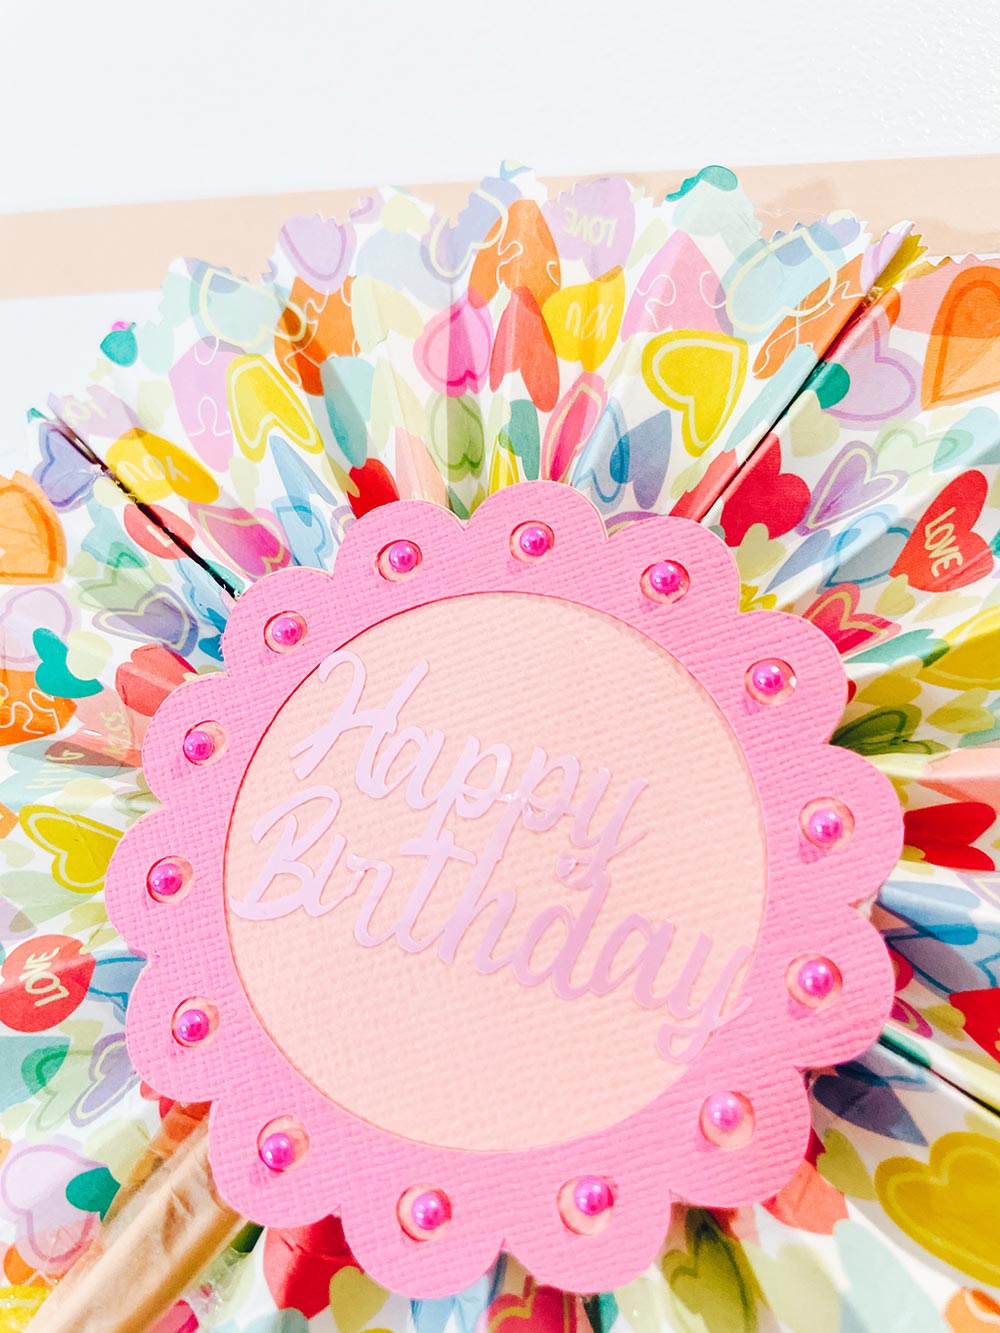
I used permanent vinyl to make a happy birthday decal, which I transferred to my card. However, you can also use stick-on decals if you don’t have a cutting machine.
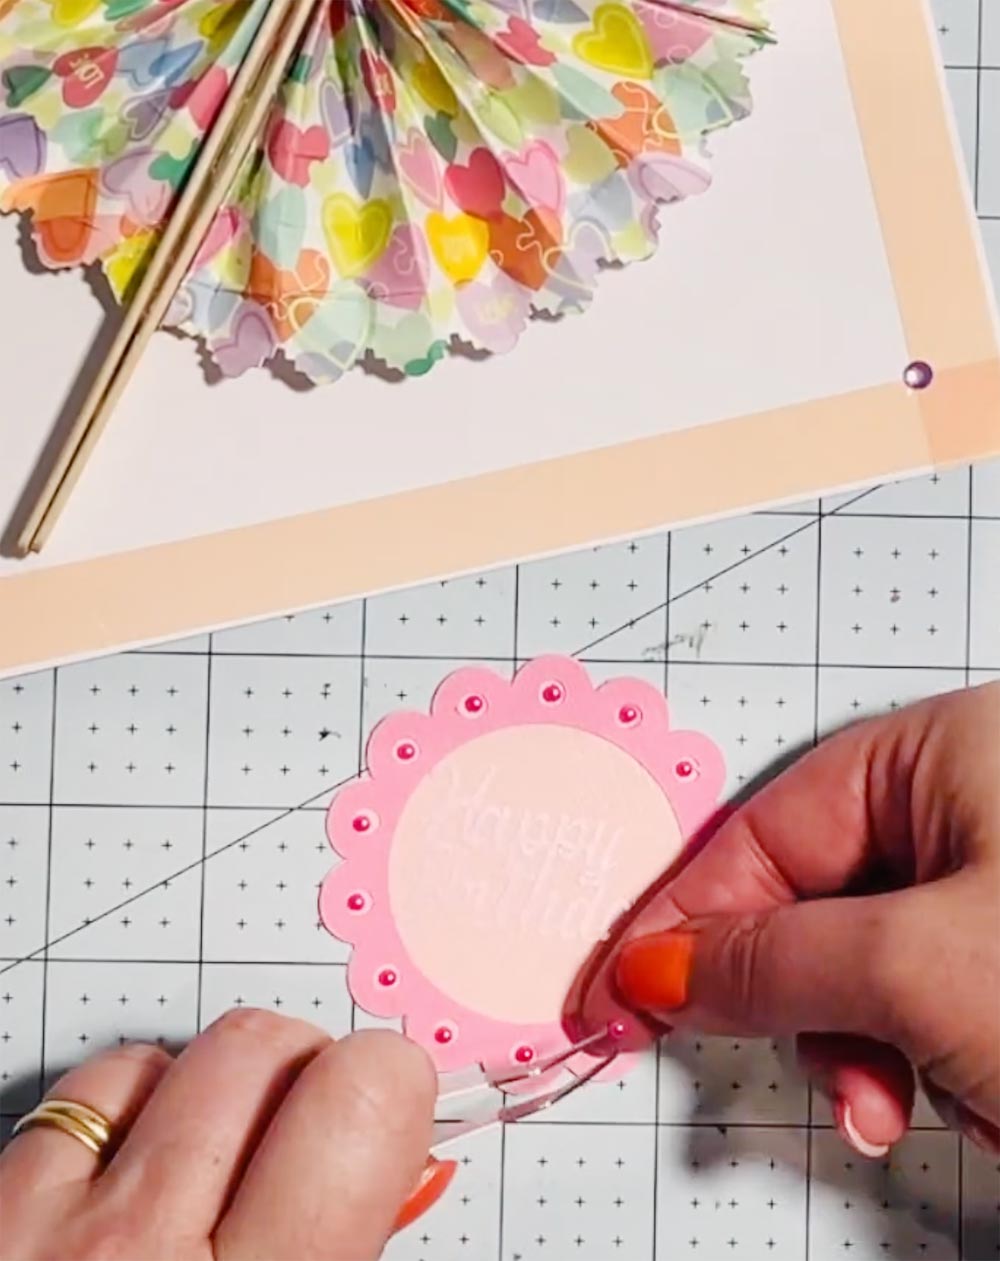
To finish off, the card is decorated with mini pearls; these add such a pretty 3D effect to the card. Cardmaking can be as easy or difficult as you want it to be, it’s all about being creative and personalising your creation.
Also please do pop over to Instagram, and give me a follow and if you make a project, tag me! I love seeing everyone else’s makes and chatting crafting. I could do that all day!
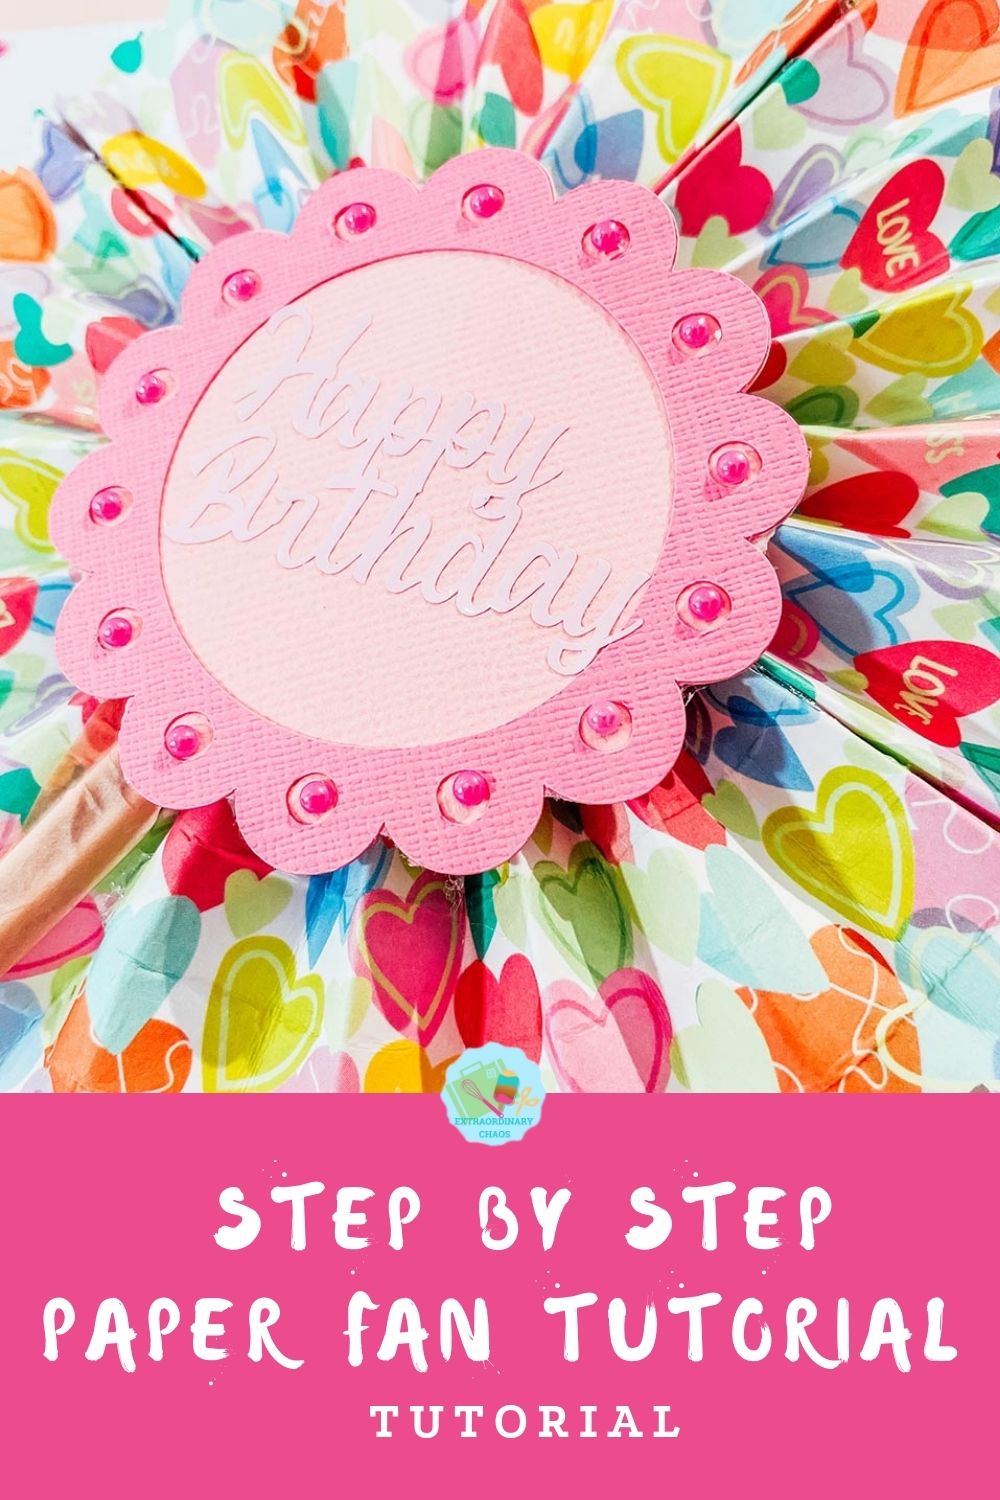
Make A Paper Fan And Fan Flower Card
How To Make A Paper Fan with lolly sticks & create an easy flower fan card & paper fan step by step tutorial for card making and crafting
Materials
- For The Fan
- 2 x 3.5 squares of double sided coloured of patterned paper. Not too thick as it makes it hard to fold and bend.
- String
- 2 Lolly sticks
- For The Card
- Blank card and envelope
- Washi tape
- Card stock for centre circle ( could be cut on a Cricut, with a stamp or by hand)
- Happy Birthday decal ( I cut mine with vinyl on my Cricut) but you could also use a sticker decal or stamp
- Stick on mini pearls in a corresponding colour
- Large strong sticky pads
Tools
- Scissors
- Glue gun
- Cricut Maker and card mat if you want to cut your squares with a scalloped edge.
Instructions
- How To Make A Paper Fan With Lolly Sticks
Start by cutting 2 squares. I cut mine 3.5inches x 3.5 inches with a scalloped edge on my Cricut Maker. If you would like to use my template right click and save the image below and upload to design space following these instructions.
- Start by folding your two squares into 1cm folds. However if you have a scalloped edge be sure to keep this in the outside edges as you fold. Once folded, press down on your fan shape to secure the folds.

- Glue together both squares with strong glue and hold together until you are confident the glue is dry. Once dry tie the centre tightly to create a bow shape. Then once the string is secure tease two of the edges together and glue to secure them, this will start to form your fan shape.
- Next, when the glue is dry, glue lolly sticks to the remaining two edges and allow to dry, this will form your fan handles. This will give you a cute paper fan, you can stop here!

- How To Make A Paper Fan Flower Card, Put your fan to one side, and use the washi tape to create a border on your blank card. I choose a plain natural tape, although you could go bolder and brighter, anything goes here.

- Once your border is in place stick strong double sided sticky pads to the back side of your fan and secure it to the card.

- Then either cut out the centre portion, and message on your cutting machine. Or use a stamp and punch to create a centre. You could even make a smaller fan with tissue paper? I used permanent vinyl to make a happy birthday decal which I transferred to my card, however you can also use stick on decals if you don’t have a cutting machine.
- To finish off the card decorate with mini pearls, these add such a pretty 3d effect to the card. Card making can be as easy or difficult as you want it to be, its all about be creative and personalising your creation.
Recommended Products
As an Amazon Associate and member of other affiliate programs, I earn from qualifying purchases.
very cute idea. Thanks for sharing