Ah love is in the air and as February approaches it’s a time of nights getting sightly lighter, the hope of spring in the air and of course love. I remember Valentines Day being a thing since as long was I can remember and a family friend sent me a card every year. It brings back memories of wondering who that card could be from? And then actually getting cards and gifts as a teen. Ah its a lovely time and these Free Printable Valentines Stickers are perfect for valentines day.
I have designed them a little differently from my usual monthly planner stickers to make them a little more versatile, and thus usable to create cards, gifts and scrapbooking pages.
If you are wondering how to make stickers and set templates check my post which guides you through this.

What You Will Find Here
How To Download And Print Your Valentines Stickers
What Can My Printable Valentines Stickers Be Used For?
- Planners
- Bullet Journals
- Valentines Scrapbooking Layouts
- Valentines To Do/Wish Lists
- Wall Planners
- Valentines Cards
- Themed Crafts With Kids

You Will Need
- Printer
- Glossy sticker printer paper.
- Scissors or guillotine
( The following only if cutting and printing)

Which Printer Is Compatible with Cricut Print And Cut?
I use the HP Envy 5020 which prints sticker vinyl, glossy sticker paper and magnetic paper perfectly. However isn’t able to feed thick sticker paper through, I prefer the Amazon glossy sticker paper as its thiner like labels.
What Comes In MY Printable Valentines Stickers Download?
- 2 sheets of 47 Valentines themed planner stickers in PNG and PDF format.
How To Cut Out My Printable Valentines Stickers?
Cut Out By Hand
Use a guillotine to cut each sticker out into squares, or free hand and cut around every sticker individually.

Or Alternatively Cut Your Valentines Stickers As A Print And Cut Project On Your Cricut Machine
To do this click new project and upload in the left hand bar at the bottom.
Click on upload image and select browse.
Choose your PNG files, there are 2 separate sheets, you will have to do one at a time.
Select complex file, then continue. The next window allows you the take the back of your file, but I have done this for you.

Now choose print and cut and save.
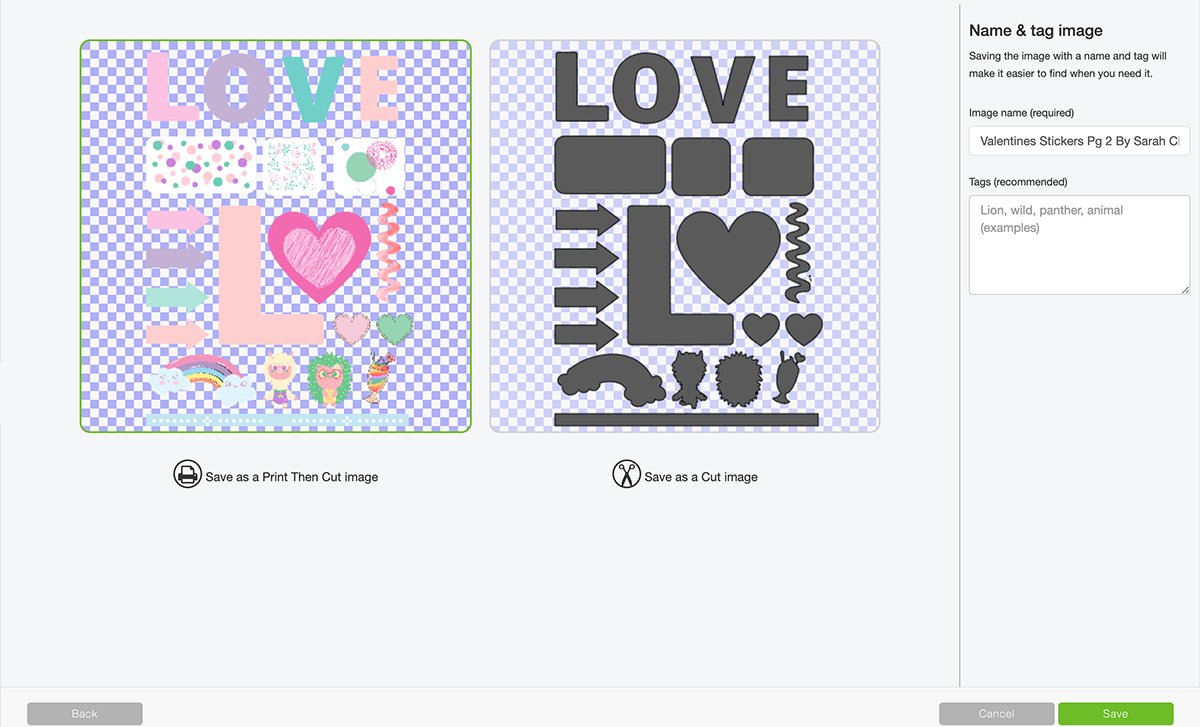
Choose your image and press insert, the image pulls in quite large, simply drag smaller on choose the image size 6.553 by 9.237 this was the largest I managed to get mine to fill more page.
You can now send your project to print, before cutting on your Cricut. For the glossy sticker paper I am using, I use the printable vinyl sticker setting and find this is perfect to kiss cut the sticker layer and leave the backing layer intact.
When the sticker sheet is printed the black line around the edge can smudge to avoid touching it. I use a standard grip cutting mat, and gently apply my sticker sheet by smoothing around the edges. This sticks it to the mat enough, but not too much, thus it is easier to peel off afterwards.
To weed simply lift away the outer area of the sticker paper.
A Few Useful Tips And Hints For Using Cricut Print And Cut
- Calibrate your printer before using with you Cricut, this will save so much time and effort.
- Load your paper the correct way into the printer. Obvious I know, but I have made that mistake many times.
- Avoid smudging the black guide lines, they are quite wet when they come out of the printer.
How To Get The Templates For My Free Downloadable Cricut Stickers
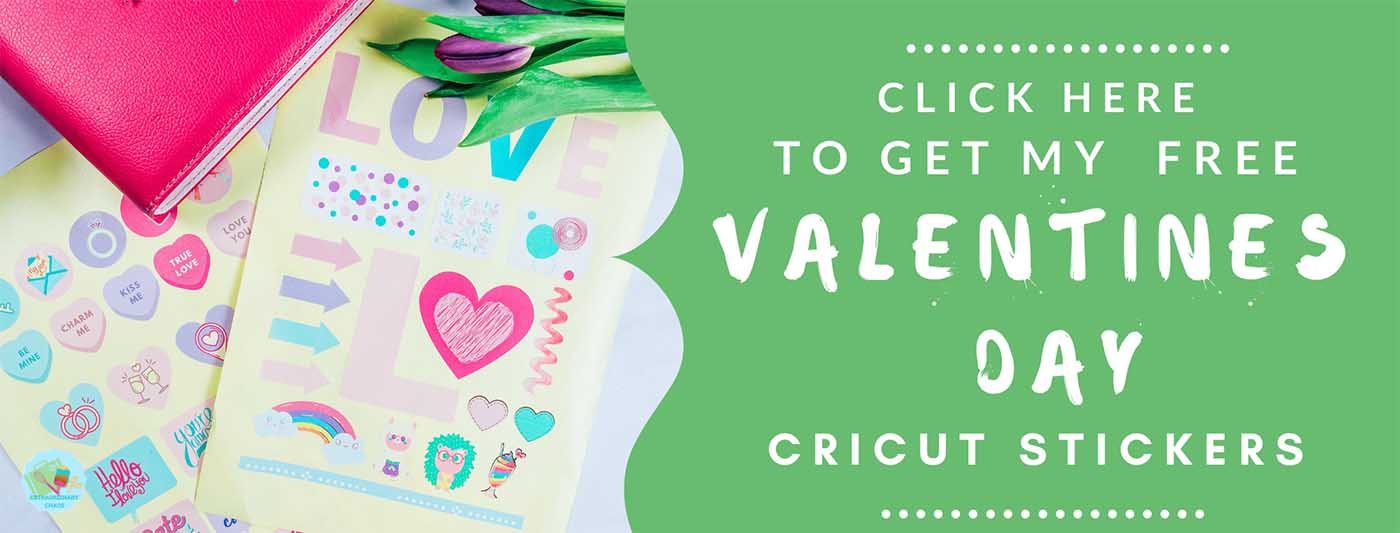
Simply click here or on the image below to get your free downloadable Valentines stickers from our shop and follow these instructions to add to Cricut Design Space.
And that’s it, happy Valentines scrapbooking and planning.


Free Printable Valentines Stickers
Free Downloadable Printable Valentines Stickers For Bullet Journals, Planners, Scrapbooking Layouts, Cricut Crafts & Valentines Cards
Materials
- Glossy sticker printer paper.
- 10 sheets for £2.99
- Or 50 for £8.99
Tools
- Glossy sticker printer paper.
- 10 sheets for £2.99
- Or 50 for £8.99
Instructions
How To Cut Out My Printable Valentines Stickers?
Cut Out By Hand
Use a guillotine to cut each sticker out into squares, or free hand and cut around every sticker individually.
Or Alternatively Cut Your Valentines Stickers As A Print And Cut Project On Your Cricut Machine
Step 1. To do this click new project and upload in the left hand bar at the bottom.
Step 2. Click on upload image and select browse.
Step 3. Choose your PNG files, there are 2 separate sheets, you will have to do one at a time.
Step. 5 Select complex file, then continue. The next window allows you the take the back of your file, but I have done this for you.
Step 5. Now choose print and cut and save.
Step 6. Choose your image and press insert, the image pulls in quite large, simply drag smaller on choose the image size 6.553 by 9.237 this was the largest I managed to get mine to fill more page.
Step 7. You can now send your project to print, before cutting on your Cricut. For the glossy sticker paper I am using, I use the printable vinyl sticker setting and find this is perfect to kiss cut the sticker layer and leave the backing layer intact.
When the sticker sheet is printed the black line around the edge can smudge to avoid touching it. I use a standard grip cutting mat, and gently apply my sticker sheet by smoothing around the edges. This sticks it to the mat enough, but not to much, thus it is easier to peel off afterwards.
To weed simply lift away the outer area of the sticker paper.
Notes
Which Printer Is Compatible with Cricut Print And Cut?
I use the HP Envy 5020 which prints sticker vinyl, glossy sticker paper and magnetic paper perfectly. However isn’t able to feed thick sticker paper through, I prefer the Amazon glossy sticker paper as its thiner like labels.
What Can My Printable Valentines Stickers Be Used For?
Planners
Bullet Journals
Valentines Scrapbooking Layouts
Valentines To Do/Wish Lists
Wall Planners
Valentines Cards
Themed Crafts With Kids
A Few Useful Tips And Hints For Using Cricut Print And Cut
Calibrate your printer before using with you Cricut, this will save so much time and effort.
Load your paper the correct way into the printer. Obvious I know, but I have made that mistake many times.
Avoid smudging the black guide lines, they are quite wet when they come out of the printer.
Recommended Products
As an Amazon Associate and member of other affiliate programs, I earn from qualifying purchases.
