What’s not to love about this time of year and all the glorious Christmas crafts? However it’s not Christmas without a deer head is it? Thus I have created this majestic Buck Deer Head SVG, PNG Free File For Christmas Crafting. It has so many uses, I plan to make a Christmas cushion with it, however it is also perfect for layered paper cuts, Cricut mugs and so much more.
I adore how my deer head svg worked out with infusible ink on a Cricut Mug. Is it just me who is obsessed with the Cricut Mug Press? But that is just one of the many Holiday projects you can create with this file.

What You Will Find Here
Buck Deer SVG Free Download For Christmas Holiday Crafting
Project Ideas For My Deer Head SVG
- Christmas Decorations
- Porch Signs
- Wall Art
- Holiday Door Wreaths
- Themed Home Decor
- Christmas Mugs
- Iron On Vinyl Hoops
- Decoupage Cushions
- Christmas Cards
- Gift Tags
- Scrapbooking Pages And Memory Books

If You Want To Use This Deer Head SVG For Cricut Or Silhouette?
Click here or the image below to get your free downloadable Deer Head SVG/png files and follow these instructions to add to Cricut Design Space. Don’t forget to turn off any pop up blockers, and if your email doesn’t come through check your spam folder.
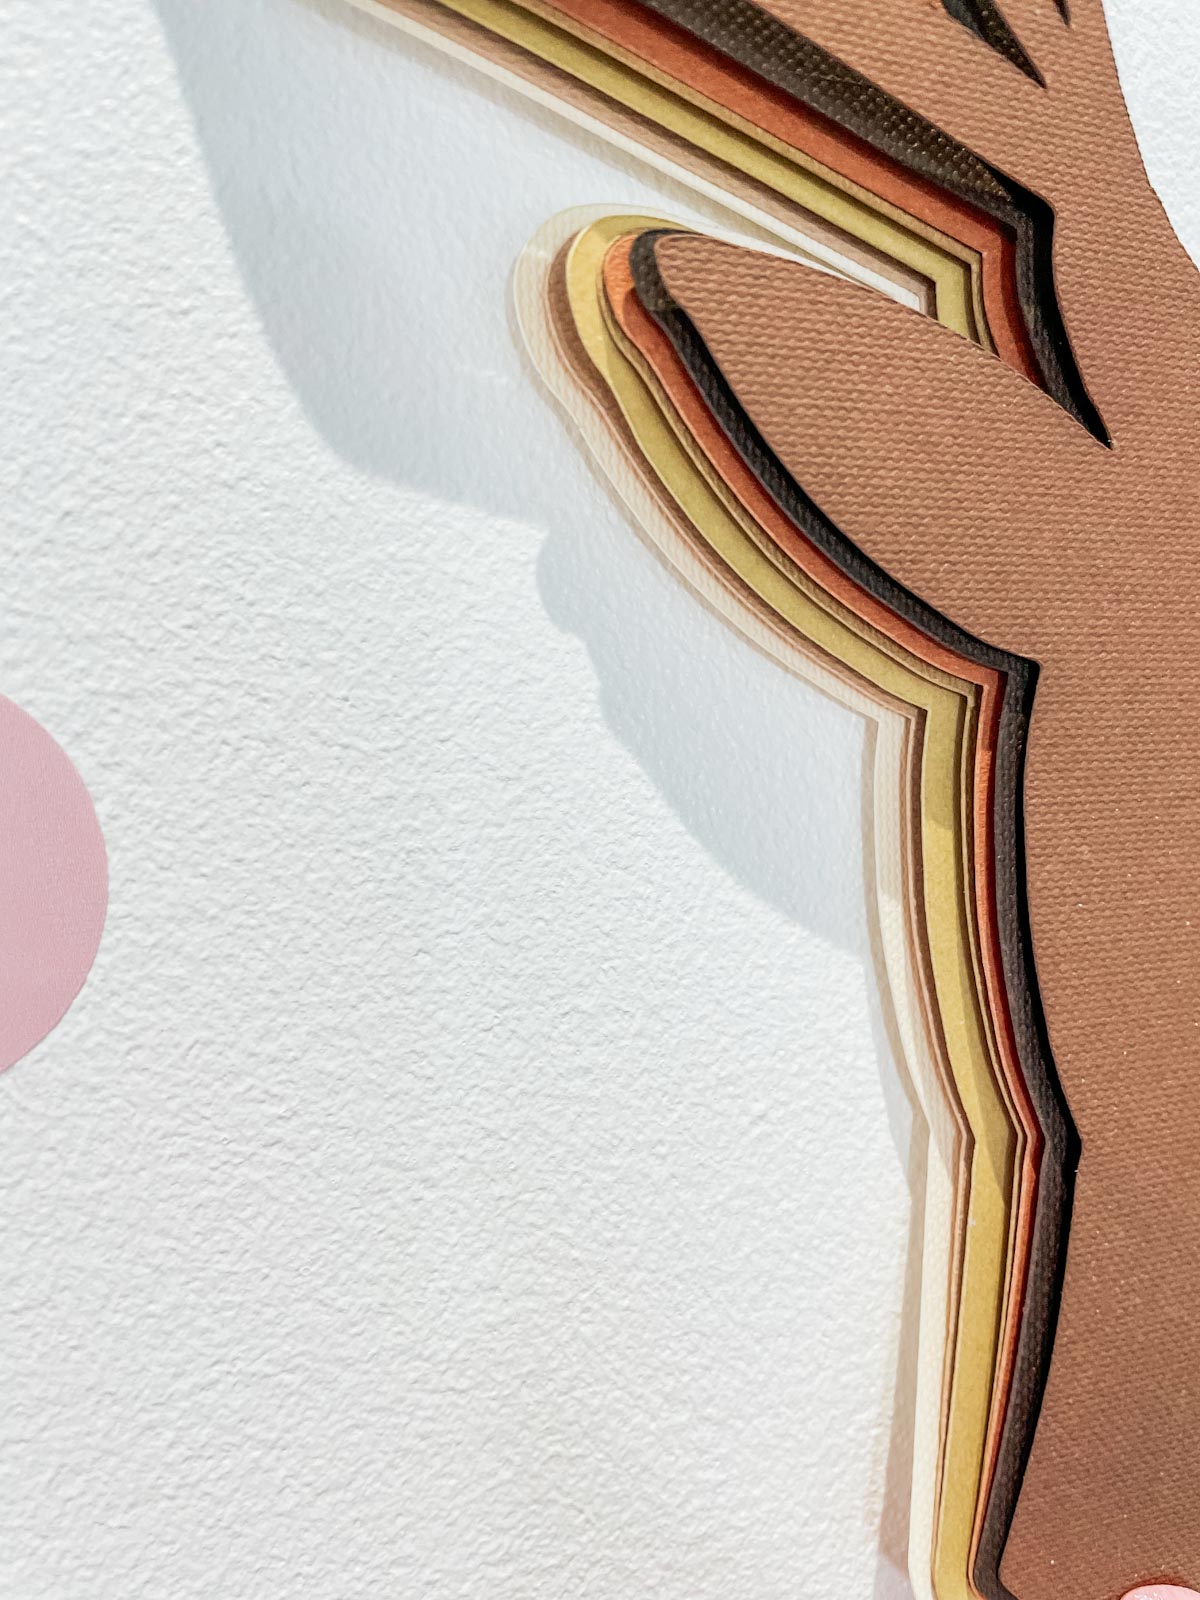
Cutting Your Deer Head As A Layered Cut File
Open the deer cut file In Cricut Design Space, now create a small offset, I did mine at 0.03 and keep going until you have 8 layers.
When you send your Deer Head SVG/PNG files to your Cricut to cut, ensure you use your brayer to roll the paper, vinyl or card to adhere to the mat. Movement will affect the cut.
Also organise your colour layers before hand, thus you can feed in order and get the colours right, I worked from light to dark working forwards. Although my very front layer I went up a shade to create a contrast.
If your cutting mat looses its stickiness this will affect the quality of cut. Also make sure your mat is in good condition, this is vital for cutting intricate cuts.
Additionally, set the material and cut pressure correctly to match whatever materials you’re cutting to guarantee a clean cut. If you have any problems cutting check the mat, pressure and material settings as generally this is where the problem will lie.
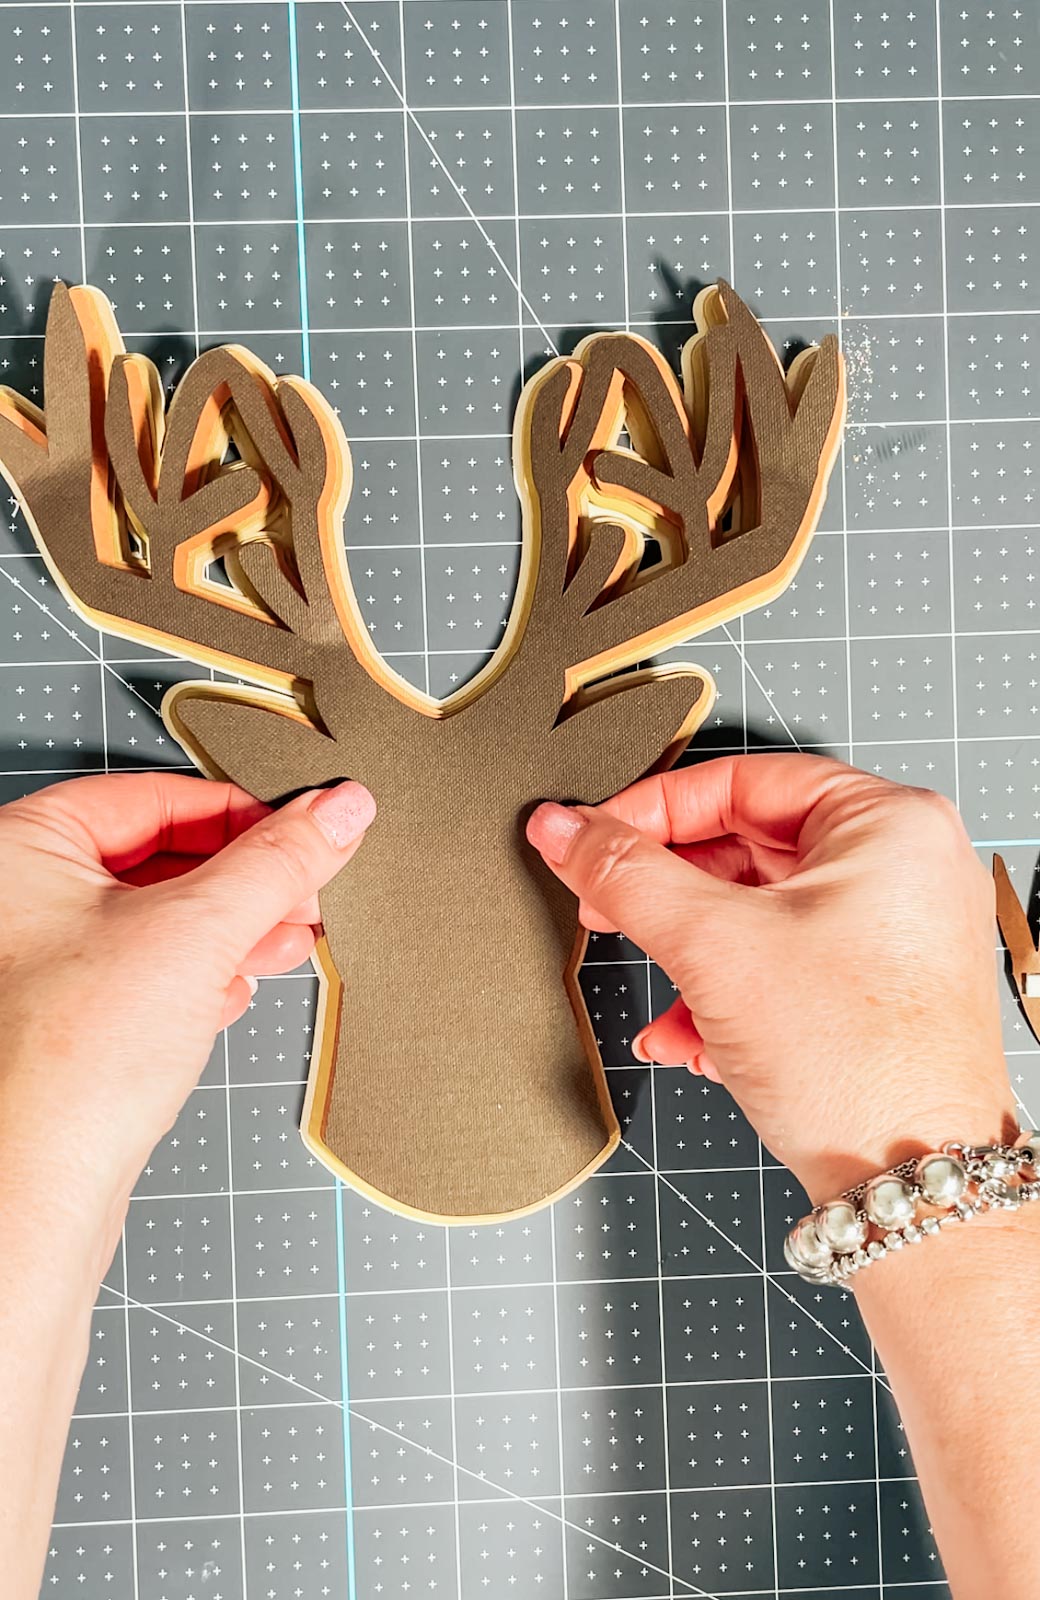
Building Your Layered Deer Head
Start with the back layer and use sticky pads on the back of all the other layers, building them up one by one.
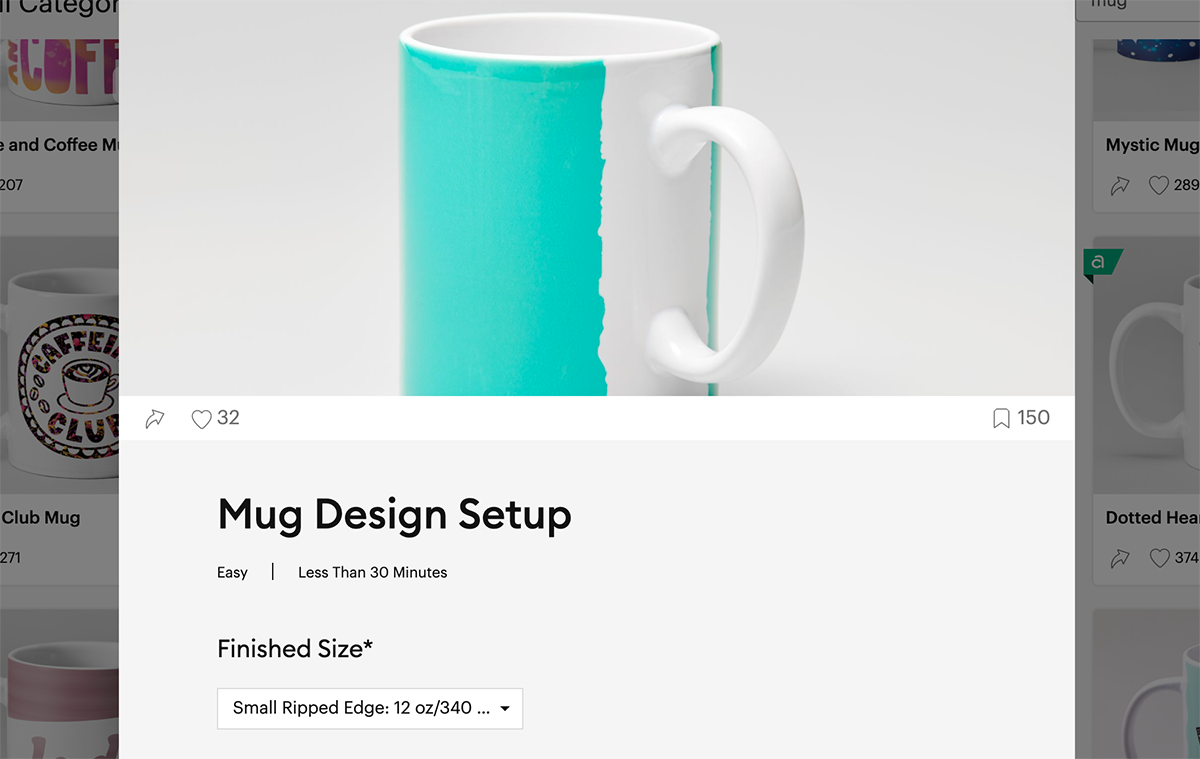
How I Created My Cricut Mug With My Deer Head SVG
In design space, go to projects and look for the blank mug design set up. You will need to choose the correct size for your mug. I love that you can also choose the edge finish. My favourite is the ripped edge finish, however there are other options.
Now upload your Deer Head SVG and duplicate, resize the duplicate and duplicate this 7 times. You will now have 1 large deer head and 8 small, I felt like it had the be 9.
Position your large deer head and choose “Felix text” which is a free design space text. Type out merry and click curve text in the top bar. I curved and resized until I was happy, before moving onto and bright at the bottom. However I am not too happy with the & so would use a different font for that if I made this project again.
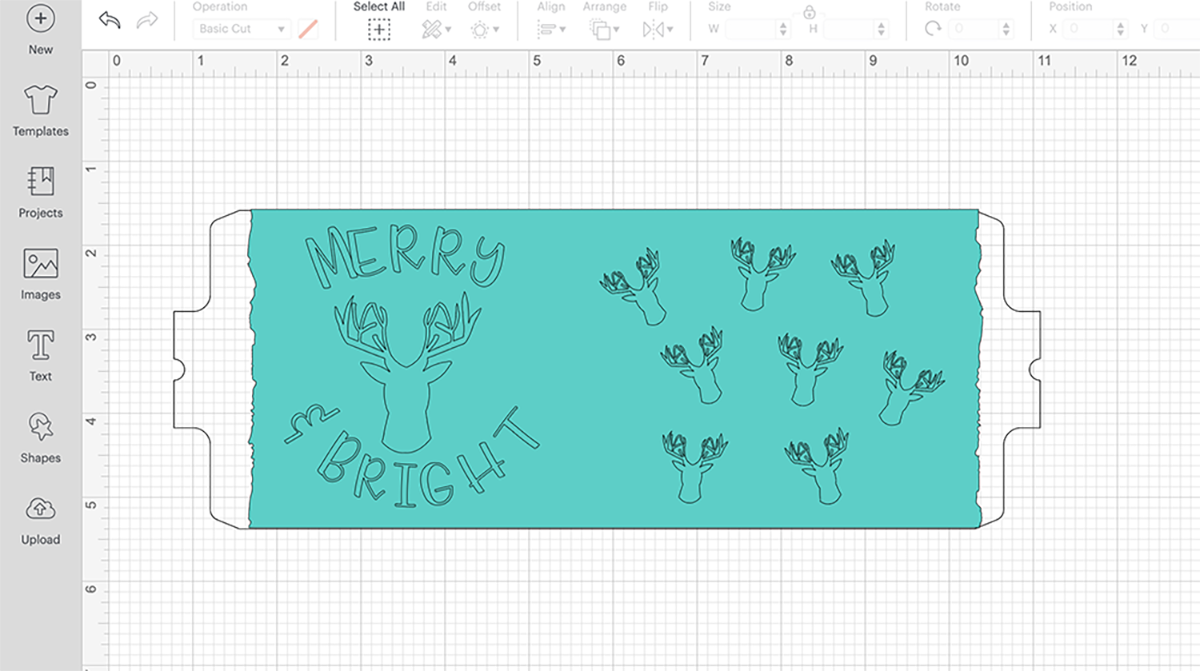
Lastly position all of the small deer heads, right click select all a click attach before sending to cut. (Thats right you don’t need to slice, attach works just fine on mug templates) Be sure to mirror your project when its in mat view.
I wanted to create a plaid style of design so chose a textured infusible ink in a deep pink.
Weed the project, the small deer were quite tricky, but it almost doesn’t matter if you lose a part of any antlers, it just makes each one more individual.
Now, clean the mug with a lint roller, position the template around your mug ( make sure its the right way up) and spend a minute or two pressing the template to adhere to the mug and smoothing it over. Wait for the mug press to bleep, pop it in and close the lever.

Once ready, remove the mug by the handle being sure not to touch anything else. Place the mug on a heat proof mat and leave to cool before removing the infusible ink and revealing your artwork.

Tips And Advice For Using Your Download.
- Cricut Design Space Guide
- How To Slice And Weld In Cricut Design Space
- How to upload to Cricut Design Space
- Using Iron On Vinyl
- Where Else To Get Free SVG Files

More Christmas Craft Projects
- Christmas Mickey SVG
- Nice List Mickey SVG
- Christmas Alphabet
- Winter Wonderland Alphabet
- Christmas Tree Cut File
- Santas Footprint SVG
Also please do pop over to Instagram, and give me a follow and if you make a project tag me! I love seeing everyone else’s makes and chatting crafting. I could do that all day!
