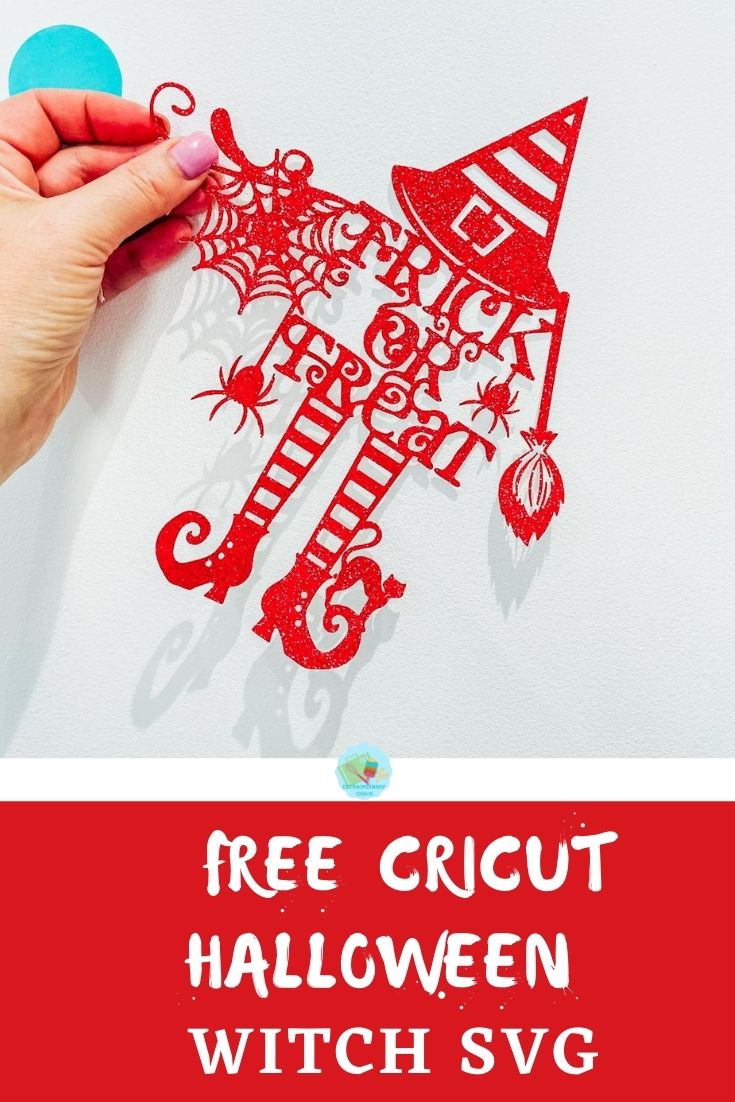
It may only be September, but it’s time to start thinking about Halloween projects. And I will share how simple this Cricut Witch Halloween SVG Free Cut File for vinyl and paper cuts is easy to make on the Cricut Maker or Cricut Joy.
This Halloween Witch SVG Free Project is so versatile. That’s what I love about Cricut Halloween Cut Files; they can be used in so many ways, such as a paper cut and vinyl projects for Halloween decorations or perfect witch decorations for Halloween parties; you just need a Halloween Witch playlist, spooky food and you’re good to go.
If you want to see me create my projects, follow me on Tik Tok and Instagram.
Ideas For Using This Cricut Halloween Witch SVG Free File
- Framed Halloween paper cut for seasonal decorations
- Cards
- Party invitations
- Cake Toppers
- Wall Decals with Vinyl
- Window Cling Stickers
- Vinyl Pumkin Stickers
- Iron On T Shirts
- Trick Or Treat Bags
To Use My Halloween Witch SVG Cut File
Click here or the image below to get you downloadable Witch SVG/png files and follow these instructions to add to Cricut Design Space. Don’t forget to turn off any pop up blockers.

How To Make A Cricut Halloween Witch SVG
Start in Cricut Design Space, for this project I used the offline design studio app for the first time. The app is much smoother than the online version if you live in a limited wifi.
Step By Step How To Build A Paper Cut
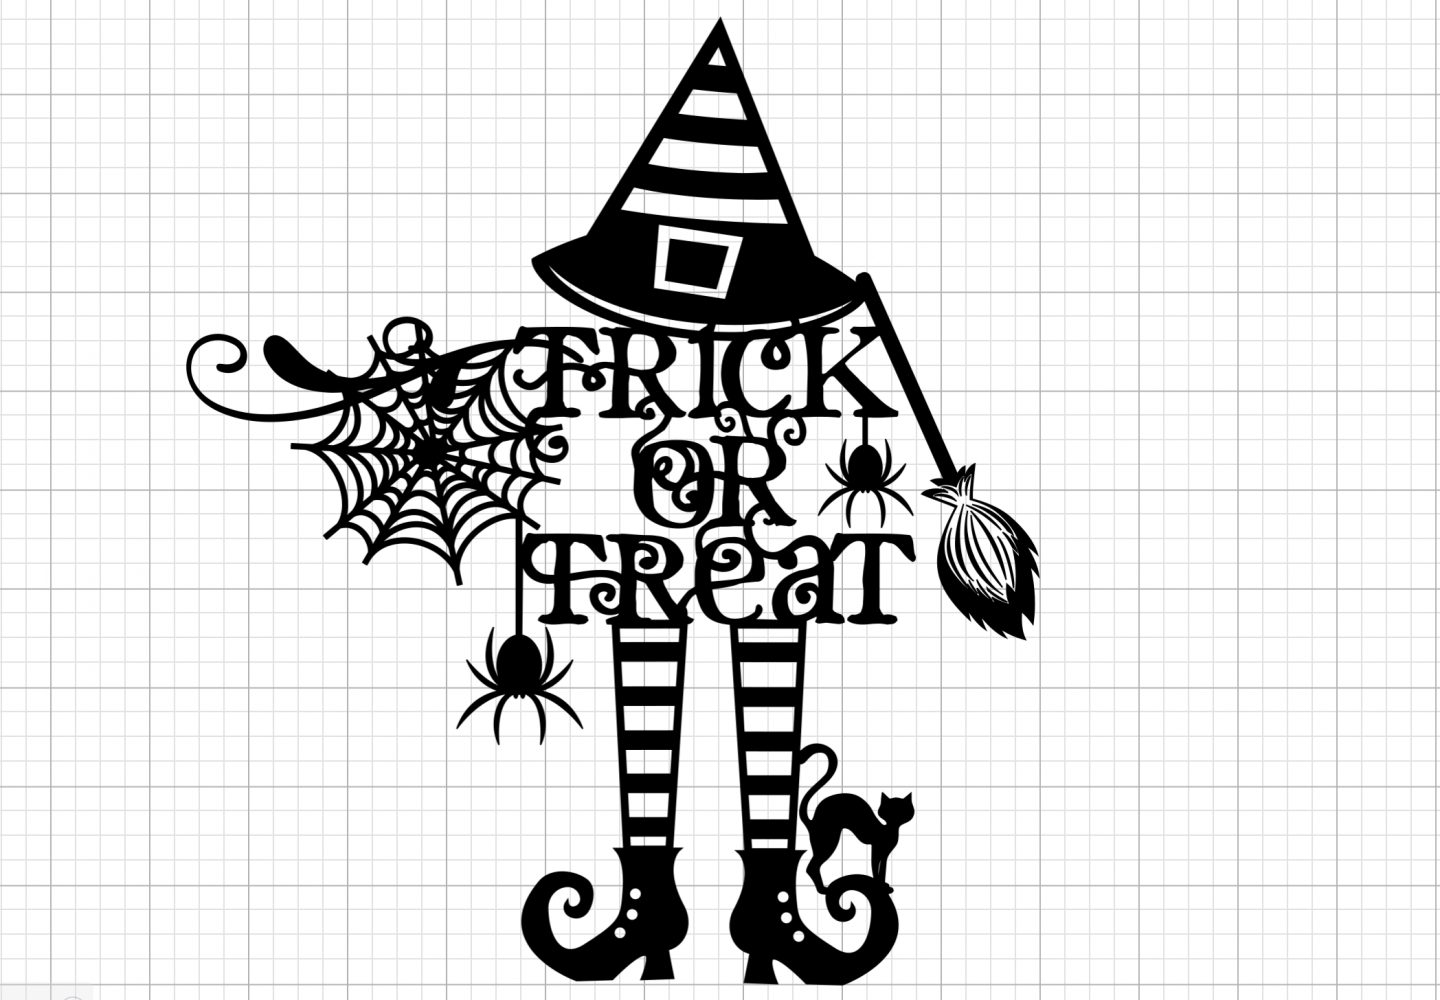
- In design space search trick or treat and scroll down until you find the scrolled ‘trick or treat’ lettering and add to design space.
- Some of the letters are not connected so add a flourish to connect the letters r,c & K.
- Next add the ‘witch hat’, I chose this image as once unlinked the hat had detail to cut out. Additionally slicing the buckle into the hat creates further detail.
- Once positioned, highlight and weld together.
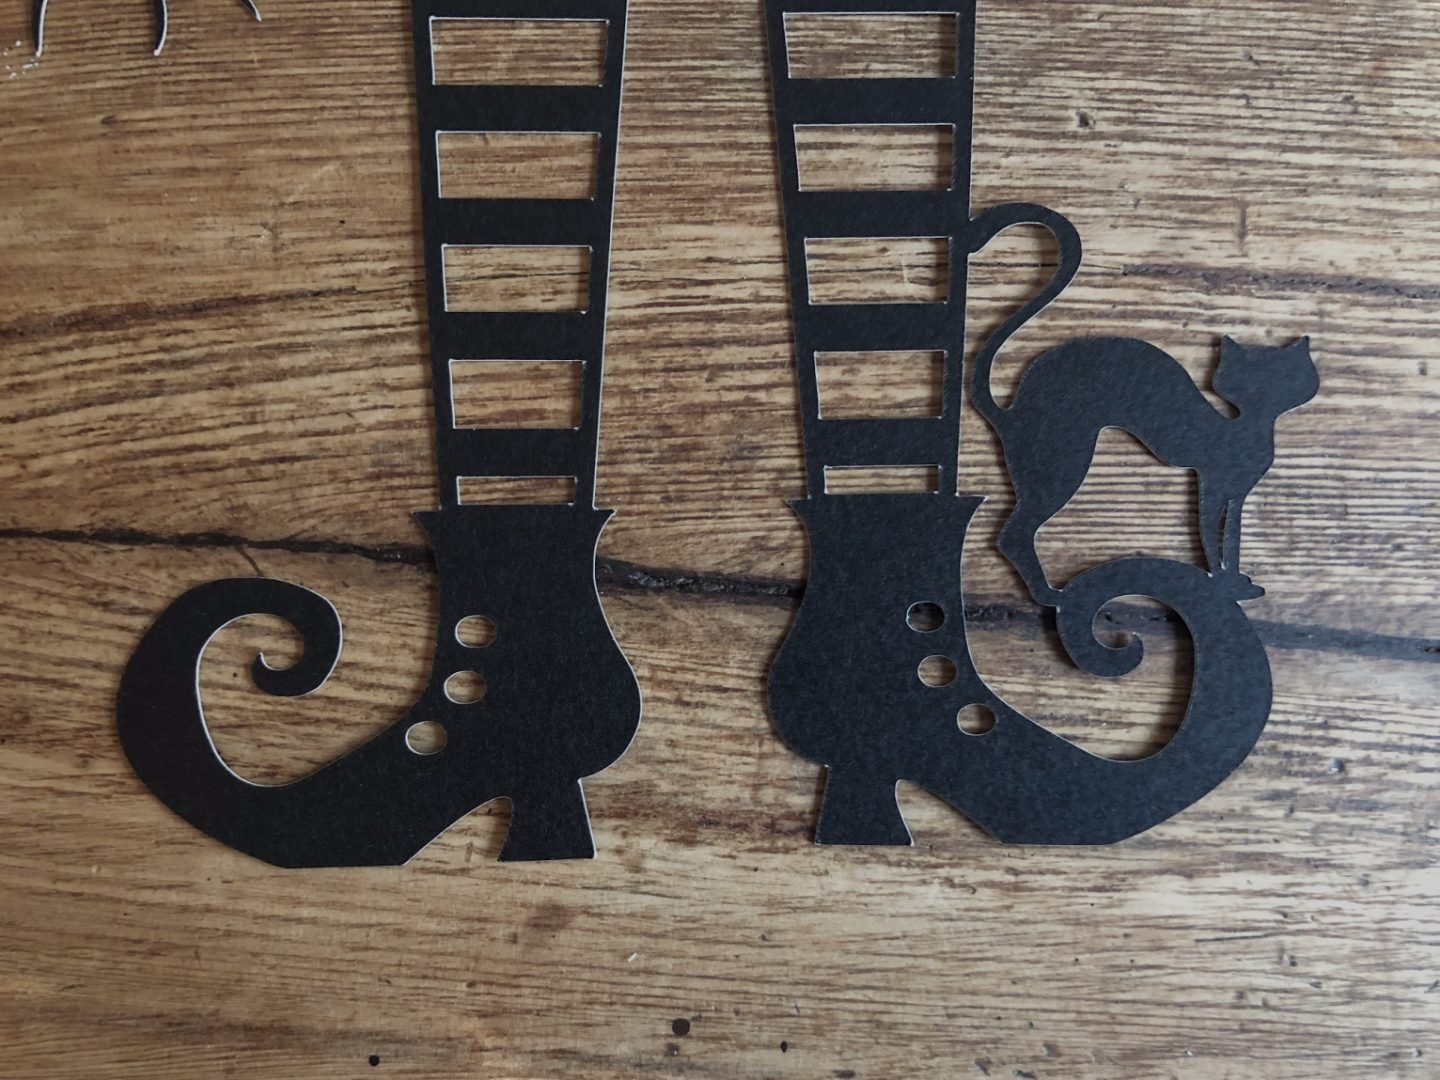
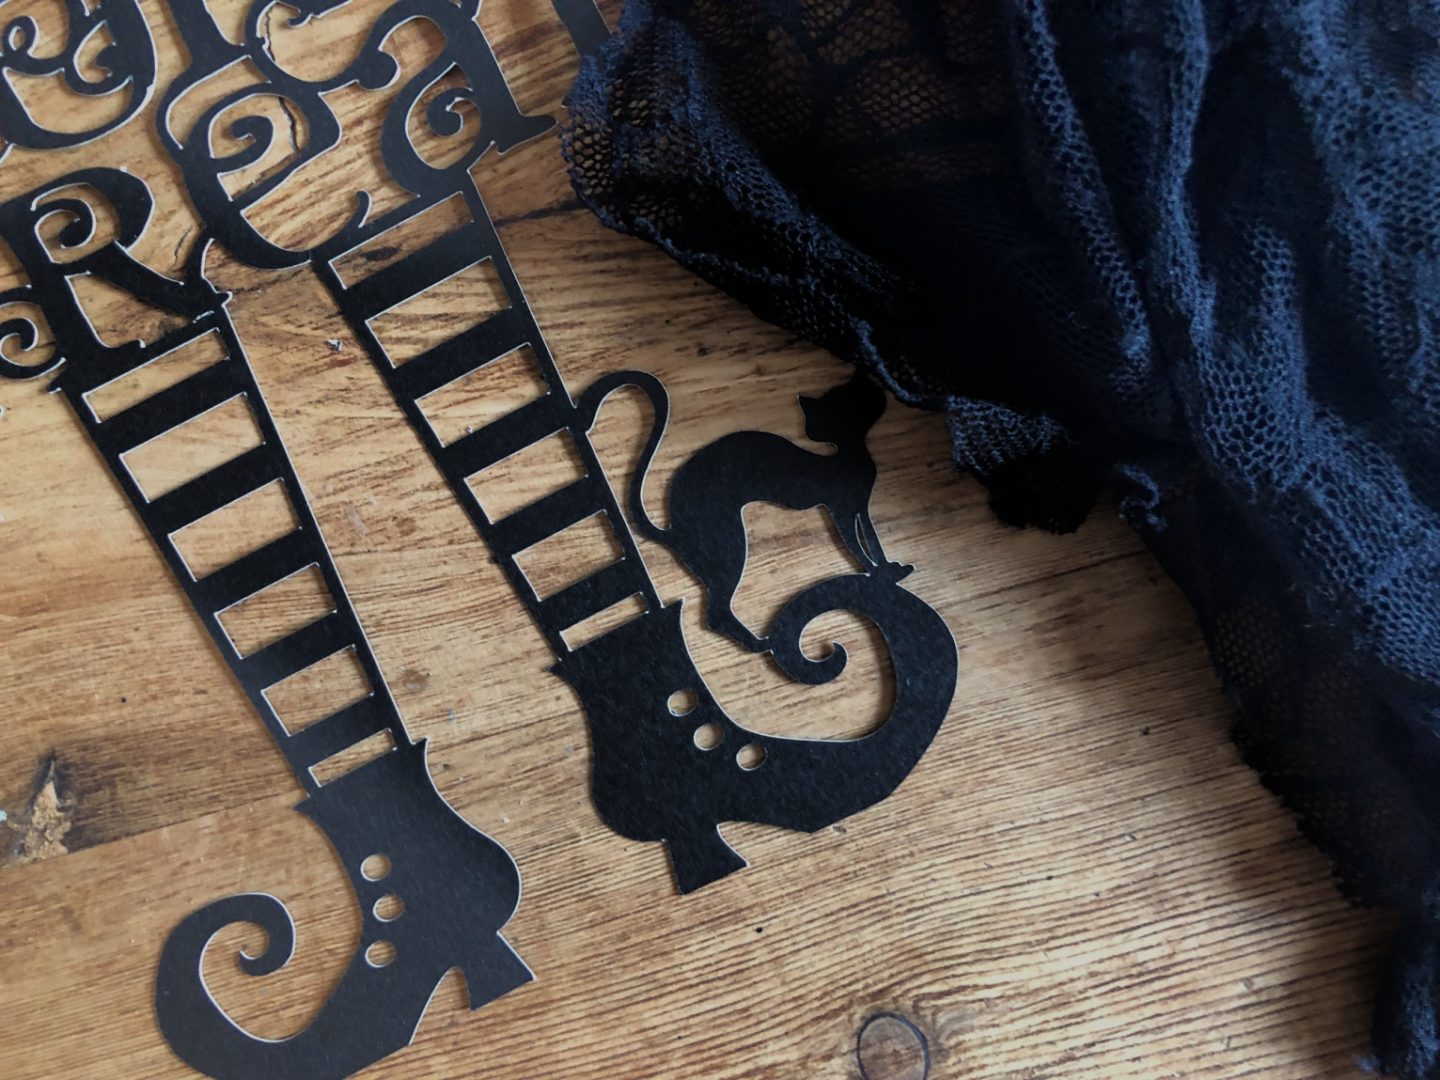
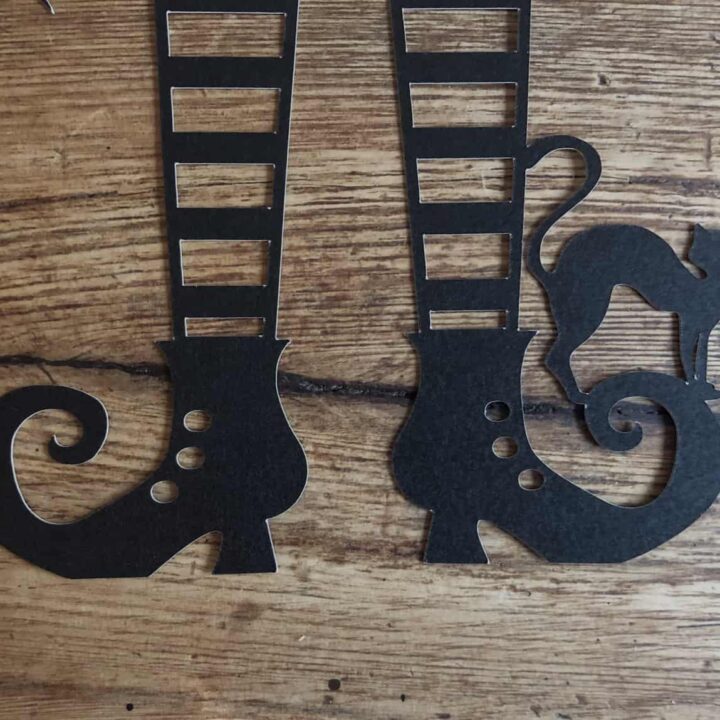
- Then search and add the ‘Witches Shoes Green’. The striped version are perfect as they will stay connected duding the cut, as will the zig zag version.
- Unlink the image and discard of all parts, except the black cut out image.
- Once sized correctly weld to the overall image.
- Add the ‘vine flourish’ and then the ‘spider hanging borders’ image. These work well together to create a little detail.
- Next search ‘witches cat’, I choose the cat with an arched back but had to scroll down quite some time to find this.
- Now add the broom stick, for a little detail I went for the ‘Miss Kate Cuttable Witches broom’, unlink, remove the bow and all flourishes and then resize and slice the top yellow layer into the black image for a little detail.
- Lastly slice the spider from the spider handing borders and attach to the letter k.
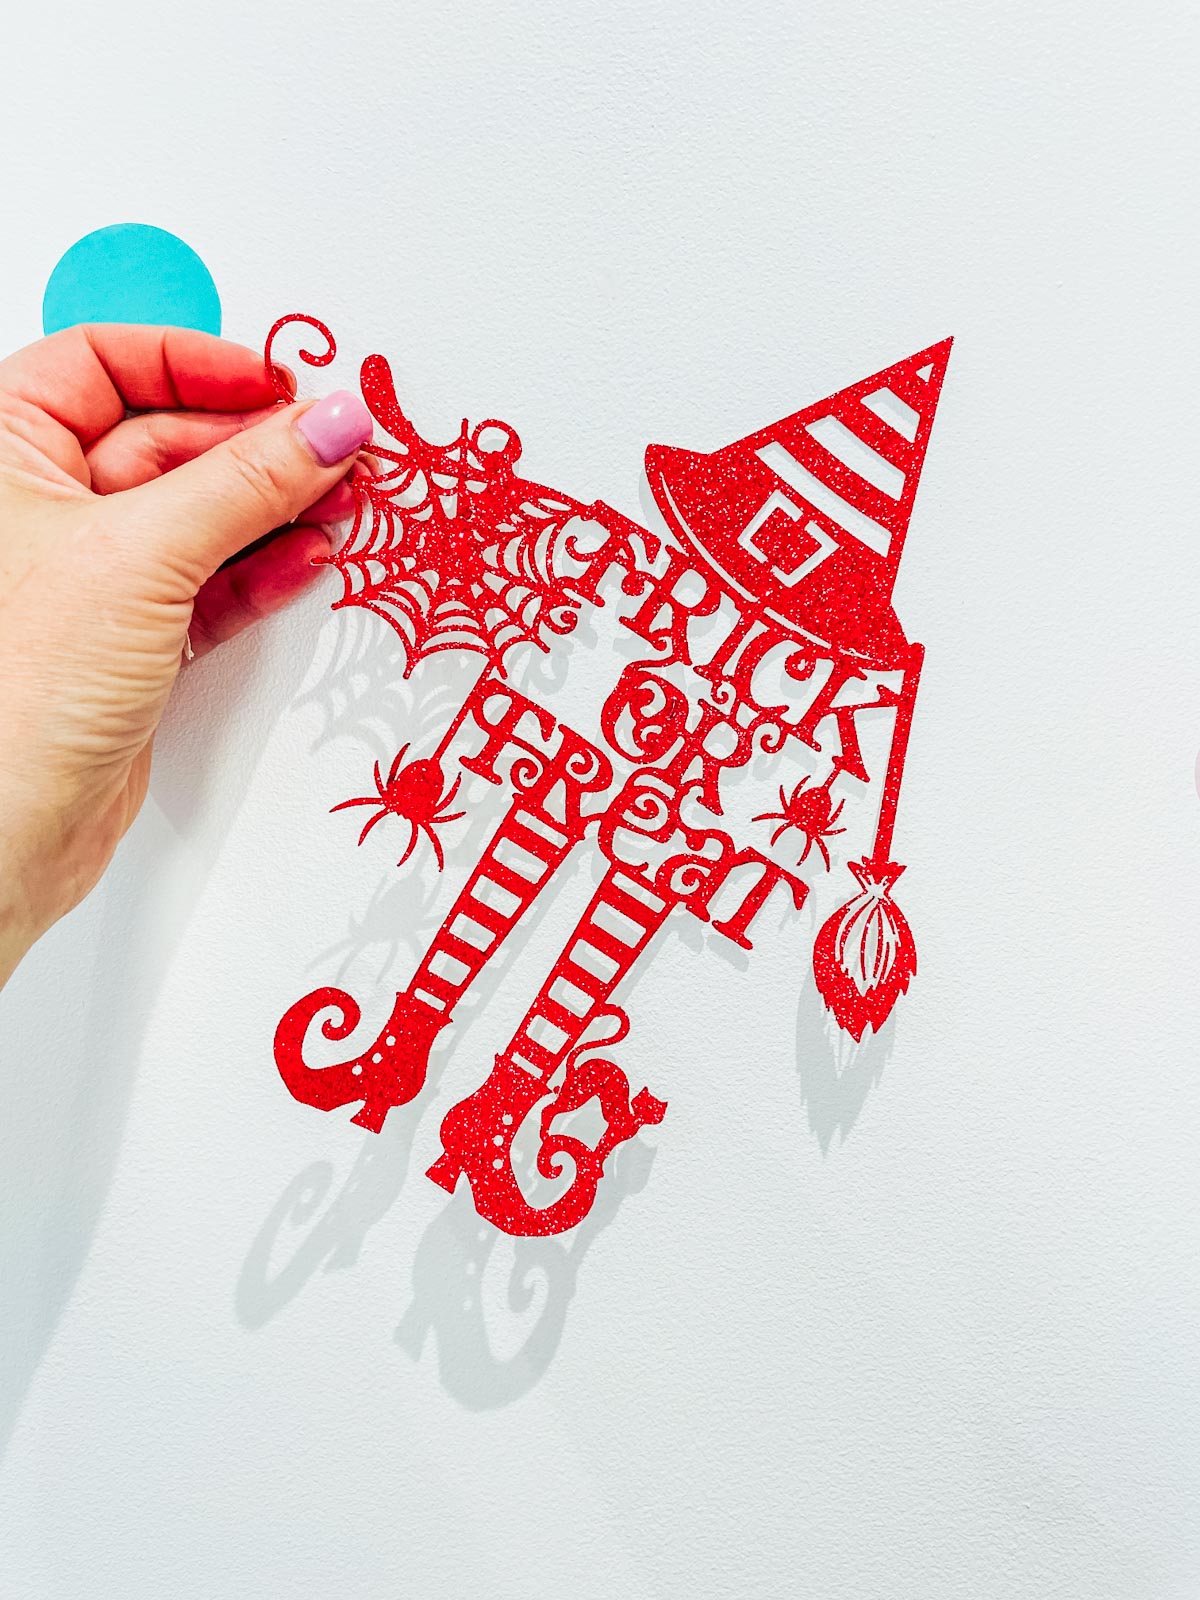
Paper Cutting Tips For The Cricut Maker
Ensure all of your images connect in some way, if they don’t the cut will not cut whole.
Whilst the Cricut Maker can cut pretty intricate designs, be aware some tiny images may be a struggle. The more you papercut the more you get to know the capabilities.
When you’re building a paper cut image just be creative and go with what you like.
When you set your image to cut I usually go into pressure and click ‘more’ for a more defined cut. In theory you shouldn’t need to do this. However it does make it easier to weed out.
When the final image is cut gently lift the image from your cutting mat with the Cricut spatula. Do this a bit at a time so you don’t tear your image.
And for more Cricut Crafting Projects check out my Cricut Section on the blog.
Pin For Later
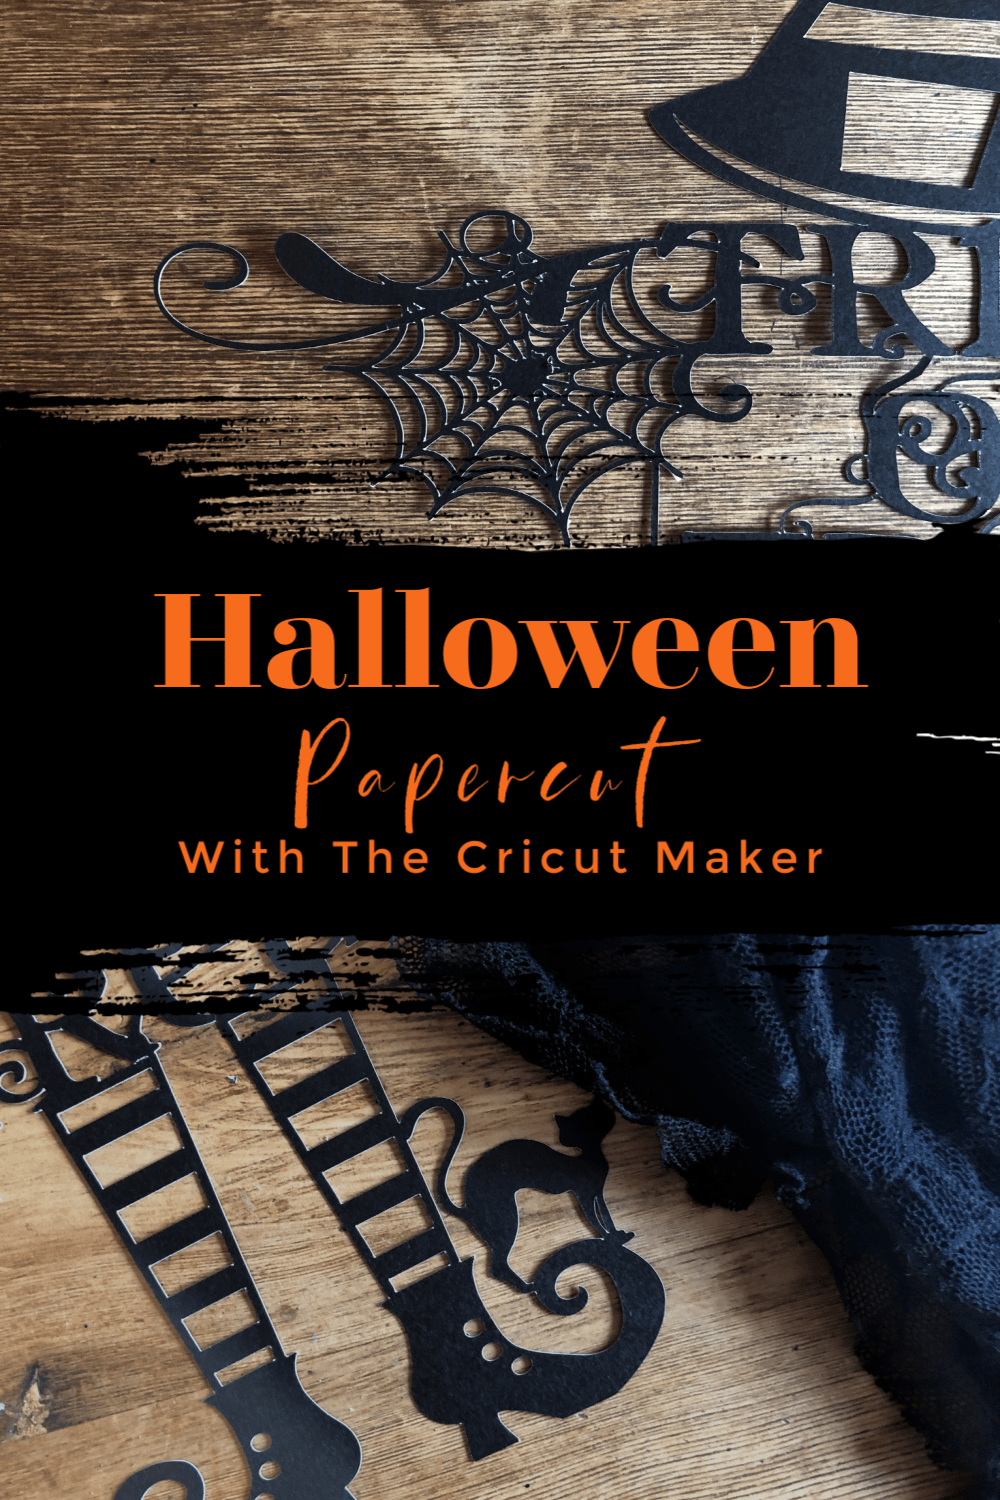
Cricut Witch Halloween Cut File
Simple Cricut Halloween Cricut Witch Cut File to use on Paper cut projects, wall decals, iron on Vinyl. With hints and tips on how to design images.
Materials
- Card Stock
- Paper
- Or Vinyl depending on you project.
Tools
- Cricut Maker
- Cutting Matt
- Weeding Tool
- Light Pad
Instructions
In design space search trick or treat and scroll down until you find the scrolled ‘trick or treat’ lettering and add to design space.
Some of the letters are not connected so add a flourish to connect the letters r,c & K.
Next add the ‘witch hat’, I chose this image as once unlinked the hat had detail to cut out. Additionally slicing the buckle into the hat creates further detail.
Once positioned, highlight and weld together.
Then search and add the ‘Witches Shoes Green’. The striped version are perfect as they will stay connected duding the cut, as will the zig zag version.
Unlink the image and discard of all parts, except the black cut out image.
Once sized correctly weld to the overall image.
Add the ‘vine flourish’ and then the ‘spider hanging borders’ image. These work well together to create a little detail.
Next search ‘witches cat’, I choose the cat with an arched back but had to scroll down quite some time to find this.
Now add the broom stick, for a little detail I went for the ‘Miss Kate Cuttable Witches broom’, unlink, remove the bow and all flourishes and then resize and slice the top yellow layer into the black image for a little detail.
Lastly slice the spider from the spider handing borders and attach to the letter k.
Notes
Paper Cutting Tips For The Cricut Maker
Ensure all of your images connect in some way, if they don’t the cut will not cut whole.
Whilst the Cricut Maker can cut pretty intricate designs, be aware some tiny images may be a struggle. The more you papercut the more you get to know the capabilities.
When you’re building a paper cut image just be creative and go with what you like.
When you set your image to cut I usually go into pressure and click ‘more’ for a more defined cut. In theory you shouldn’t need to do this. However it does make it easier to weed out.
When the final image is cut gently lift the image from your cutting mat with the Cricut spatula. Do this a bit at a time so you don’t tear your image.

These are fab, the cricut is such a clever machine/system I so want to have a play on one ha!x
dank je wel,wat mooi en wat lief dat wij hier gebruik van mogen maken
Je bent zo welkom Karen en bedankt x
Incredible as always! Best place for cricut inspiration ever!
Thank you for this terrific witch!
You are so welcome
Love this design. Thank you. One of the best I’ve seen.
Thank you so much Janine x