
Today, we are going to look at how to make Big Projects On A Cricut Joy. If you have been following my crafting projects for a while, you will know how much I adored the Cricut Joy, that was until I discovered print and cut. For this reason, it hasn’t replaced my Maker; however, I did use it just as much. That was until I ordered the Joy Xtra, which has a slightly bigger cutting area, print and cuts.
It’s not unknown for me to have a cake in the oven and and a Cricut project cutting on the kitchen table. But just because the Joy is petite, doesn’t mean it can’t cut a larger project. You just need to break it down a little.
What You Will Find Here
How To Make Big Projects On A Cricut Joy or Joy Xtra
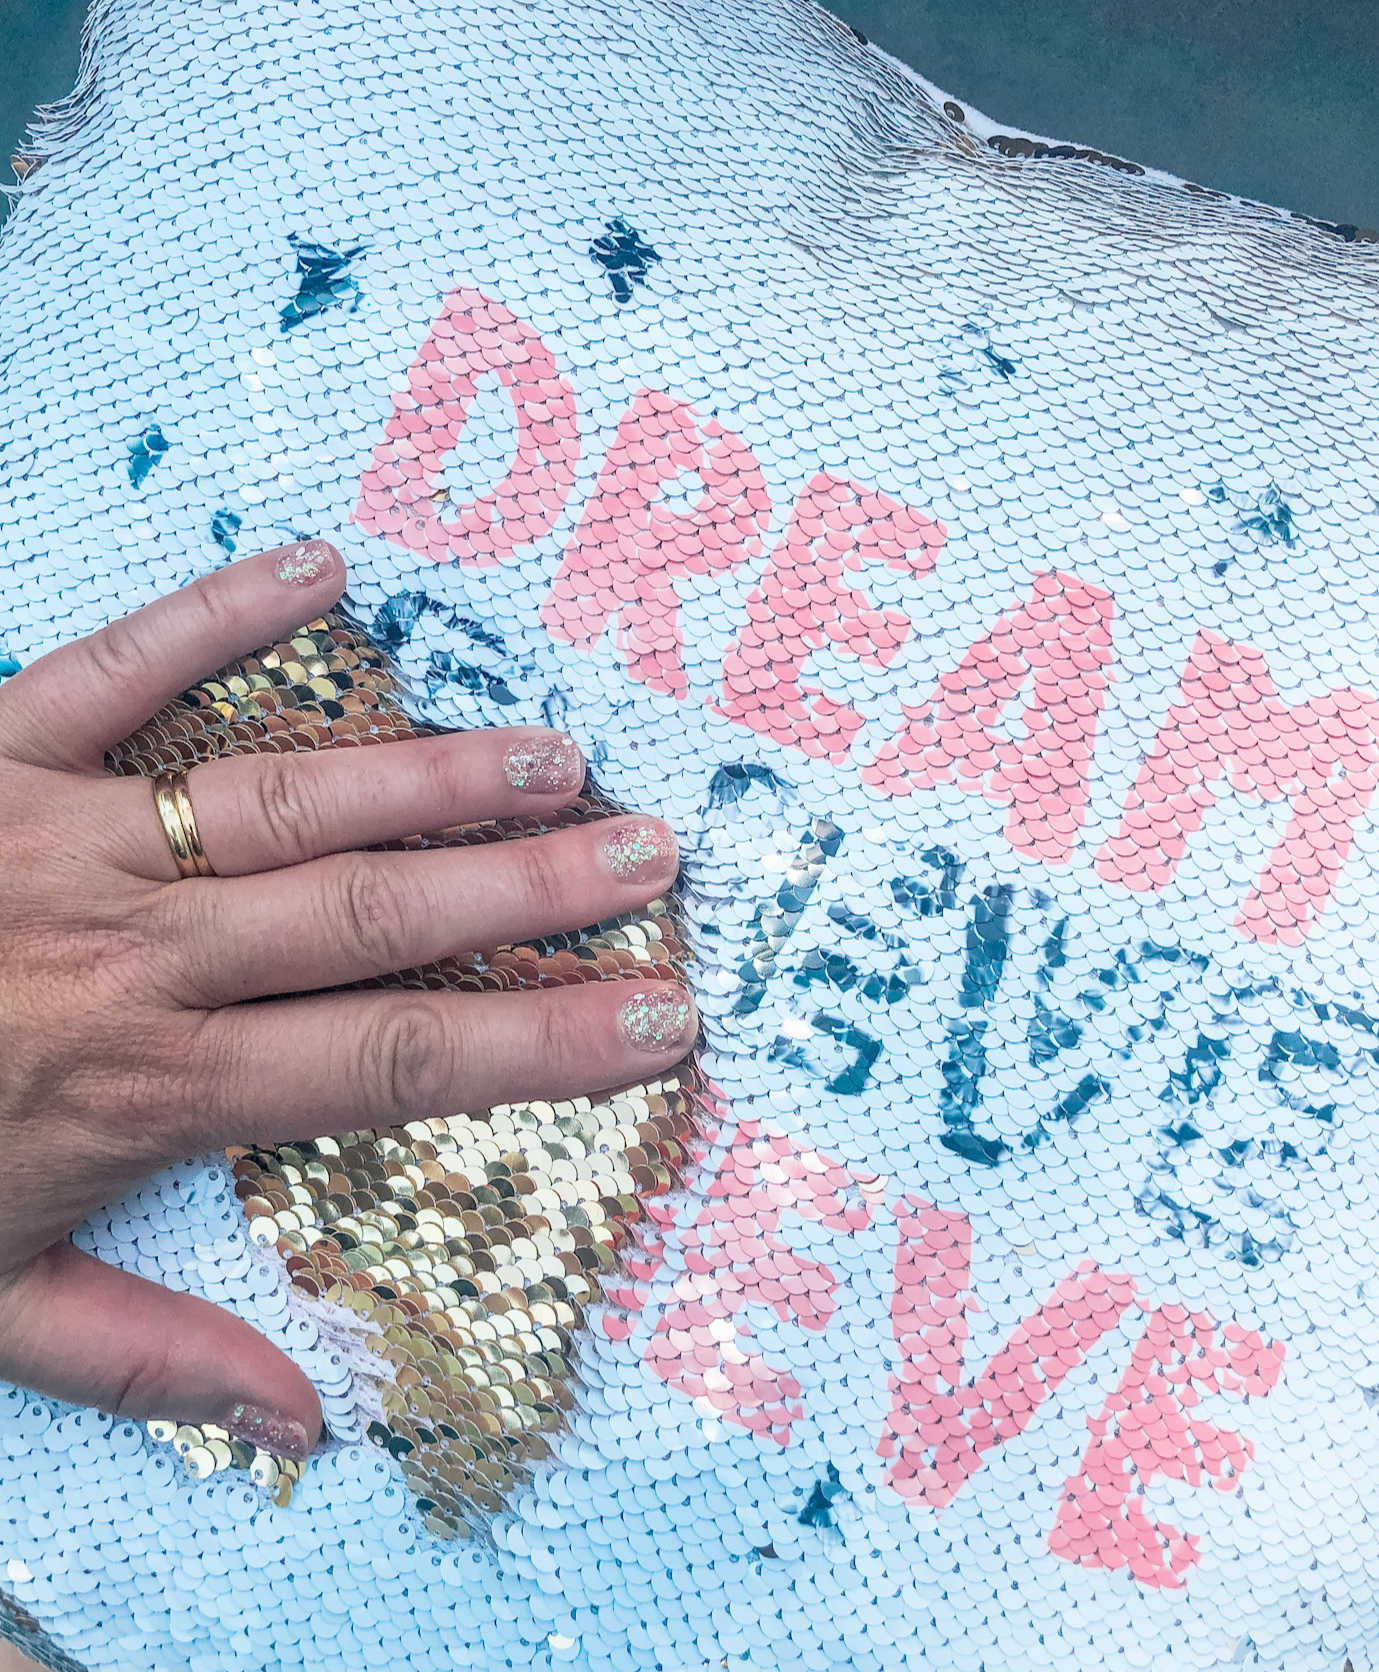
So here’s the problem, you want to make a cushion or wall decal and it’s an image, but not solid as such, like this image below.
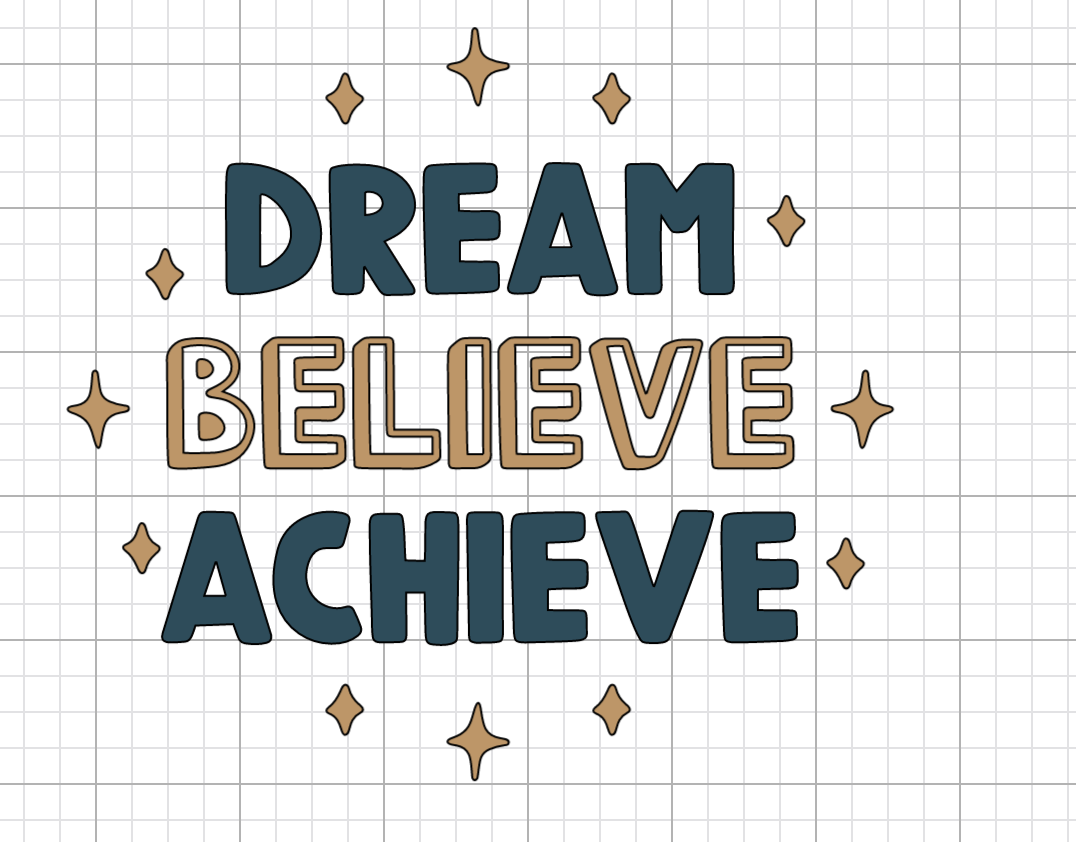
However, when you ungroup the image, it still keeps its shape. Thus, if you want to cut a 12×12, it needs to go onto a 12×12 mat, unless you follow these simple steps to separate the images completely so you can cut it on your Cricut Joy.

Cutting A Large Image From Cricut Design Space?
You need to break every section of your project down so its 4″ wide. On many projects this is doable. Length doesn’t matter a smart vinyl makes longer projects easy.
Starting with the blue words, dream and achieve, slice one of the words away.
To do this select a square from the shapes in the left hand bar. Unlock the square and drag it into a rectangle shape.
Now cover one of the words, right click and select slice in the bottom left hand corner.
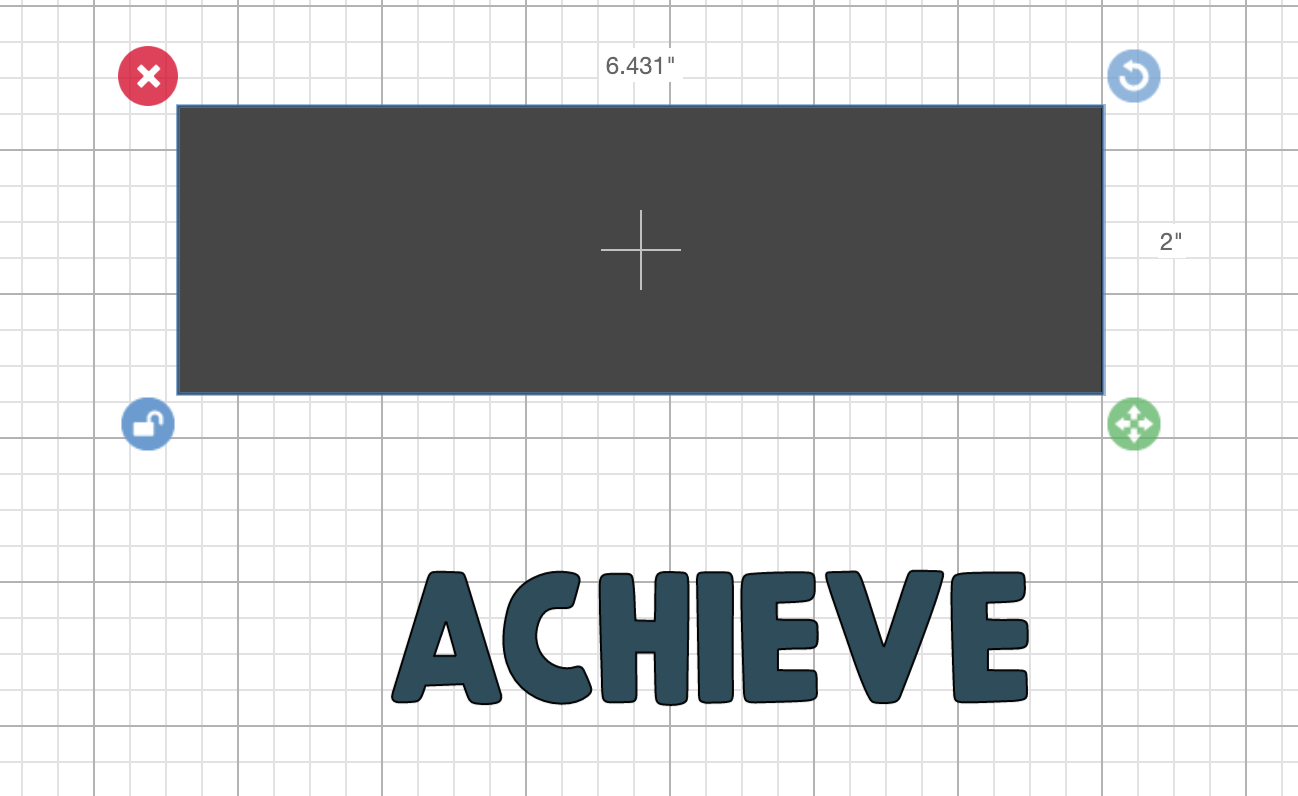

As you can see dream has now been sliced from the image so you can drag it away. Remove any excess words and shapes and you will be left with two separate words.
As the words are no longer joint with a space between them, they can be positioned on a Joy cutting mat.
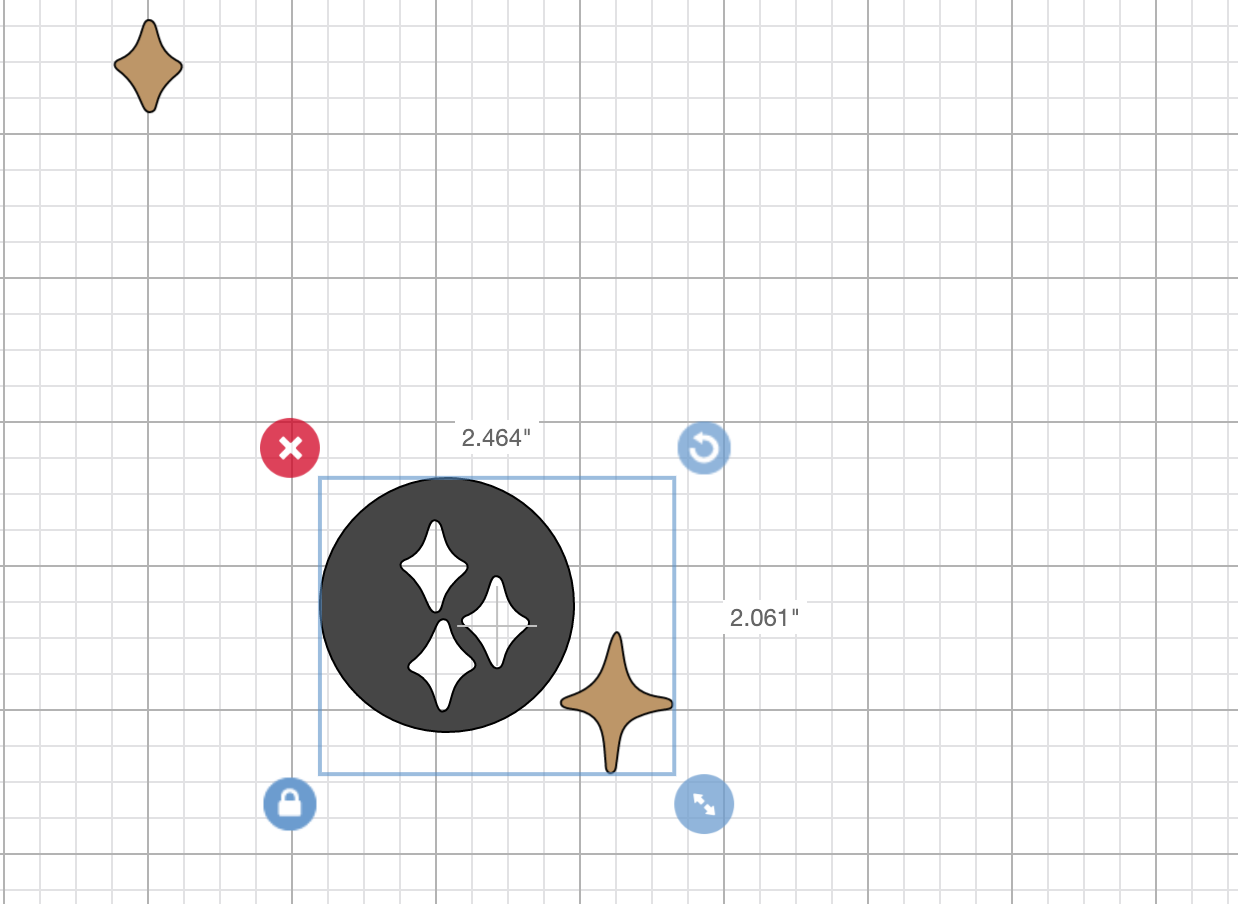
Now do the same with the stars. Slice each star away, thus disconnecting from the main image.
You can see now on the screen shots of the cutting mats below that the images fit onto the mats to be cut. Additionally, it doesn’t matter how long the image is. As I mentioned before, if you are cutting on smart materials some extend as long as 20ft long.
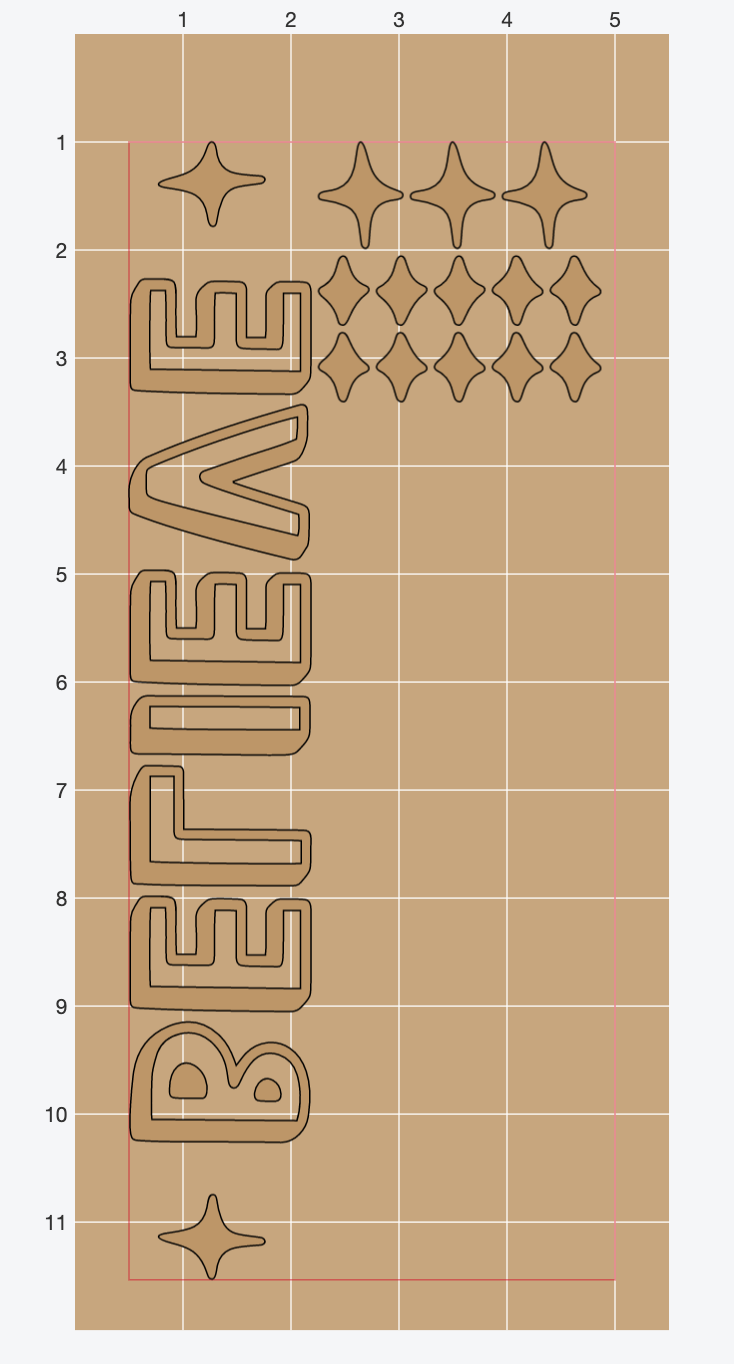
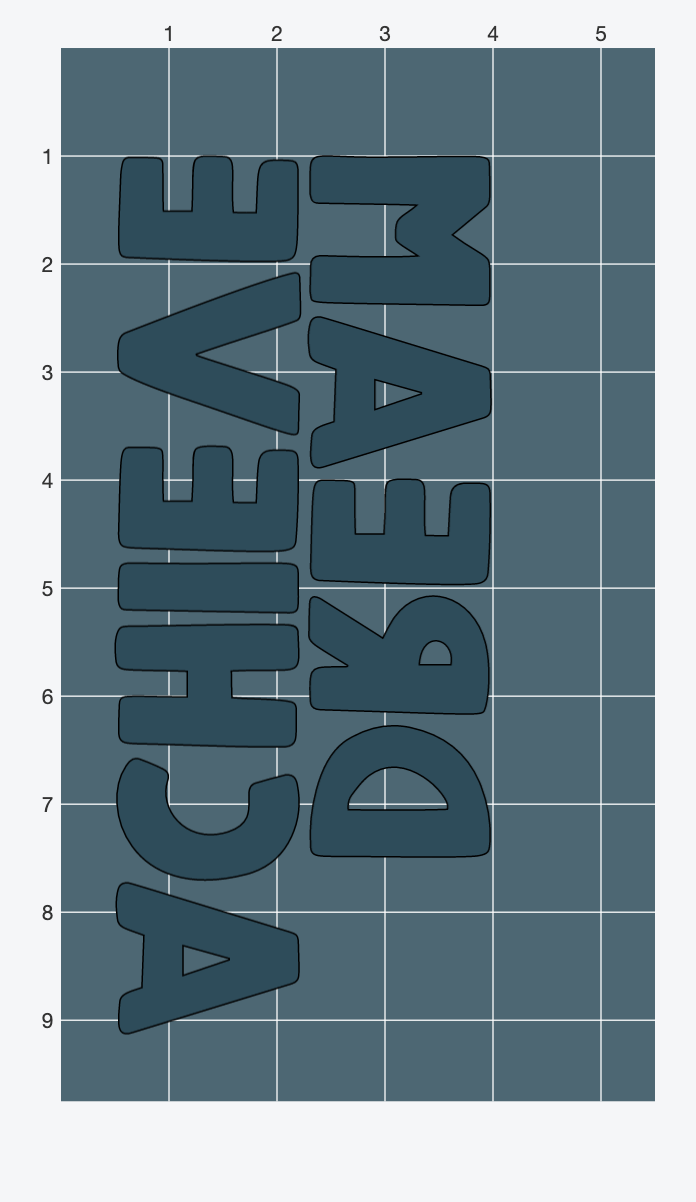
Now you can arrange your project using tape to secure it.

Although the finished result appears to be a 12×12 cut, by simply slicing the project down it is possible to cut and create on the Cricut Joy.
Hope this little tutorial was useful, take care, stay safe and happy crafting.
For More Cricut Inspiration Check Out The Following Posts.
- How to make stickers in Cricut Design Space
- What Is Grouping?
- Attaching Letters In Design Space?
- How To Weld Images And Words In Cricut Design Space?
- Slicing In Cricut Design Space?
- How To Add And Cut You Own Images
- How To Cut Larger Images On The Cricut Joy?
- Making Vinyl Stickers With The Cricut Joy

