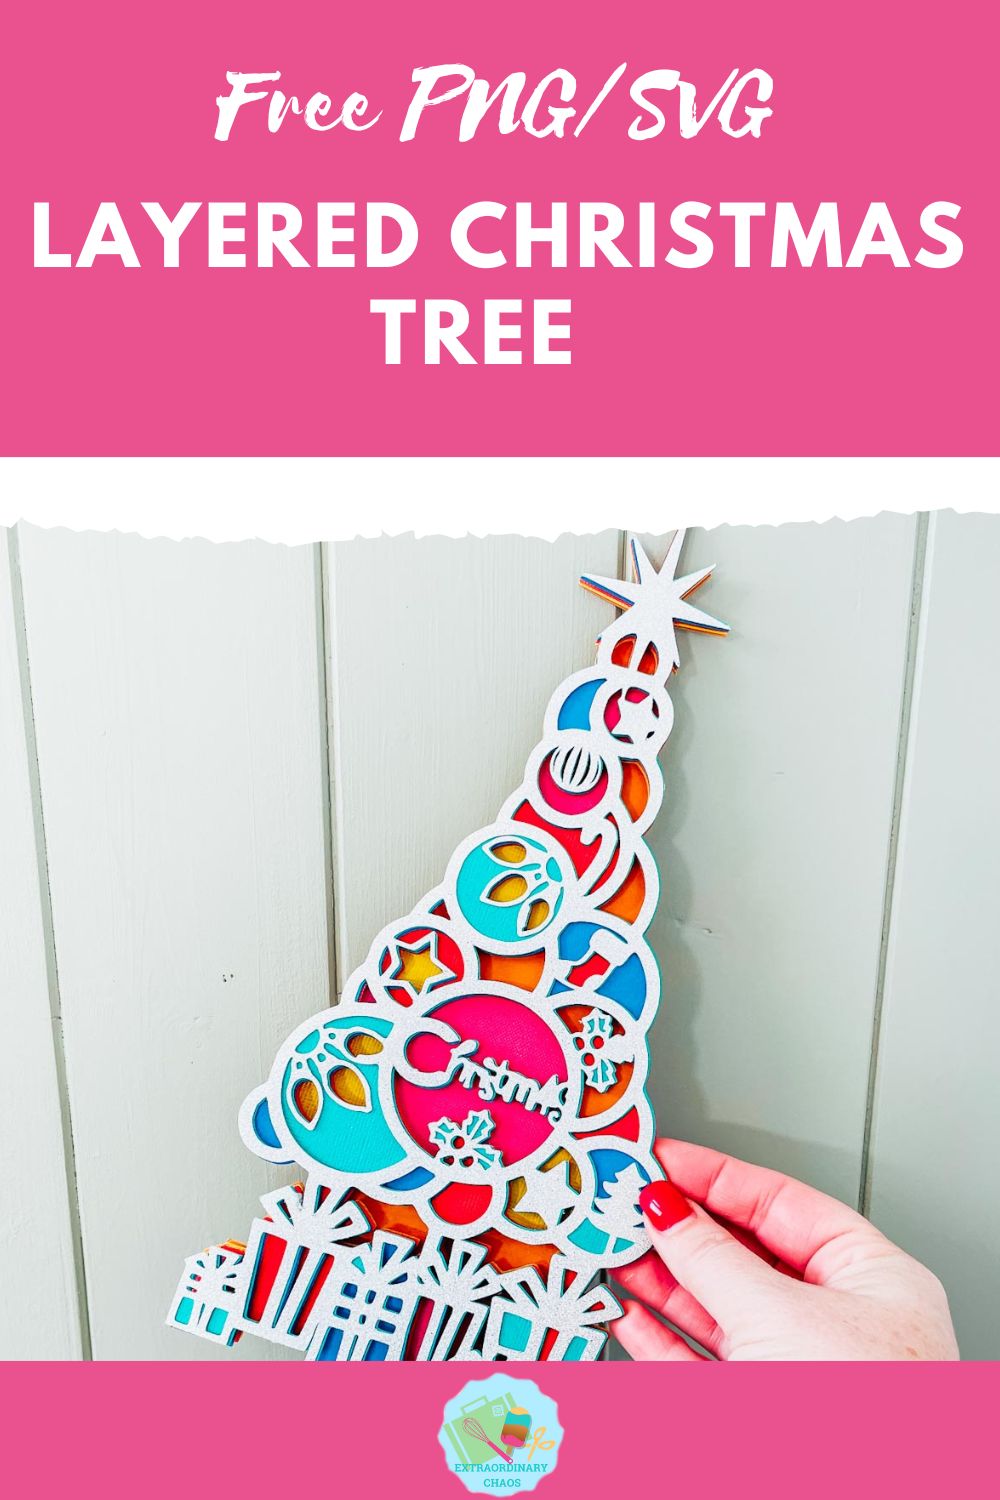
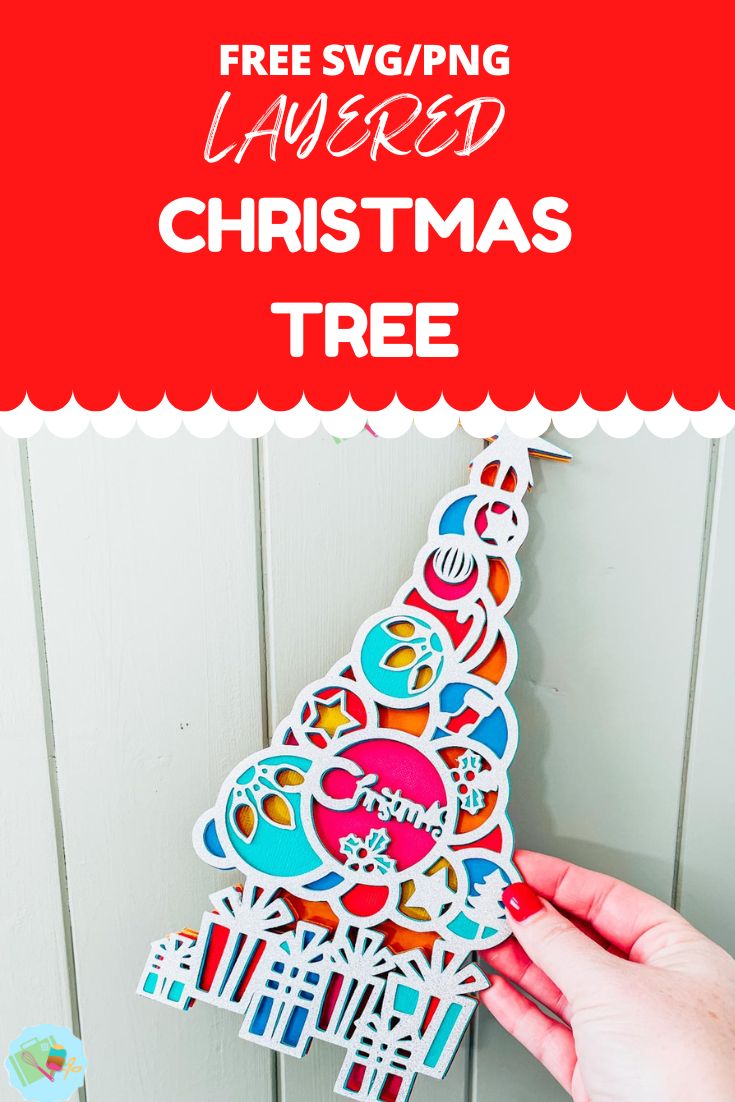
Christmas is coming ( well as of today its 68 days away! ) and it’s time to create Christmas Holiday decorations and cards to our hearts content. Is it just me who adores making Cricut Christmas Projects? No I though not! There’s something about Christmas craft that makes me so excited. This Free Layered Christmas Tree SVG PNG Cut File is perfect for such occasions, whether it’s creating Christmas cards, holiday cushions or paper cuts, I adore Christmas Holiday Crafting.
In fact I adore Christmas, what’s not to love about the festive season? Spending time with family, cooking amazing food and hopefully a sprinkling of snow.
If you want to see me create my projects, follow me on Tik Tok and Instagram.
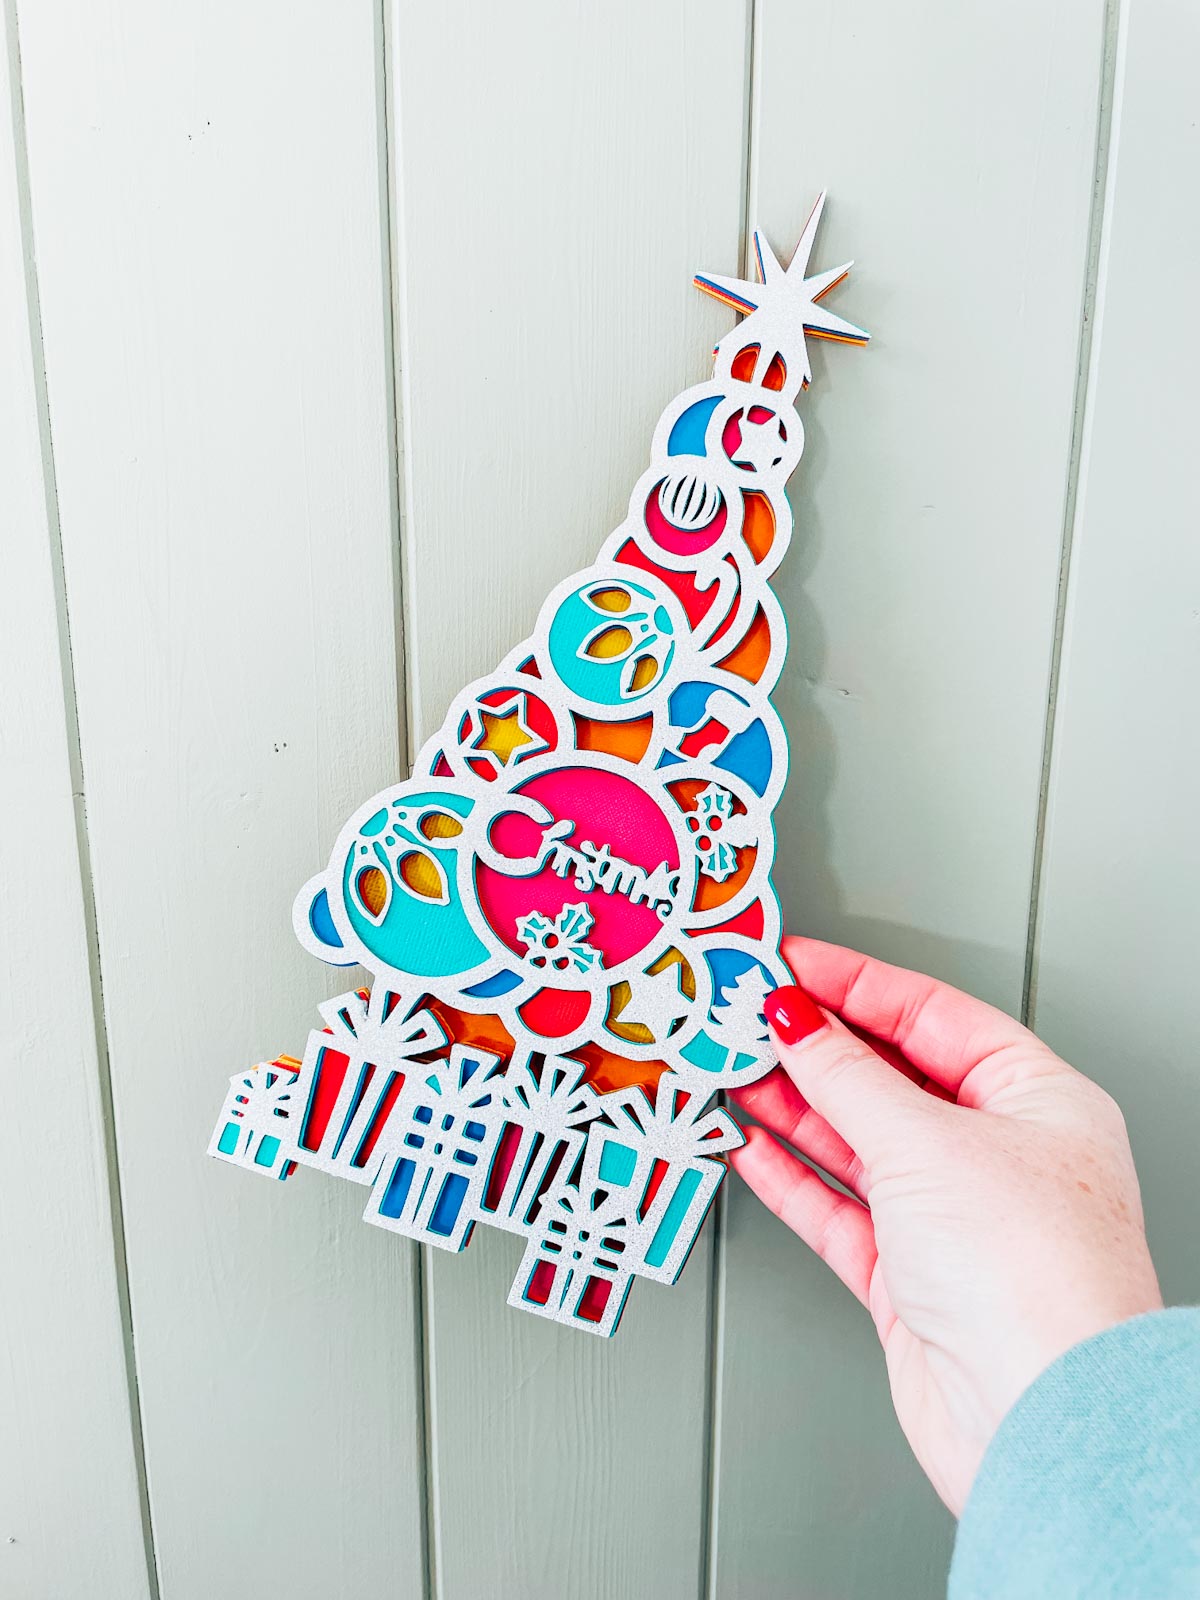
Thus, I designed this Christmas Tree Cut File with paper cutting, scrapbooking and craft in mind. However also love how it can also be transformed to so many festive projects to make as gifts, cakes toppers or to sell.
This post may contain affiliate links. Which means I may receive a small commission if you click a link and purchase something that I have recommended at no extra cost to yourself. As an amazon, Cricut and Glowforge associate, I earn from qualifying purchases.
How To Make A Layered Christmas Tree Paper Cut With My SVG
What You Will Need For My Free Christmas Tree
- Cricut Maker,
- Weeding Tools
- Brayer
- Card Stock, white glitter, green, blue, red, pink, orange and yellow.
- Glue, I use Cosmic Shimmer Acrylic Glue
- Sticky Pads
Upload Your Christmas Tree SVG Layers To Cricut Design Space
Upload your Christmas Gnome SVG files to Cricut Design Space, follow these instructions if you need help doing this. Firstly you will need to ensure all layers line up correctly, they should, however if they don’t, select your layer and click on the padlock on the top bar to adjust. Also use this video guide to get help downloading my files from Google Drive in bulk.
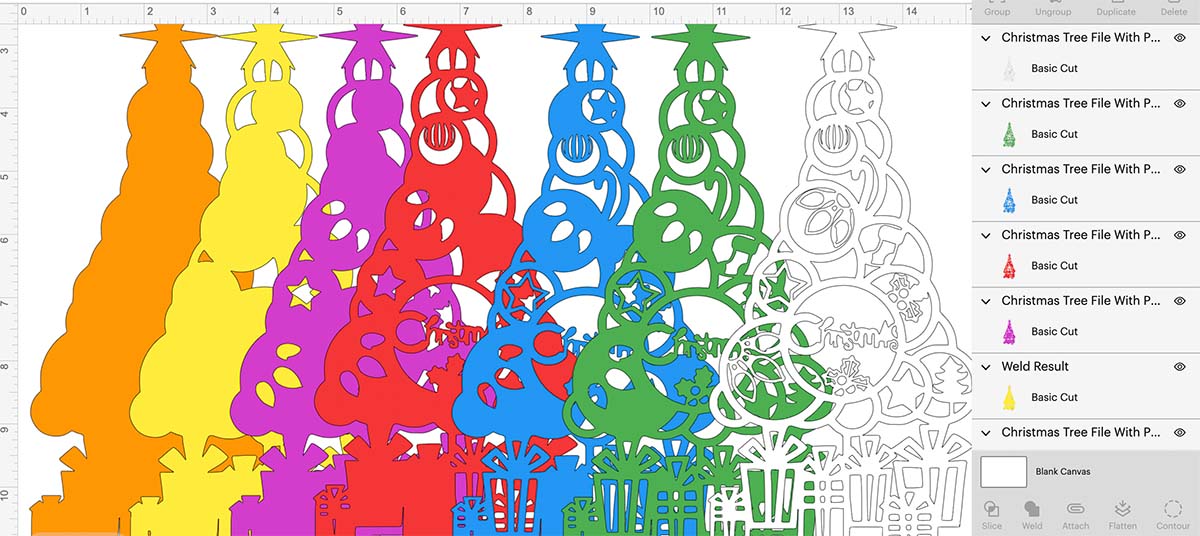
Once you are happy, colour all the layers of your Christmas Tree using the pictures on this page as a guide. The Colours I used are….
- White Glitter For Layer 1
- Green
- Blue
- Red
- Pink
- Yellow ( This is the layer that the lights pop through)
- Orange
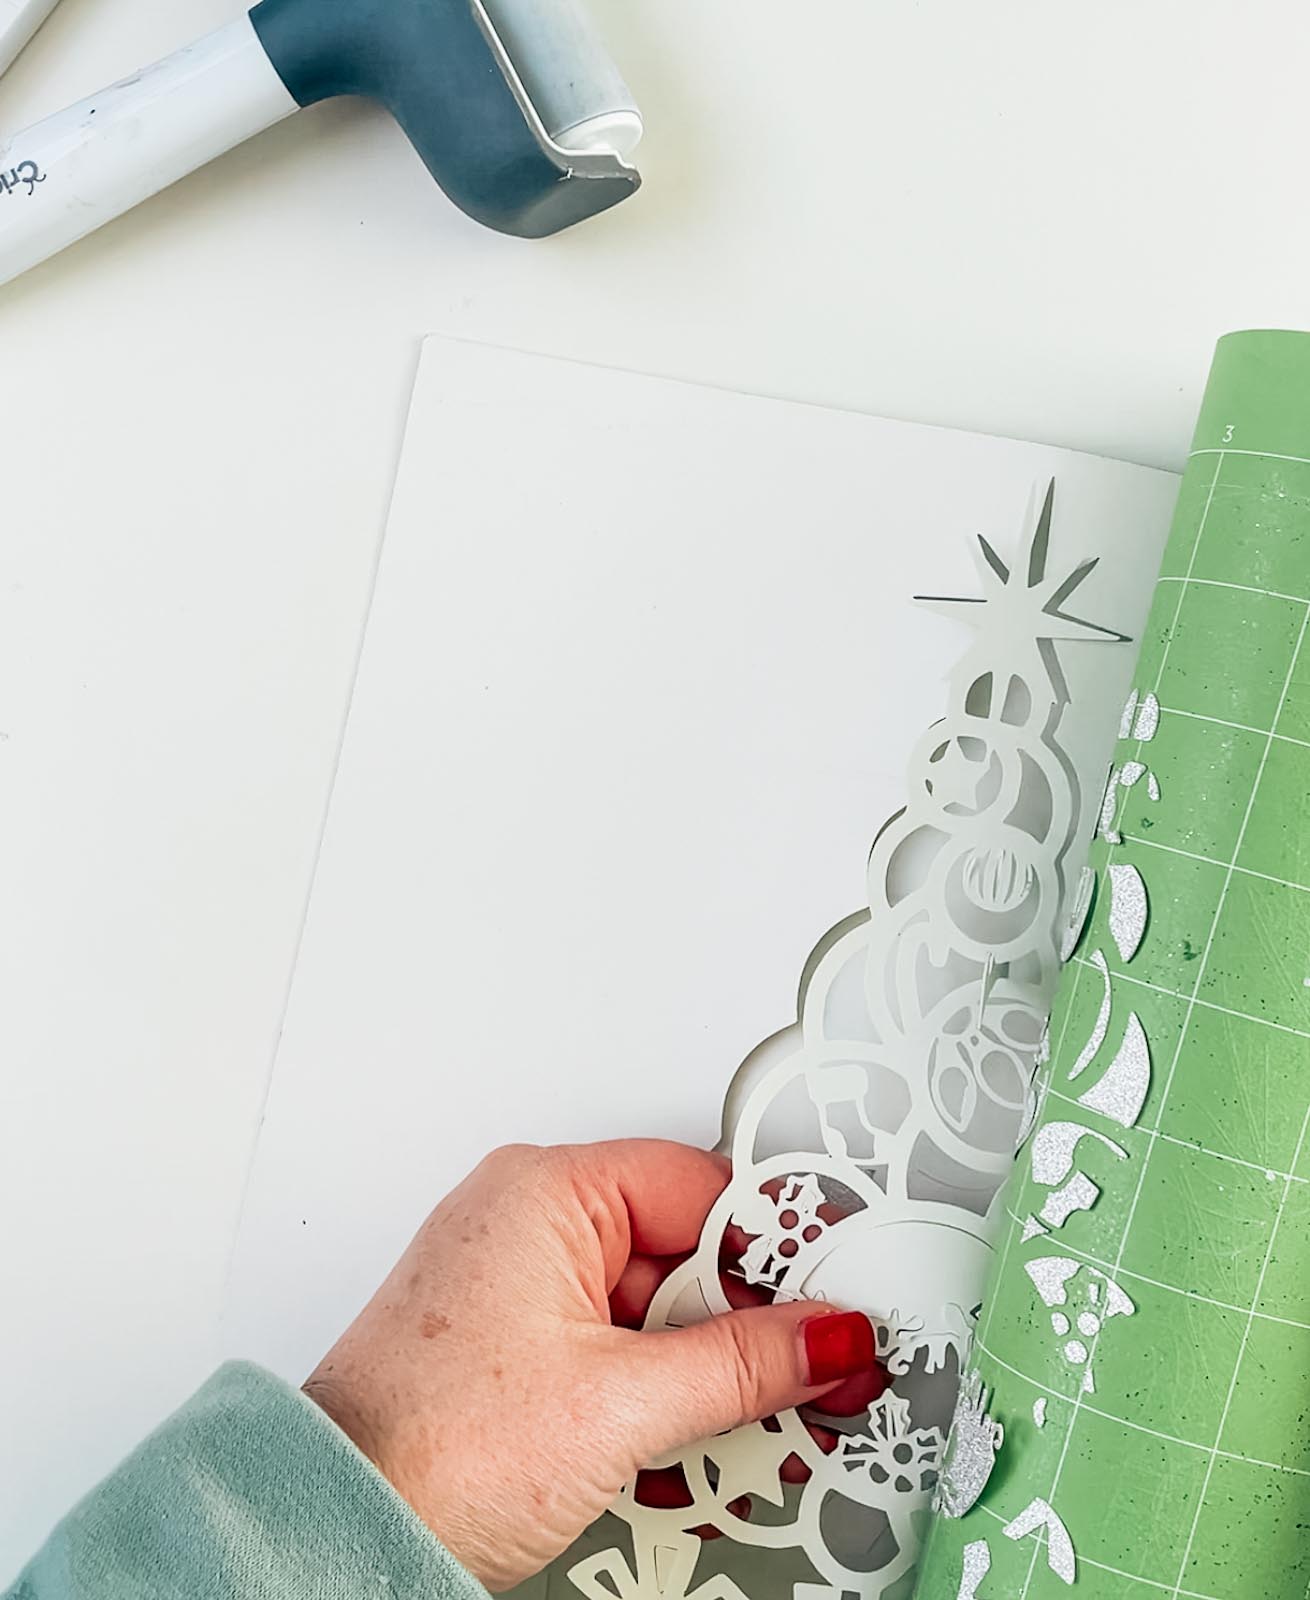
Cutting Your Cricut Christmas Tree SVG
When you send your Holiday Christmas Tree SVG Cut File to your Cricut to cut, ensure you use your brayer to roll the paper, vinyl or card to the mat. Any kind of movement will effect the cut. Also make sure your mat is in good condition, it’s vital for cutting intricate cuts.
Additionally, make sure you set the material and cut pressure correctly to match whatever Cricut materials you’re cutting to get a clean cut. Once your Christmas Tree cut has finished, discard the outer area of the paper/ vinyl this pulls away easily, flip over and reverse weed.
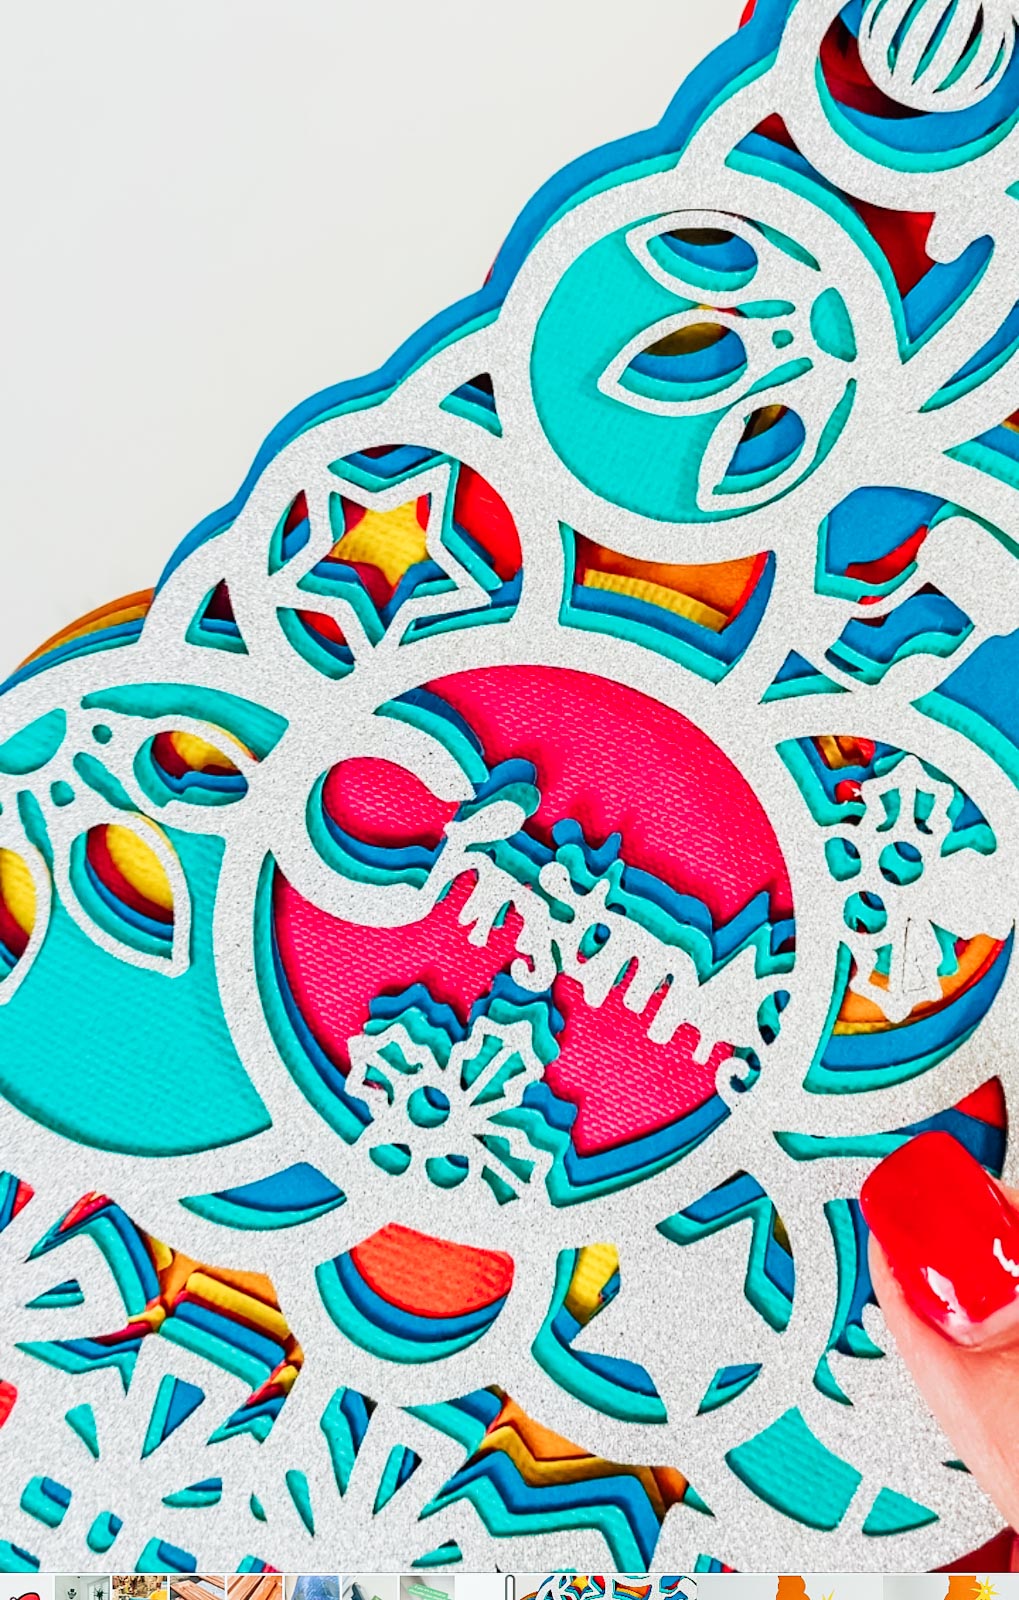
How To Build Your Christmas Tree SVG Layered File
Firstly start by making sure they all line up and every layer is the correct way round, then flip all of the layers over.
Next, turn the back orange layer over, then apply glue to the back of the yellow layer and flip and attach to the orange layer. Repeat this with the, pink, red, blue and green layered until your tree is fully built.

If You Want To Download This Project?
To get your free ChristmasTree SVG png cut file, simply click here or on the image below the download is ready for your in our members shop.
However, make sure your pop-up blocker is turned off and if the email doesn’t land check your spam folder. Here’s how you upload the files to Cricut Design Space.

More Christmas Projects
- Magic Reindeer Dust
- Nativity Alphabet
- Elf Alphabet
- Winter Wonderland Alphabet
- Santa Treat Plate
- Santa Footprint Template
lso please do pop over to Instagram, or Tik Tok and give me a follow and if you make a project tag me! I love seeing everyone else’s makes and chatting crafting. I could do that all day.
Thanks so much for sharing your beautiful work! I’ve had a lot of fun with your designs. I have one question…can I get your layered Christmas tree in svg format. I received the image as a png. I’m using a Cricut machine.
Thanks for your time and wonderful work.
Becky Canada
Hi Becky I have just checked and the files are there but in another folder over the images, its because I have uploaded them to the folder thanks Sarah x
Thank you!
Ah thank you Sonja x
I have been trying all the different options to upload to my cricut, and I still cannot get the svg to download with the different layers. Exactly which file do I open. I would like the Christmas tree with presents
Hi Bella when you download the file and open it the tree with presents is there, you can also click on the folder and this gives you layered versions on the tree in SVG and PNG thanks Sarah
Bonjours! Impossible d’ouvrir et même de télécharger dans desing space. Il est tellement beau cette arbre. Je voulais faire ce beau projet, mais impossible. Merci
Nicole Pouvez-vous me dire pourquoi il y a deux dossiers contenant les fichiers, auriez-vous pu en manquer un ?