Valentines Day is not far away, if you are a Cricut, Glowforge or Silhouette user you may have seen my Valentines Gnome SVG, I have also created an Alphabet and Mickey SVG, that can be used on Cricut And Glowforge. However, I also wanted to create some printable for people that didn’t have the time or the inclination to spend hours crafting. My Free Valentines Printable Chocolate Wrapper is the perfect quick and easy printable Valentines printable project.
Also check out my printable Gnome Candy Holder which can also be cut out by hand.

This post may contain affiliate links. Which means I may receive a small commission if you click a link and purchase something that I have recommended at no extra cost to yourself. As an amazon, Cricut and Glowforge associate, I earn from qualifying purchases.
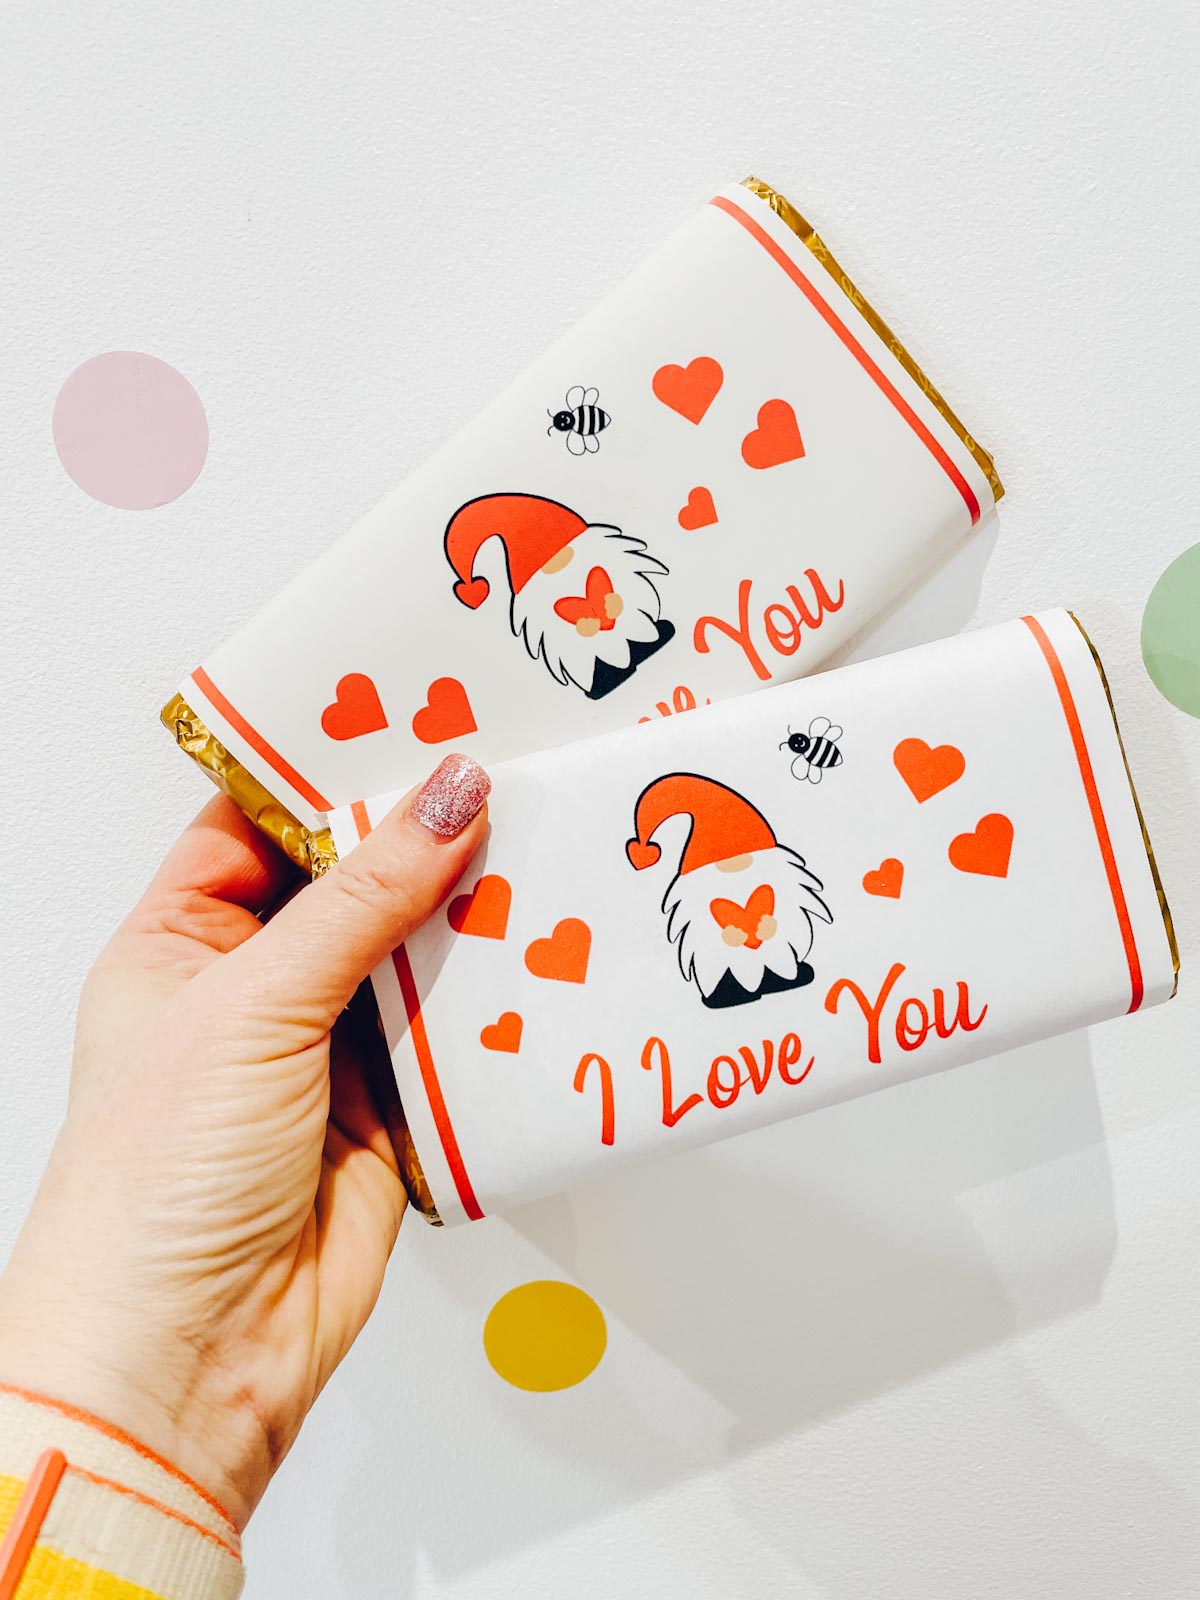
There are 2 types of files in my Free Gnome Valentines Chocolate Holder Printable. A PNG Download, and a PDF which are ready to print and cut out. The wrapper has a cute Gnome on the front and his back on the back of the wrapper for a little added detail.

You can also easily personalise you candy bar wrapper by uploading to Canva or Word and adding text or of course Cricut Design Space.
What You Will Find Here
You Will Need
- 1 Chocolate Bar (Any size you wish)
- Glossy Sticker Paper
- Guillotine or Scissors
- Colour Printer
How To Personalise Your Valentines Printable Chocolate Wrapper
Start by setting up a free Canva account, click create a design and search A4 project. When the project opens click upload in the left hand bar and find your PDF Valentines Printable Chocolate Wrapper file.
Now click on the file in the upload media section and it will appear on your A4 canvas. Next measure the branded wrapper of the chocolate bar, you will need to size this chocolate wrapper to the same size.

Click text in the left hand bar, choose a font and type your name. I have added mine in the image above the gnome, however it might work better to fit underneath to avoid being covered. You can see I have also flipped the name so it fits over or under my gnome. However you can add a name wherever you want.
Once you are happy with the size and position send the file to print.
A Few Useful Tips And Hints For Printing The Chocolate Bars
- If using a Cricut calibrate your printer before using with you Cricut, this will save so much time and effort.
- Load your paper the correct way into the printer. Obvious, I know, but I have made that mistake many times.
- Also avoid smudging the ink they come out of the printer, because its glossy paper it needs time to dry properly, especially the black ink.
- Load your Valentines Gnome image the correct way into your Cricut as it appears in design space.
When printed, trim your chocolate wrapper to size to fit around your candy bar.

Now flip it over and peel the backing back an inch and fold the backing away to leave a sticky edge. This will create a sticky edge to attach your valentines candy wrapper.

Lastly wrap your chocolate bar and use the sticky edge to secure your label. Alternatively if you are using regular paper or card you will need double sided tape to secure.

If You Want To Use My Cute Gnome Valentines Printable Chocolate Wrappers
Simply click here or on the image below to get my free Valentines Printable Chocolate Wrapper from our shop. However, make sure your pop-up blocker is turned off, if the email doesn’t land check your spam folder. Here’s how you upload the files to Cricut Design Space.

If You’re Having Problems?
Check out my trouble shooting page, hopefully it will answer any questions you may have.
Also please do pop over to Instagram, and give me a follow and if you make a project please do tag me! I love seeing everyone else’s makes and chatting crafting. I could do that all day! This is also where I share all my projects in progress.


Valentines Personalised Chocolate Bar
Free Download For A Personalised Valentines Printable Chocolate Wrapper & step by step instructions to personalise your valentines chocolate
Materials
- 1 Chocolate Bar (Any size you wish)
- Glossy Sticker Paper
Tools
- Guillotine or Scissors
- Colour Printer
Instructions
- How To Personalise Your Valentines Printable Chocolate Wrapper
Start by setting up a free Canva account, click create a design and search A4 project. When the project opens click upload in the left hand bar and find your PDF Valentines Printable Chocolate Wrapper file .Now click on the file in the upload media section and it will appear on your A4 canvas. Next measure the branded wrapper of the chocolate bar, you will need to size this chocolate wrapper to the same size. Click text in the left hand bar, choose a font and type your name. I have added mine in the image above the gnome, however it might work better to fit underneath to avoid being covered. You can see I have also flipped the name so it fits over or under my gnome. However you can add a name wherever you want.
 - Once you are happy with the size and position send the file to print.
- When printed, trim your chocolate wrapper to size to fit around your candy bar.

- Now flip it over and peel the backing back an inch and fold the backing away to leave a sticky edge. This will create a sticky edge to attach your valentines candy wrapper.

- Lastly wrap your chocolate bar and use the sticky edge to secure your label. Alternatively if you are using regular paper or card you will need double sided tape to secure.

Notes
A Few Useful Tips And Hints For Printing The Chocolate Bars
If using a Cricut calibrate your printer before using with you Cricut, this will save so much time and effort.
Load your paper the correct way into the printer. Obvious, I know, but I have made that mistake many times.
Also avoid smudging the ink they come out of the printer, because its glossy paper it needs time to dry properly, especially the black ink.
Load your Valentines Gnome image the correct way into your Cricut as it appears in design space.