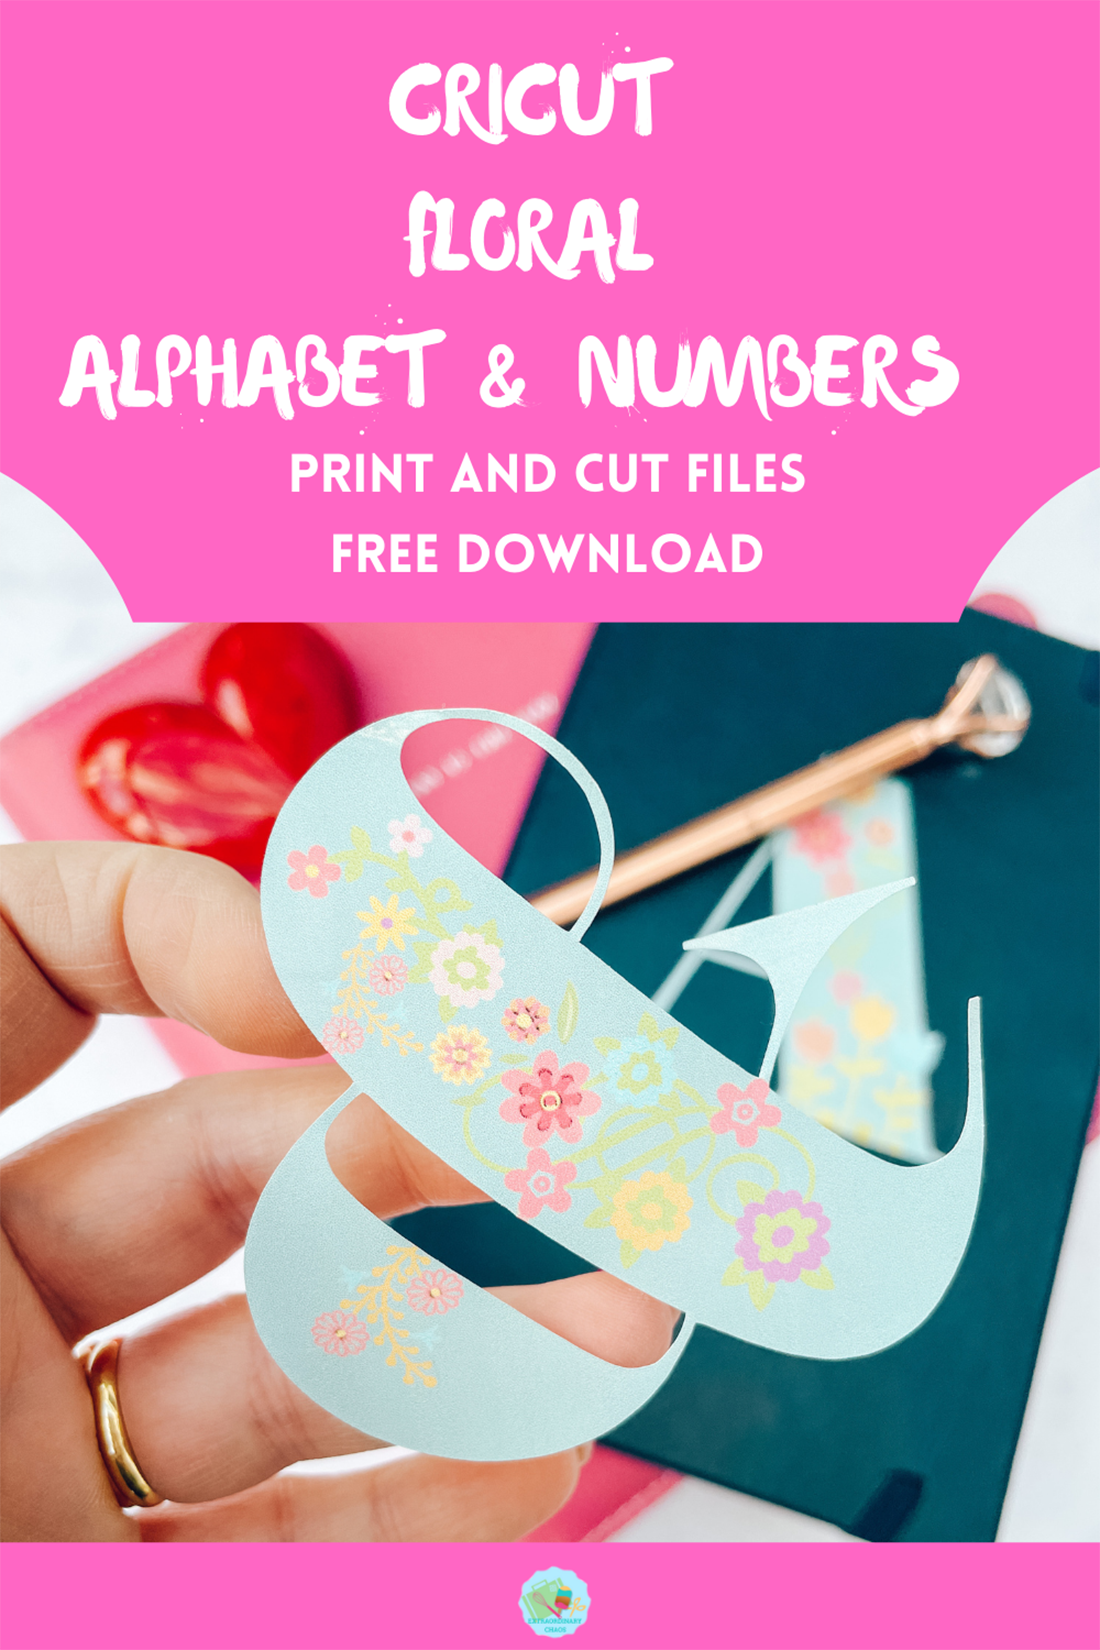
I adore my cut file alphabets for Cricut Silhouette or Brother Scan N Cut; you can use them for so much. However sometimes you want something slightly different for a project, maybe a pretty decal for a notebook or to decorate a bedroom. My Printable Free Floral Alphabet is perfect for crafting and home decor and filling that gap between
I spent hours scouring the internet for kids’ bedroom decals when our boys were little; I wish I had a Cricut back then. My printable flowery alphabet allows you the flexibility to be able to decorate bedrooms and nurseries, and also make cards or indeed adorn scrapbooking pages.
If you want to see me create my projects, follow me on Tik Tok and Instagram.
This post may contain affiliate links. Which means I may receive a small commission if you click a link and purchase something that I have recommended at no extra cost to yourself. As an amazon, Cricut and Glowforge associate, I earn from qualifying purchases.
How To Use Our Printable Floral Alphabet For Crafting And Home Decor
Project Ideas For My Free Printable Floral Alphabet
- Decor for Baby Showers
- Christening inivtation
- Cake Toppers
- Party Invitations And Cards
- Notebook Decals
- Wedding Decorations
- Wall Stickers For Children’s Bedrooms
- Classroom Themed Alphabet Wall Murals
- Sublimation Mugs
- Wedding And Engagement Decor
- Sublimation Bags and T Shirts
- Iron On Vinyl Hoops
- Door Decals And Name Signs
- Making A Flower Banner
- Scrapbooking Page Layouts
- T-Shirts for Bridal Showers
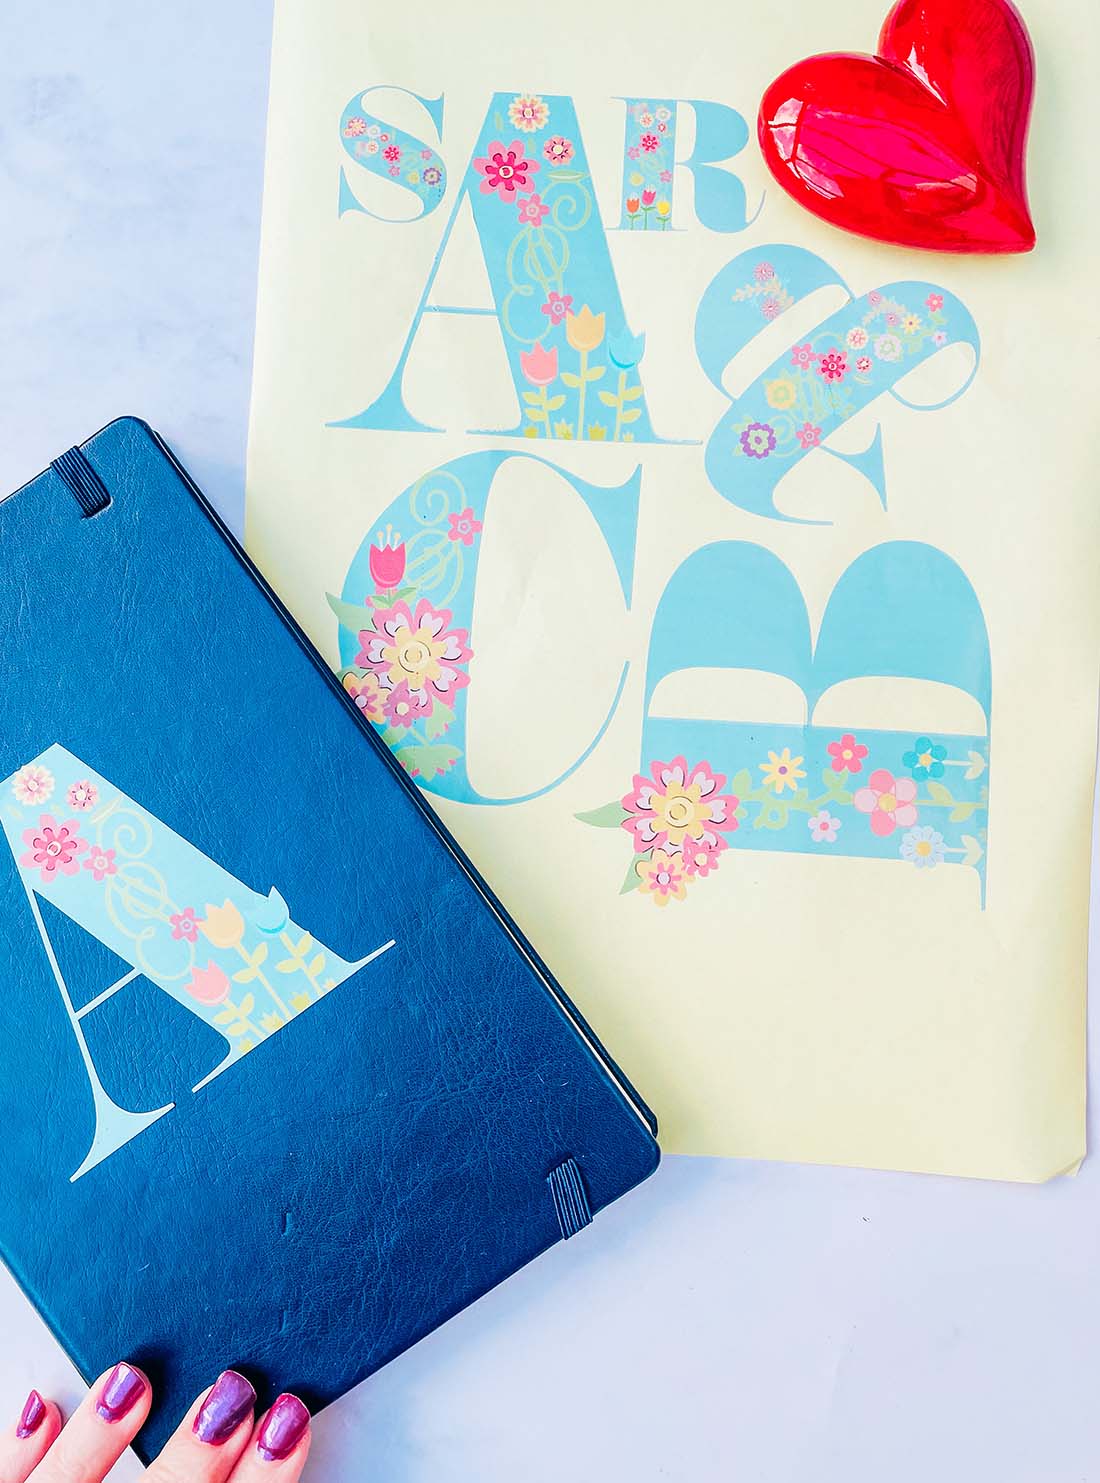
To Make The Floral Alphabet Stickers You Will Need
- Printer, I use the HP Envy 5020 (Make sure you calibrate your printer to your Cricut before using for the first time, you will find the calibration button by clicking on the 3 lines next to CANVAS in the top left corner of Design Space)
- Glossy sticker printer paper or printable vinyl.
- Cricut Maker
- Cutting Mat
- Cricut Tool Kit
- Or Any Sublimation Ink, Tools and Blanks
You Can Also Use The Printable Floral Letters To Make Personalised Invitations
Simply upload the letters to Canva and create your own custom diy invitations for weddings or birthday parties. This is a great way to make affordable invitations. It’s important to print on quality card stock for the best results. Print two invitations on A4 card and cut the cards out with scissors or a guillotine.
How To Download These Floral Alphabet Letters?
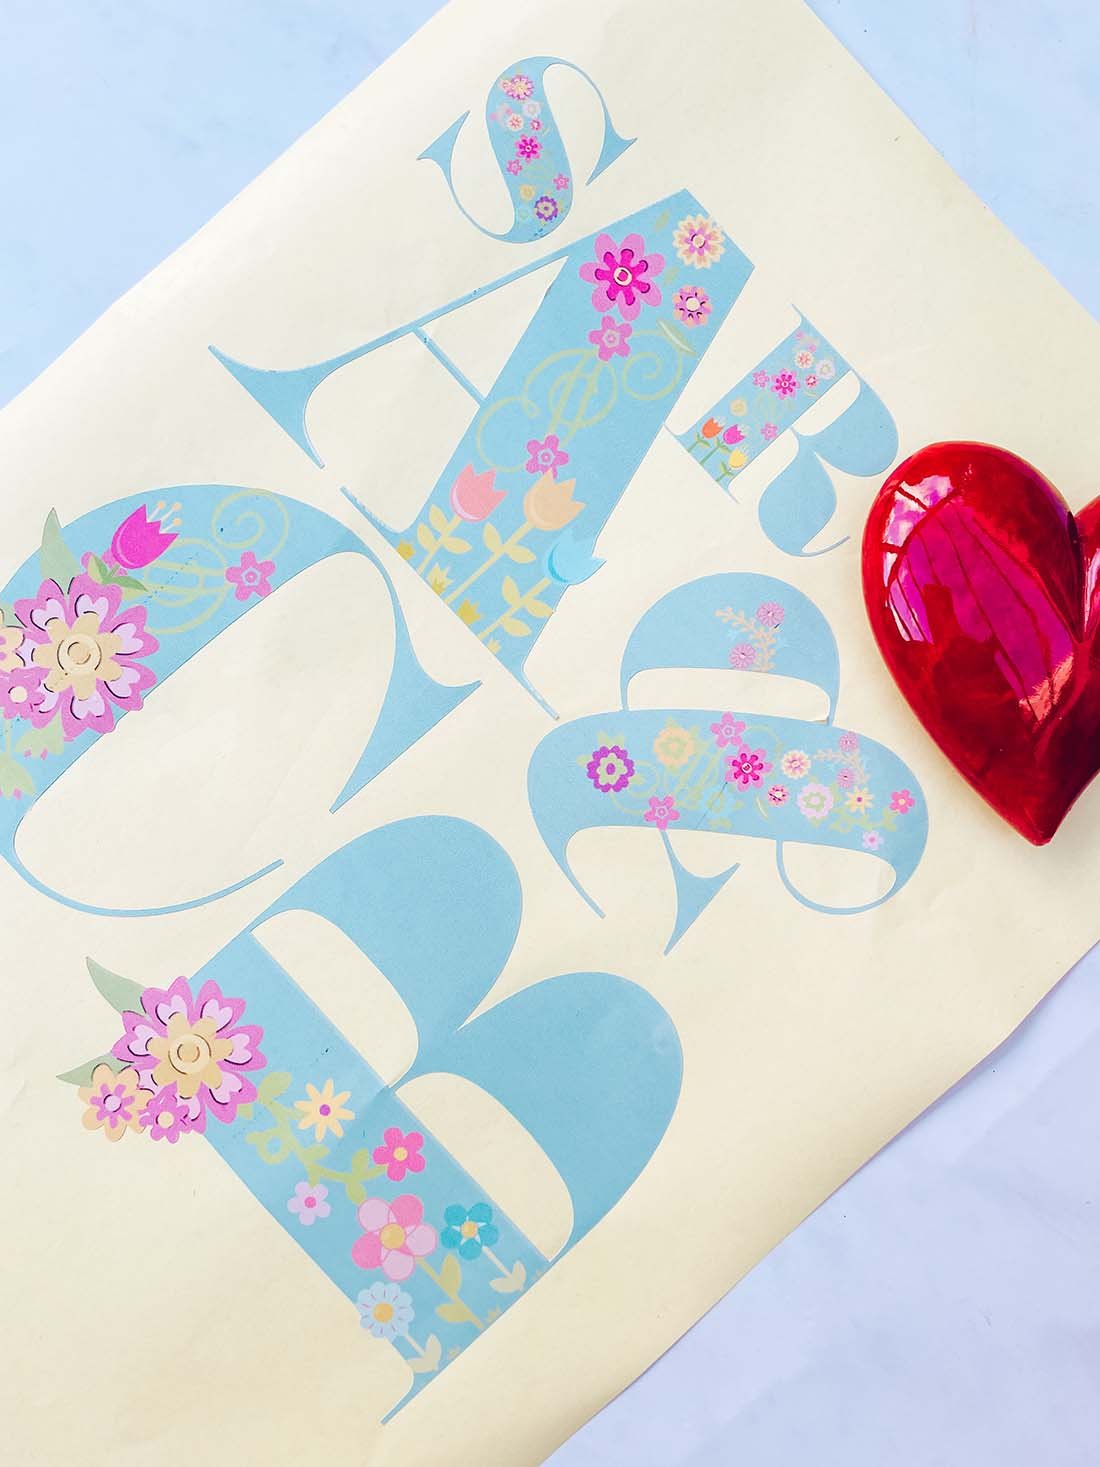
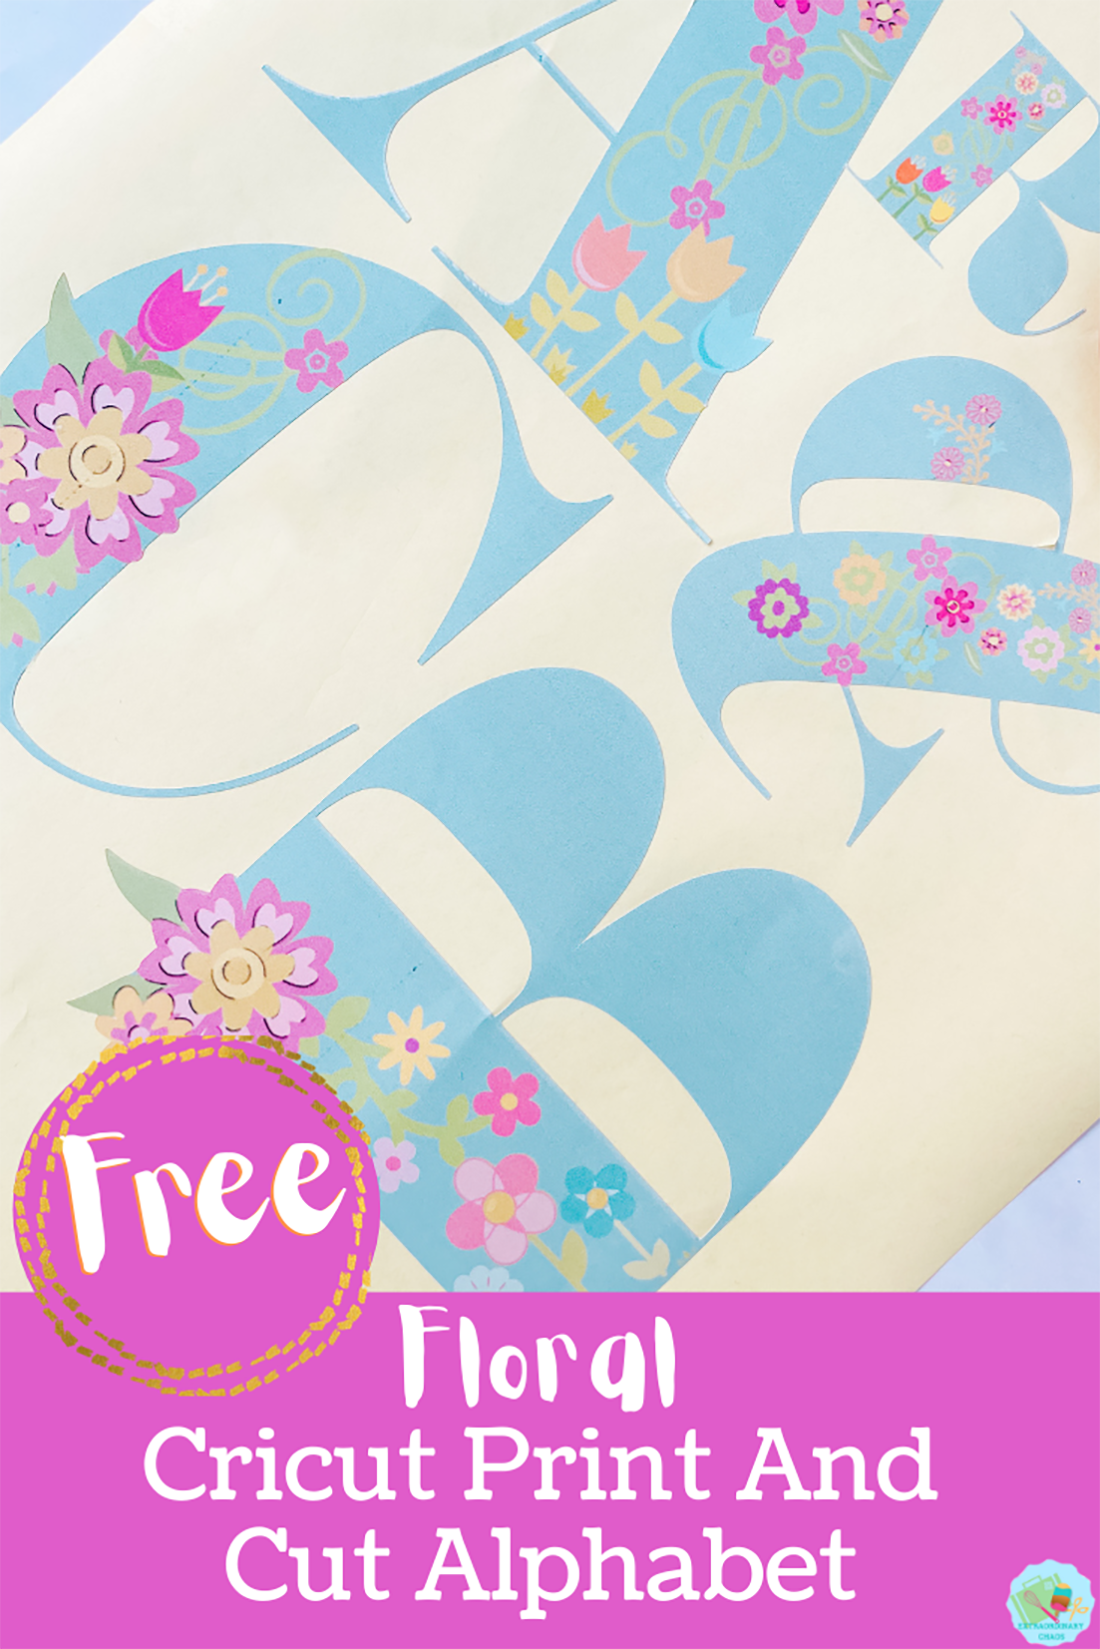
Click here or on the image below to get your free floral downloadable alphabet png files from our shop.
How To Upload Your Printable Floral Alphabet And Numbers To Cricut Design Space.
Start by clicking Upload in the bottom left-hand corner of Cricut Design Space; this will open a box where you can select browse. Now find your flowery download numbers of letters, and select your chosen letters and numbers for your print and cut project.
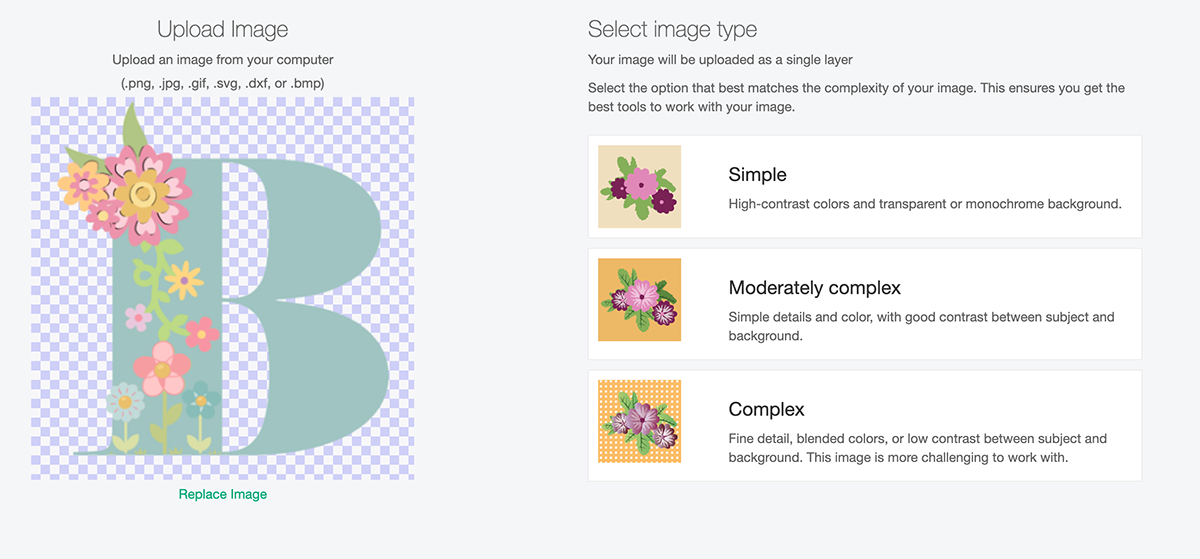
When you choose a letter you will see the box below. Select complex and click continue in the Botton right corner.
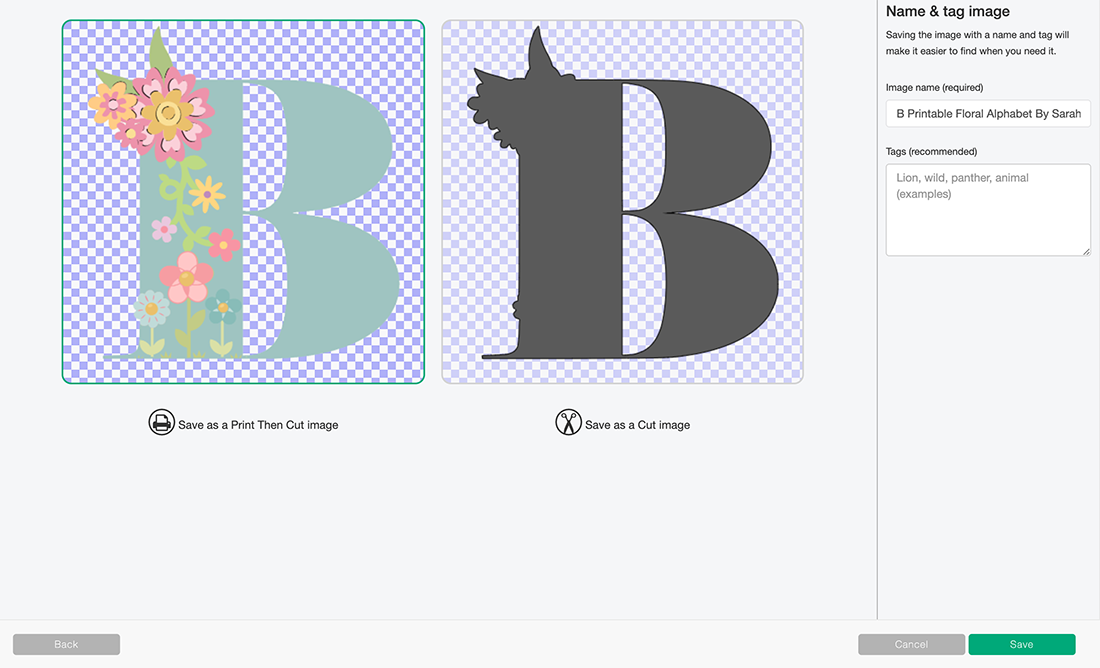
Next, you will see a screen where you can remove the back of the file, but I have done this for you; click continue in the bottom left corner. Before choosing to save your printable alphabet as a cut file or a print, then cut file. You must save it as print then cut.
Now bulk select the letters and numbers for your floral Cricut project to pull into Cricut Design Space.
How To Print Stickers And Decals With Cricut
Once you are happy with your choice and sizes, click on the corner and drag the attached images until they are the correct size to print and cut. They need to be 6.75. x 9.25 or less to use the print and cut feature.
I find arranging your letters or numbers together; check out my video above; selecting all and flattening or attaching the whole lot together is the best way to avoid wastage. If you have white space between the letters they will still be cut separately. This way you can move letters upside down to fit more into your printing space.
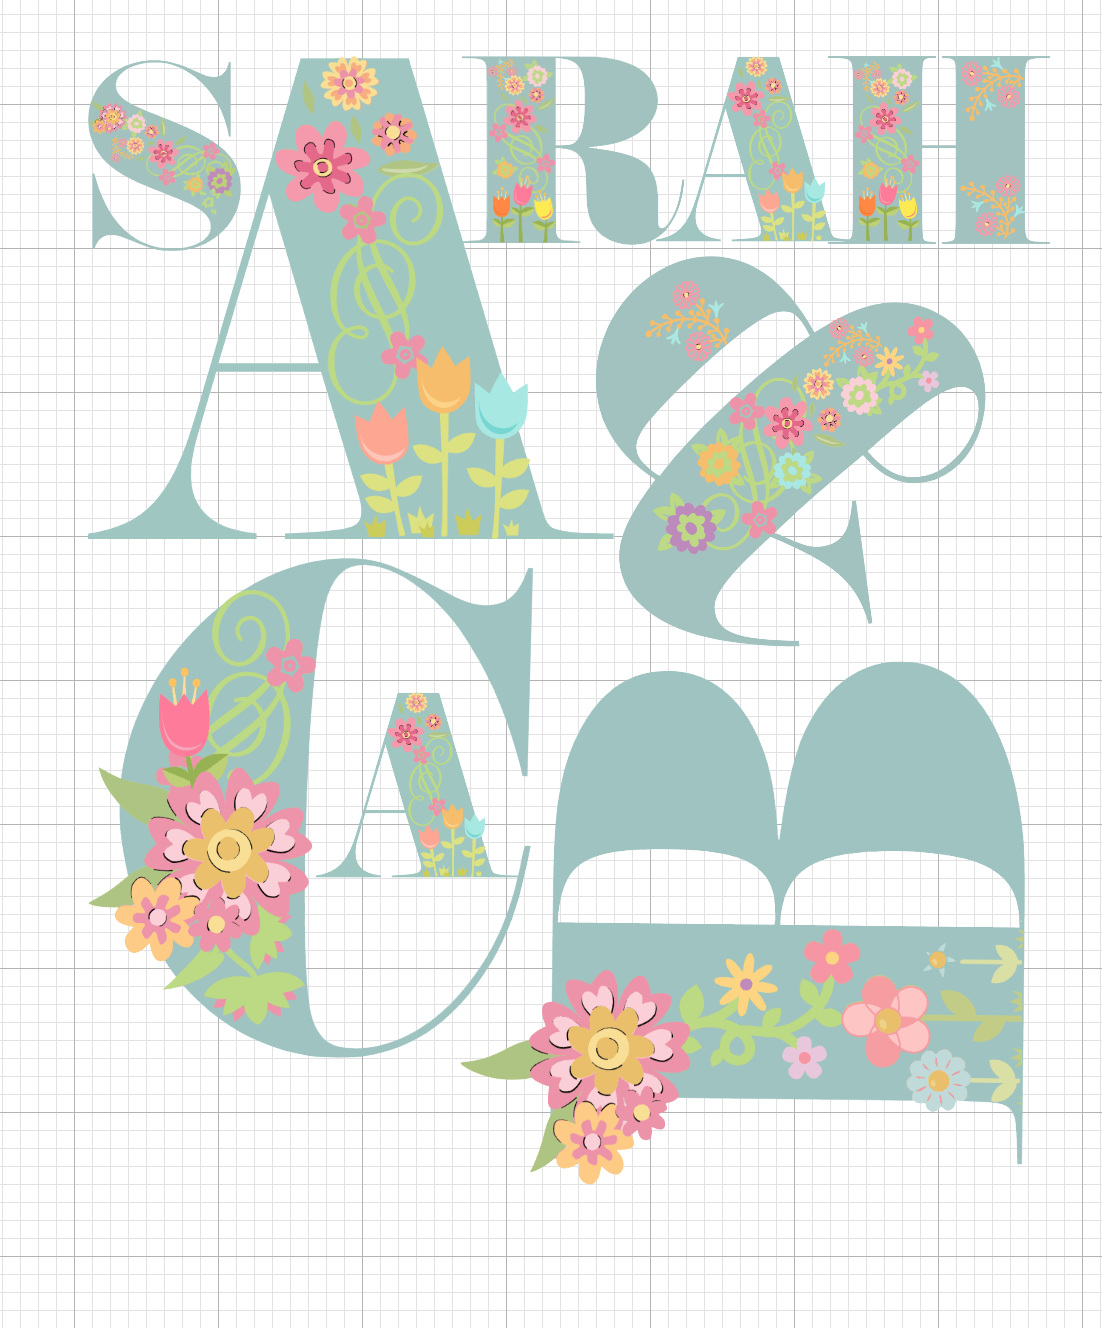
Now click Make it; this will take you to the print preview page; ensure you feed your sticker paper in the correct way into the printer and click print.
When you unload the printer avoid touching the black guide line around the edge of the printed stickers as I find this smudges easily. Also, consider sliding the guide rollers to avoid ink smudging when cutting.
Once printed, gently put the sticker sheet on your cutting mat; I don’t roll it with a brayer as I usually would; simply gently press around the edge. But always ensure I use a sticky mat. You want it to stick but not too much!
You will now be taken to a cut screen, where you can choose your material. I always use printable vinyl; this successfully cuts the top sticker layer only with the default pressure setting. And press go on your Cricut.
If You Don’t Have Cricut?
You can print my floral alphabet off by pulling your selected letters into Canva, and printing them as a pdf. This is a great programme for making posters and cards, or indeed Word or Pages.
Also please do pop over to Instagram, or TikTok and give me a follow and if you make a project please do tag me! I love seeing everyone else’s makes and chatting crafting. I could do that all day! This is also where I share all my projects in progress.

Thanks so much ! I love the idea of having a print then cut rather then just cut excited to try it !
Thank you Coco, I really do love these files, the print makes them so much prettier, I hope you enjoy using them x
Thankyou so much for sharing. I am new to the Cricut world and trying to find my way, amongst a lot of overwhelm. Your designs resonate with me!
Karen thank you and glad they are helping x
thank you very much for all yours beautiful freebies.
And thank you for your support