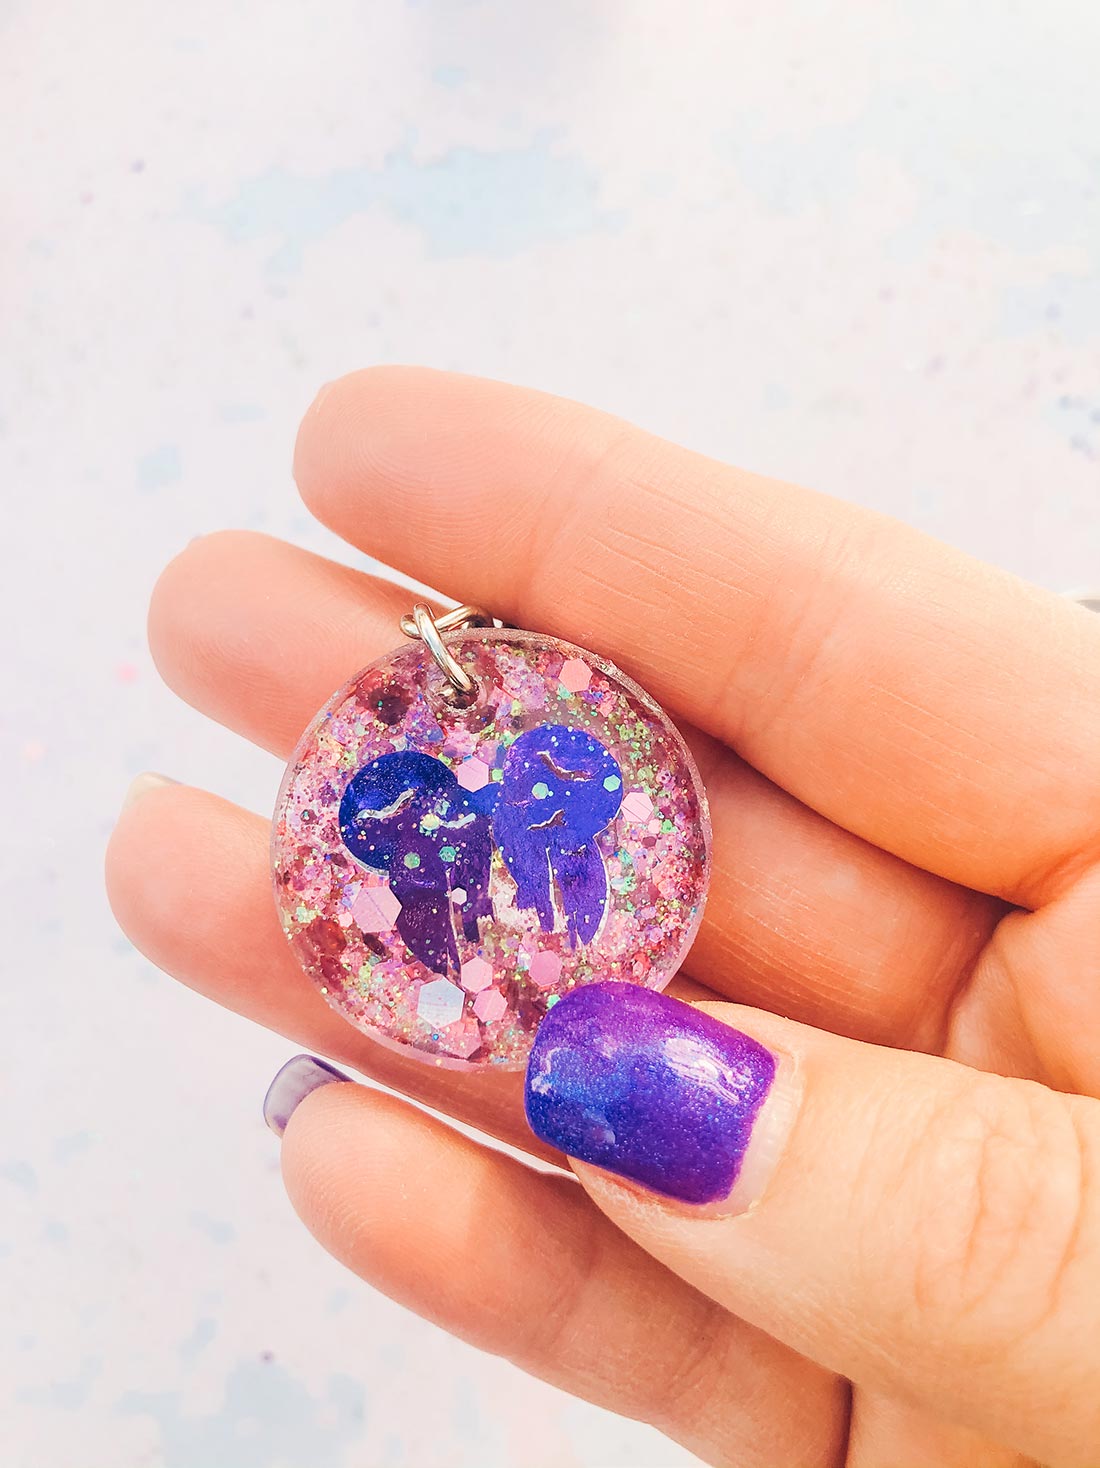
I have be dying to have a go at making resin keyring’s for so long, you know one of those crafts you keep thinking you will get round to having a go at. So when Jack bought me a resin kit for my birthday I was thrilled. Teens are great aren’t they? Thus, after having a play and getting it wrong first time round, I have now mastered how to make pretty but simple resin keyring with an inlaid Mickey Halloween Cut File.

Now, I have made Halloween key rings as I was dying to try out this cute Halloween template I had made. Which I thought long and hard about, ok a lovely decision to ponder over. But I was torn between do I inlay the resin with vinyl or overlay the project?
I decided to inlay it, which did work well as it makes your keyring double sided. However overlaying on heavily glittered resin keyring’s would also work well.
If you fancy using this cute Mickey Halloween Cut File to create something amazing for Halloween you can get it by clicking the link below. Additionally if you are wondering how to upload your project to design space this post explains how.

What You Will Find Here
Other Ideas For Using This Mickey Halloween Cut File
- Halloween Wall Art
- Mickey Halloween T Shirt
- Cup
- Halloween Cushion
- Welcome Sign
- Hoop Art With Iron On Vinyl

What You Will Need To Make Resin Keyring’s
- Epoxy Resin
- Fitted Latex Gloves the ones that come free in the box are useless!
- Resin Moulds
- Key Rings And Tassels
- Glitter
- Cricut Glitter Vinyl
- Cricut Joy or Maker
- Tweezers
- Pliers
How To Make Your Mickey Resin Keyring
Make Vinyl Inlays
Start by preparing your inlays. To ensure the keying looks great from all angles mirror your images so you have two back to back images.

Now size and cut your images on your chosen vinyl before carefully attaching back to back. This is super fiddly, however worth the time to get it right.

Prepare The Resin For Your Keyring’s
Wearing gloves, mix your resin in equal parts, it’s so important that the measurements are precise of the resin will not set. ( I wore the free gloves for this project, however they are over baggy, get in the way and make doing anything intricate almost impossible)
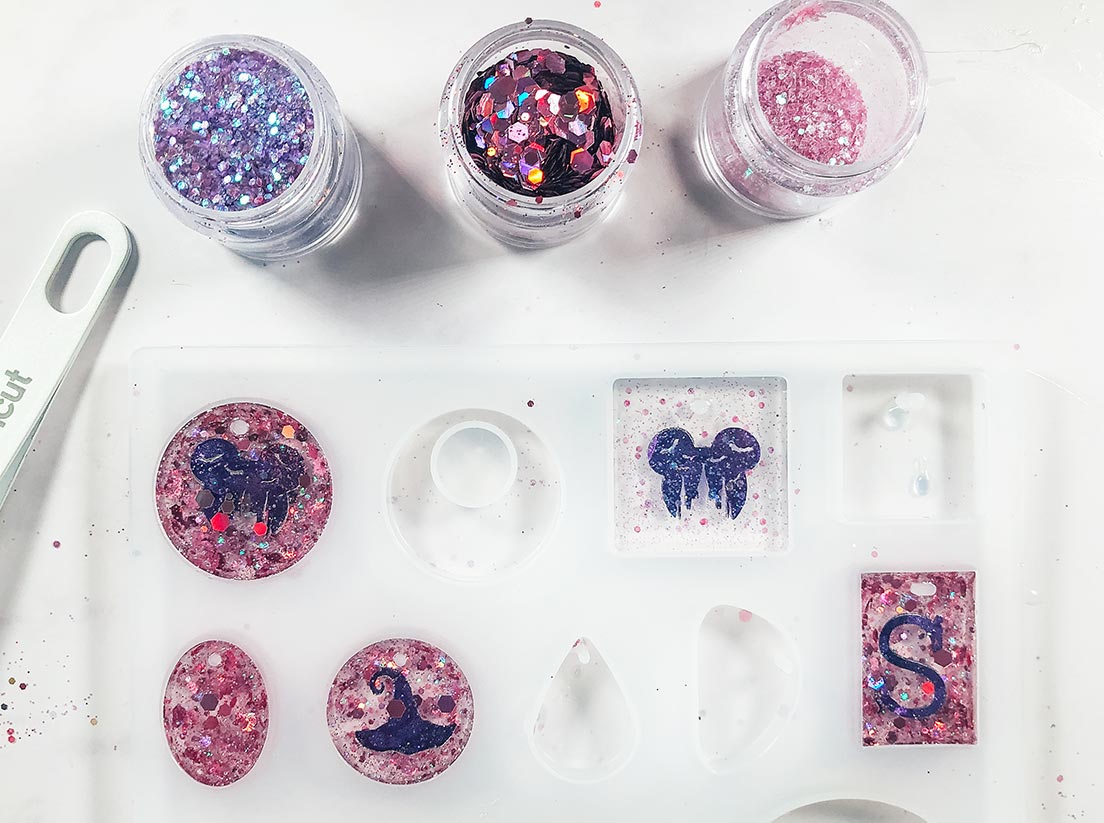
Slowly mix the resin together, mixing too fast can cause bubbles. At this stage you have 2 options, you can add glitter to the resin mix now, or alternatively sprinkle the glitter into the resin in the moulds. I have done both and both options work equally well.

If You Get Resin On Your Hands?
You really don’t want to get the resin on your hands, apart from the risk of allergies, its almost impossible to get off. The resin leaves an odd squeaky film on your hands, I cant even describe it but its horrible.
When I work with resin I always have a pack of wet wipes handy. Thus if I do get it on my hands I am able to wipe them immediately before washing and applying moisturiser to get rid of the squeaky feeling.
Pour The Resin Into The Moulds To Make Your Resin Keyring’s
Now carefully pour the resin into your moulds filling halfway. Now with tweezers place your Mickey Halloween Cut File and any other letters or images you choose to add into the middle.

Allow the resin and image to settle before pouring in the rest of the resin to the top of the mould and leave for 24- 48 hours. When 48 hours is up gently peel the mould off your keyring and pop them out off the mould.
You can now add your key ring and tassels, the kit comes with small open loop which allows you to connect the keyring chain to the keyring, simple tighten the loop with a pair or pliers and voila you have a super cute Mickey Halloween or monogram keyring.

More Halloween Cricut Craft Projects
- Cricut Halloween Alphabet
- Halloween Floral Pumpkin Cut File
- Spooky Pumpkin Hot Chocolate Glass
- Haunted House Paper-Cut


How To Make Simple Halloween Resin Keyring’s
How to make Epoxy Resin Keyring's for Halloween with an inlaid Mickey Halloween Cut File cut on vinyl and glitter. A perfect Halloween trick or treat gift.
Materials
- Epoxy Resin
- Fitted Latex Gloves, the ones that come free in the box are useless!
- Key Rings And Tassels
- Glitter
- Cricut Glitter Vinyl
Tools
- Resin Moulds
- Cricut Joy or Maker
- Tweezers
- Pliers
Instructions
Make Vinyl Inlays
Start by preparing your inlays. To ensure the keying looks great from all angles mirror your images so you have two back to back images.
Now size and cut your images on your chosen vinyl before carefully attaching back to back. This is super fiddly, however worth the time to get it right.
Prepare The Resin For Your Keyring’s
Wearing gloves, mix your resin in equal parts, it’s so important that the measurements are precise of the resin will not set. ( I wore the free gloves for this project, however they are over baggy, get in the way and make doing anything intricate almost impossible)
Slowly mix the resin together, mixing too fast can cause bubbles. At this stage you have 2 options, you can add glitter to the resin mix now, or alternatively sprinkle the glitter into the resin in the moulds. I have done both and both options work equally well.
Pour The Resin Into The Moulds To Make Your Resin Keyring’s
Now carefully pour the resin into your moulds filling halfway. Now with tweezers place your Mickey Halloween Cut File and any other letters or images you choose to add into the middle.
Allow the resin and image to settle before pouring in the rest of the resin to the top of the mould and leave for 24- 48 hours. When 48 hours is up gently peel the mould off your keyring and pop them out off the mould.
Build Your Keyring's
You can now add your key ring and tassels, the kit comes with small open loop which allows you to connect the keyring chain to the keyring, simple tighten the loop with a pair or pliers and voila you have a super cute Mickey Halloween or monogram keyring.
Notes
Other Ideas For Using This Mickey Halloween Cut File
Halloween Wall Art
Mickey Halloween T Shirt
Cup
Halloween Cushion
Welcome Sign
Hoop Art With Iron On Vinyl
If You Get Resin On Your Hands?
You really don’t want to get the resin on your hands, apart from the risk of allergies, its almost impossible to get off. The resin leaves an odd squeaky film on your hands, I cant even describe it but its horrible.
When I work with resin I always have a pack of wet wipes handy. Thus if I do get it on my hands I am able to wipe them immediately before washing and applying moisturiser to get rid of the squeaky feeling.
Recommended Products
As an Amazon Associate and member of other affiliate programs, I earn from qualifying purchases.

