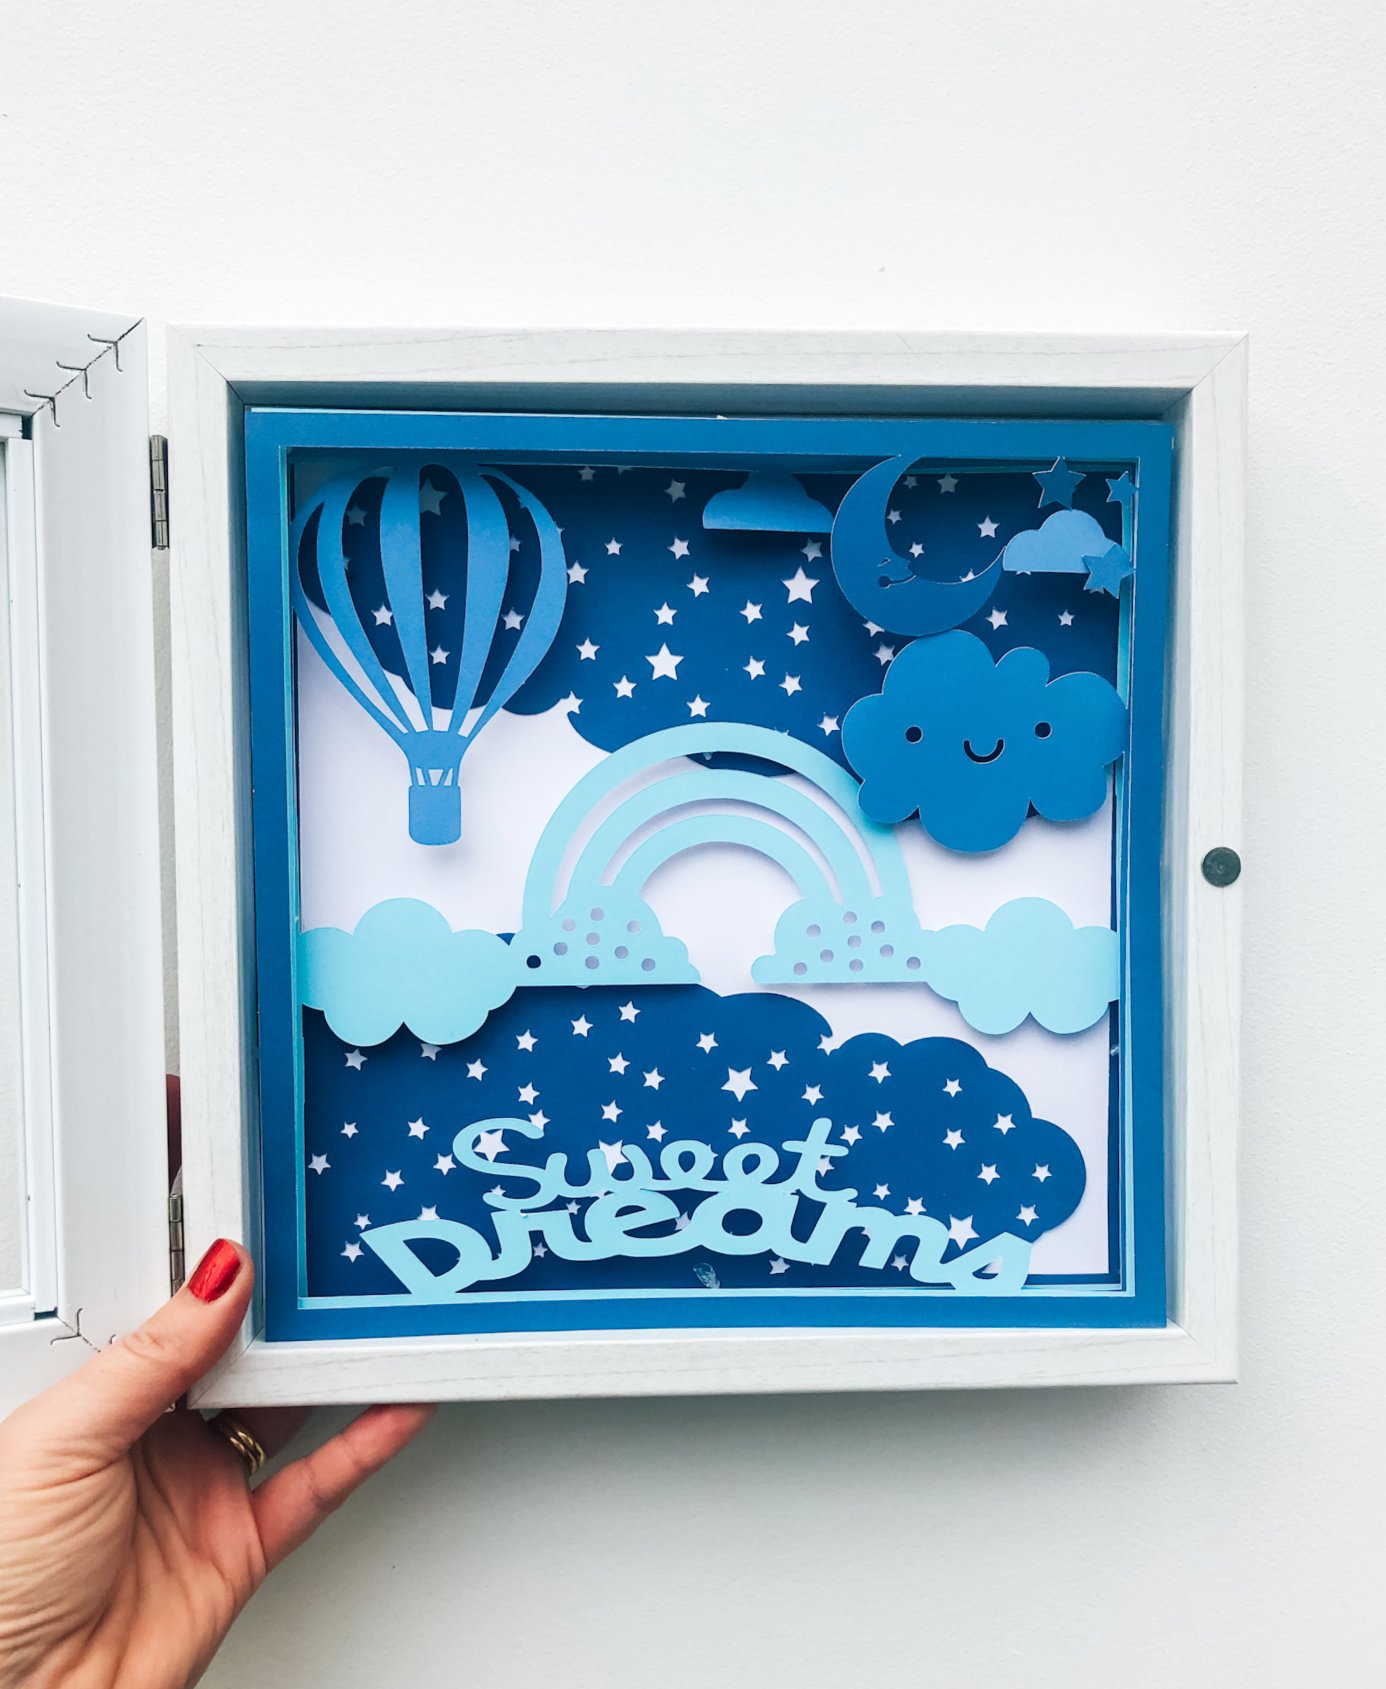
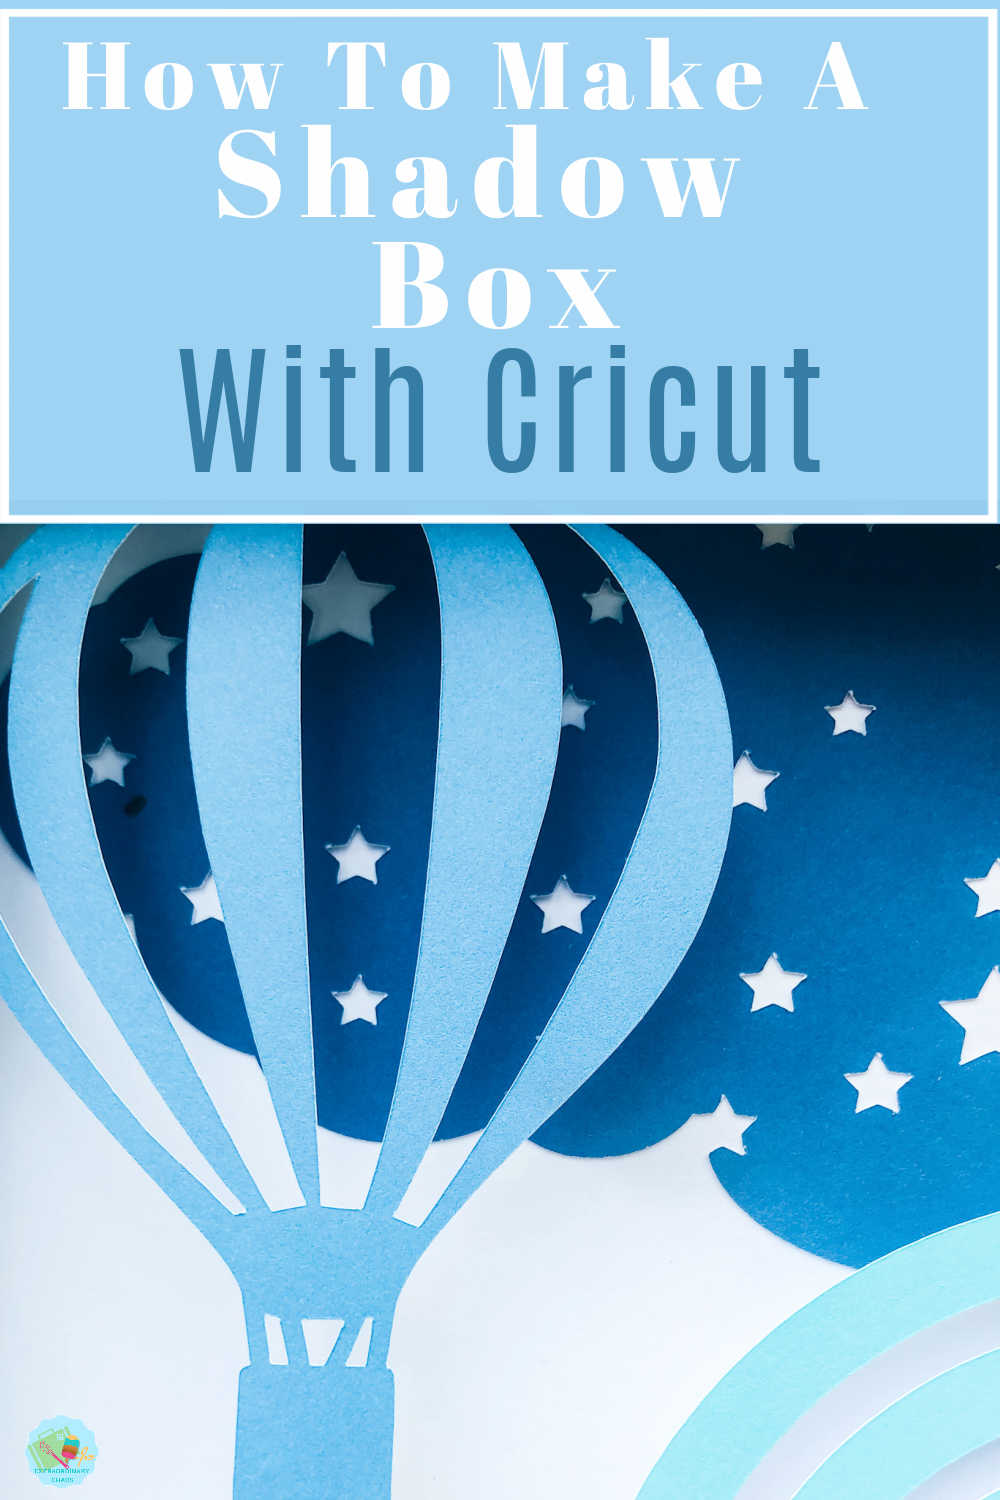
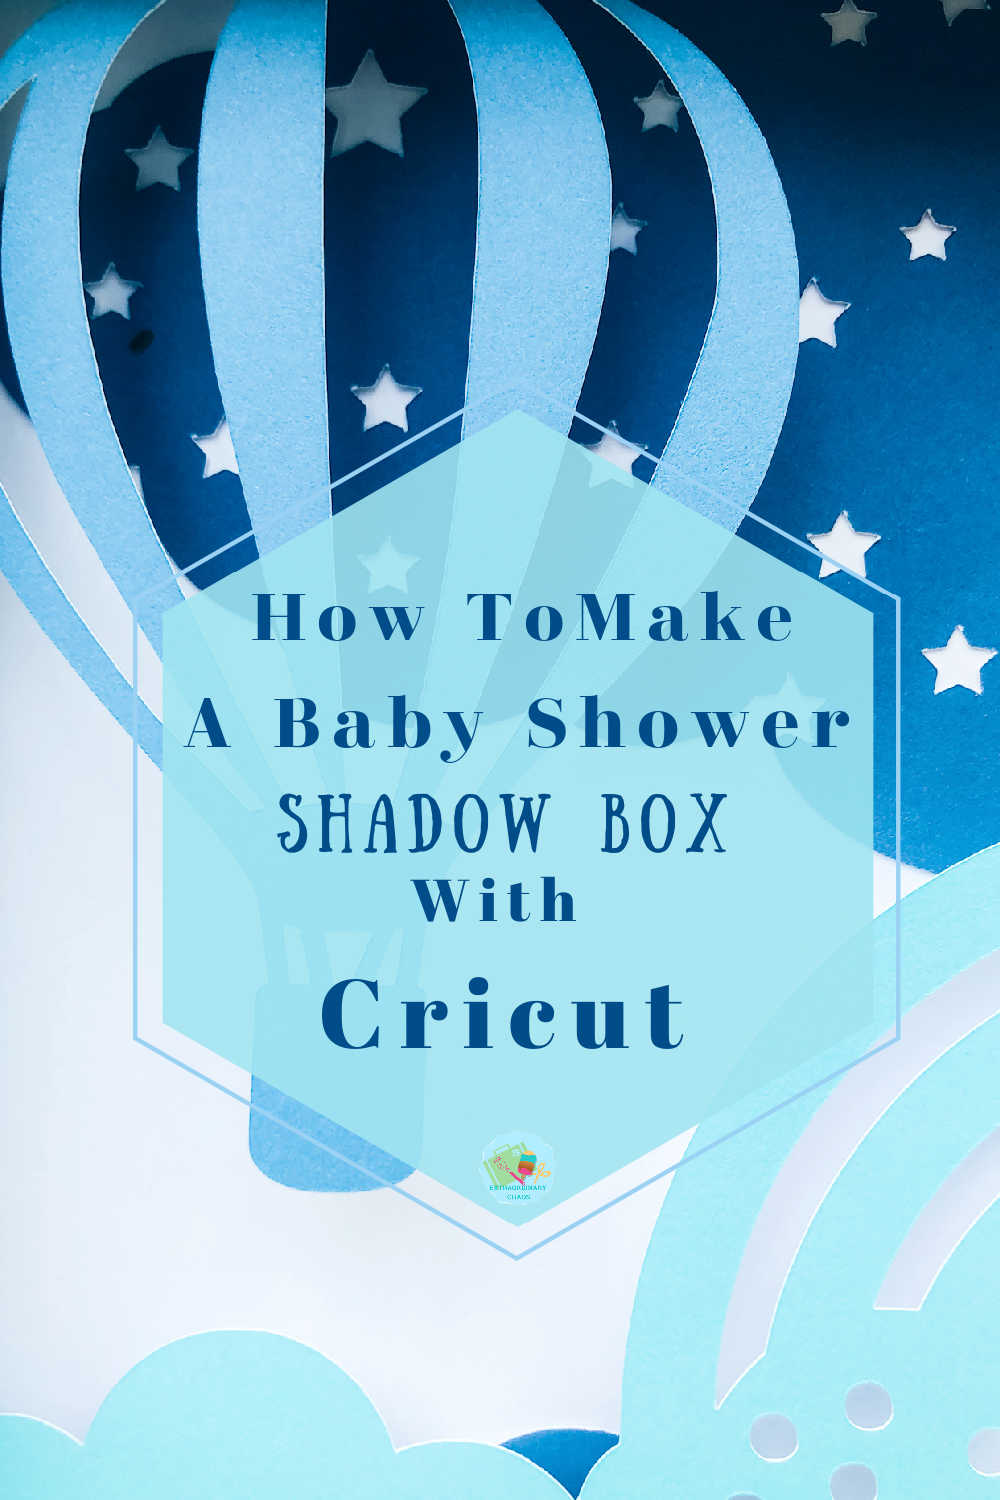
Box frames are soooo popular aren’t they? They make wonderful gifts, can be easily changed and are a fabulous way of marking celebrations. In this post I am going to show you How To Make A Nursery Cricut Shadow Box Paper Cut and also have a free template for you to save and use. Also check out my Cricut Balloon Arch Tutorial if planning baby showers is your thing.
Cricut shadow boxes are actually very easy to make, you just have to have a clear idea of what you want your finished result to look like. Or at the very least know what elements you wish to include.
If you want to see me create my projects, follow me on Tik Tok and Instagram.
How To Make A Cricut Shadow Box
I love that you can make personalised gifts with Cricut that are so simple to make, yet look super effective. Thus the nursery shadow box tutorial that I am sharing today would make a great new baby or baby shower gift.
You Will Need
- A box Frame, the one in this post is this fab hinged Hobby Craft frame.
- Cricut Maker or Explore Air
- Card stock of various colours to suit your chosen colour theme
- Led box lights ( If you want to light your project)
- Brayer and weeding tools.
- Glue dots or adhesive spacers or sticky pads.
- Cricut Cutting Matt
- Cricut Design Space

Designing Your Shadow Box Paper Cut
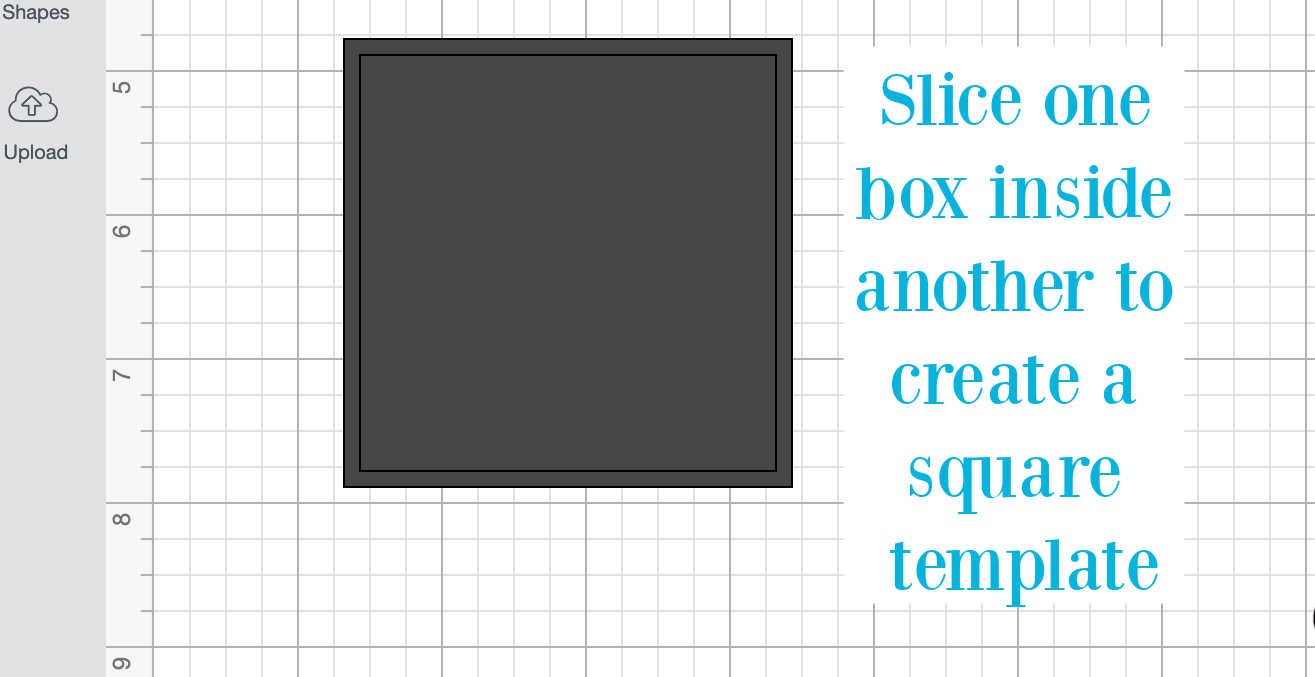
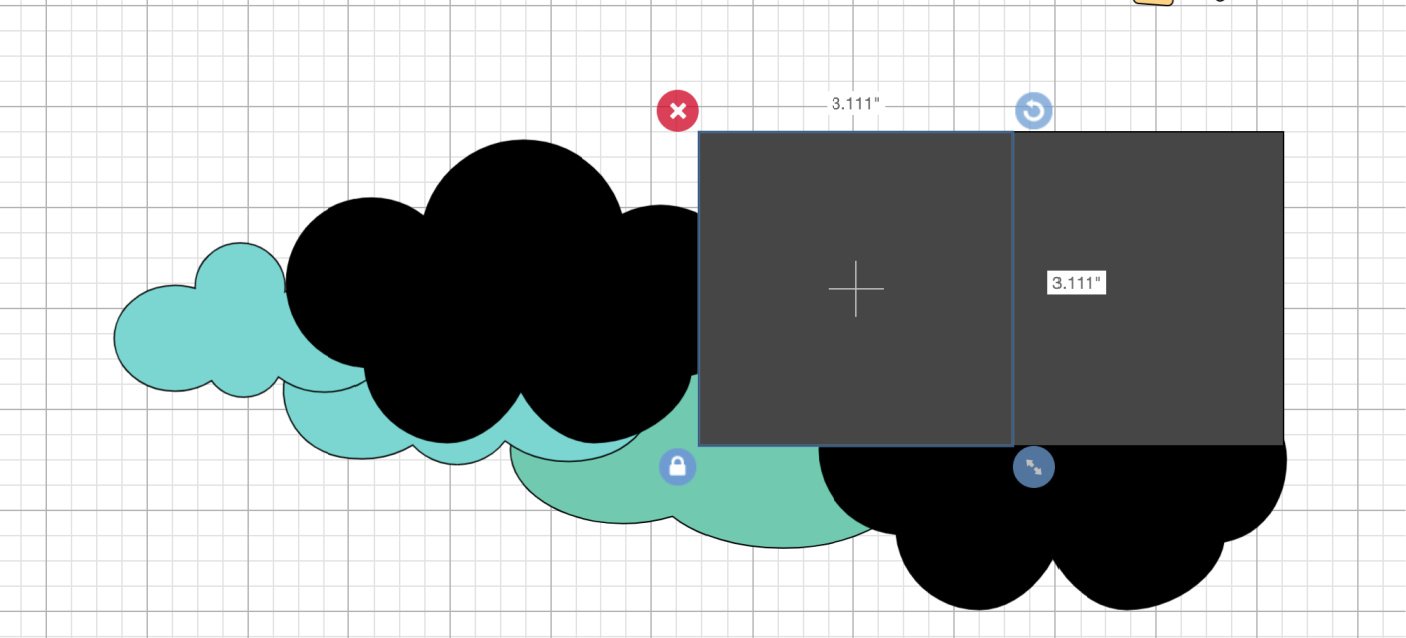
Start in Cricut design space by selecting 2 squares. Make one square slightly smaller that the other and slice so you are left with a square frame. This will be the supporting edge for each of your layers. Duplicate this for however many layers you want to create.
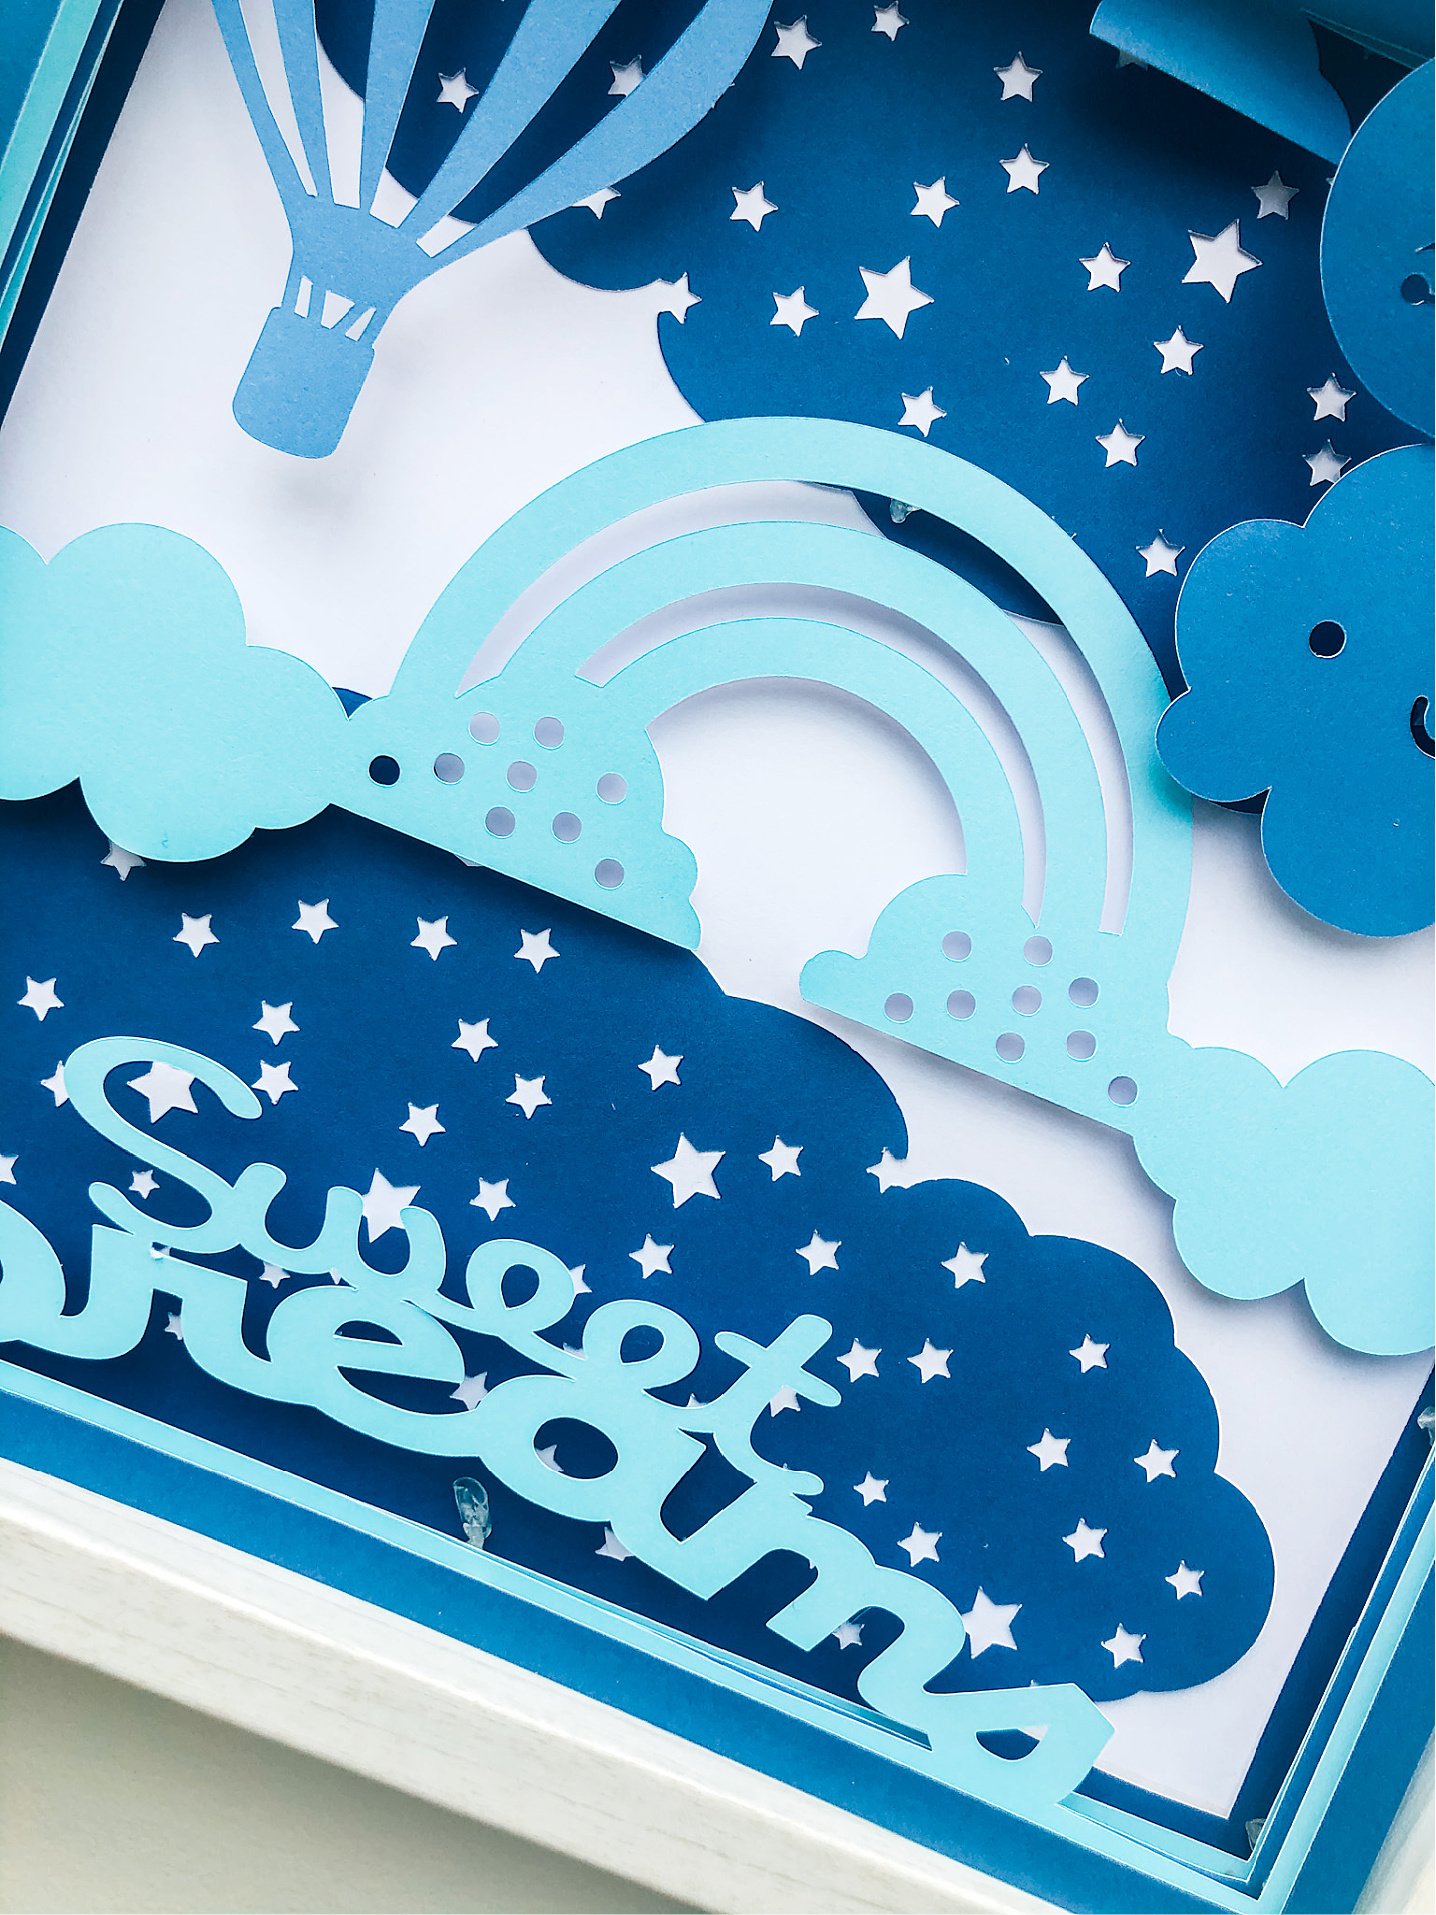
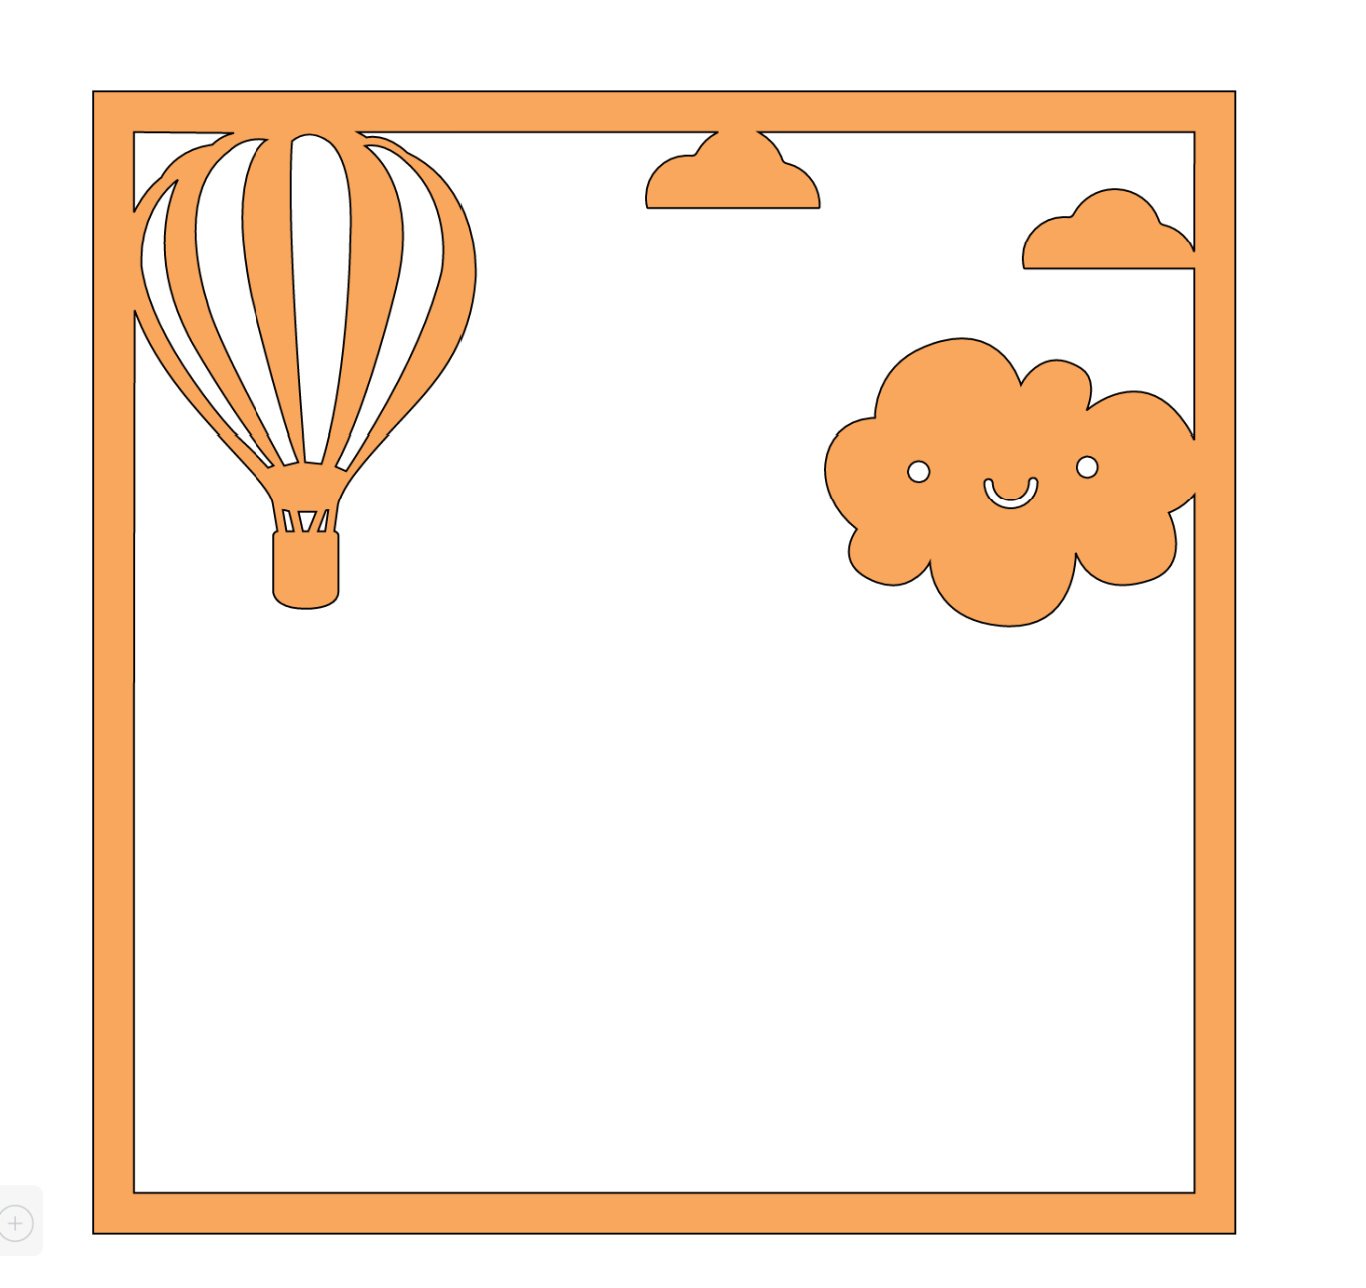
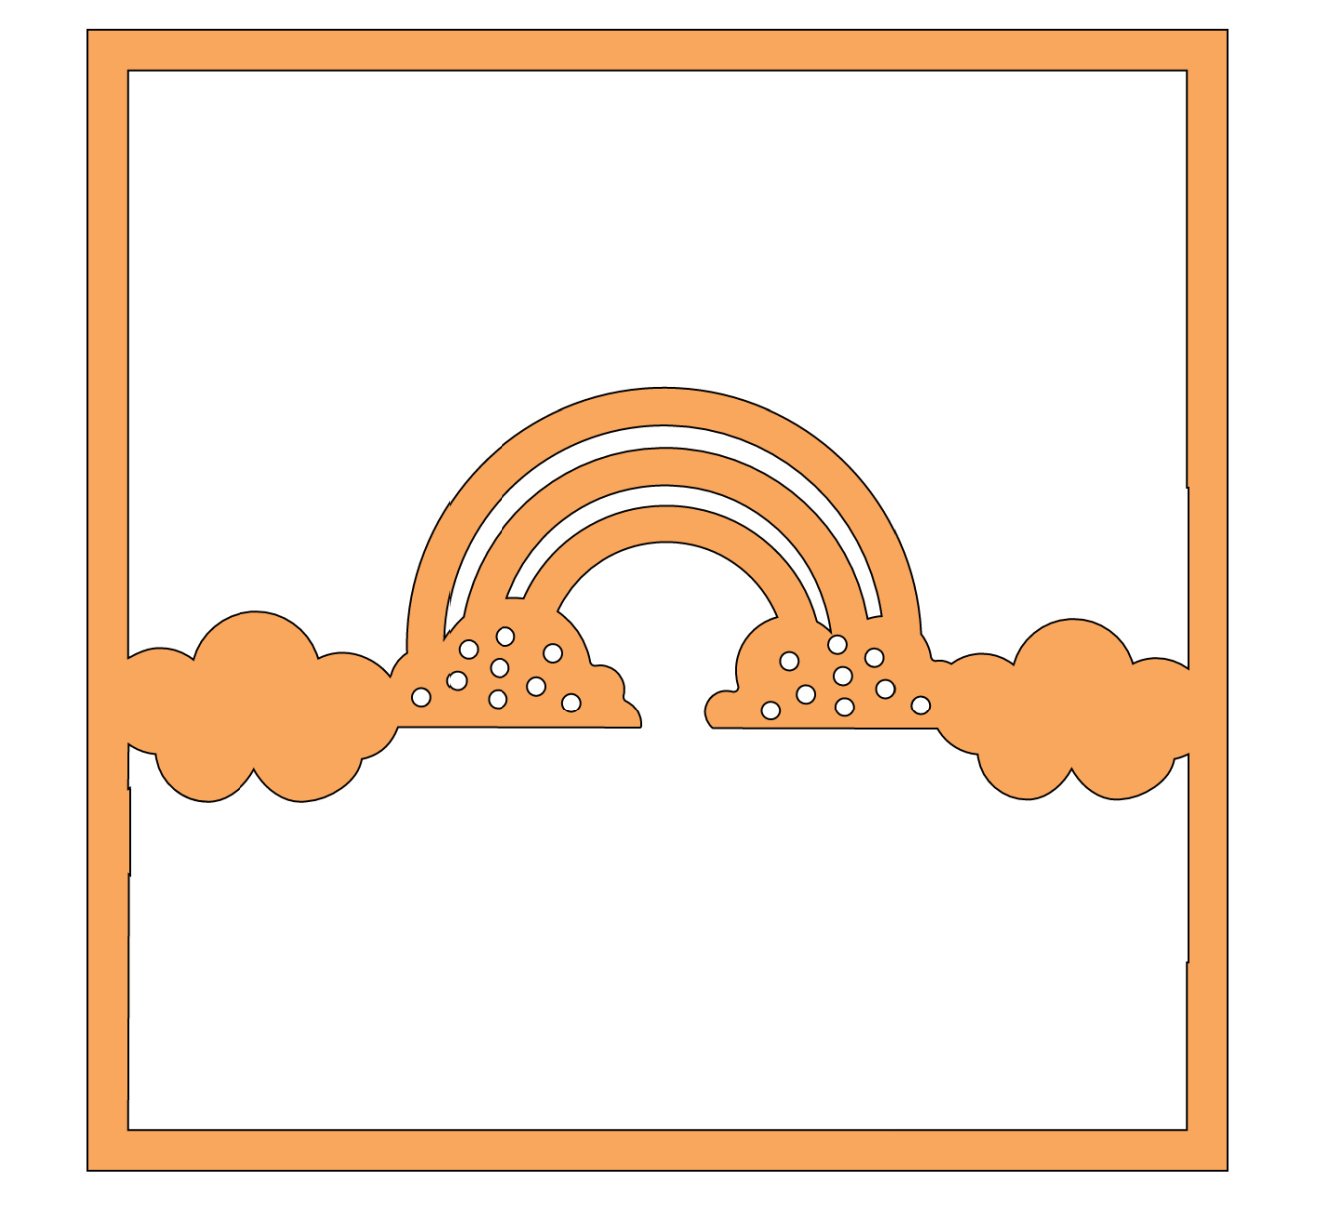
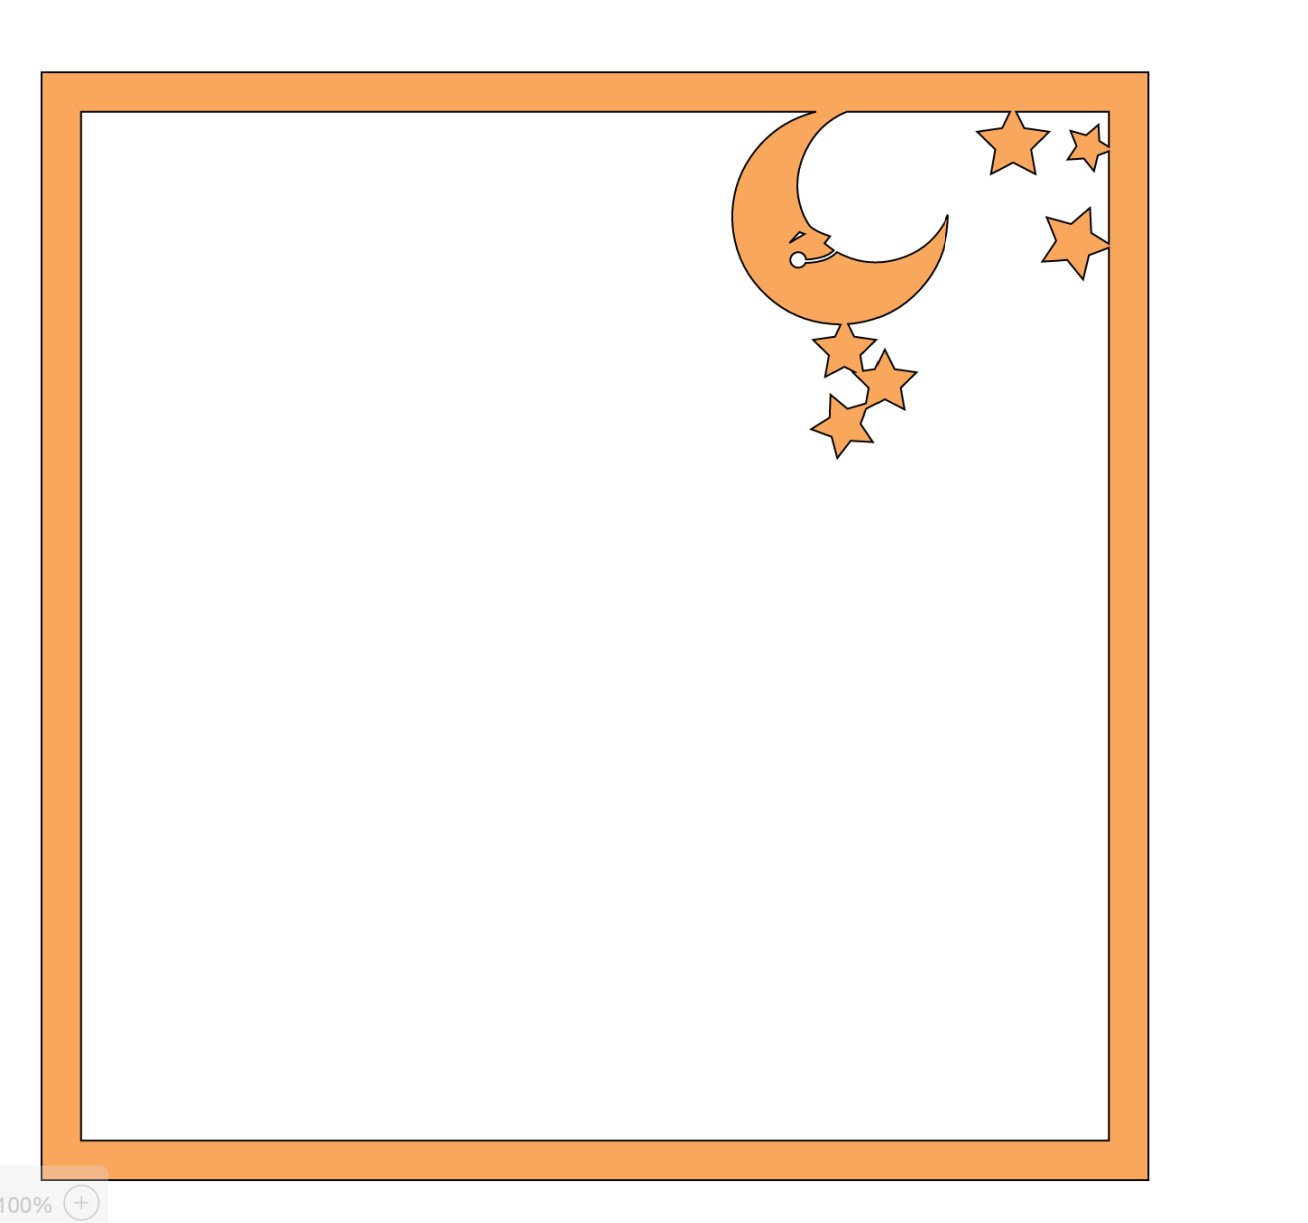
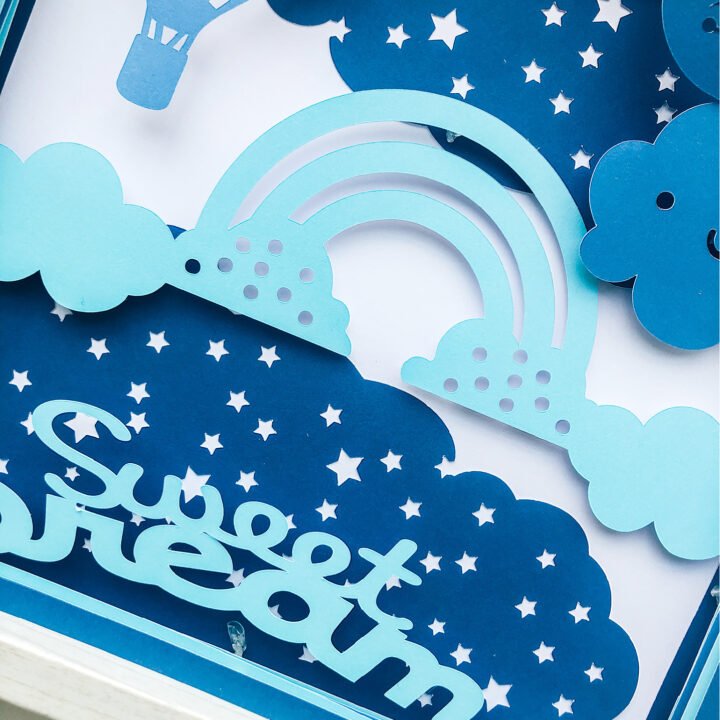
Next start to design your images. I wanted a snoozy bedtime nursery theme so I searched rainbow balloon, clouds and sky.
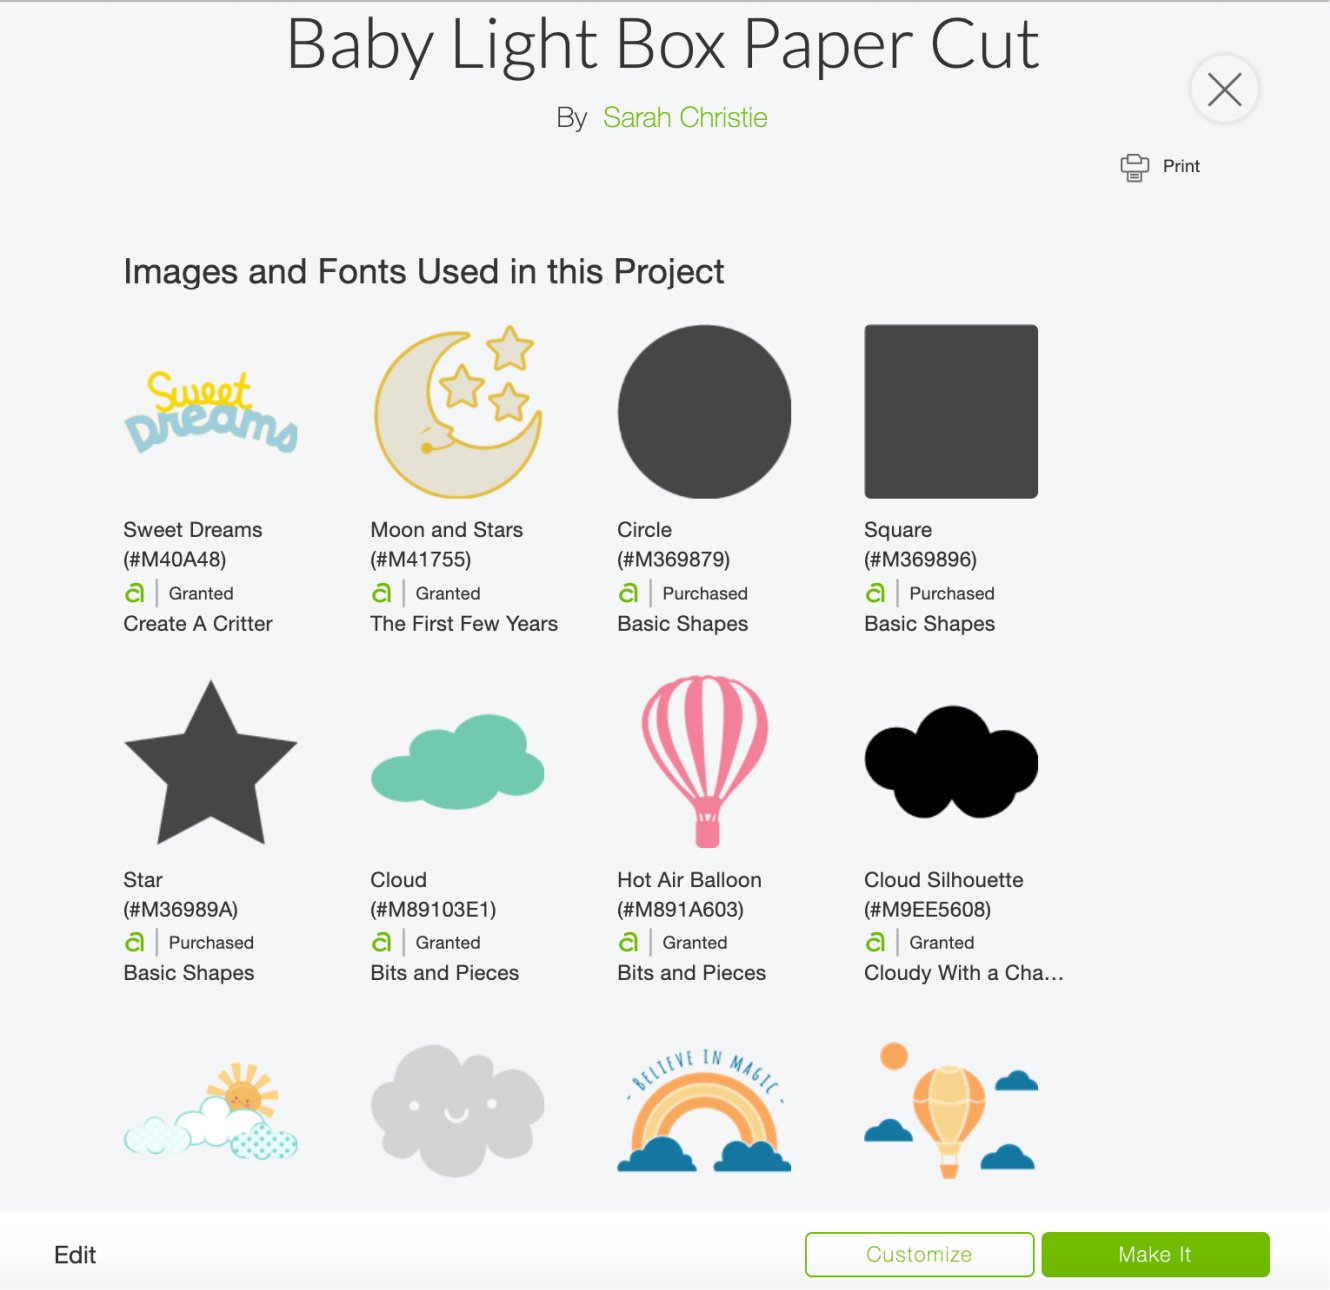
The Images I Used In This Project Are……
If you chose a layered image such as the rainbow, simply ungroup and remove any elements you don’t want to use. Additionally slice any areas of images you don’t require.
How To Make The Clouds With Stars
I wanted to create a background of clouds with stars, to do this I selected lots of cloud shapes and welded them together. Also using squares to create a corner and edges.
Next choose a star from the left hand side shape bar and duplicate it multiple times to create lots of stars. Every now and then resize to create a bit of variety. Now arrange the stars over the clouds to you are happy with the placement.
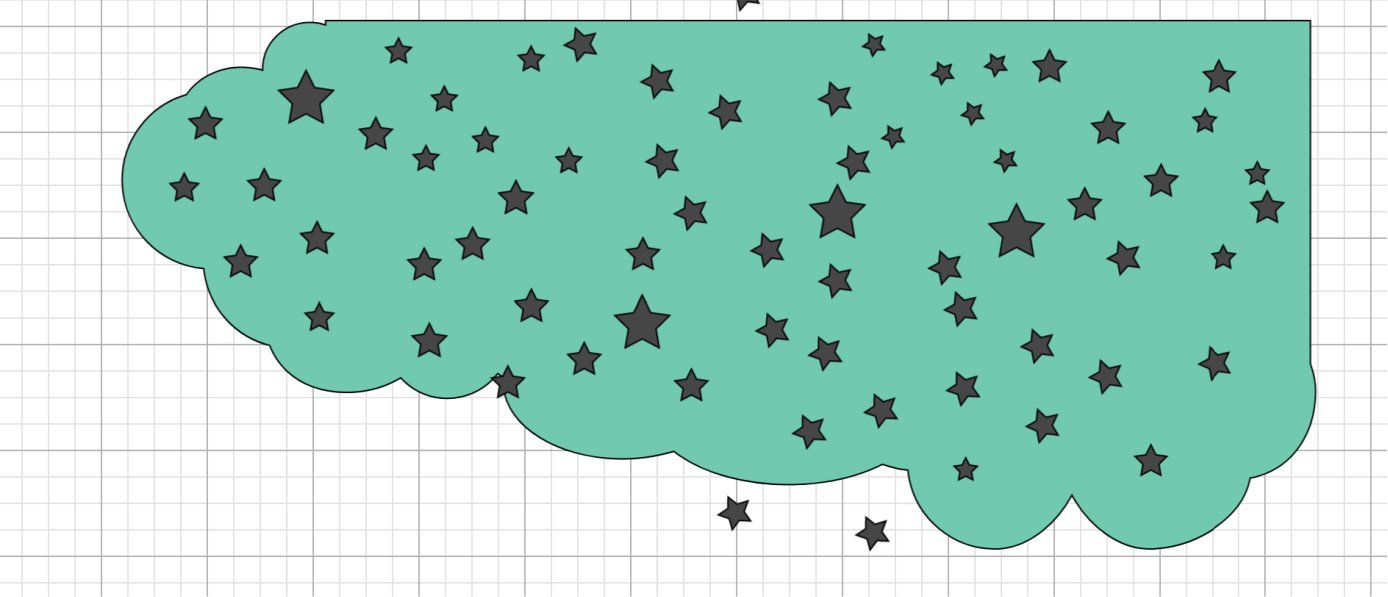
When you are happy move the clouds out of the way, right click and select all the stars and weld together. Once they are welded as one image slide over your cloud image and slice the stars out of the clouds.
To create the bottom stars, choose flip on the top bar and flip to fit the Botton corner. Then weld this to the outline square.
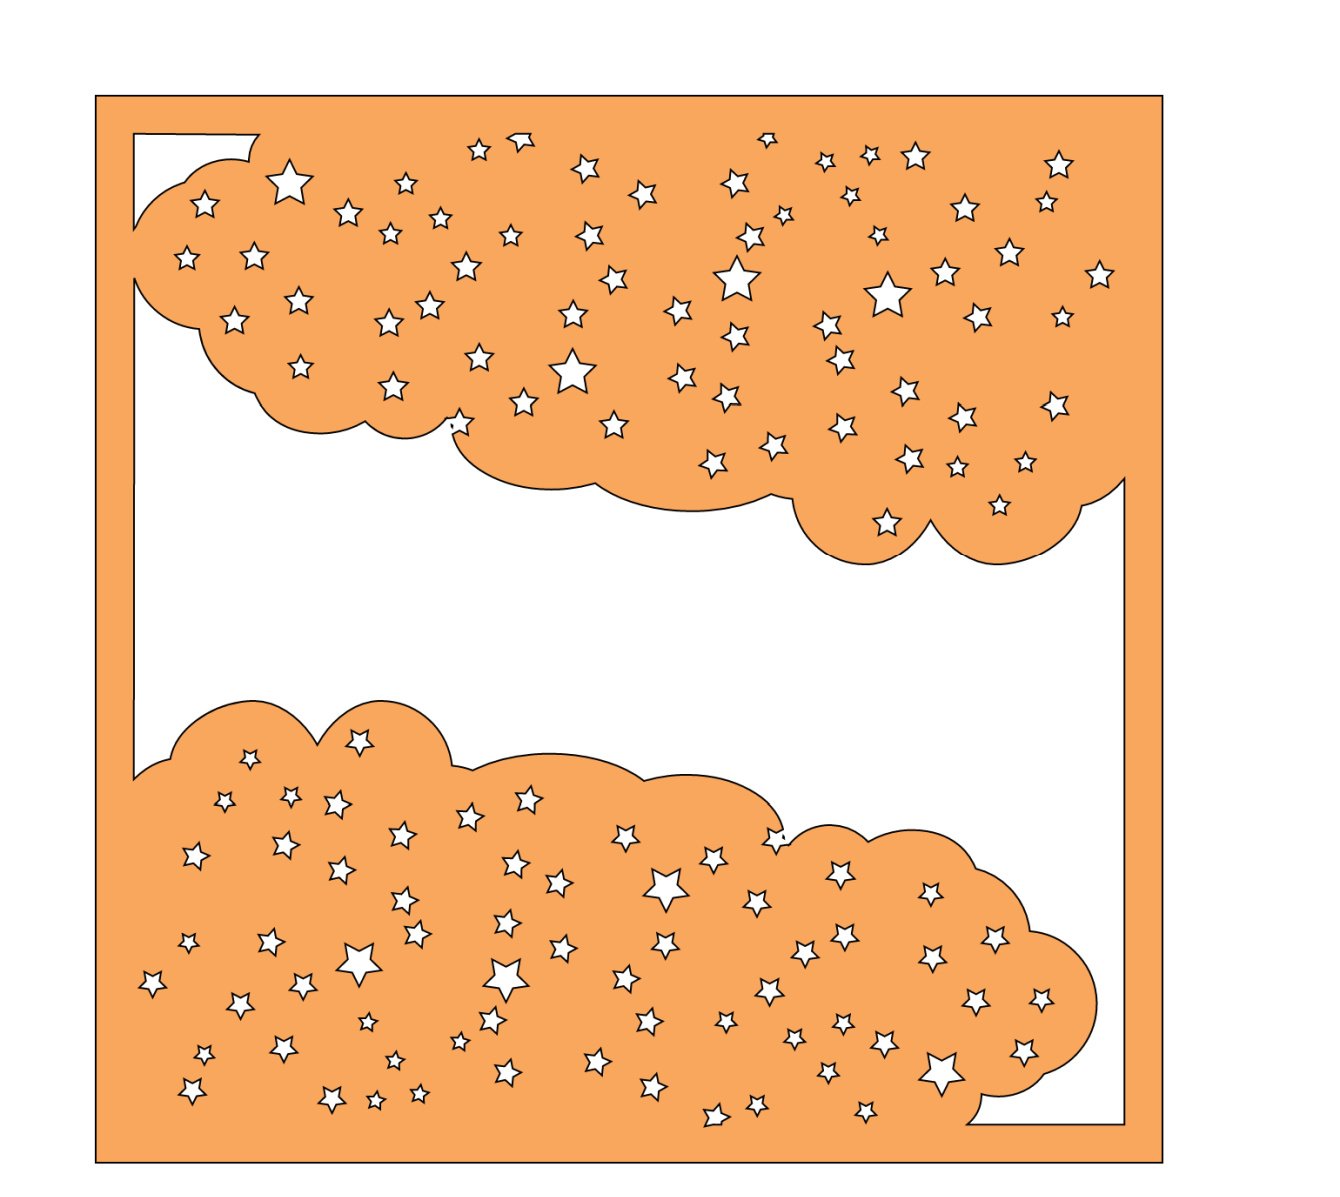
Do this with every layer to build up the full paper cut. However do ensure the placement of the images in your Cricut shadow box are correct, do this by sliding one image over the other to check you are happy and that none of the images eclipse any others.
Cutting Your Cricut Shadow Box
Before cutting your images you must decided what colours you would like each level to be. I find it helps to colour the images in design space. This is also useful when sending your project to cut.
Layer each cut section one over the next so they are exactly equal and attach the images. They will still cut separately but this will help when sizing the cut.
Next measure the shadow box, there is usually a lip over the glass. Thus you are able to measure the cut so the square paper frame sits behind the glass and you can’t see it.
When you are happy with the size click cut. You will also want to cut a background square if you want a plain background to your Cricut nursery shadow box image.
Building The Paper Cut For The Shadow Box
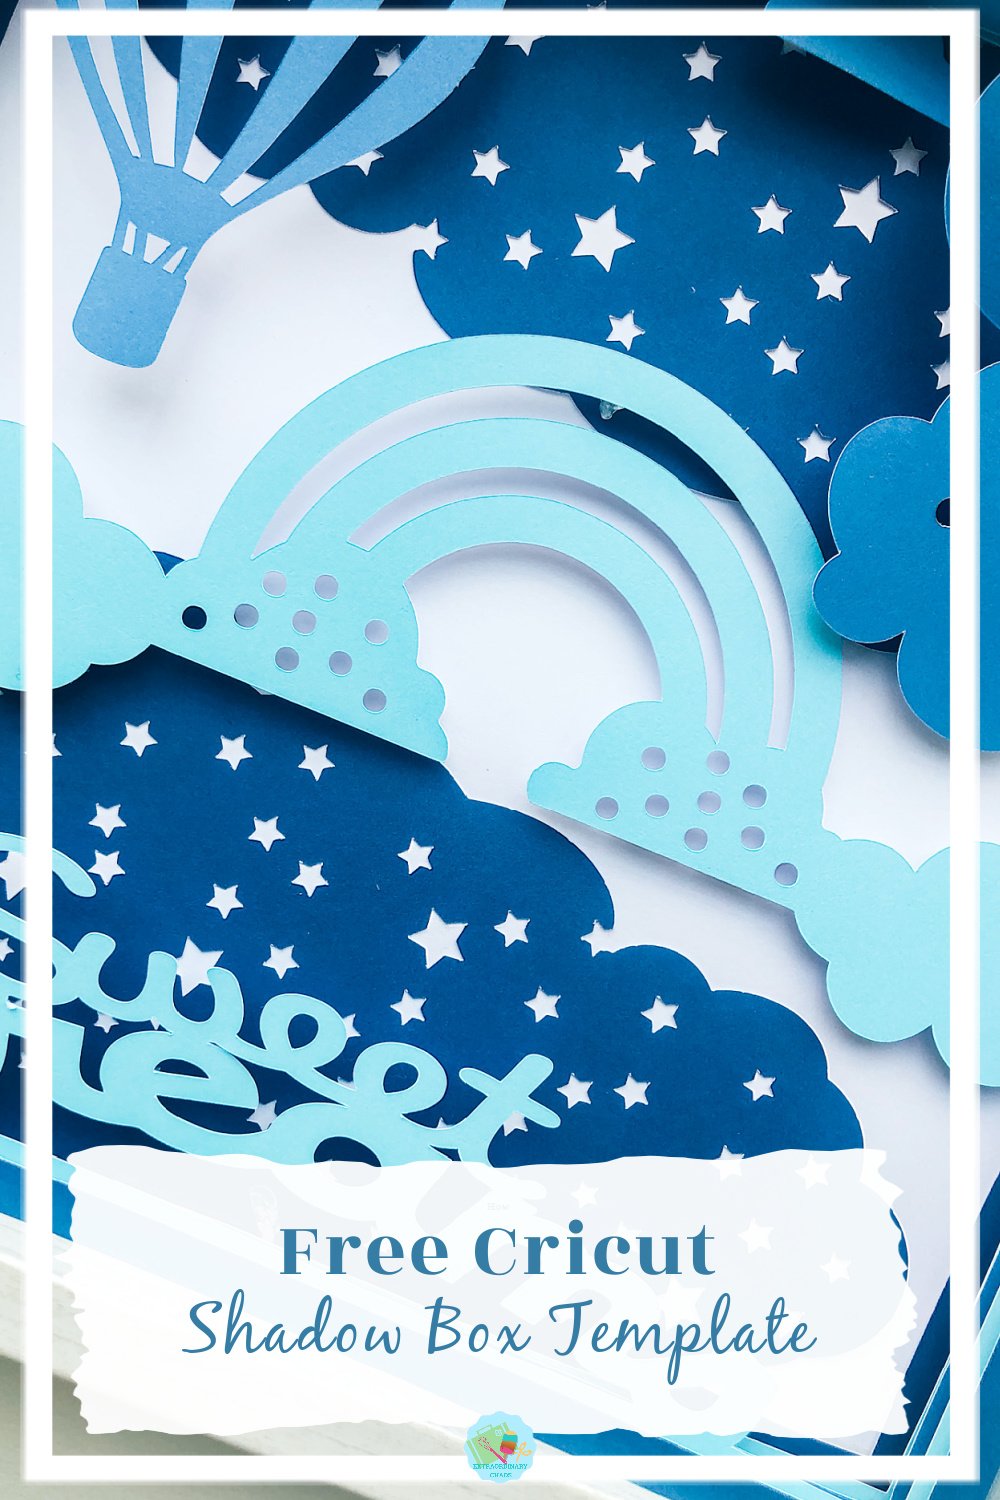
Once all elements are cut arrange your order and start to build the paper cut. Use glue dots or sticky pads and start building up the image with the background first.
Build up layer by layer until your Nursery Shadow Box is finished and pop it into the magnetic frame.
If You Would Like To Use This Shadow Box Project?
To use my Free Cricut nursery shadow box template save the images below and follow these instructions to add to Cricut Design Space. Or sign up to get the SVG files here.

How To Make A Cricut Shadow Box
How To Make A Cricut Shadow Box Paper Art Project for a baby shower or nursery and Free Template with this easy Cricut Tutorial
Materials
- A box Frame, the one in this post is this fab hinged Hobby Craft frame.Card stock of various colours to suit your chosen colour theme
- Led box lights ( If you want to light your project)
- Glue dots or adhesive spacers or sticky pads.
Tools
- Cricut Maker or Explore Air
- Brayer and weeding tools.
- Cricut Cutting Matt
- Cricut Design Space
Instructions
Designing Your Shadow Box Paper Cut
Start in Cricut design space by selecting 2 squares. Make one square slightly smaller that the other and slice so you are left with a square frame. This will be the supporting edge for each of your layers. Duplicate this for however many layers you want to create.
Next start to design your images. I wanted a snoozy bedtime nursery theme so I searched rainbow balloon, clouds and sky.
The Images I Used In This Project Are……
If you chose a layered image such as the rainbow, simply ungroup and remove any elements you don’t want to use. Additionally slice any areas of images you don’t require.
How To Make The Clouds With Stars
I wanted to create a background of clouds with stars, to do this I selected lots of cloud shapes and welded them together. Also using squares to create a corner and edges.
Next choose a star from the left hand side shape bar and duplicate it multiple times to create lots of stars. Every now and then resize to create a bit of variety. Now arrange the stars over the clouds to you are happy with the placement.
When you are happy move the clouds out of the way, right click and select all the stars and weld together. Once they are welded as one image slide over your cloud image and slice the stars out of the clouds.
To create the bottom stars, choose flip on the top bar and flip to fit the Botton corner. Then weld this to the outline square.
Do this with every layer to build up the full paper cut. However do ensure the placement of the images in your Cricut shadow box are correct, do this by sliding one image over the other to check you are happy and that none of the images eclipse any others.
Cutting Your Cricut Shadow Box
Before cutting your images you must decided what colours you would like each level to be. I find it helps to colour the images in design space. This is also useful when sending your project to cut.
Layer each cut section one over the next so they are exactly equal and attach the images. They will still cut separately but this will help when sizing the cut.
Next measure the shadow box, there is usually a lip over the glass. Thus you are able to measure the cut so the square paper frame sits behind the glass and you can’t see it.
When you are happy with the size click cut. You will also want to cut a background square if you want a plain background to your Cricut nursery shadow box image.
Building The Paper Cut For The Shadow Box
Once all elements are cut arrange your order and start to build the paper cut. Use glue dots or sticky pads and start building up the image with the background first.
Build up layer by layer until your Nursery Shadow Box is finished and pop it into the magnetic frame.
Notes
If you have paid Cricut Design Space access Follow this link to use my Free Cricut nursery shadow box template. Alternatively save the images below and follow these instructions to add to Cricut Design Space.
Recommended Products
As an Amazon Associate and member of other affiliate programs, I earn from qualifying purchases.
This is beautiful!
Thank you x
This is fantastic and so sweet! Thank you for sharing and explaining! I have been designing some christmas shadow boxes for Christmas and it is not a quick process!
A friend just had a baby and this one would be perfect for them.
You are welcome Kelly, its great to have something ready made sometimes isn’t it?