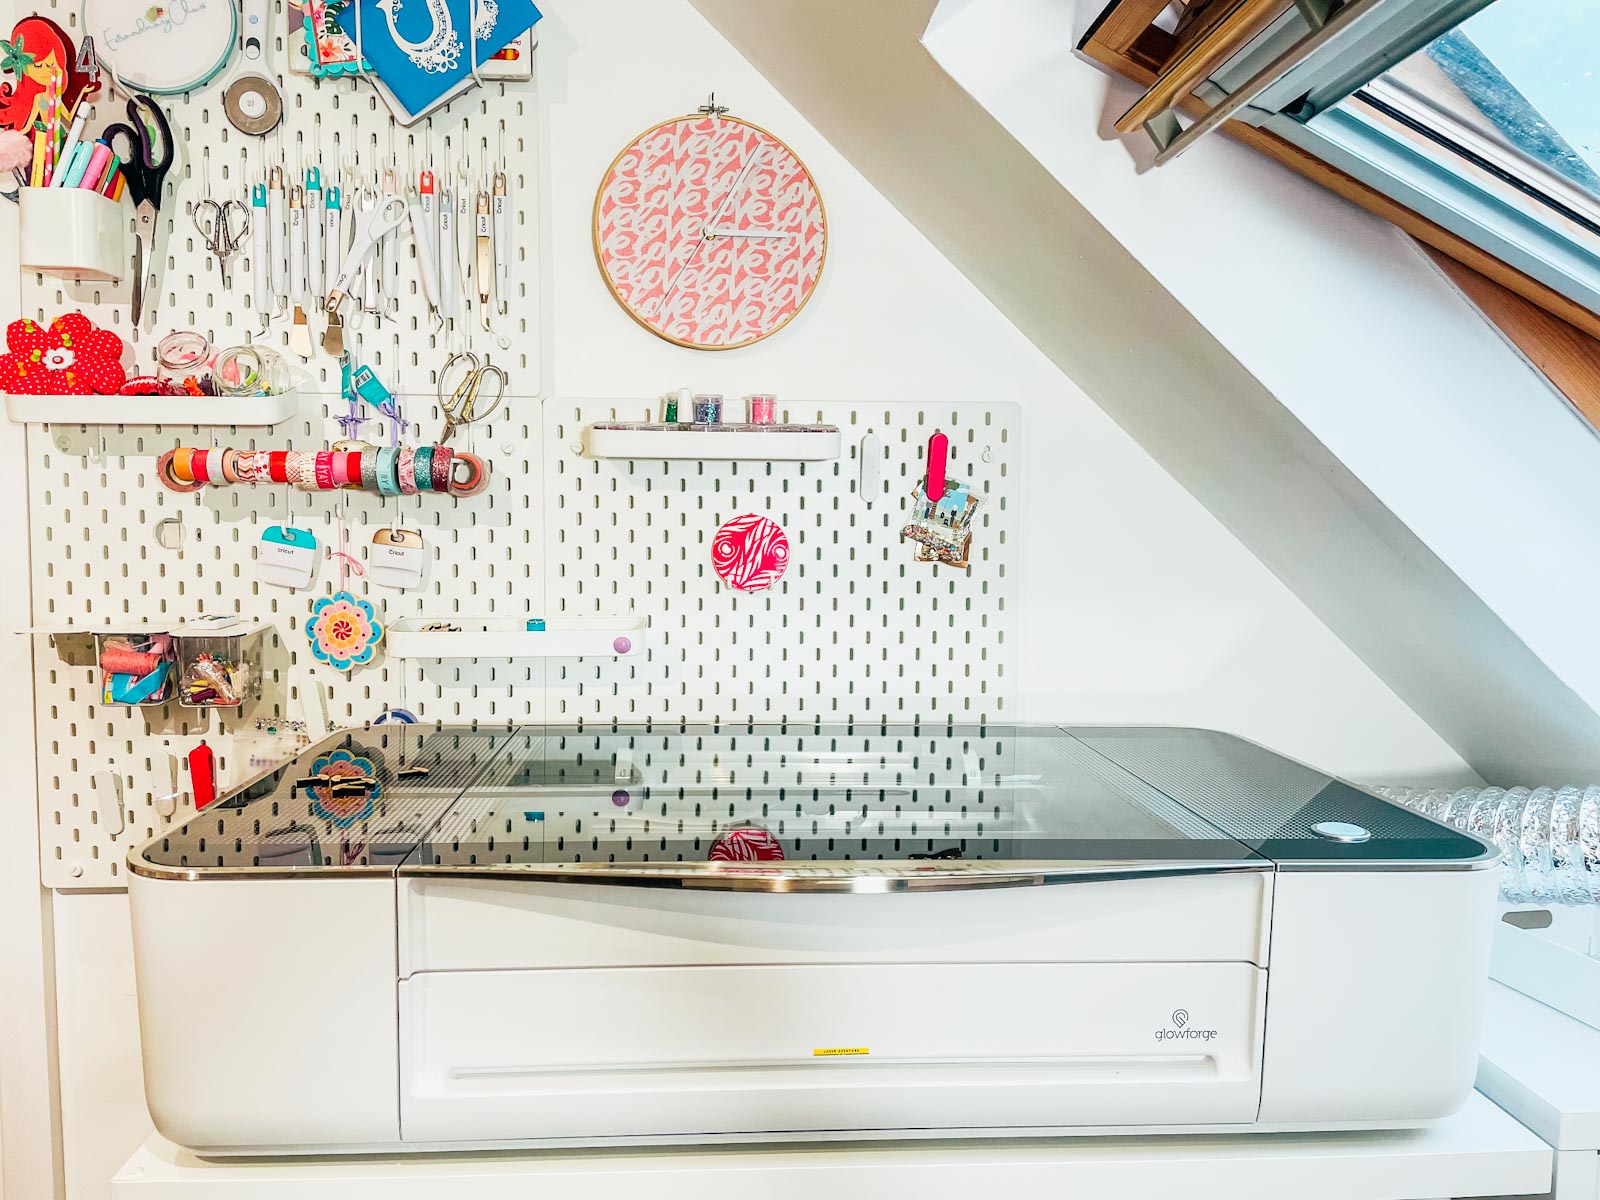
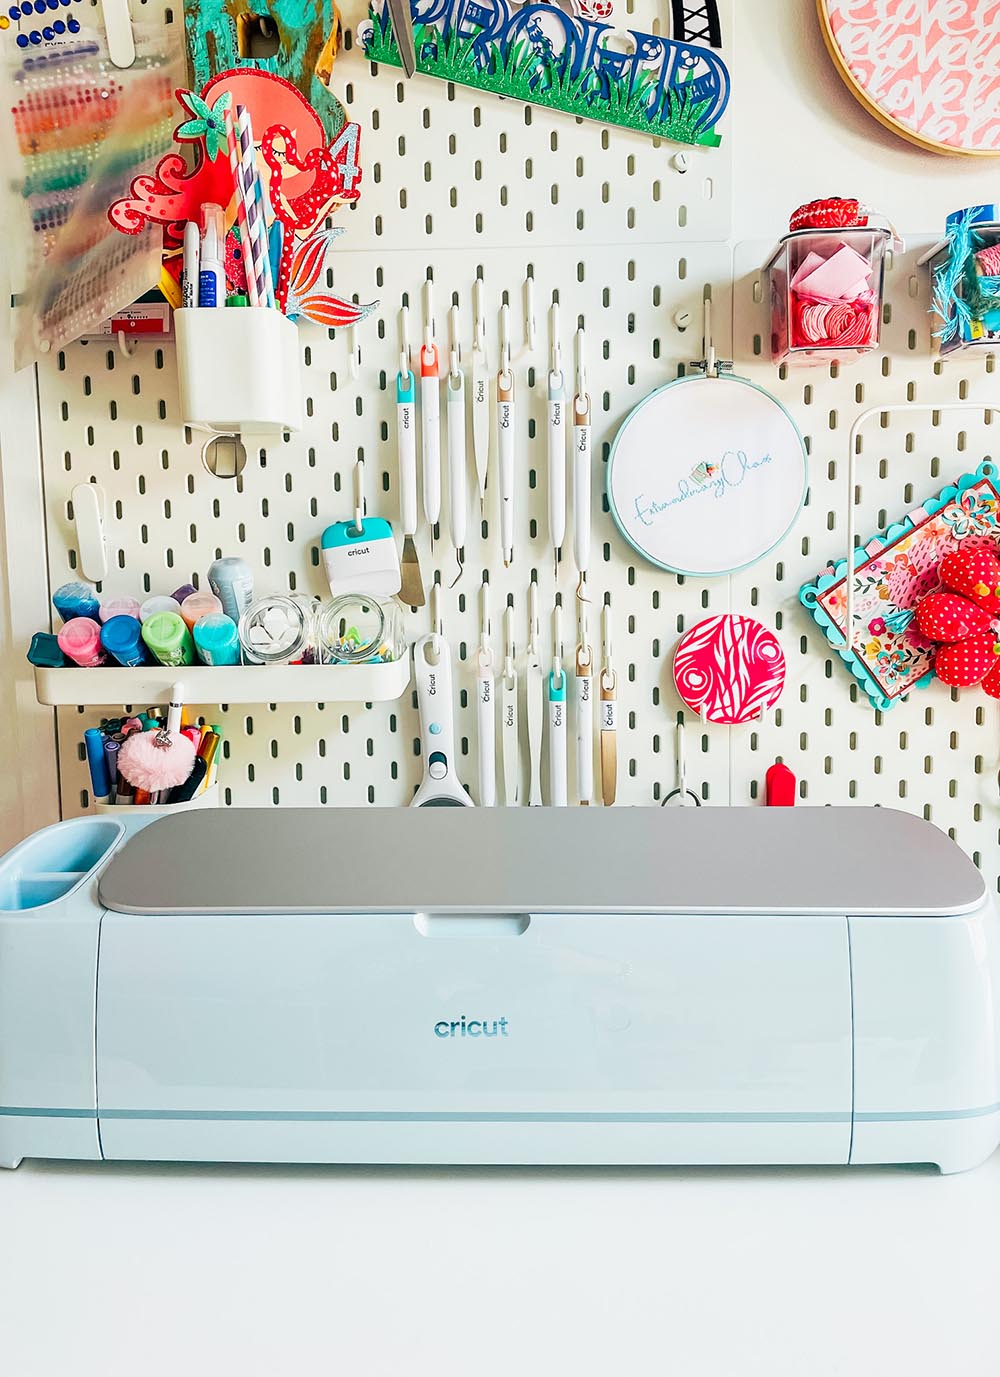
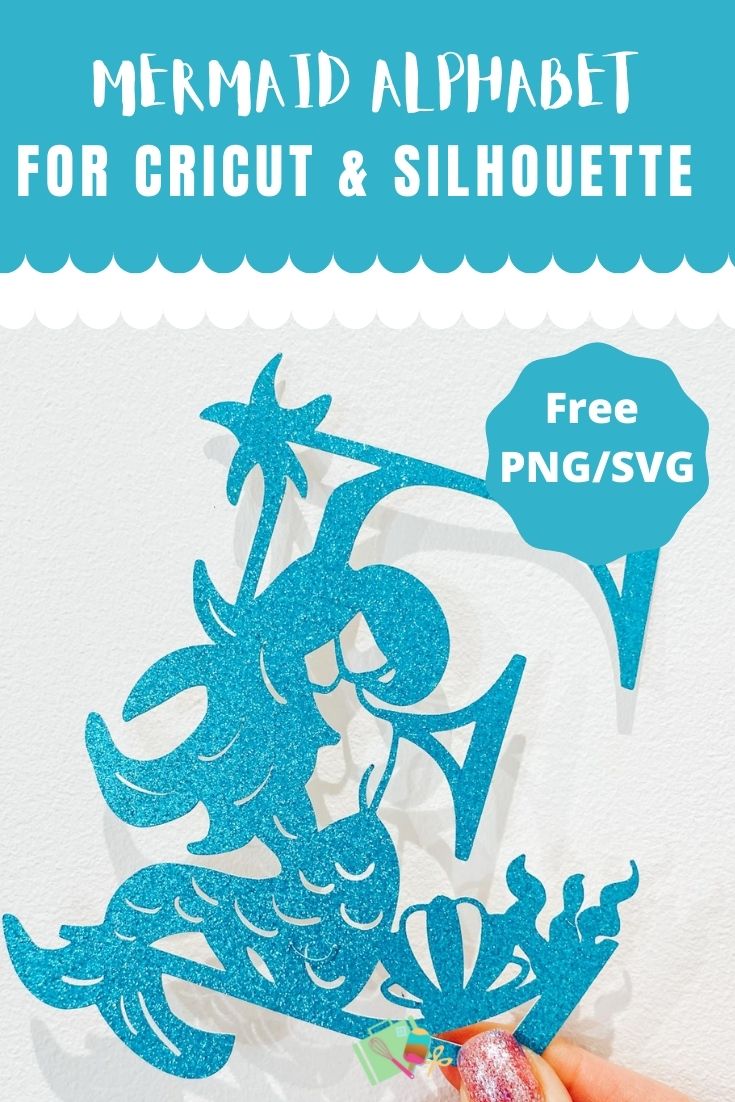
Hello I have no idea what gave me the inspiration to create this Free Monogram Mermaid SVG Alphabet and Number set, which is perfect for Cricut And Glowforge. Sometimes things just pop into my head. Maybe it was booking my next cruise that gave me inspiration? Have I ever mentioned my cruise obsession?
Anyhow, no matter the thought plan or inspiration, I am thrilled the little idea popped into my mind. She was a challenge to draw but I got there and love the result, making it perfect for mermaids loving girls and boys everywhere.
If you want to see me create my projects, follow me on Tik Tok and Instagram.
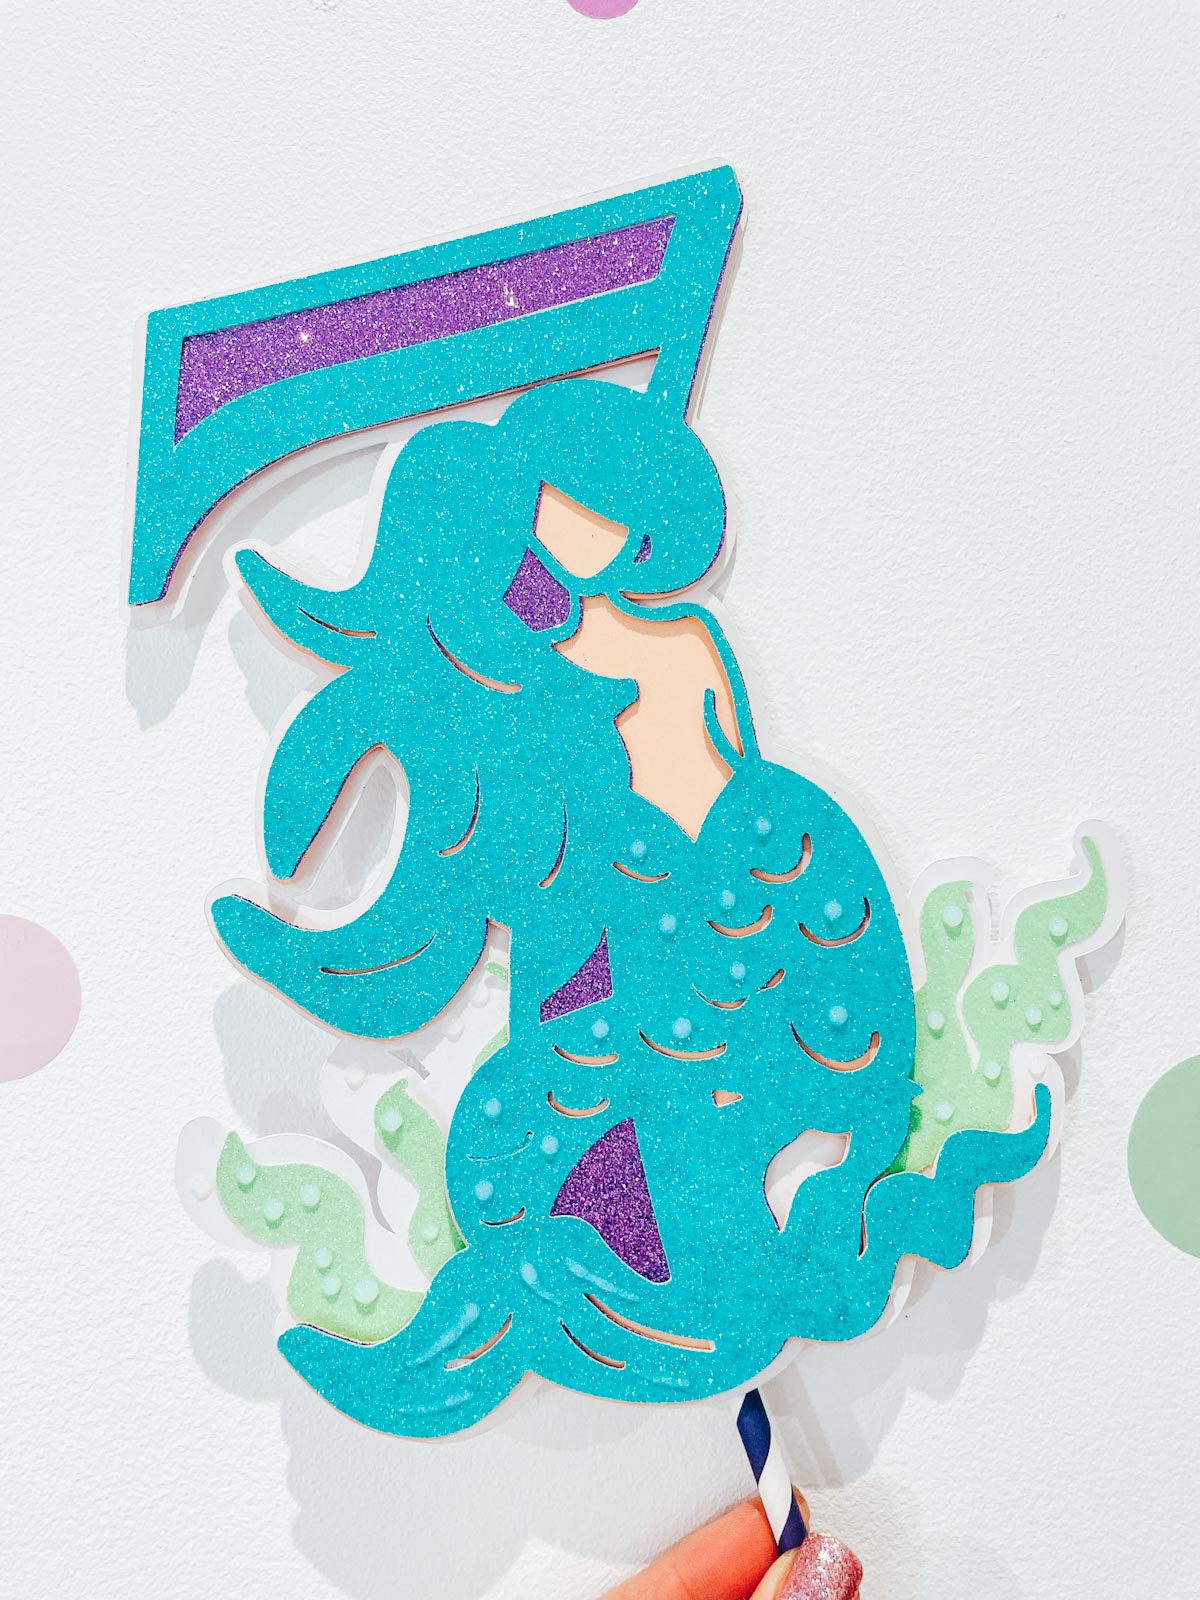
The thing is with mermaids they can be used for so much, themed parties, t shirts room decor. I have made some gorgeous projects with it already, scroll down to see my cake topper and card. Also check out my Mermaid SVG.
This post may contain affiliate links. Which means I may receive a small commission if you click a link and purchase something that I have recommended at no extra cost to yourself. As an amazon, Cricut and Glowforge associate, I earn from qualifying purchases.
Project Ideas For My Monogram Mermaid Alphabet & Number Set
- Paper Cut Letters And Words
- Mermaid Themed Parties
- Mermaid Cake Toppers
- Birthday Mermaid Cards
- Wall Decals
- Wooden Banners With Glowforge
- Mermaid Door Signs
- Use Pegs And String For Hanging Mermaid Banners
- Framed Art
- Iron On Vinyl Hoops
- Hanging Wooden Signs
- Welcome Signs
- Mermaid T Shirts
- Decoupage Mermaid Cushions
- Scrapbooking Pages
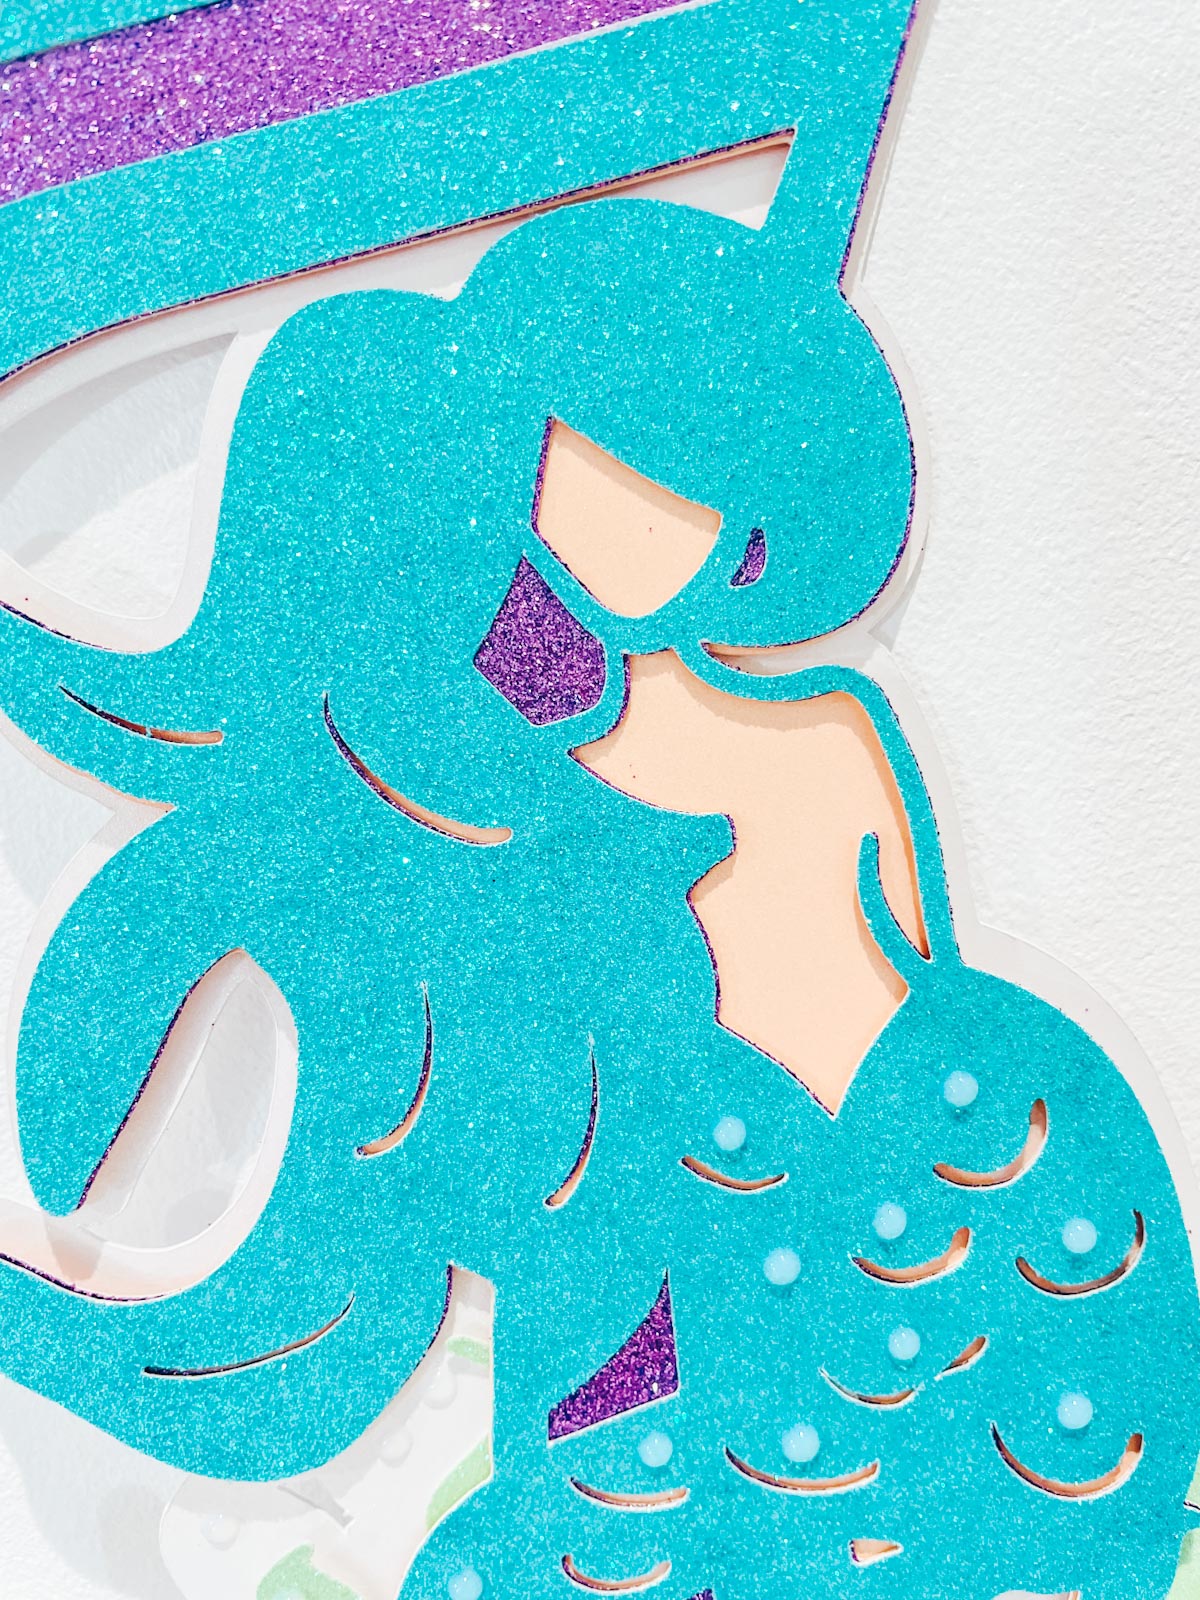
How To Make My Mermaid Cake Topper With My SVG Alphabet And Numbers
What Do I Need To Make A Mermaid Cake My Free SVG On Cricut Or Glowforge
- A Glowforge Printer
- Clear Acrylic (Laser Printer Compatible)
- Sticky Pads
- Tape Runner
- Glue Gun
- Peach Spray Paint ( I got my Montana Gold from Graff City and its half the price)
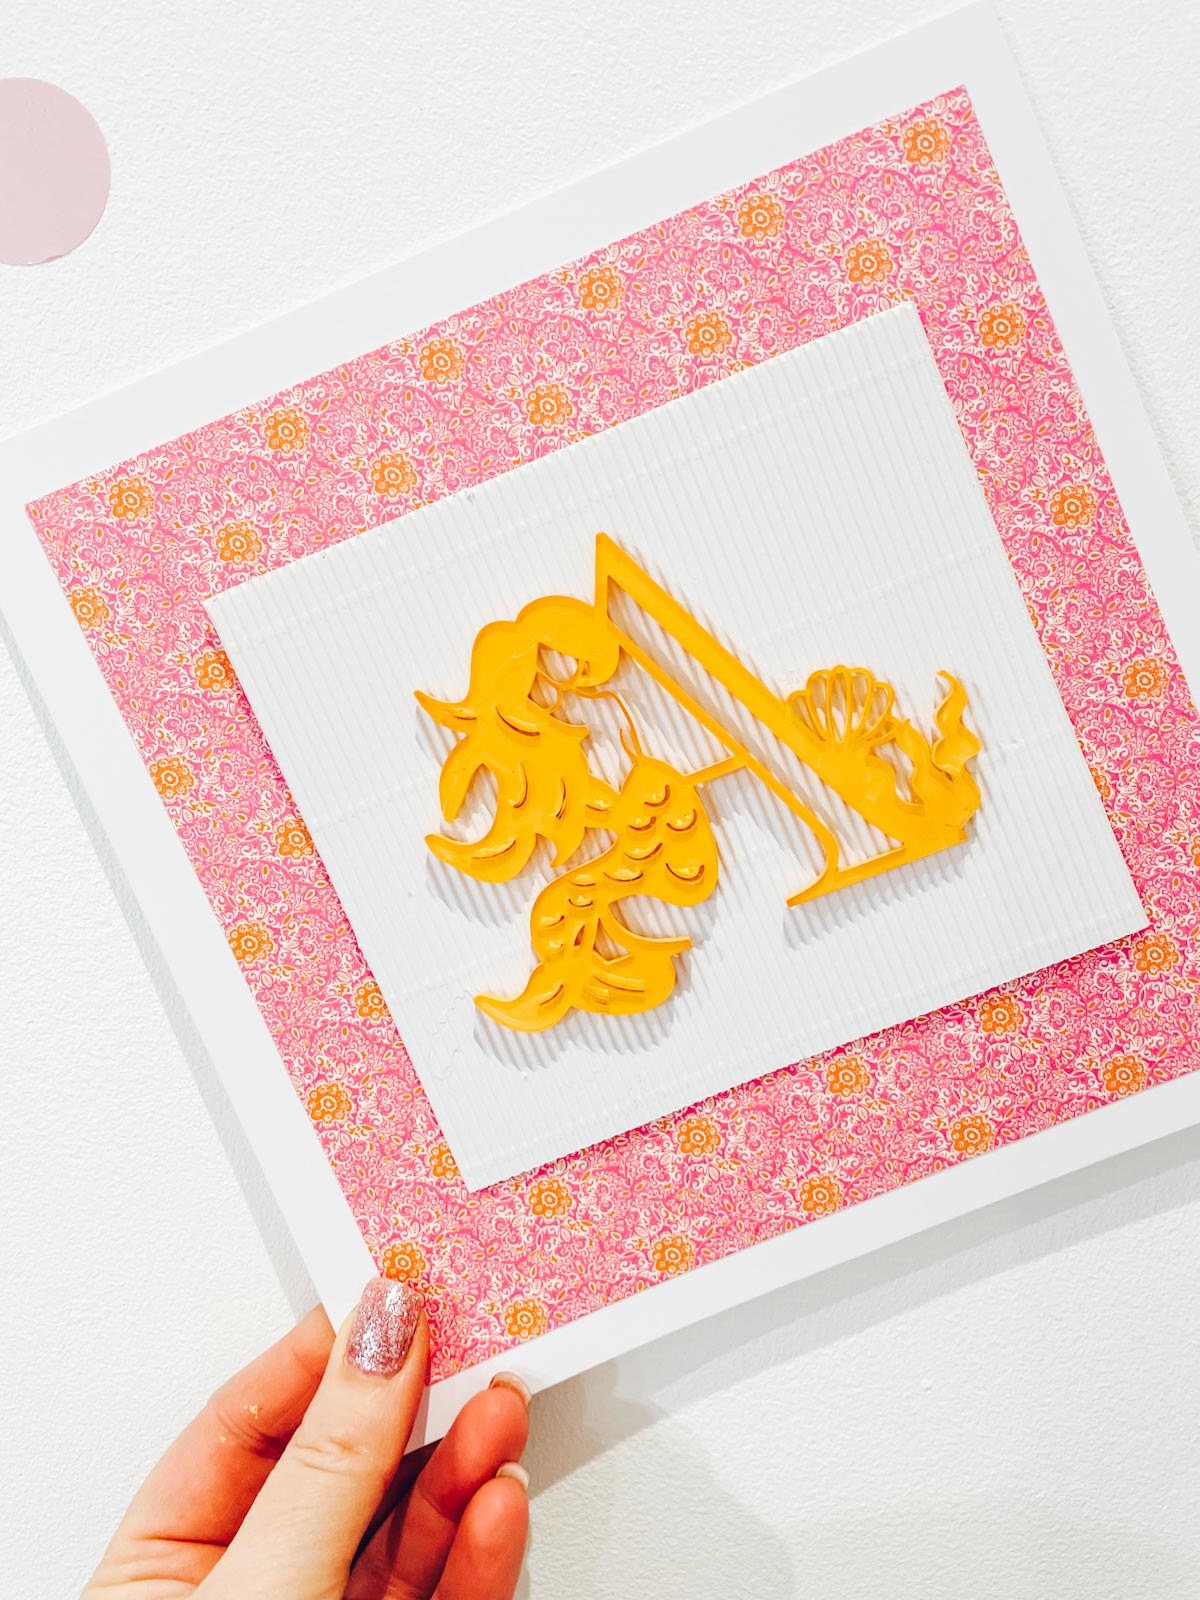
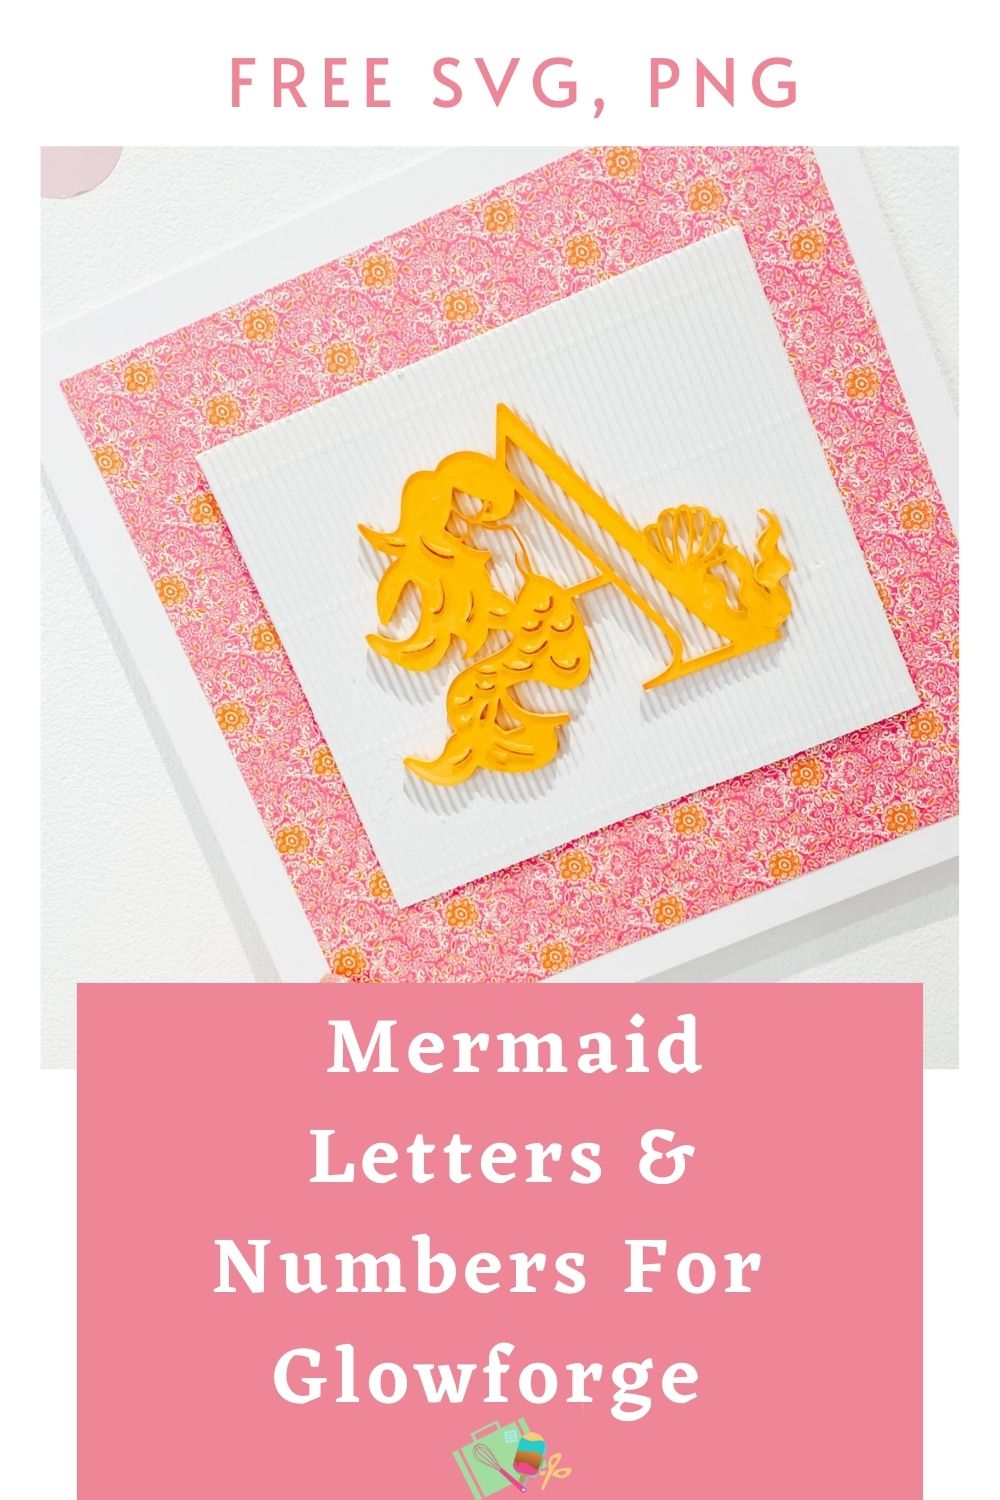
This is the monogram card I made with my Glowforge, by cutting an acrylic letter and spraying the back of the letter peach. These made such stunning, but easy cards.
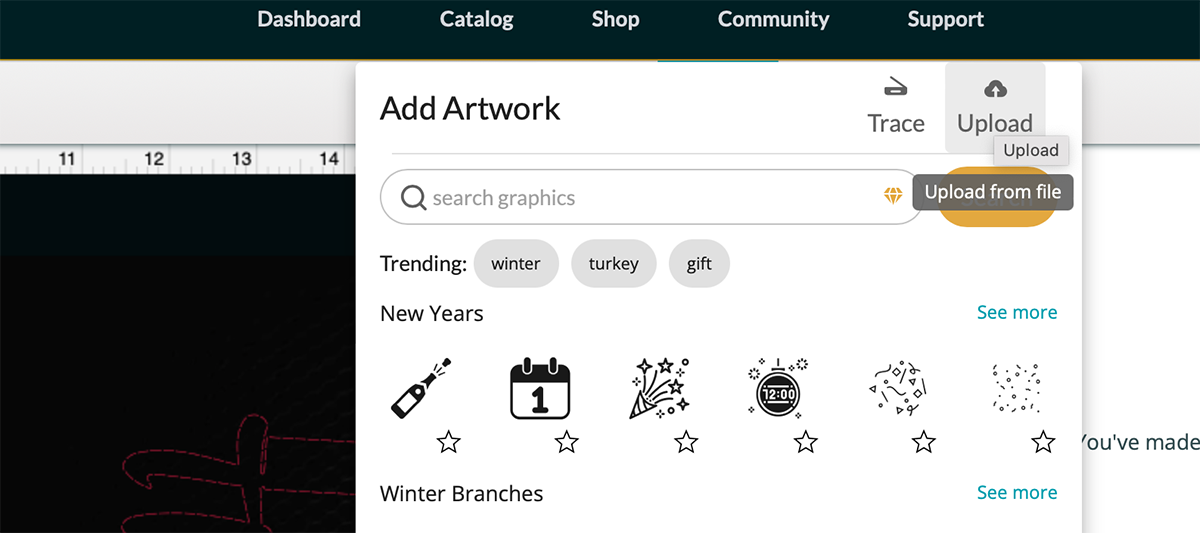
If you are cutting on Glowforge, make sure you upload the SVG file, you are unable to cut PNG files, ( However can engrave PNG files.) Simple click the + sign in the top bar, choose upload and select your file. Now drag the file to the correct size and click on the image to select cut.
You can now select the correct materials for whatever machine you are using, and send your project to cut or print.
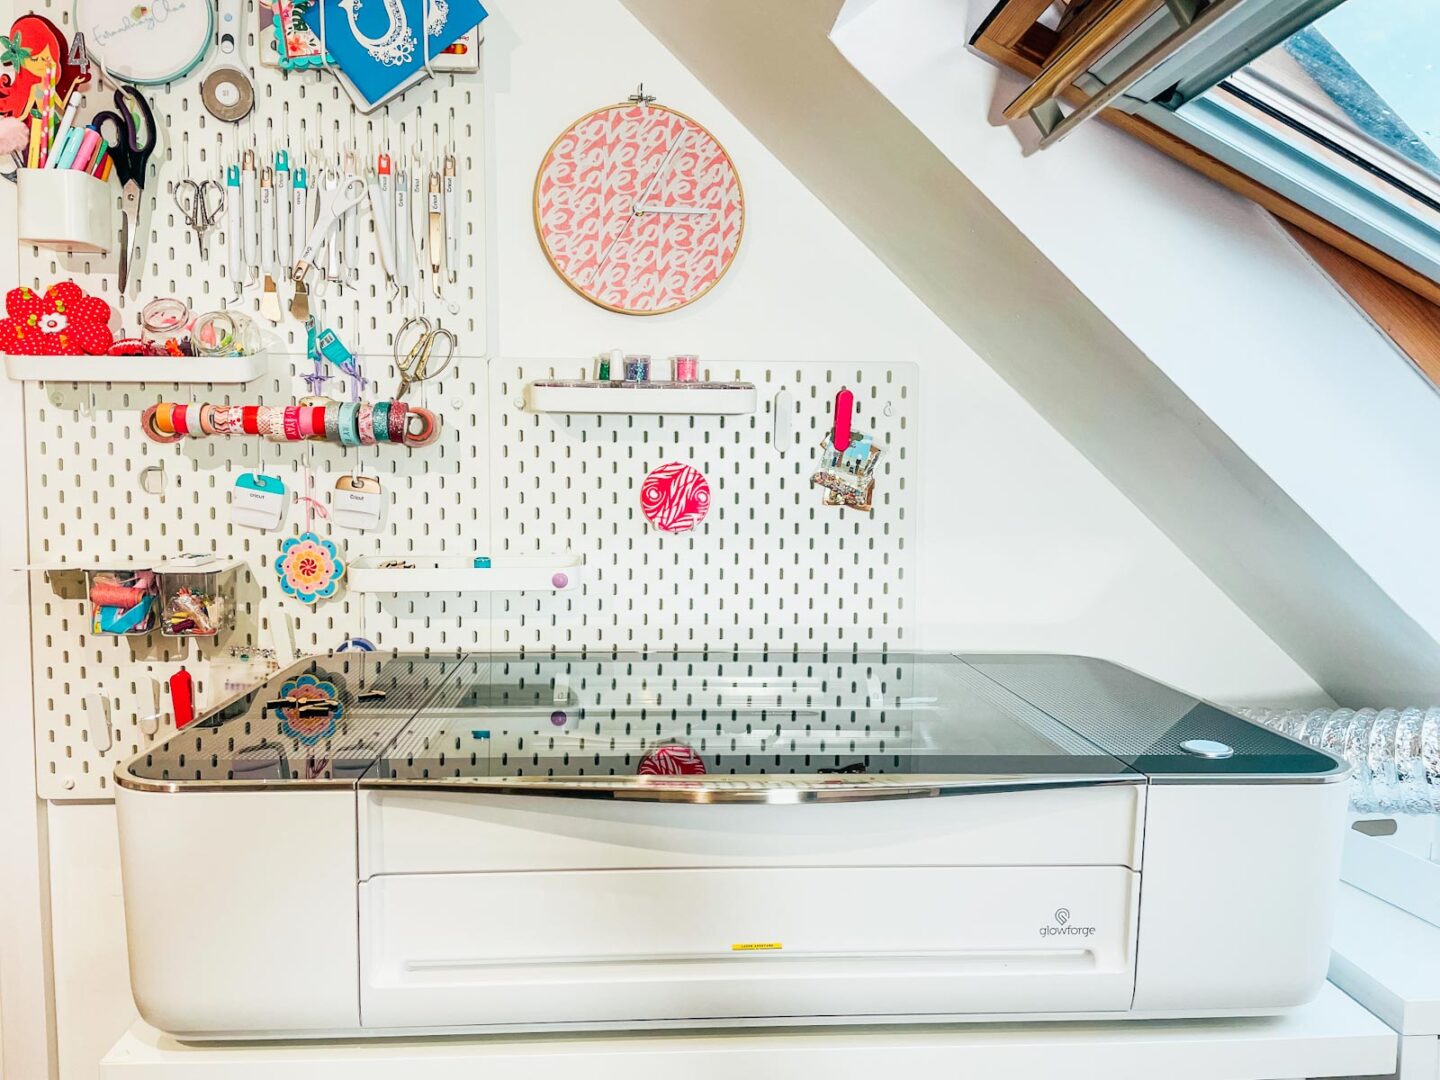
Also Use My Glowforge Discount Code To Get The Following Discounts If you Are Thinking Of Investing.
- Glowforge Pr, $500 USD.
- The Glowforge Plus, $250 USD
- Glowforge Basic, $125 USD
If you are UK based your Glowforge will ship from the UK.
Or
- Cricut Maker, to cut out of Cardstock or Glitter Card
- Weeding Tools
- Brayer
- Glitter Card Stock
- Tape Runner
- Double Sided Sticky Pads
- Card Stock To Suit Desired Skin Tone
- Glue Gun
- Straw
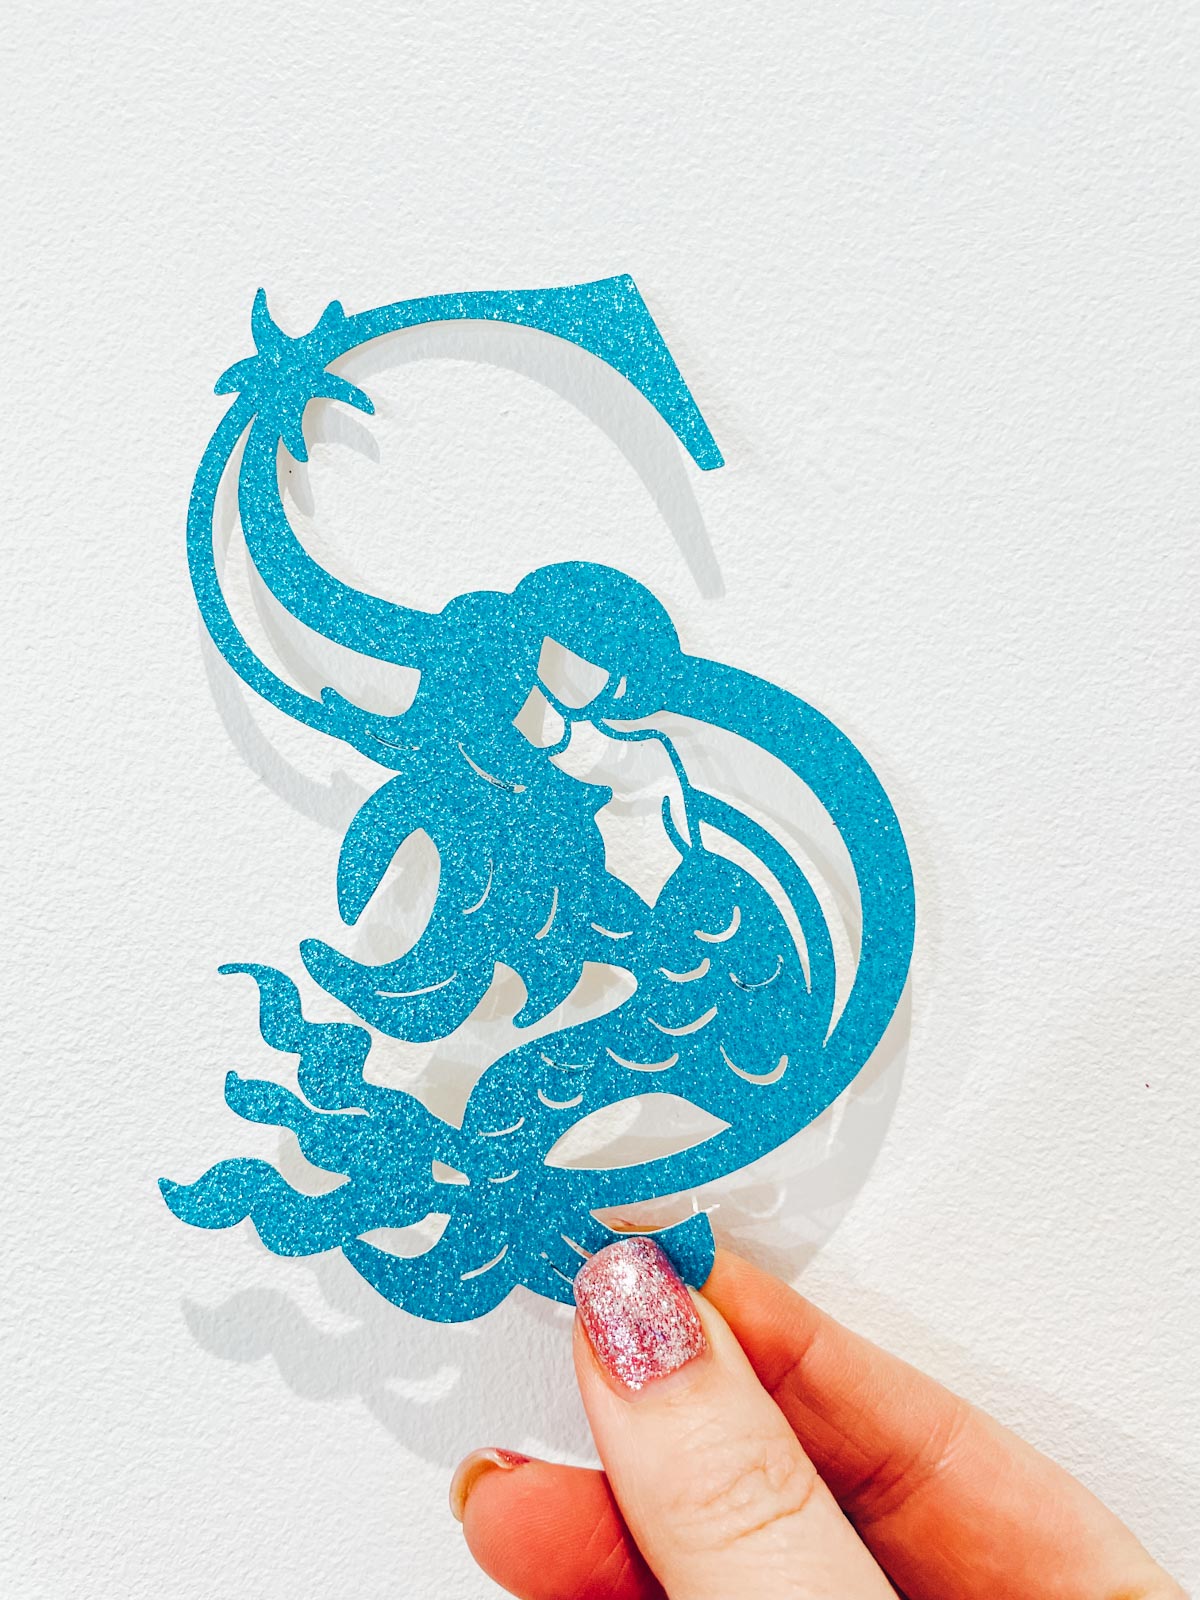
How To Make A Mermaid Cake Topper On Cricut
Start by uploading your Mermaid SVG file to Cricut Design Space in your choice of letter or number.
To size in Cricut Design Space simply use your mat as a guide, click on the arrow in the corner and simple drag the file to make it bigger or smaller.
Now duplicate the first layered and remove some of the contours by clicking on the offset tool on the top bar. The aim is to create 3 layers, you can also add elements like shells, words or seaweed.
- The top layer will be open
- Layer 2 remove the contours of your letter or number to create depth for your file
- Layer 3 is a sold layer, this is the layer you will use for the mermaids skin colour
- I also added seaweed at this point.
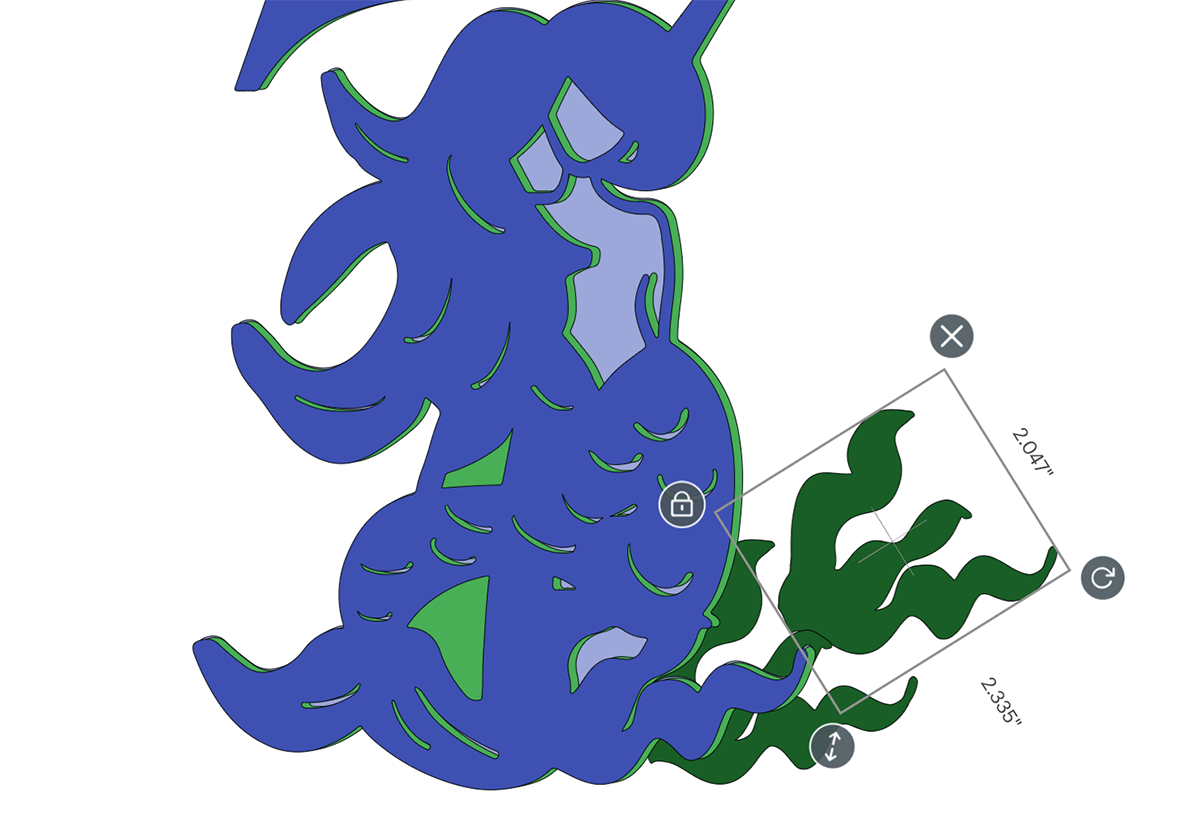
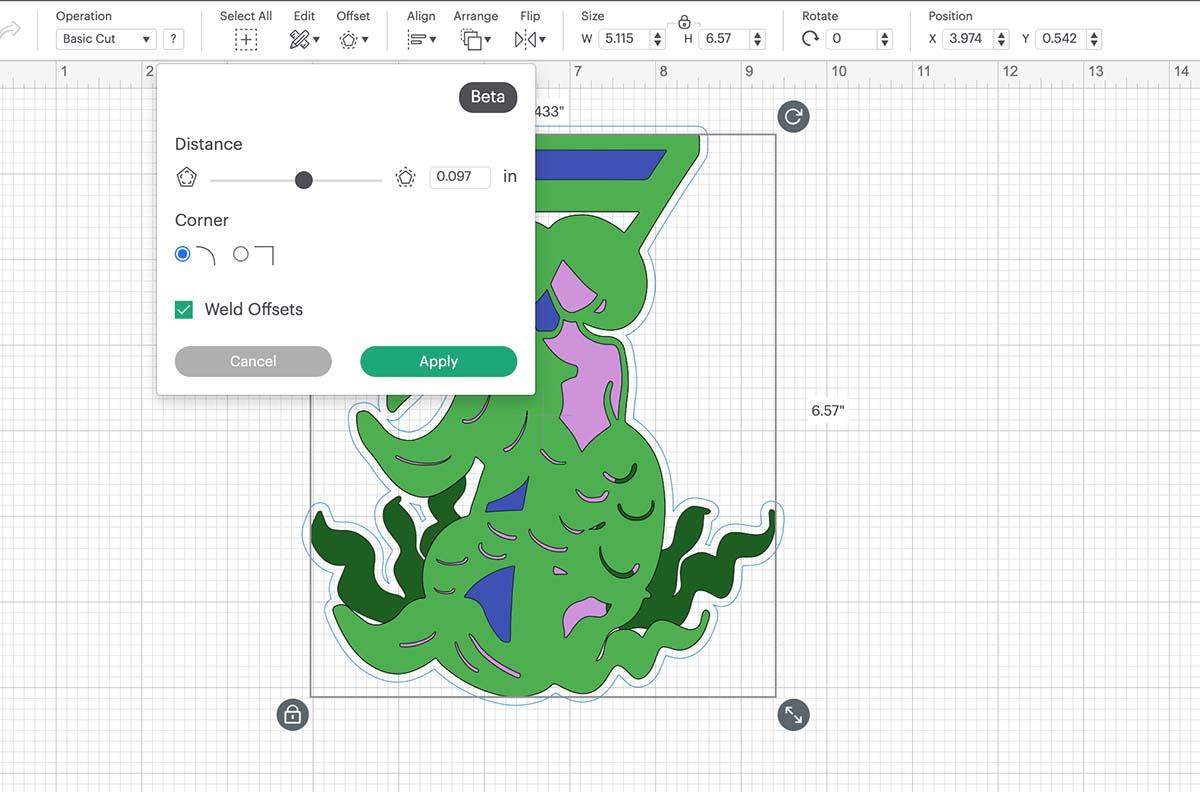
Layer 4 is the offset layer. To do this right click and select all, then click offset in the top bar and create an offset to sit your project on.
How To Build Your Mermaid Cake Topper
Start by adding your seaweed to the back offset layer as you want this to sit in the background of your cake topper.
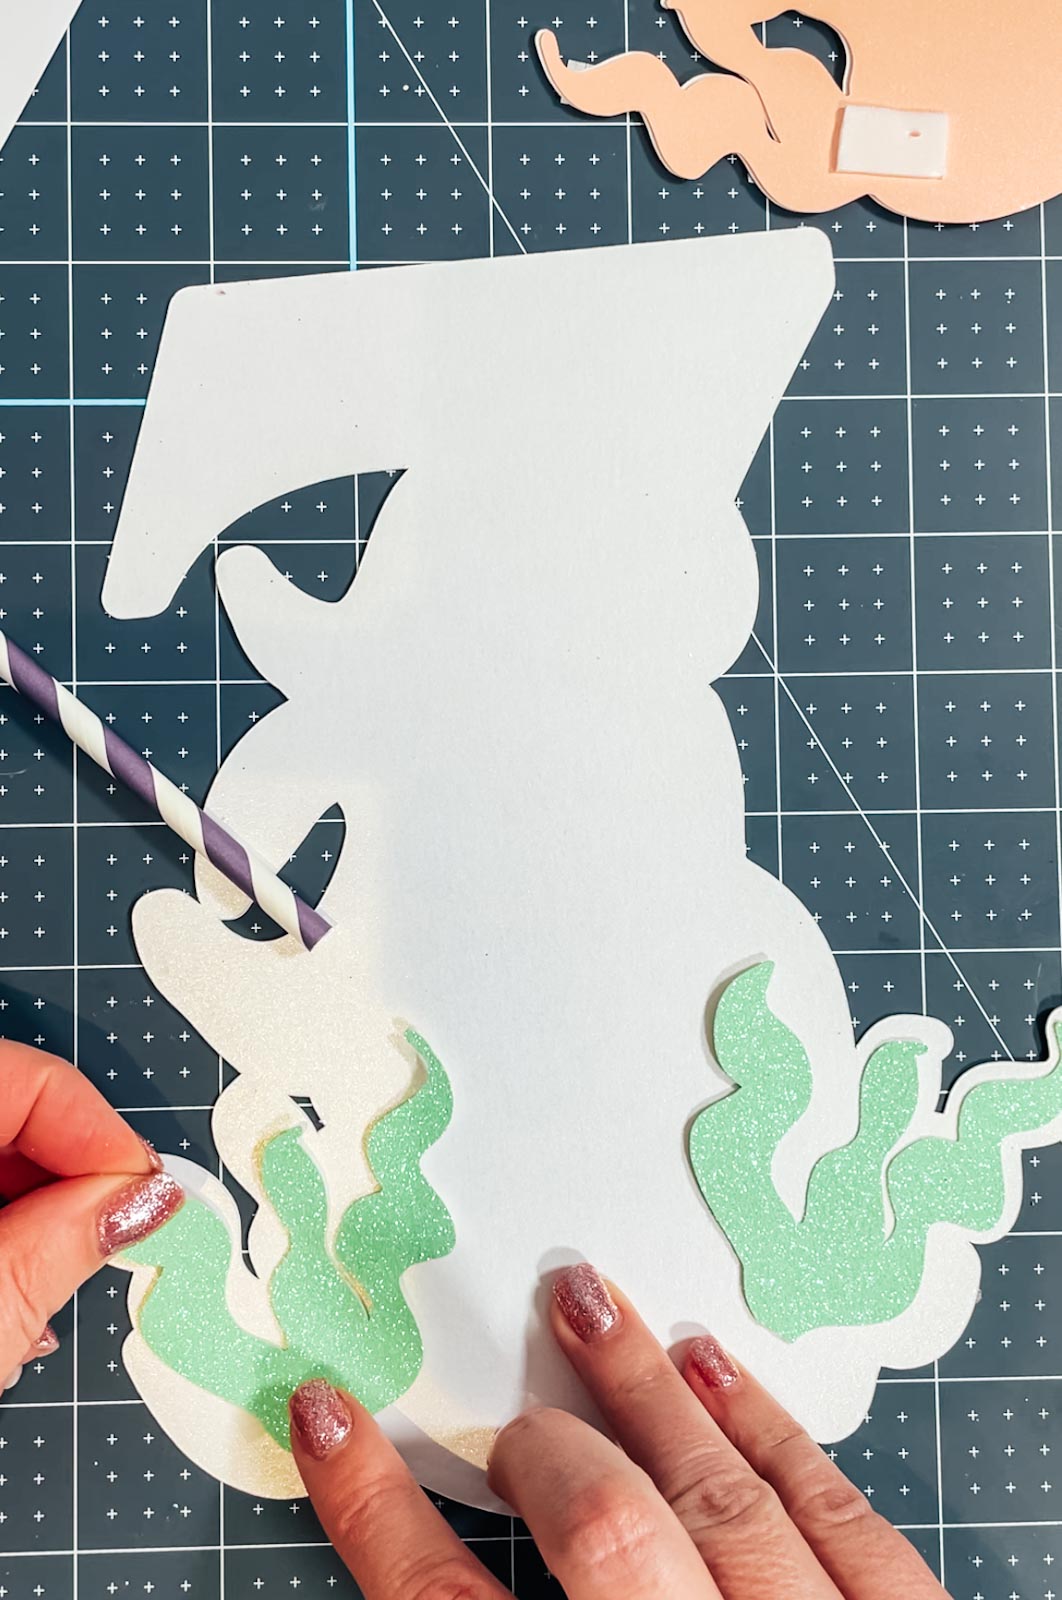
Now attach the 3 mermaid numbers together with the tape roller, making sure you get them in the correct order, I like to line my projects up before I start adding tape of glue. Once they are attached, put sticky pads on the back of the back of layer 3 and attach this to your offset layer.
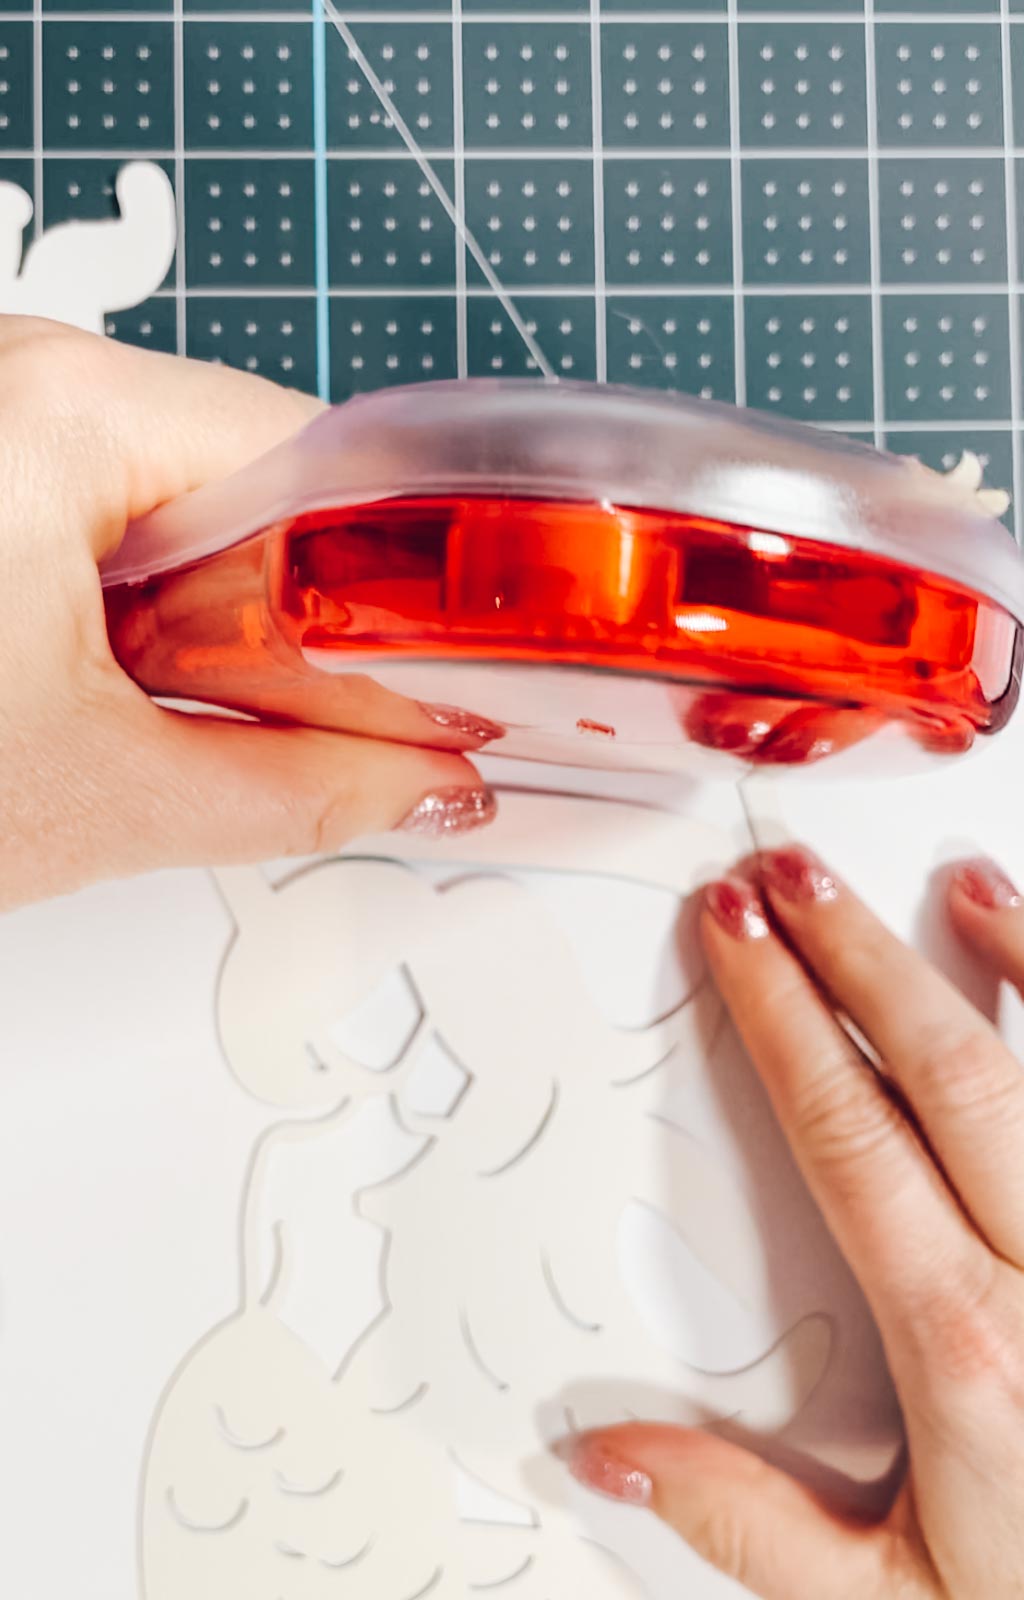
Now use the glue gun to attach a straw to the back. Finally, decorate your mermaid with clear Nuvodots to finish it off, although this stage is optional.
How To Get Your Monogram Mermaid Alphabet and Number SVG Files
Click here or the image below to get your free downloadable Mermaid Alphabet SVG/png files and follow these instructions to add to Cricut Design Space. Don’t forget to turn off any pop up blockers. Note if you are using Glowforge you need SVG files to cut the image out of wood or acrylic. Or Png or SVG to engrave.
If You’re Having Problems?
Check out my trouble shooting page, hopefully it will answer any questions you may have.
Tips And Advice For Using Your Download For Cricut
- Cricut Design Space Guide
- How To Slice And Weld In Cricut Design Space
- How to upload to Cricut Design Space
- Using Iron On Vinyl
- Where Else To Get Free SVG Files
Also please do pop over to Instagram, and give me a follow and if you make a project tag me! I love seeing everyone else’s makes and chatting crafting. I could do that all day! This is also where I share videos of my makes.
Make A Mermaid Cake Topper With Cricut
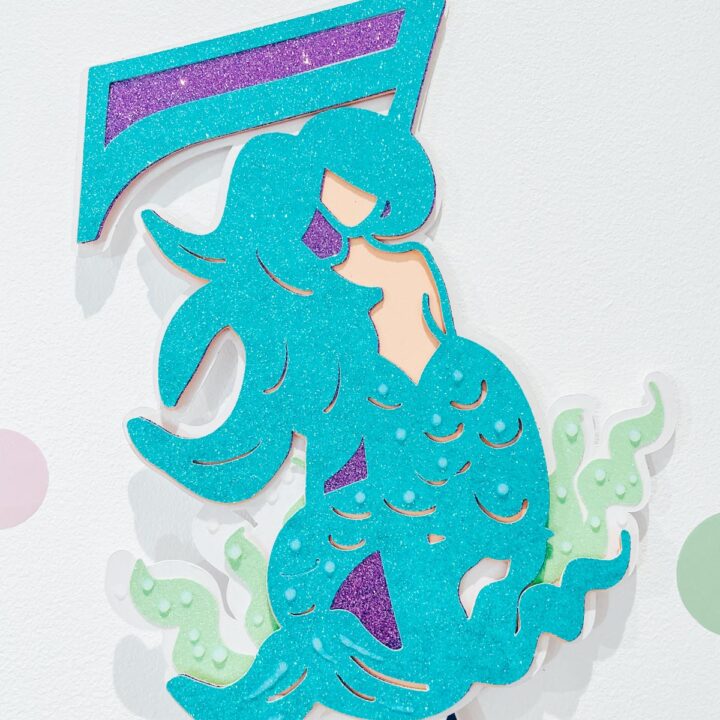
Free Mermaid SVG, PNG Alphabet And Numbers for Cricut , Silhouette and Glowforge with a Mermaid Cake Topper Tutorial or make cards and gifts.
Materials
- Glitter Card Stock
- Double Sided Sticky Pads
- Card Stock To Suit Desired Skin Tone
- Straw
Tools
- Cricut Maker,
- Weeding Tools
- Brayer
- Tap Runner
- Glue Gun
Instructions
- Start by uploading your Mermaid SVG file to Cricut Design Space in your choice of letter or number.
- To size in Cricut Design Space simply use your mat as a guide, click on the arrow in the corner and simple drag the file to make it bigger or smaller.
- Now duplicate the first layered and remove some of the contours by clicking on the offset tool on the top bar. The aim is to create 3 layers, you can also add elements like shells, words or seaweed.
The top layer will be open
Layer 2 remove the contours of your letter or number to create depth for your file
Layer 3 is a sold layer, this is the layer you will use for the mermaids skin colour
I also added seaweed at this point. - Layer 4 is the offset layer. To do this right click and select all, then click offset in the top bar and create an offset to sit your project on.
- How To Build Your Mermaid Cake Topper, Start by adding your seaweed to the back offset layer as you want this to sit in the background of your cake topper.
- Now attach the 3 mermaid numbers together with the tape roller, making sure you get them in the correct order, I like to line my projects up before I start adding tape of glue. Once they are attached, put sticky pads on the back of the back of layer 3 and attach this to your offset layer.
- Now use the glue gun to attach a straw to the back. Finally, decorate your mermaid with clear Nuvodots to finish it off, although this stage is optional.
Notes
Project Ideas For My Mermaid Alphabet & Number Set
Paper Cut Letters And Words
Mermaid Themed Parties
Mermaid Cake Toppers
Birthday Mermaid Cards
Wall Decals
Wooden Banners With Glowforge
Mermaid Door Signs
Use Pegs And String For Hanging Mermaid Banners
Framed Art
Iron On Vinyl Hoops
Hanging Wooden Signs
Welcome Signs
Mermaid T Shirts
Decoupage Mermaid Cushions
Scrapbooking Pages
Recommended Products
As an Amazon Associate and member of other affiliate programs, I earn from qualifying purchases.

