Today I am sharing a cute Free Easter Bunny SVG layered Easter Carrot project. It started off as one layer, but you know me I love a layered project. Thus I got carried away and created a 5 layered Easter Bunny scene, and an additional floral carrot just in case you need it, well you never know do you?
Us crafters love a seasonal project right? And Easter is a huge deal for so many reason, the rising of Jesus Christ, family time, new life and Spring and of course all that lovely chocolate. And Easter is not too far away, we need to prepare for all the get togethers and egg hunts.
These files can be used a multi layers with Cricut, Glowforge and Silhouette to create so many projects for Easter. Scroll down to see my step by step tutorials for an Easter Bunny Carrot with Cricut and an Easter egg hunt Carrot Arrow with Glowforge. But don’t forget to also check out my Easter Bunny Alphabet and Colouring Alphabet colouring page.

This post may contain affiliate links. Which means I may receive a small commission if you click a link and purchase something that I have recommended at no extra cost to yourself. Also as an amazon, Cricut and Glowforge associate, I earn from qualifying purchases.
What You Will Find Here
Project Ideas For My Layered Free Easter Bunny SVG For Easter Crafts
- Easter Cards
- Easter Cake Toppers
- Acrylic Easter Bunny and Carrot Keyring With Glowforge
- Layered Wooden Art With Glowforge Framed Art
- Iron On Vinyl Hoops
- Welcome Signs
- Egg Hunt Signs
- Engraved Chopping Boards
- Decoupage Easter Bunny Cushions
- Scrapbooking Pages

How To Make My Free Easter Bunny SVG
What Do I Need To Make My Free Easter Bunny With My Free SVG On Cricut Or Glowforge
- Cricut Maker, to cut out of Cardstock or Glitter Card
- Glue
- Weeding Tools
- Brayer
- Glitter Card Stock and plain card stock
Or

- A Glowforge Printer
- Plywood
- Spraypaint in pink, green and orange. I use Montana Gold and find it’s cheaper for Graf City.
- Wood Glue
- Gloves and a Mask
Also Use My Glowforge Discount Code To Get The Following Discounts If you Are Thinking Of Investing.
- Glowforge Pr, $500 USD.
- The Glowforge Plus, $250 USD
- Glowforge Basic, $125 USD
If you are UK based your Glowforge will ship from the UK.
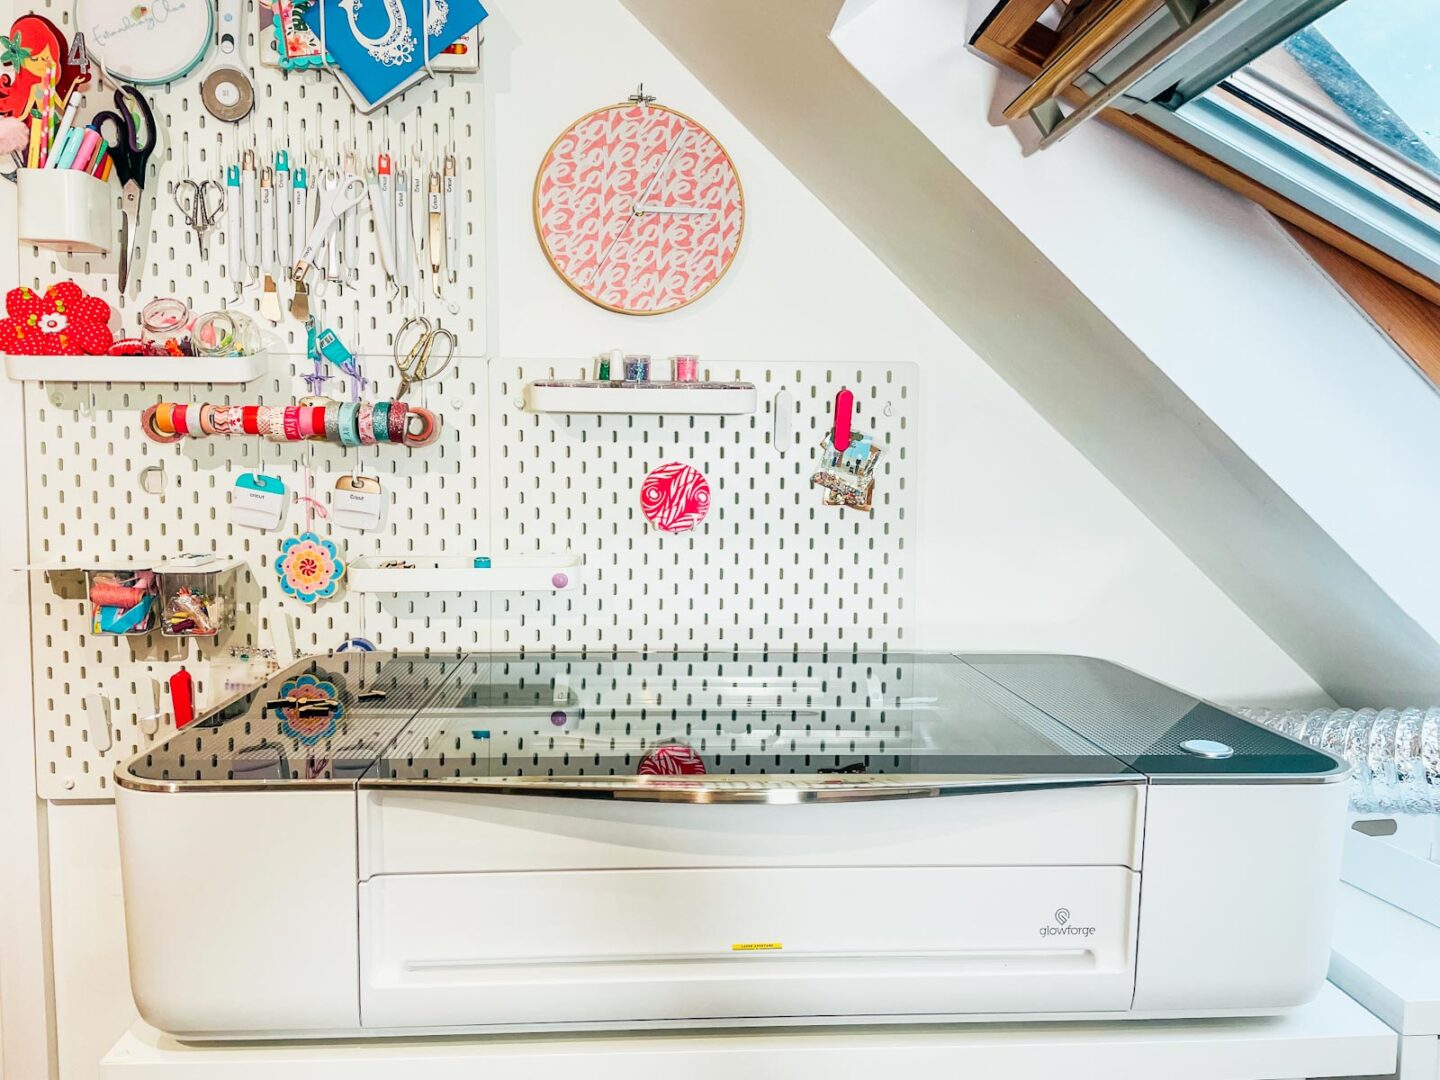
How To Make A Wooden Easter Bunny Carrot With Glowforge?
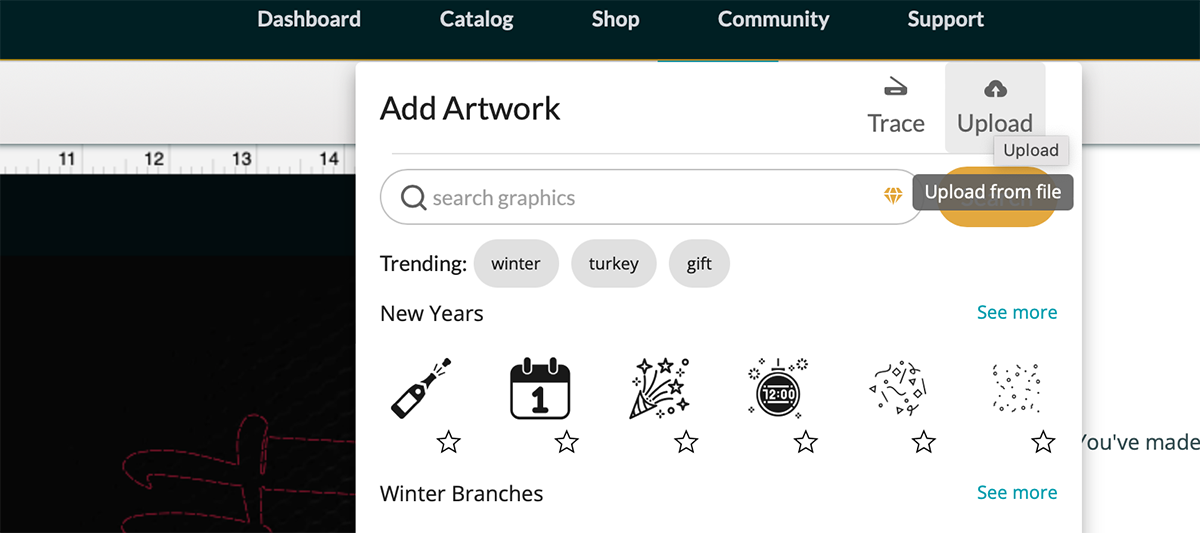
If you are cutting on Glowforge, make sure you upload the Easter Bunny SVG files to cut, you are unable to cut PNG files. ( However can engrave PNG files.) Simply click the + sign in the top bar, choose upload and select your Bunny SVG files. Now drag the file to the correct size and click on the image to select the cut or engrave option.
I uploaded laters 1, 4 and 5 as felt this was all I need for this project although you could use all the layers.
Size your Free Easter Bunny SVG Carrots so they line up exactly, they may upload at slightly different sizes, however simply drag them to size them so they exactly fit.

You can now, separate out and position your files using the camera as a guide. Then select the correct materials for whatever machine you are using, and send your project to cut or engrave.

Once cut remove the files and spray paint, make sure its a well ventilated area, wearing a mask and gloves. I chose pink for the top layer, green for the middle hills and orange for the carrot.

Once the paint is dry use wood glue to build the layered Bunny Carrot a press it to allow it to dry.

This file is perfect for Easter Decorations or you could add numbers for egg hunts.

Making Your Layered Easter Bunny Carrot On Cricut
Line Up Your Layers In Cricut Design Space
My Easter Bunny SVG files comes as a 5 layer project, so its all ready to upload to your Cricut Design Space and cut.

Once uploaded, line up all the layers in design space to confirm all files line up correctly and exactly the same size. Remember you are using 5 colours in this case so have the card stock ready to hand and really think about the colours.

Cutting Your Easter Bunny SVG On Cricut
When you send your Easter Bunny Carrot SVG/PNG files to your Cricut to cut, ensure you use your brayer to roll the paper, vinyl or card to adhere to the mat. Movement will affect the cut.
How To Build Your Easter Bunny Layered Carrot File
I have suggested an order on the 5 files which makes sense and the layers are numbered accordingly. I suggest lining up first to ensure you have the order right and have your carrots the correct way round.
Start by placing the back SVG layer face up, and using glue to attach layer 2.
Now flip the layer over and position onto the back layer, making sure it lines up. Keep going layer by layer until you get to the top layer.

How To Get Your Easter Bunny SVG/PNG Files
Click Here or the image below to get your free downloadable Easter Bunny SVG/png files and follow these instructions to add to Cricut Design Space. Don’t forget to turn off any pop up blockers. Note if you are using Glowforge you need SVG files to cut the image out of wood or acrylic. Or Png or SVG to engrave.

If You’re Having Problems?
Check out my trouble shooting page, hopefully it will answer any questions you may have.
Tips And Advice For Using Your Download For Cricut
- Cricut Design Space Guide
- How To Slice And Weld In Cricut Design Space
- How to upload to Cricut Design Space
- Using Iron On Vinyl
- Where Else To Get Free SVG Files
Also please do pop over to Instagram, and give me a follow and if you make a project tag me! I love seeing everyone else’s makes and chatting crafting. I could do that all day! Additionally I also post daily videos of my makes in progress.

so cute!!!