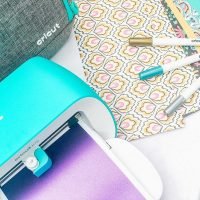
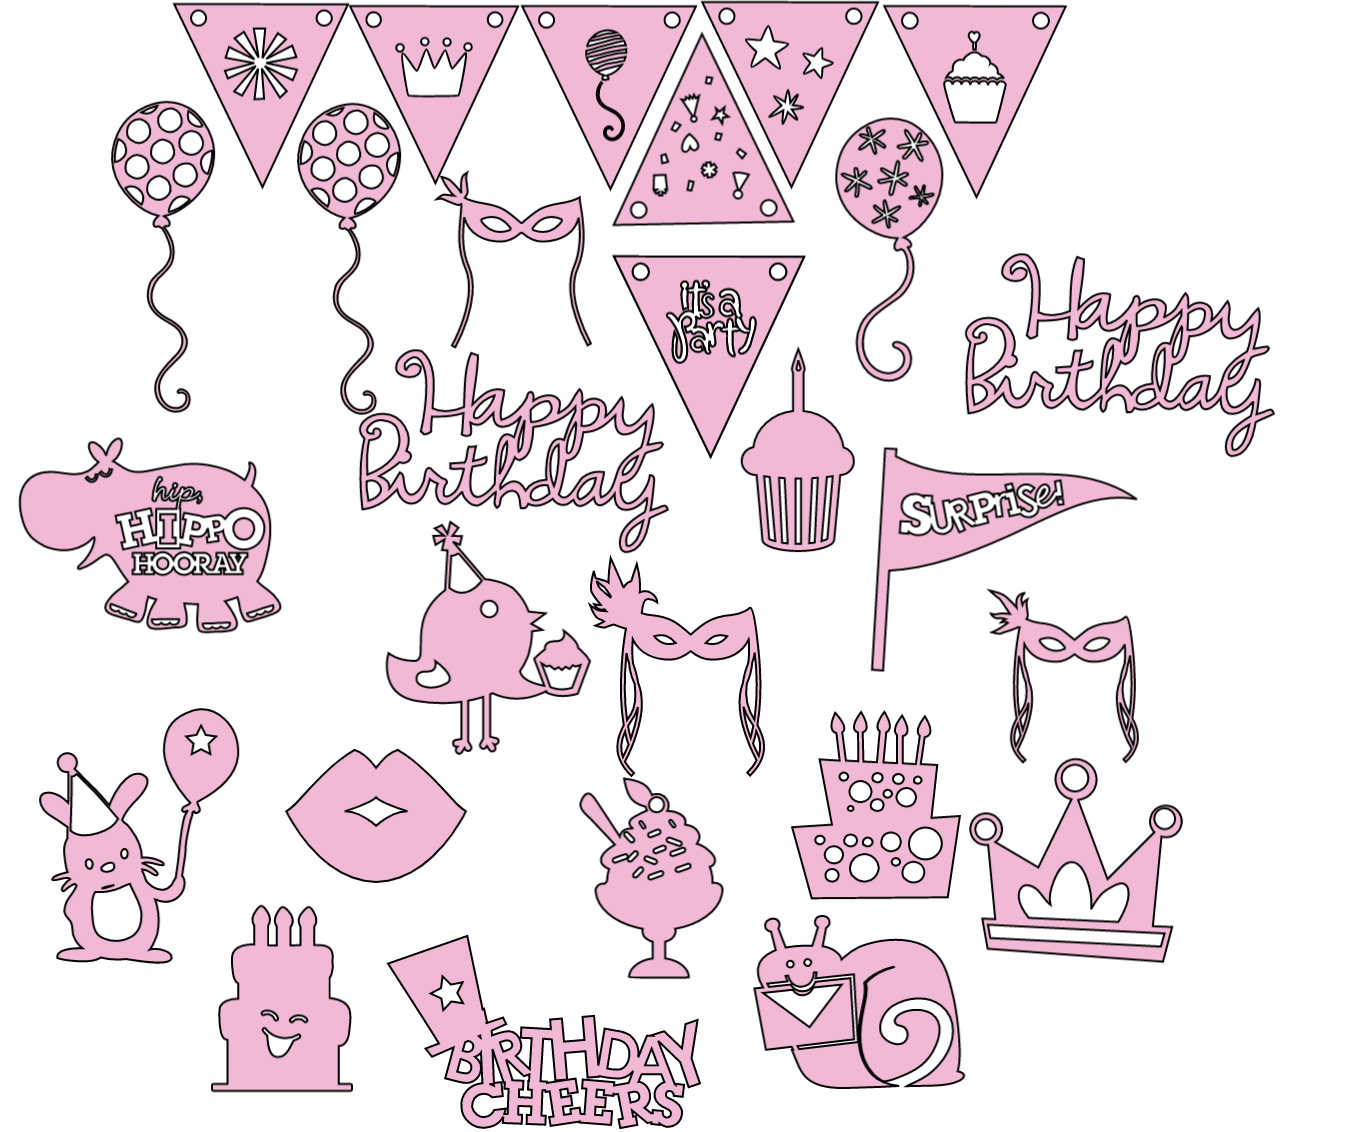
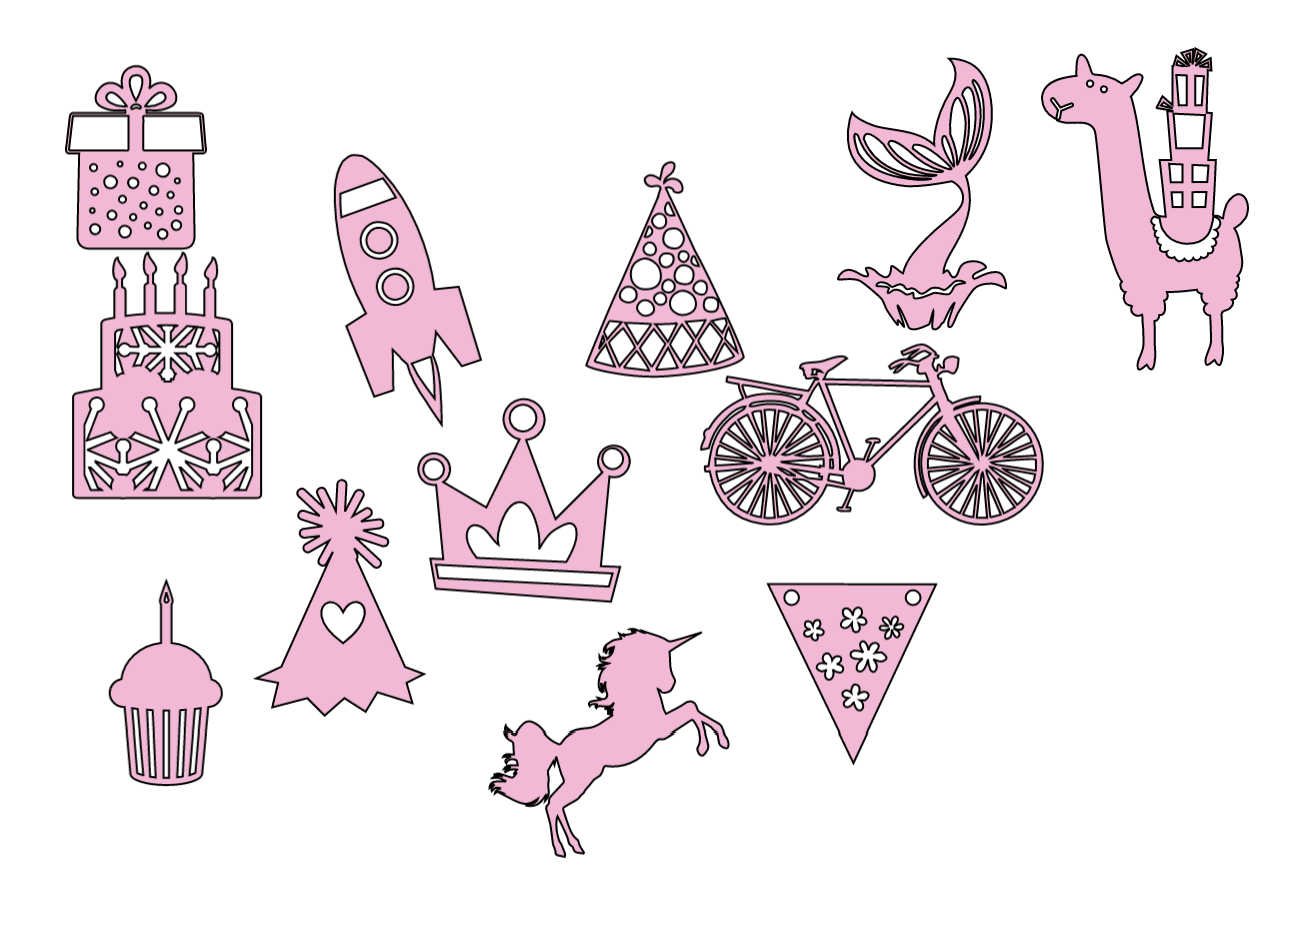
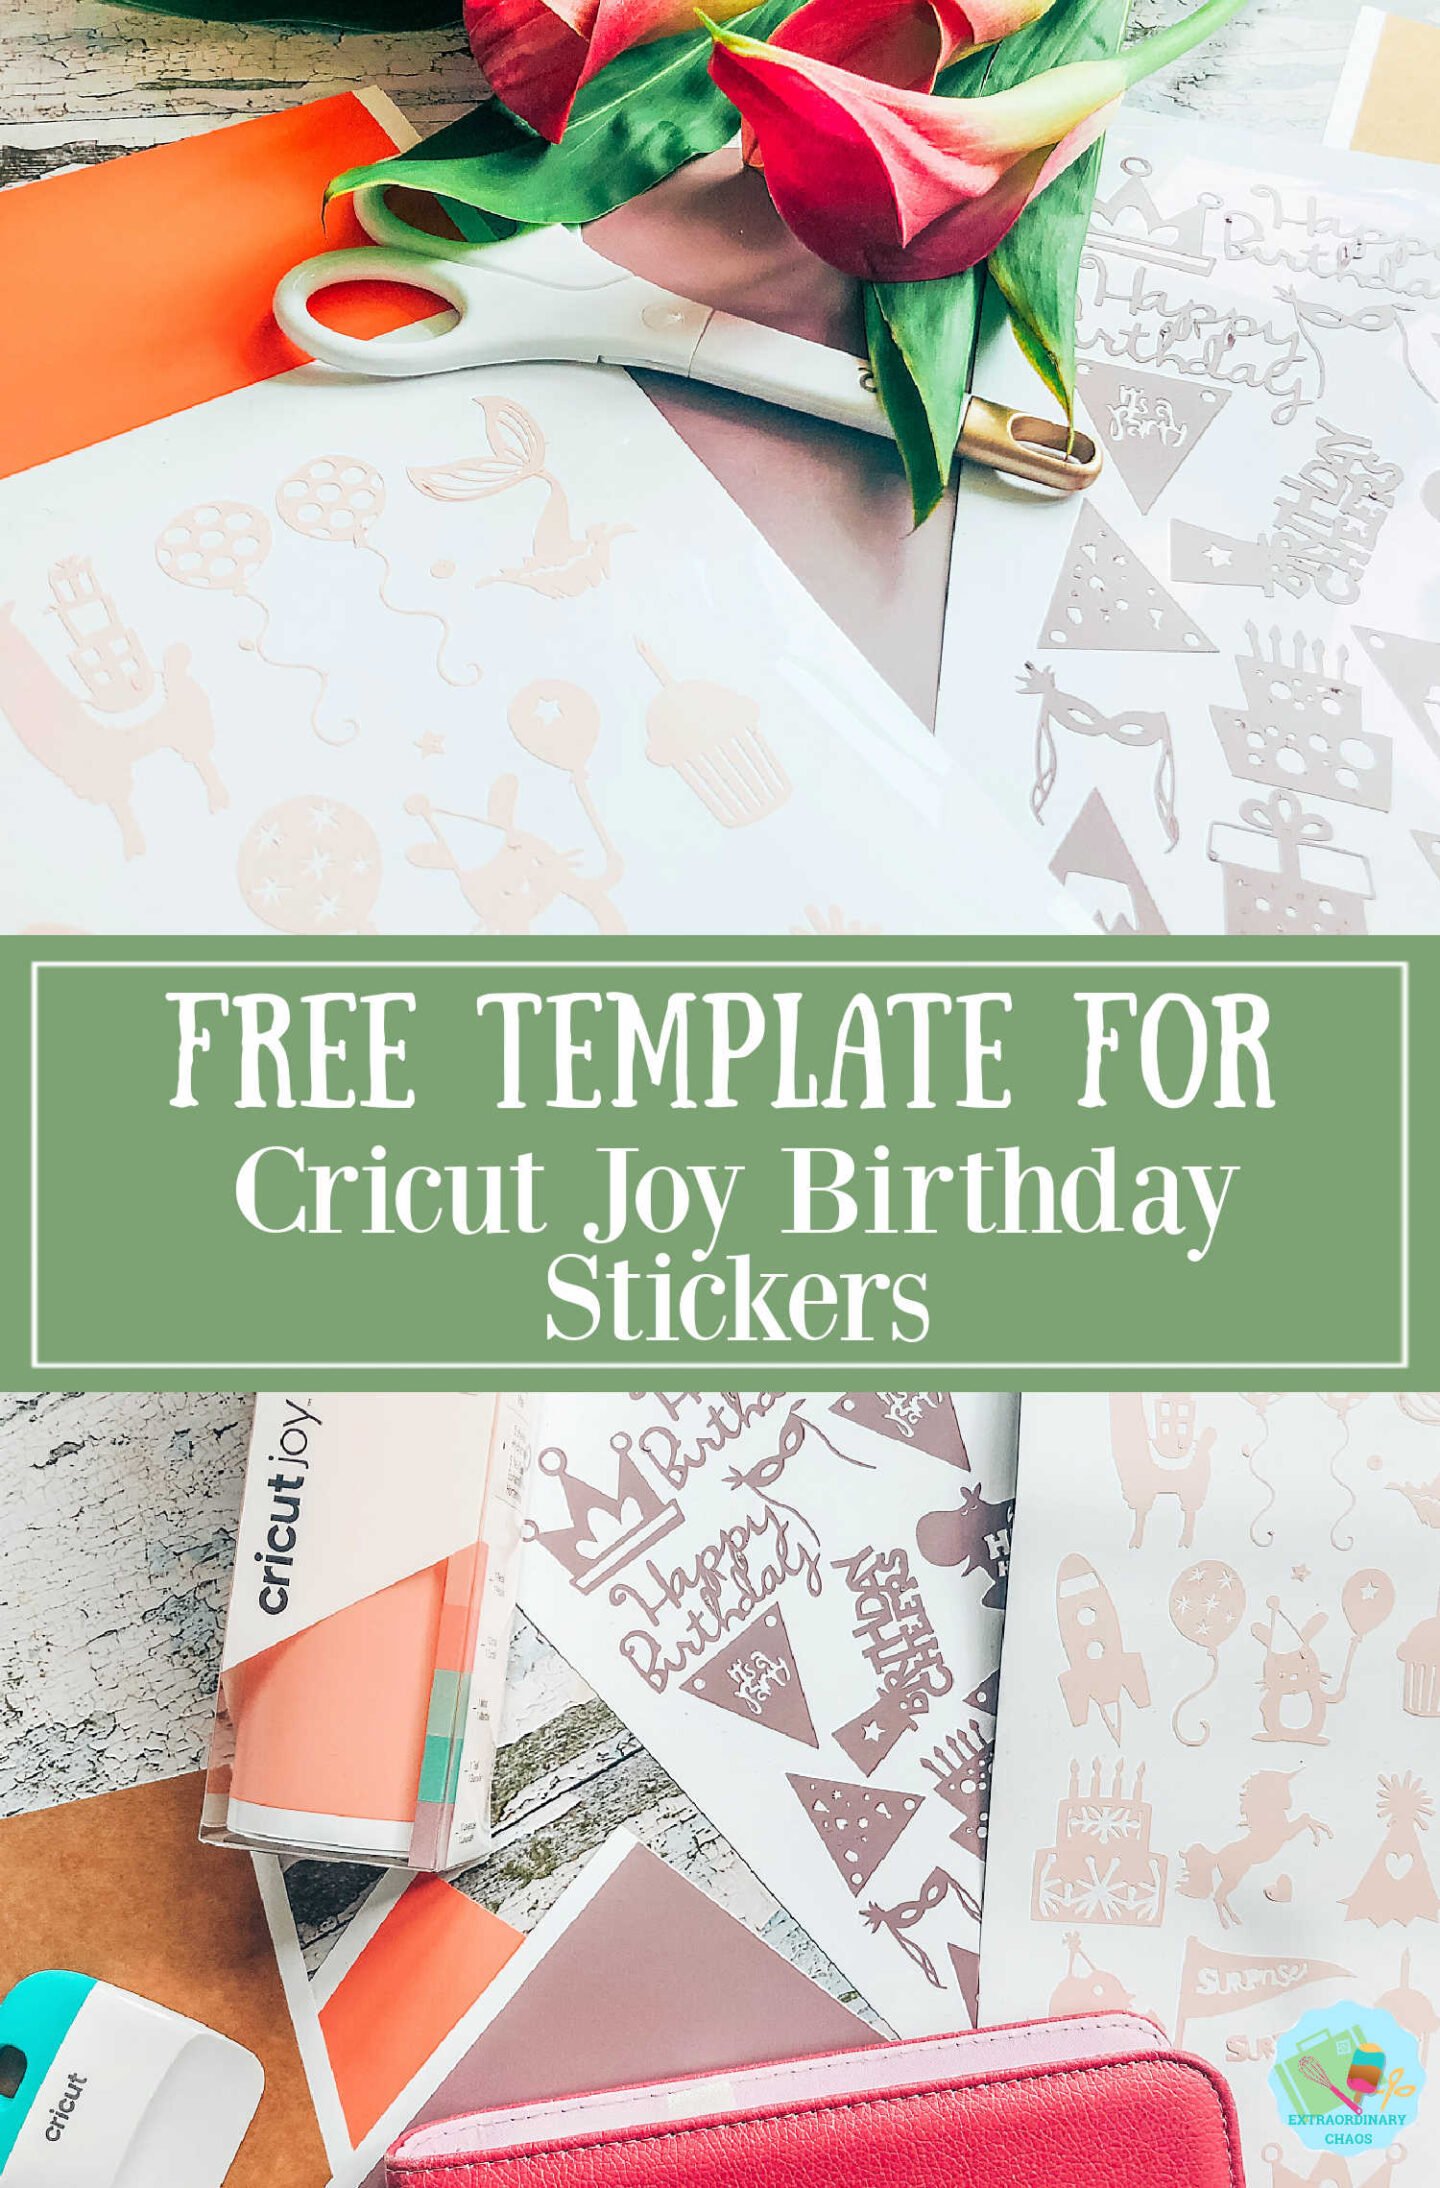
Being able to make Cricut Joy Stickers is such a great feature of using smart vinyl. For this post I have created a quick and easy Cricut Joy Vinyl Birthday Stickers Template with smart vinyl, they are so simple to make and look great. Even better I have a link to the template for you to use to make your own Cricut birthday creations.
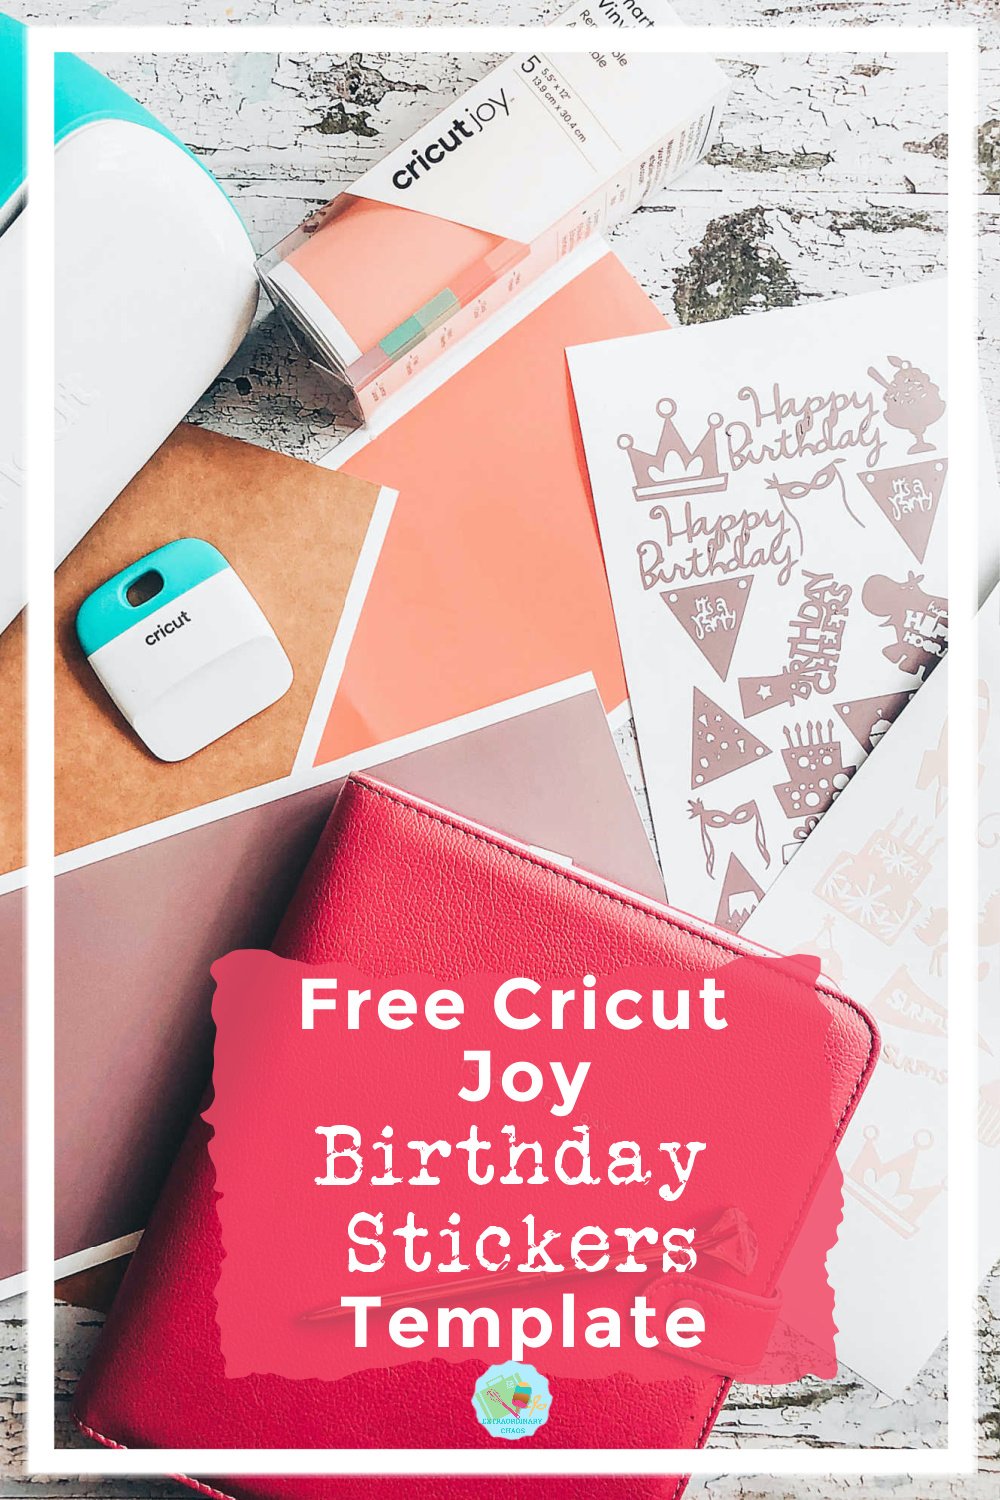
How To Use These Cricut Joy Vinyl Birthday Stickers?
If you have a paid Cricut Design Space access follow this link to the project in design space, where you can choose all the stickers or certain stickers and save as your own project.
If you want to see me create my projects, follow me on Tik Tok and Instagram.
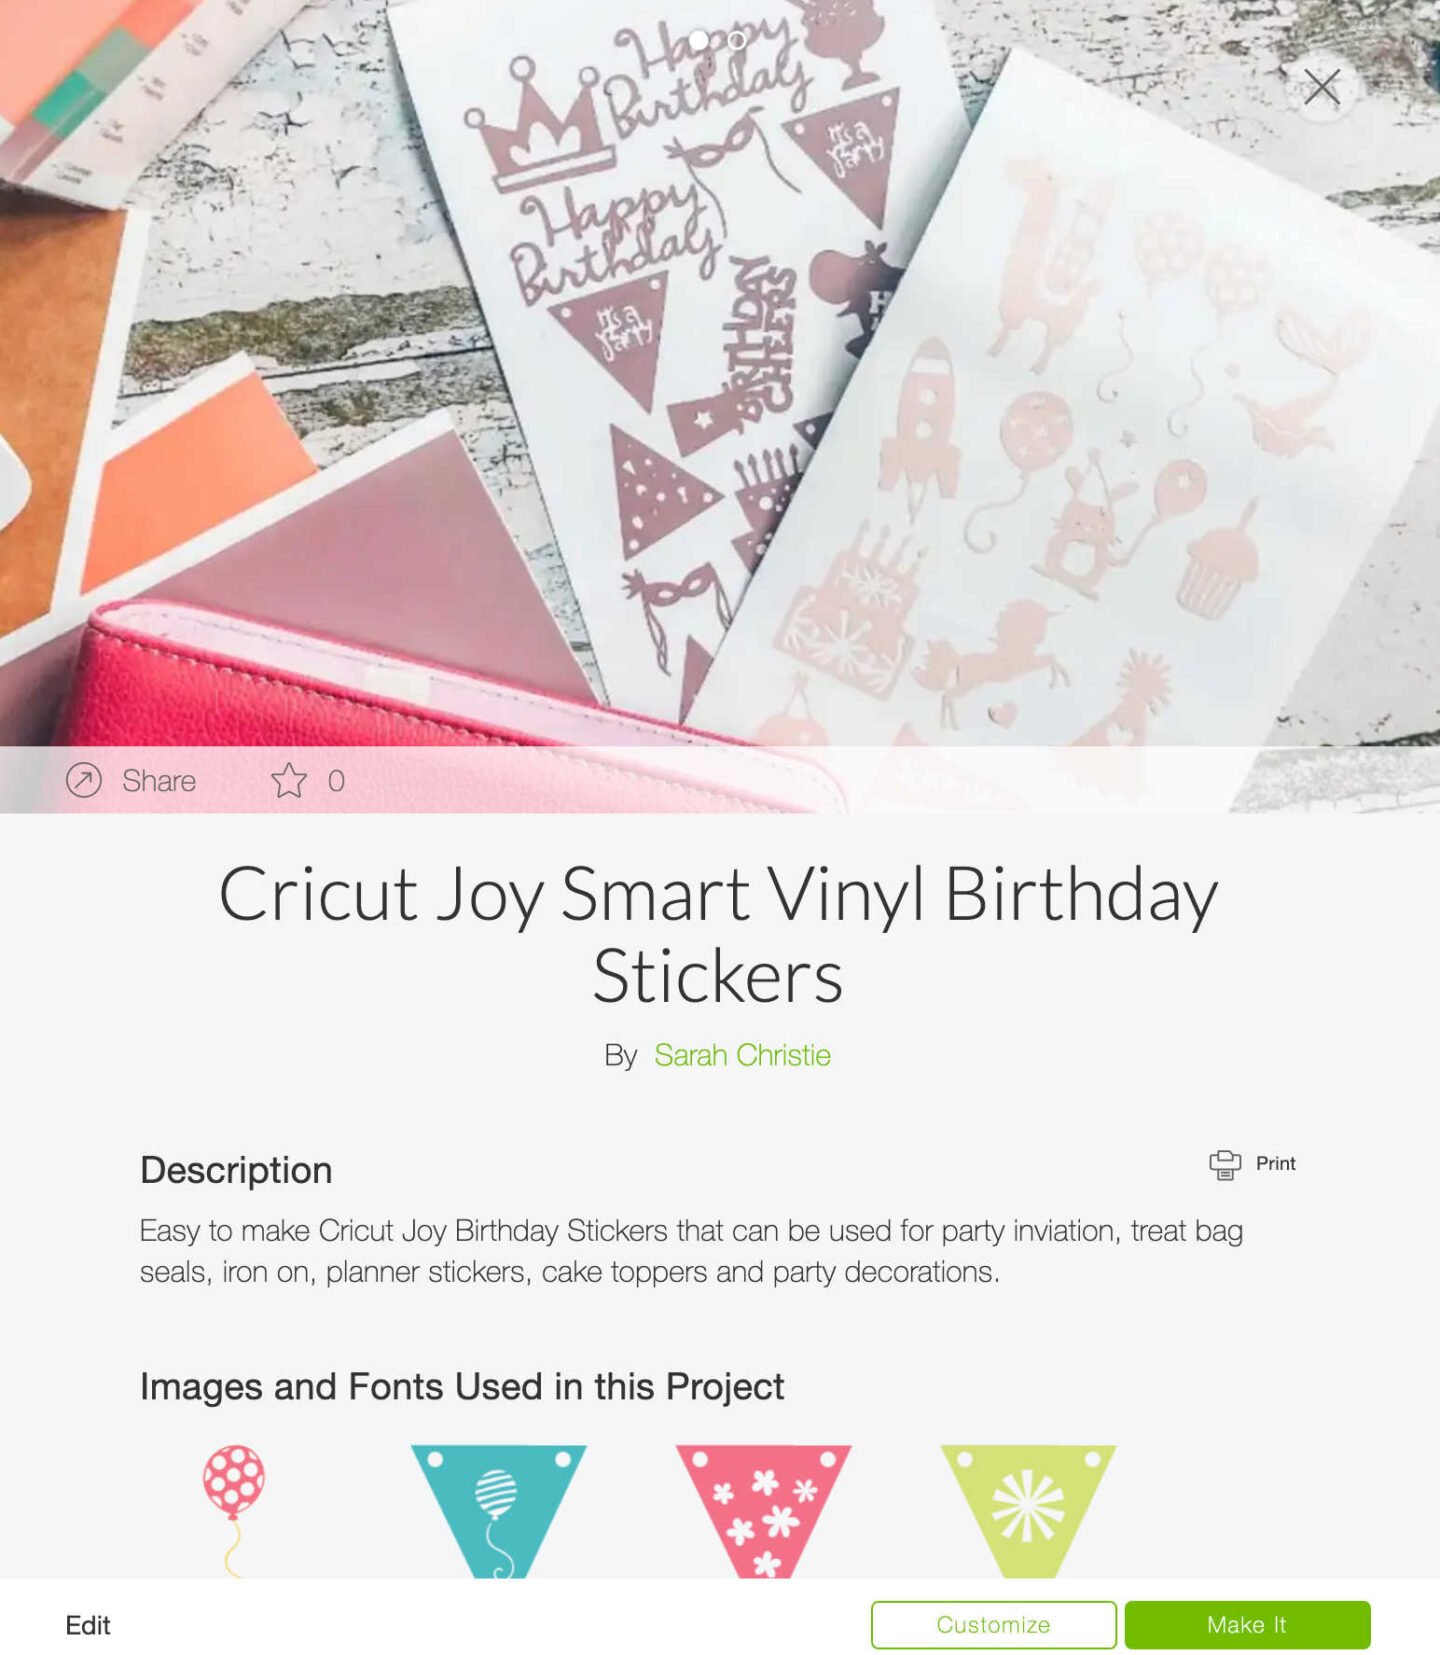
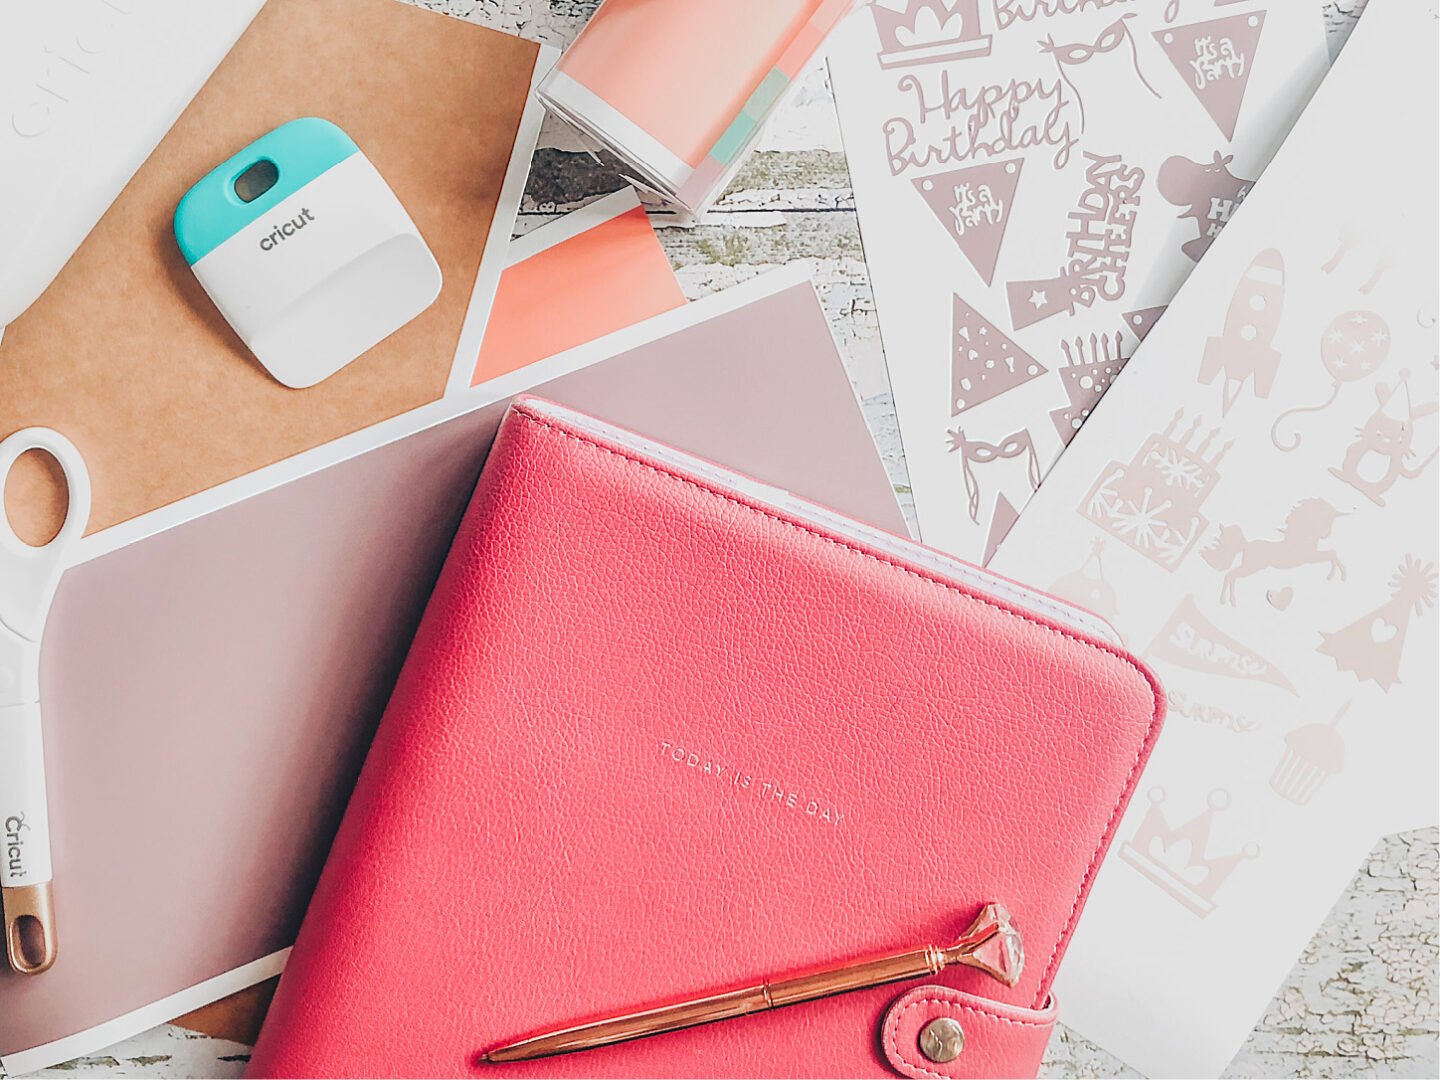
Alternatively save the image below and follow these instructions to add to design space ensuring you zoom in to remove all the small areas.
Uses For Cricut Joy Birthday Stickers
- Wall decals or window decorations with window cling
- Birthday countdown chart
- Craft projects
- Birthday cards
- Planner stickers
- Use with Iron on vinyl to make birthday t shirts or party favour bags
- Or permanent vinyl to decorate plates, cups and glasses
- Party invites
- Envelope seals.
How To Make Cricut Joy Birthday Stickers
You Will Need
- Cricut Joy
- Design Space
- Cricut Removable Smart Vinyl ( Or permanent, iron on or card stock depending on your project.)
- Or Cricut Regular Size Removable Vinyl With A Blue Cutting Matt
- Weeding Tool
Instructions
In Cricut Design Space click on images, type birthday, party and cake into the search bar and scroll through choosing any images you feel will fit your theme to make stickers. Don’t be put off by the layered images, these can be flattened or un grouped to make a flat sticker.
Collect all the images you like and then import to your mat. Once on the mat start to arrange them in size and shape all ensuring all images are the same colour. (When you send them to cut they will then all be on the same matt.
Making Layered Images Into A Single Cut File
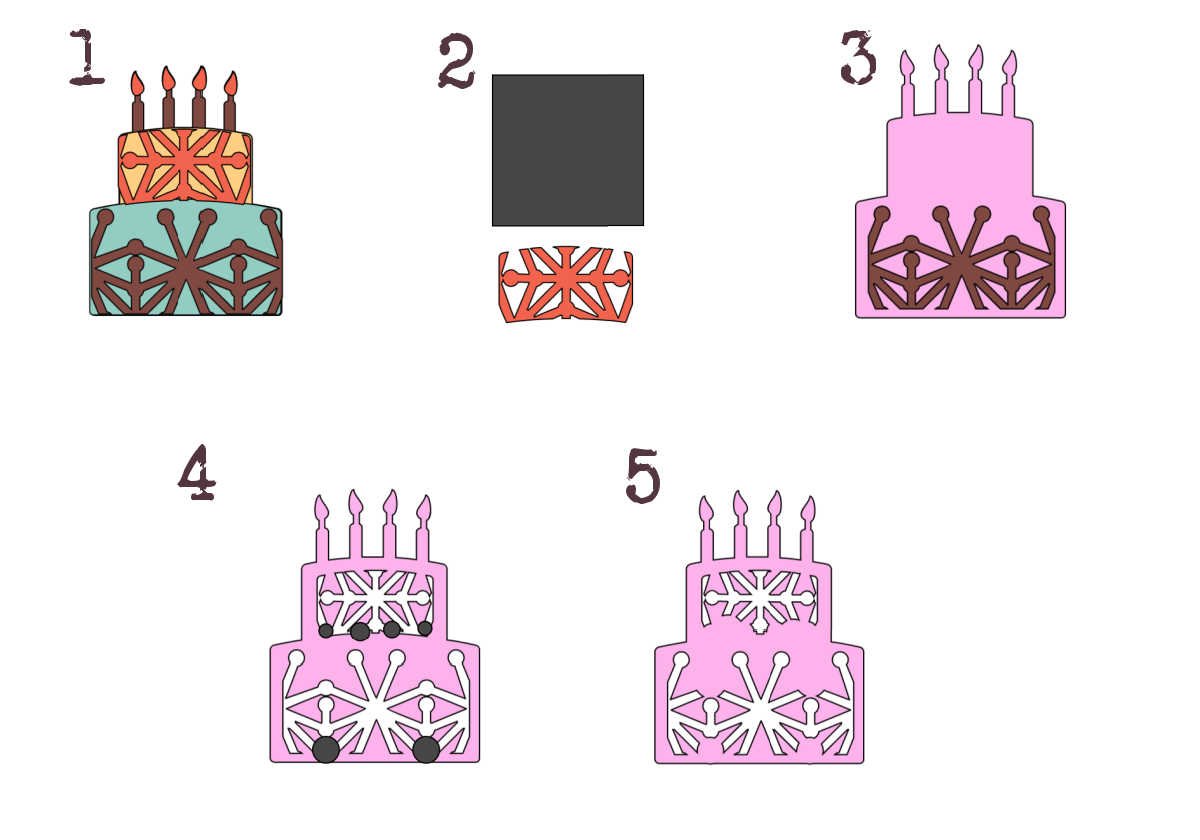
As you can see below you are able to make multi layered images into single layered cut files by following these steps.
- Select your image, ungroup the image discarding any parts you don’t need.
- If any elements are connected use a square to slice and separate them.
- Start welding the parts you want back together and then size your first overlay to fit just inside your cake image.
- You can now slice images or patterns out of your cake one at a time.
- Lastly, ensure the cuts have spaces so when you cut you loose a big chunk of pattern. This image did so I welded some dots to break up the design thus I didn’t lose a chunk of pattern
Points To Remember
Make sure your image is not too detailed if you plan to cut it as a small sticker.
Also ensure any images are one solid image and will lift off your sticker sheet as one sticker.
Arranging Your Cricut Joy Birthday Stickers Template
If you are using multi pack smart vinyl the sheets are 5.5? x 12? or a standard roll of smart vinyl is 5.5? x 48?
I arrange my stickers within these perimeters on my design space mat. This way I know how many stickers I need to create to fill my sticker sheet, however they will arrange to mat form when you send to cut.
If you are unsure, press send to cut you will get a mat view to give you an idea.
If You Have Saved My Birthday Stickers Template To Upload To Design Space?
This will upload as a connected image to separate any images off to use simply slice them out using a shape. This will allow you to use separate images. To use them all together.
Sending You Cricut Vinyl Birthday Stickers To Cut.
When you send your stickers to cut check you choose the correct type of vinyl and whether you are cutting on a mat or smart vinyl and also the vinyl type, iron on, permanent and removable.
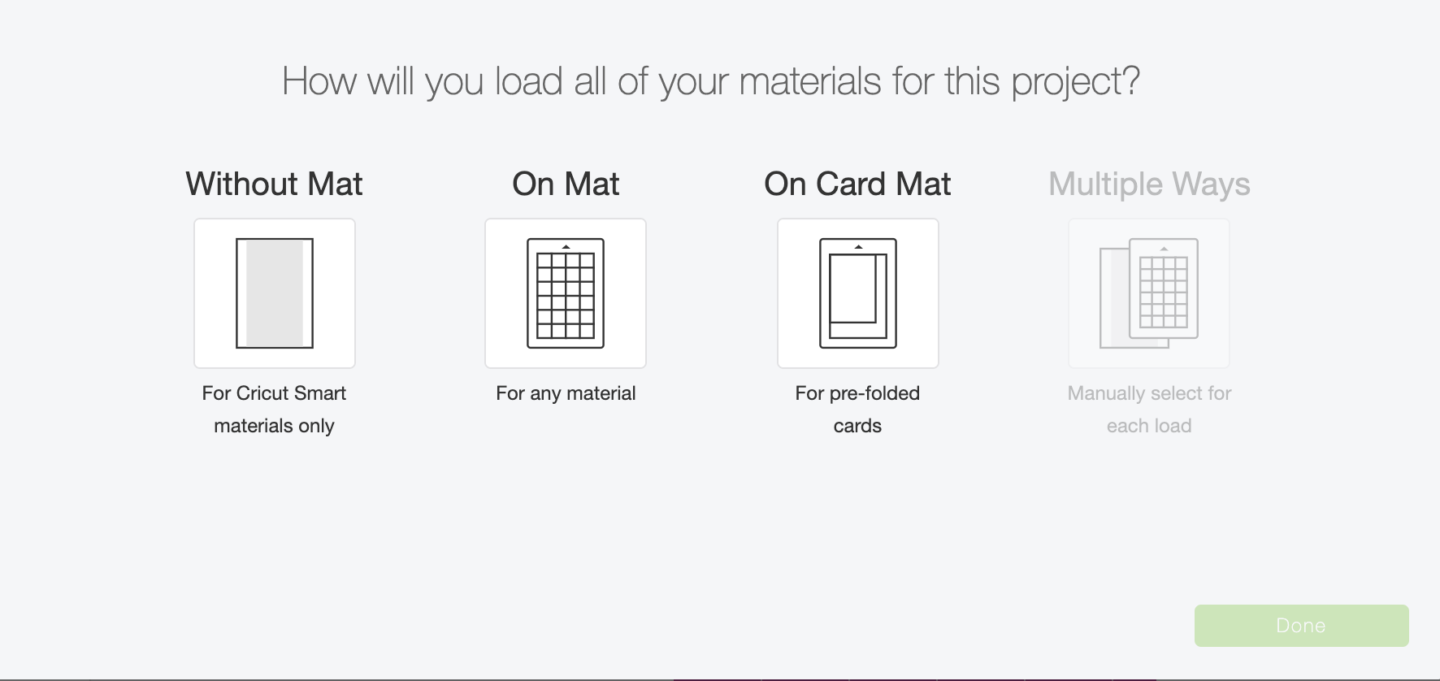
If you are using smart vinyl check the no mat box, design space automatically sorts into the length of vinyl the project will use, if you are using shorter vinyl you will need to change this so the project cuts over 2 cuts or more.
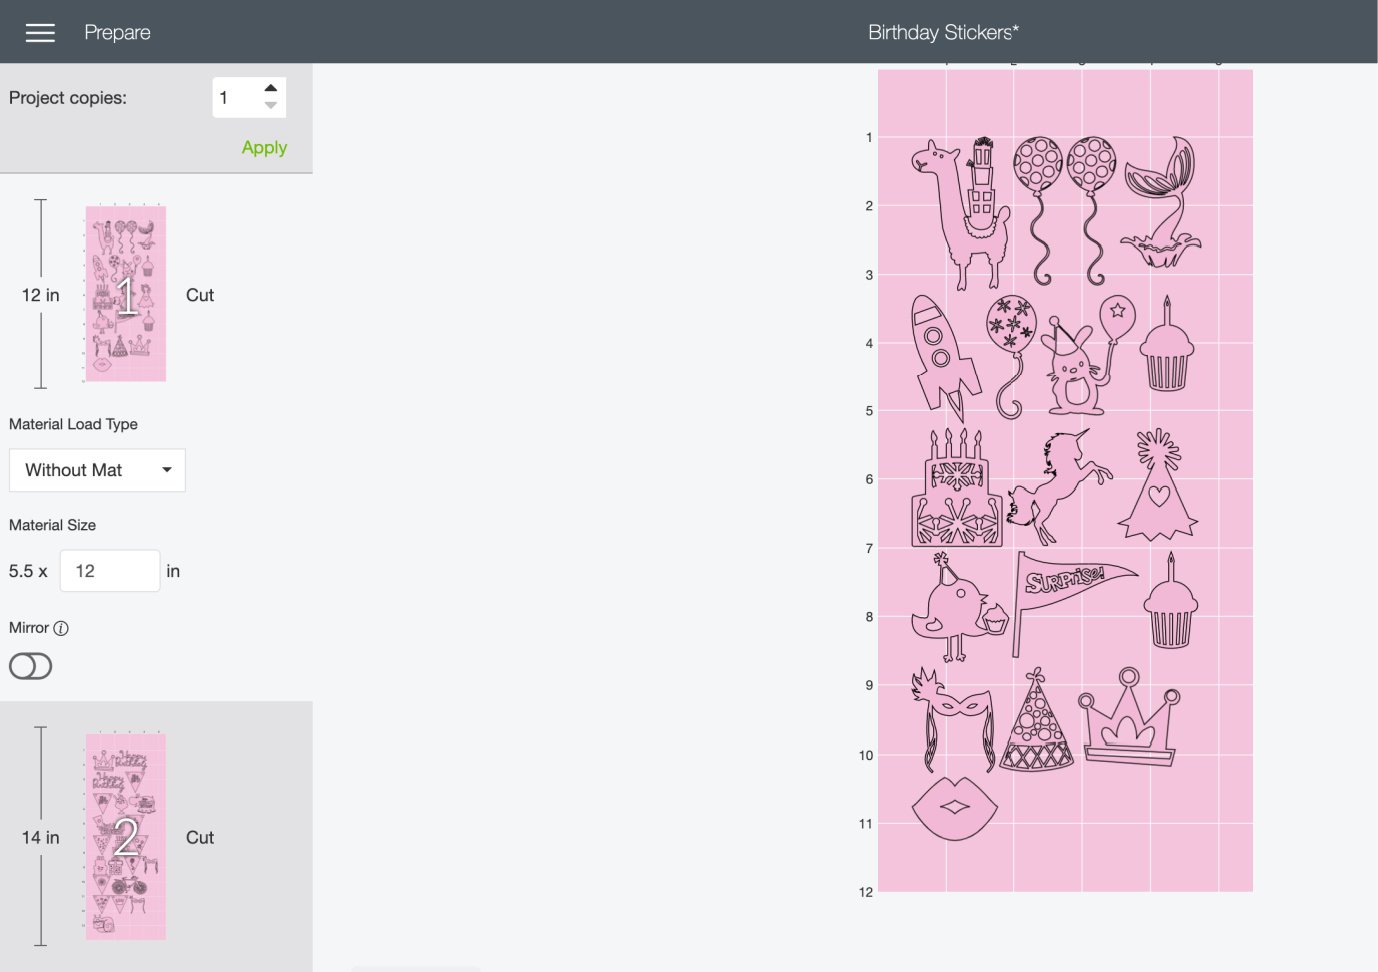
Now you are able to click continue and send your project to cut.
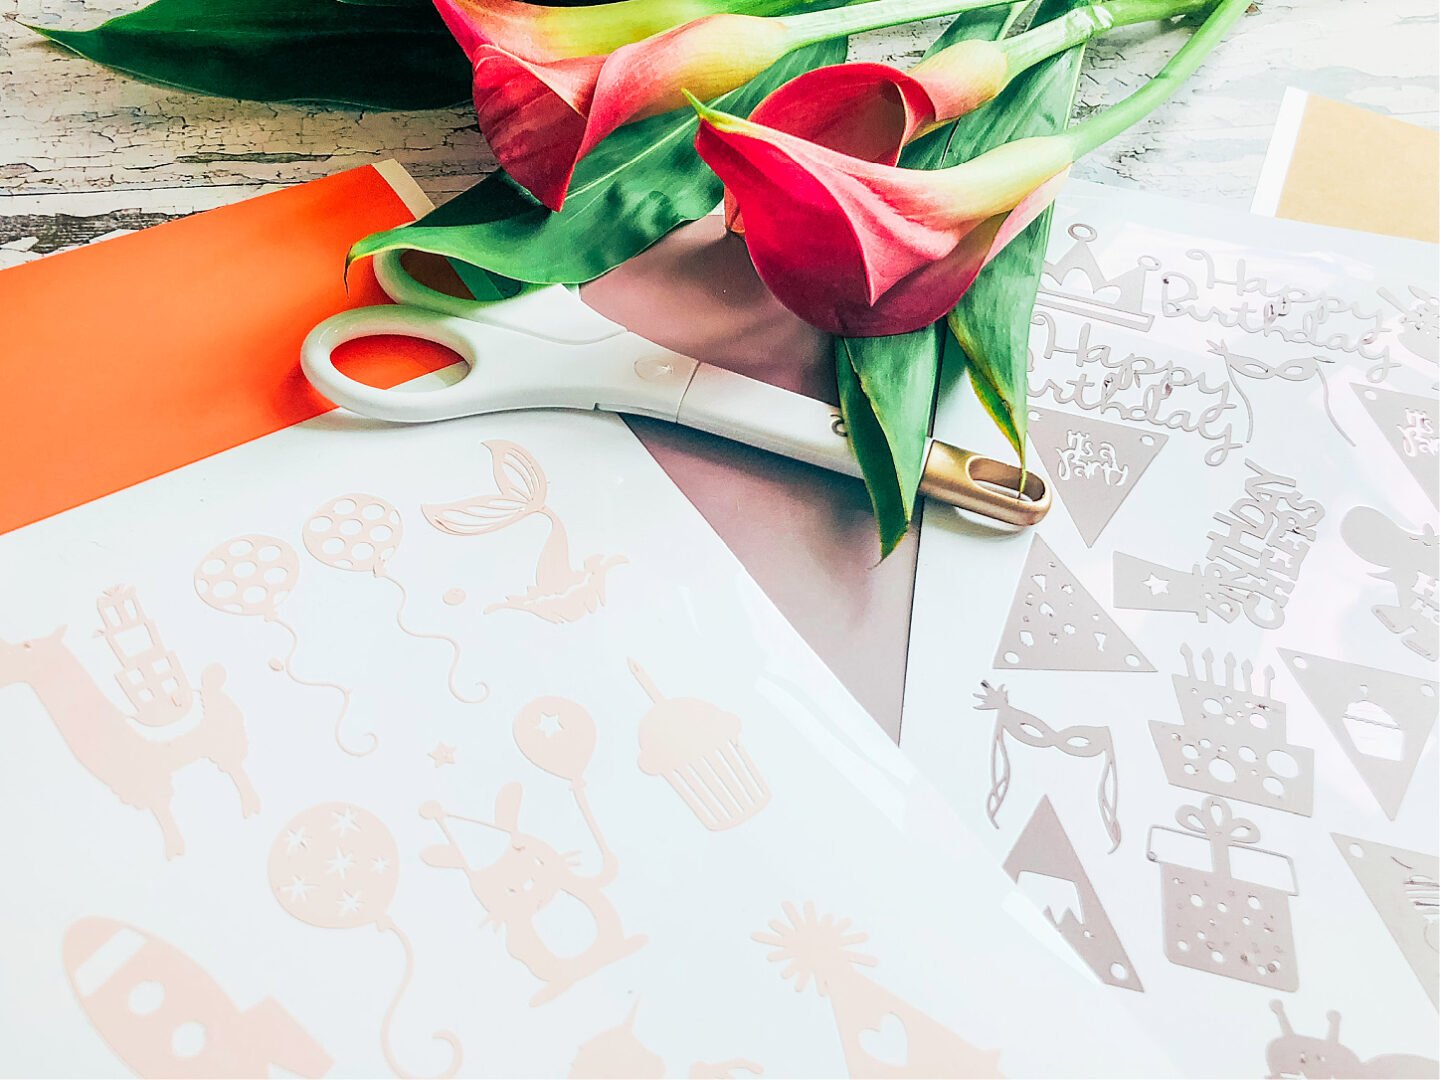
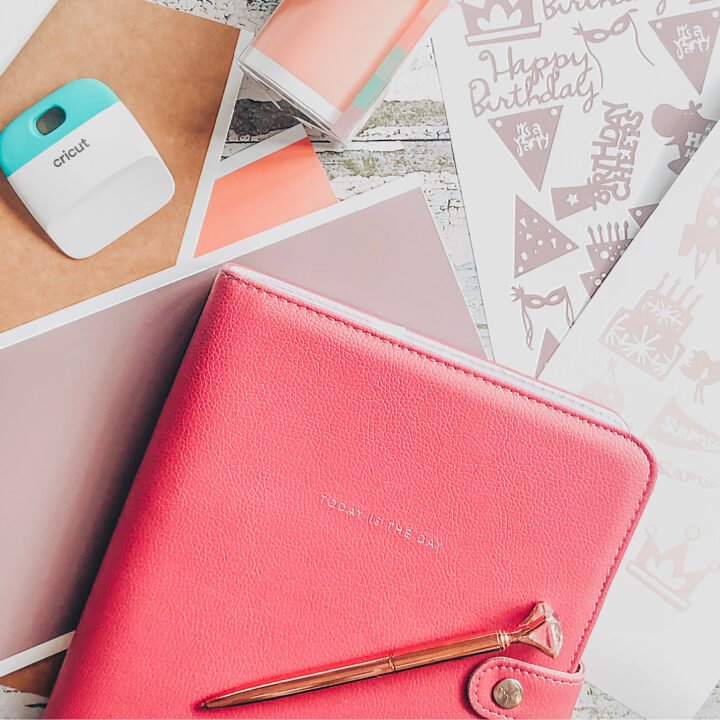
Once the project is cut, simply weed and you will be left with super cute Cricut Birthday sticker sheets which can be used for multiple projects.
Cricut Joy Birthday Stickers Or Templates
Make Cricut Joy Birthday stickers with smart vinyl, and free downloable template. This project can also be used with iron on, permanent vinyl and card.
Materials
- Cricut Removable Smart Vinyl ( Or permanent, iron on or card stock depending on your project.)
Tools
- Cricut Joy
- Cricut Design Space
- Or Cricut Regular Size Removable Vinyl With A Blue Cutting Matt
- Weeding Tool
Instructions
In Cricut Design Space click on images, type birthday, party and cake into the search bar and scroll through choosing any images you feel will fit your theme to make stickers. Don’t be put off by the layered images, these can be flattened or un grouped to make a flat sticker.
Collect all the images you like and then import to your mat.
Once on the mat start to arrange them in size and shape all ensuring all images are the same colour. (When you send them to cut they will then all be on the same matt.
Making Layered Images Into A Single Cut File
1. Select your image, ungroup the image discarding any parts you don’t need.
2. If any elements are connected use a square to slice and separate them.
4. Start welding the parts you want back together and then size your first overlay to fit just inside your cake image.
You can now slice images or patterns out of your cake one at a time.
5. Lastly, ensure the cuts have spaces so when you cut you loose a big chunk of pattern. This image did so I welded some dots to break up the design thus I didn’t lose a chunk of pattern.
Points To Remember
Make sure your image is not too detailed if you plan to cut it as a small sticker.
Also ensure any images are one solid image and will lift off your sticker sheet as one sticker.
Arranging Your Cricut Joy Birthday Stickers Template
If you are using multi pack smart vinyl the sheets are 5.5? x 12? or a standard roll of smart vinyl is 5.5? x 48?
I arrange my stickers within these perimeters on my design space mat. This way I know how many stickers I need to create to fill my sticker sheet, however they will arrange to mat form when you send to cut.
If you are unsure, press send to cut you will get a mat view to give you an idea.
If You Have Saved My Birthday Stickers Template To Upload To Design Space?
This will upload as a connected image to separate any images off to use simply slice them out using a shape. This will allow you to use separate images. To use them all together.
Sending You Cricut Birthday Stickers To Cut.
When you send your stickers to cut check you choose the correct type of vinyl and whether you are cutting on a mat or smart vinyl and also the vinyl type, iron on, permanent and removable.
If you are using smart vinyl check the no mat box, design space automatically sorts into the length of vinyl the project will use, if you are using shorter vinyl you will need to change this so the project cuts over 2 cuts or more.
Now you are able to click continue and send your project to cut.
Once the project is cut, simply weed and you will be left with super cute Cricut Birthday sticker sheets which can be used for multiple projects
Notes
Uses For Cricut Joy Birthday Stickers
- Mugs
- Wall decals or window decorations with window cling
- Birthday countdown chart
- Craft projects
- Birthday cards
- Planner stickers
- Use with Iron on vinyl to make birthday t shirts or party favour bags
- Or permanent vinyl to decorate plates, cups and glasses
- Party invites
- Envelope seals.
Recommended Products
As an Amazon Associate and member of other affiliate programs, I earn from qualifying purchases.

