Theres nothing better than a seasonal mug, and one that reflects your current mood is a real winner. Thus this Halloween Witch Vibes Mug With Free Withc SVG, PNG File is a great mug for the Halloween season.
I do love a slogan mug, and this Halloween Witch Mug really brings a smile to my face. What better on these dull autumn mornings when your life is chaos, getting the kids, lunches and work organised. (Or is that just in our house.)
If you want to see me create my projects, follow me on Tik Tok and Instagram.
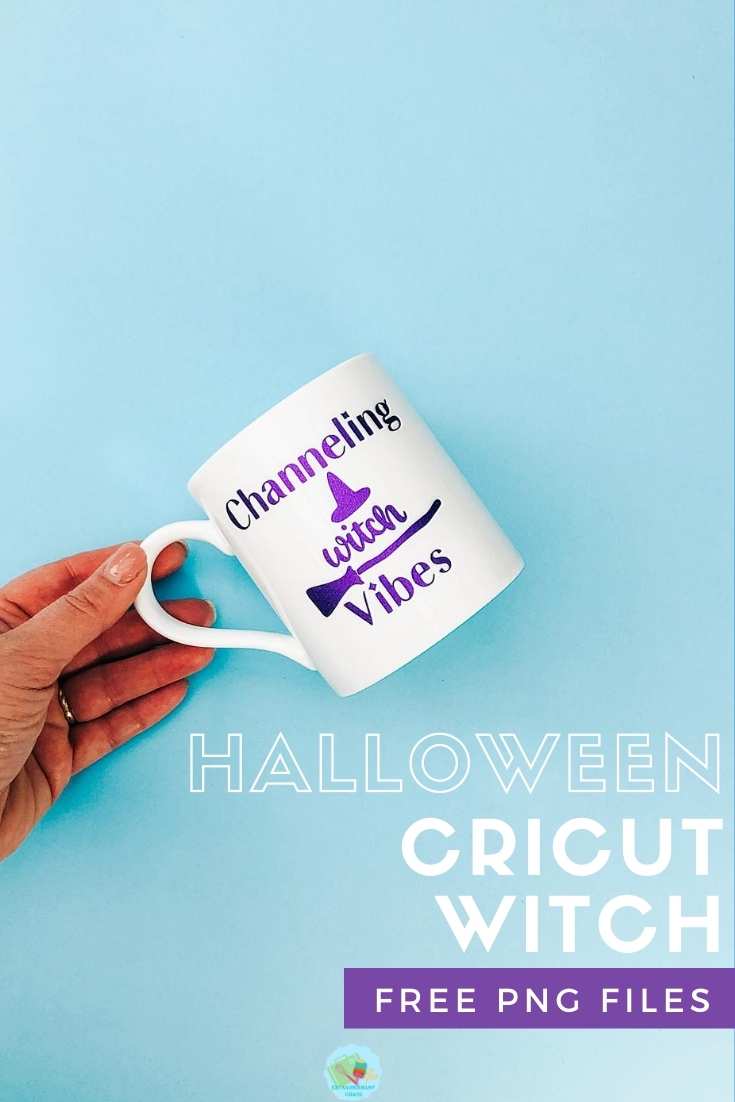
How To Make This Halloween Witch Vibes Mug With Your Cricut And My Witch SVG File
How To Get The Free Witch SVG PNG File
Just download your free Witch Vibes PNG file by clicking here or on the image below. Make sure your pop up blocker is switched off.
You Will Need
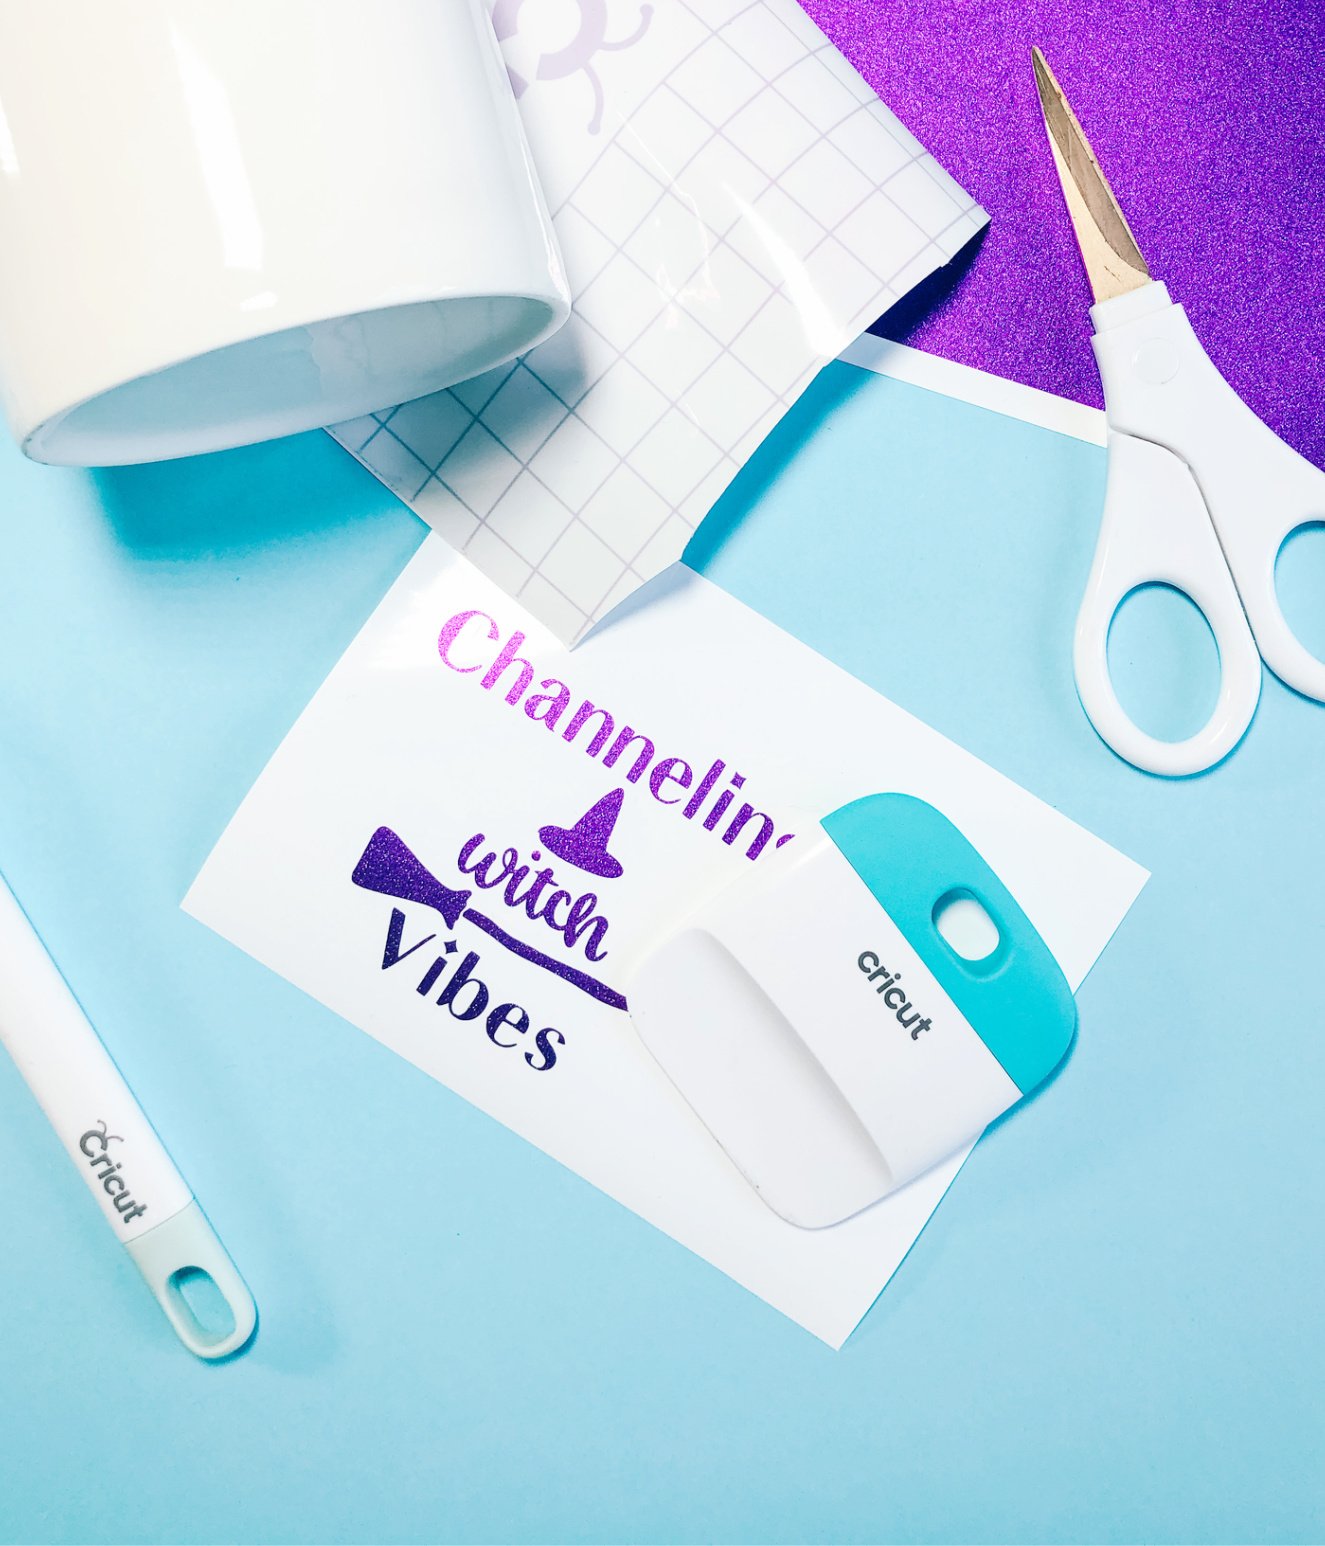
- Cricut Joy
- Design Space
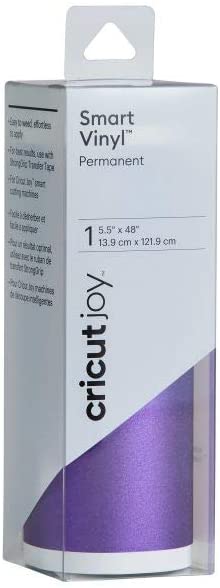
- Cricut Permanent Smart Vinyl ( I Used Purple Shimmer)
- Or Cricut Regular Size Permanent Vinyl With A Blue Cutting Matt
- Transfer Tape
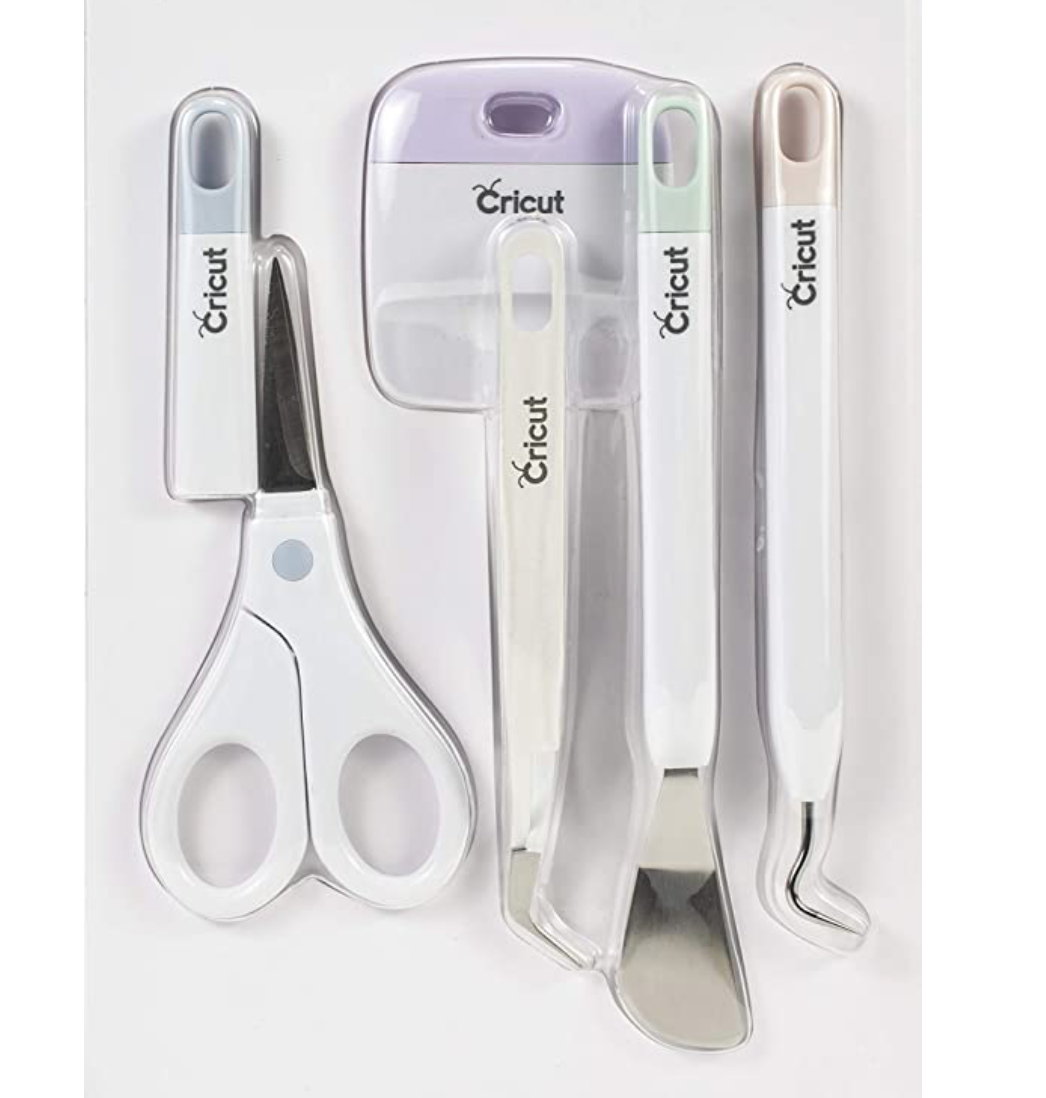
- Weeding Tool
- Mug
Alternative Uses For This Witch SVG, PNG
- Use with Iron on Vinyl For T Shirts
- Or Cushions
- Wall Decals
- Window Cling
- Halloween Signs On Wood
- Planners and stationary
- Cricut Mug Press Mugs With Infusible Ink
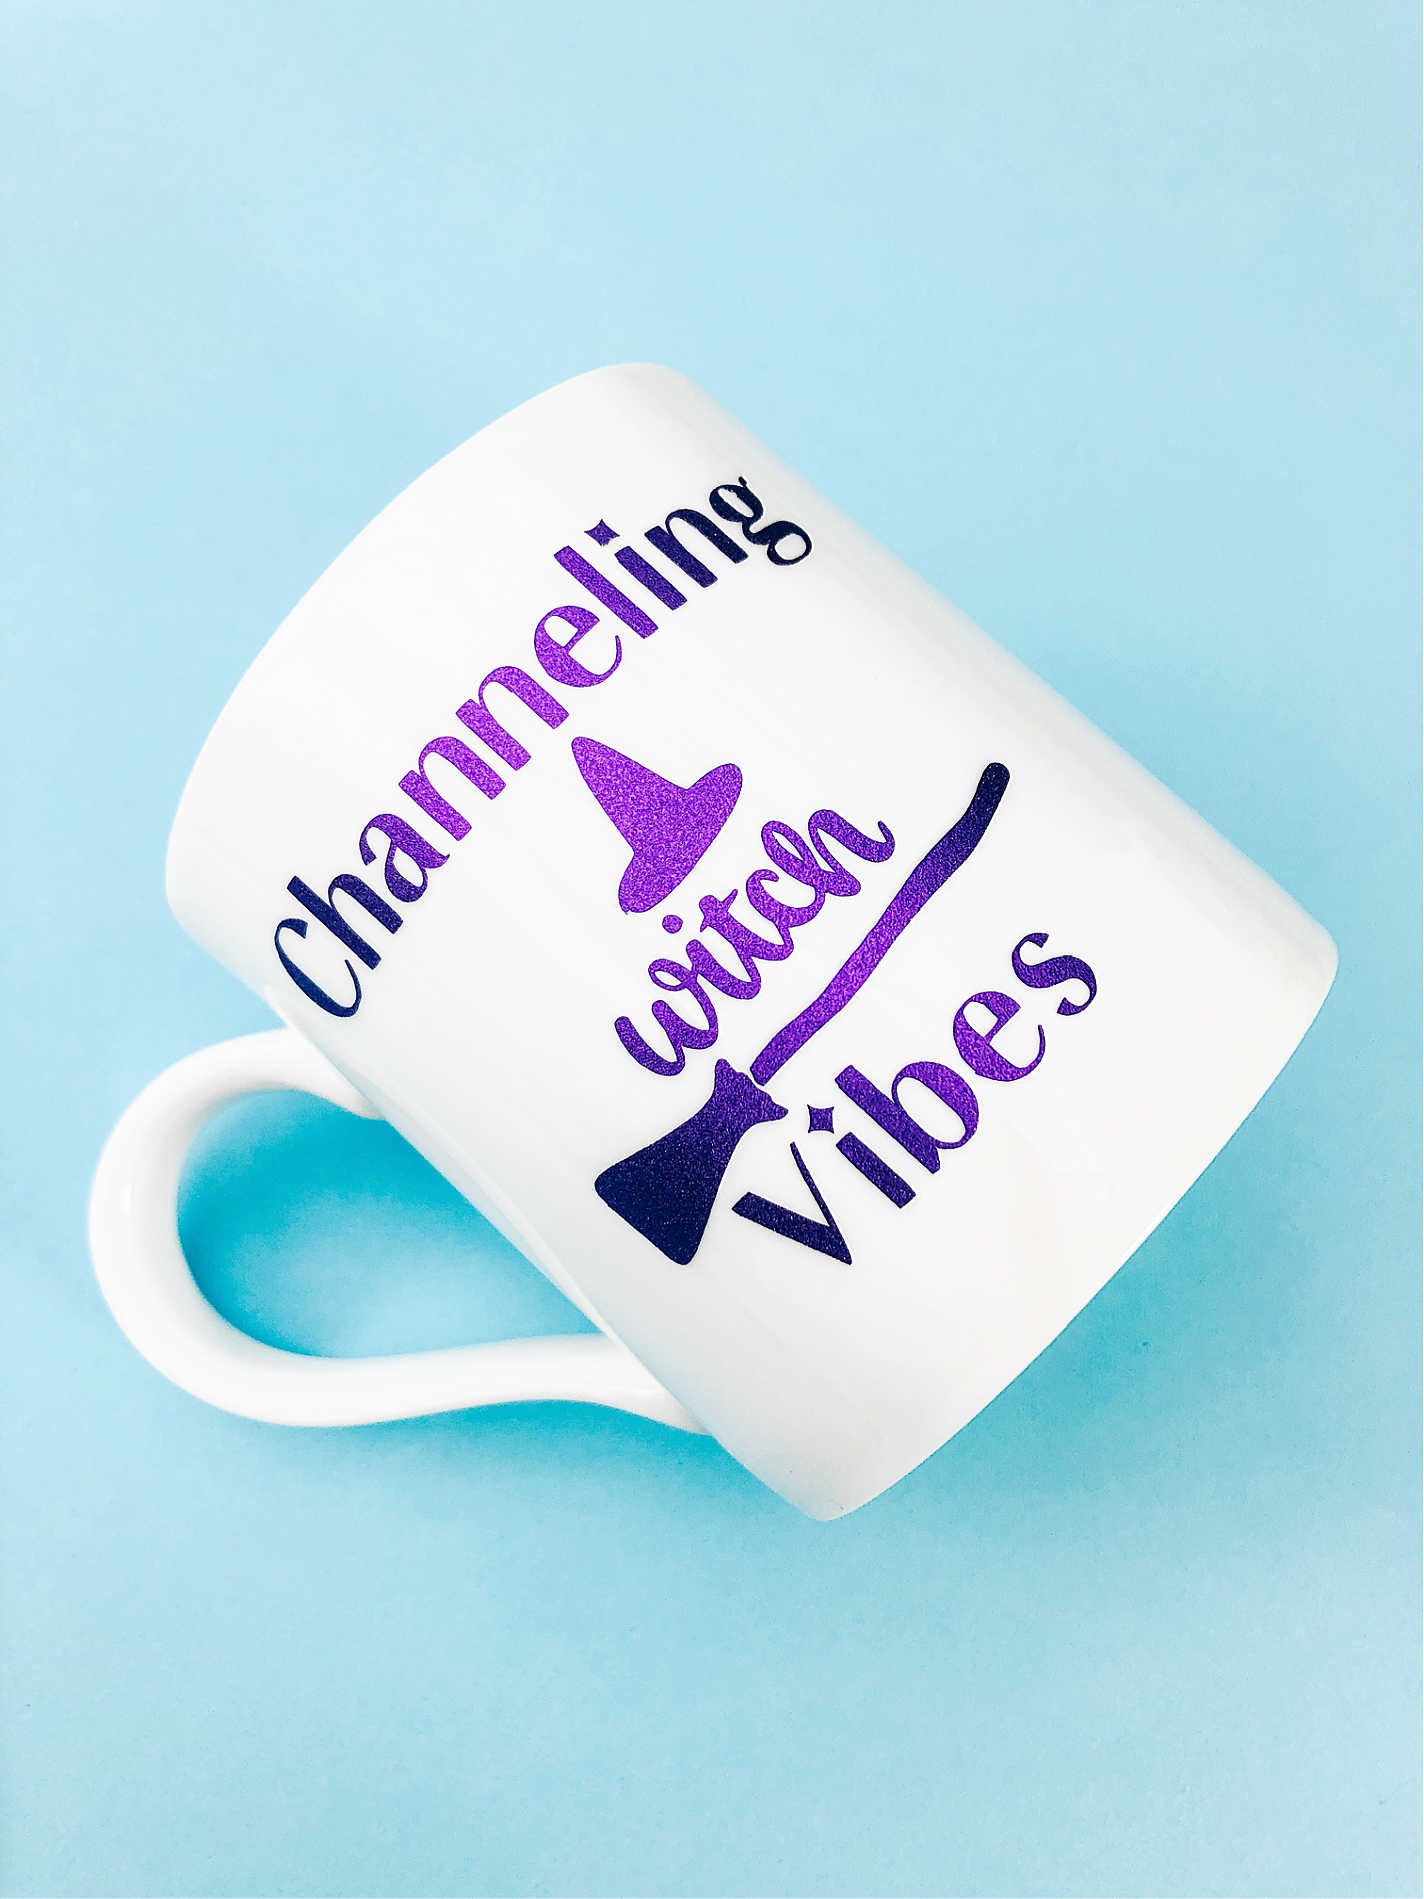
How To Make A Halloween Mug With Cricut Permanent Vinyl
Preparing Your Image And Cup
Start by adding your halloween png into Cricut design space, read here how to upload files to design space.
Once your image is uploaded, size it to fit correctly onto the mug you are using.
Now send to cut ensuring you are using permanent vinyl and have your Cricut set to the correct setting for the material you are using.
Making Your Halloween Witch Vibes Mug
Once your image is cut weed it, starting by taking the outer vinyl off. Then move into the centre of the letters using a weeding tool. When you’re happy the decal is fully weeded prepare your cup.
Before adding your vinyl ensure the cup is clean and dry. I use an alcohol wipe to ensure there is no greasy finger prints or oil. Then dry with a clean dry cloth.
Use transfer tape to lift the image from its backing. However I find transfer tape can be a bit too sticky, so I stick it to my jeans once or twice before adding to my image.
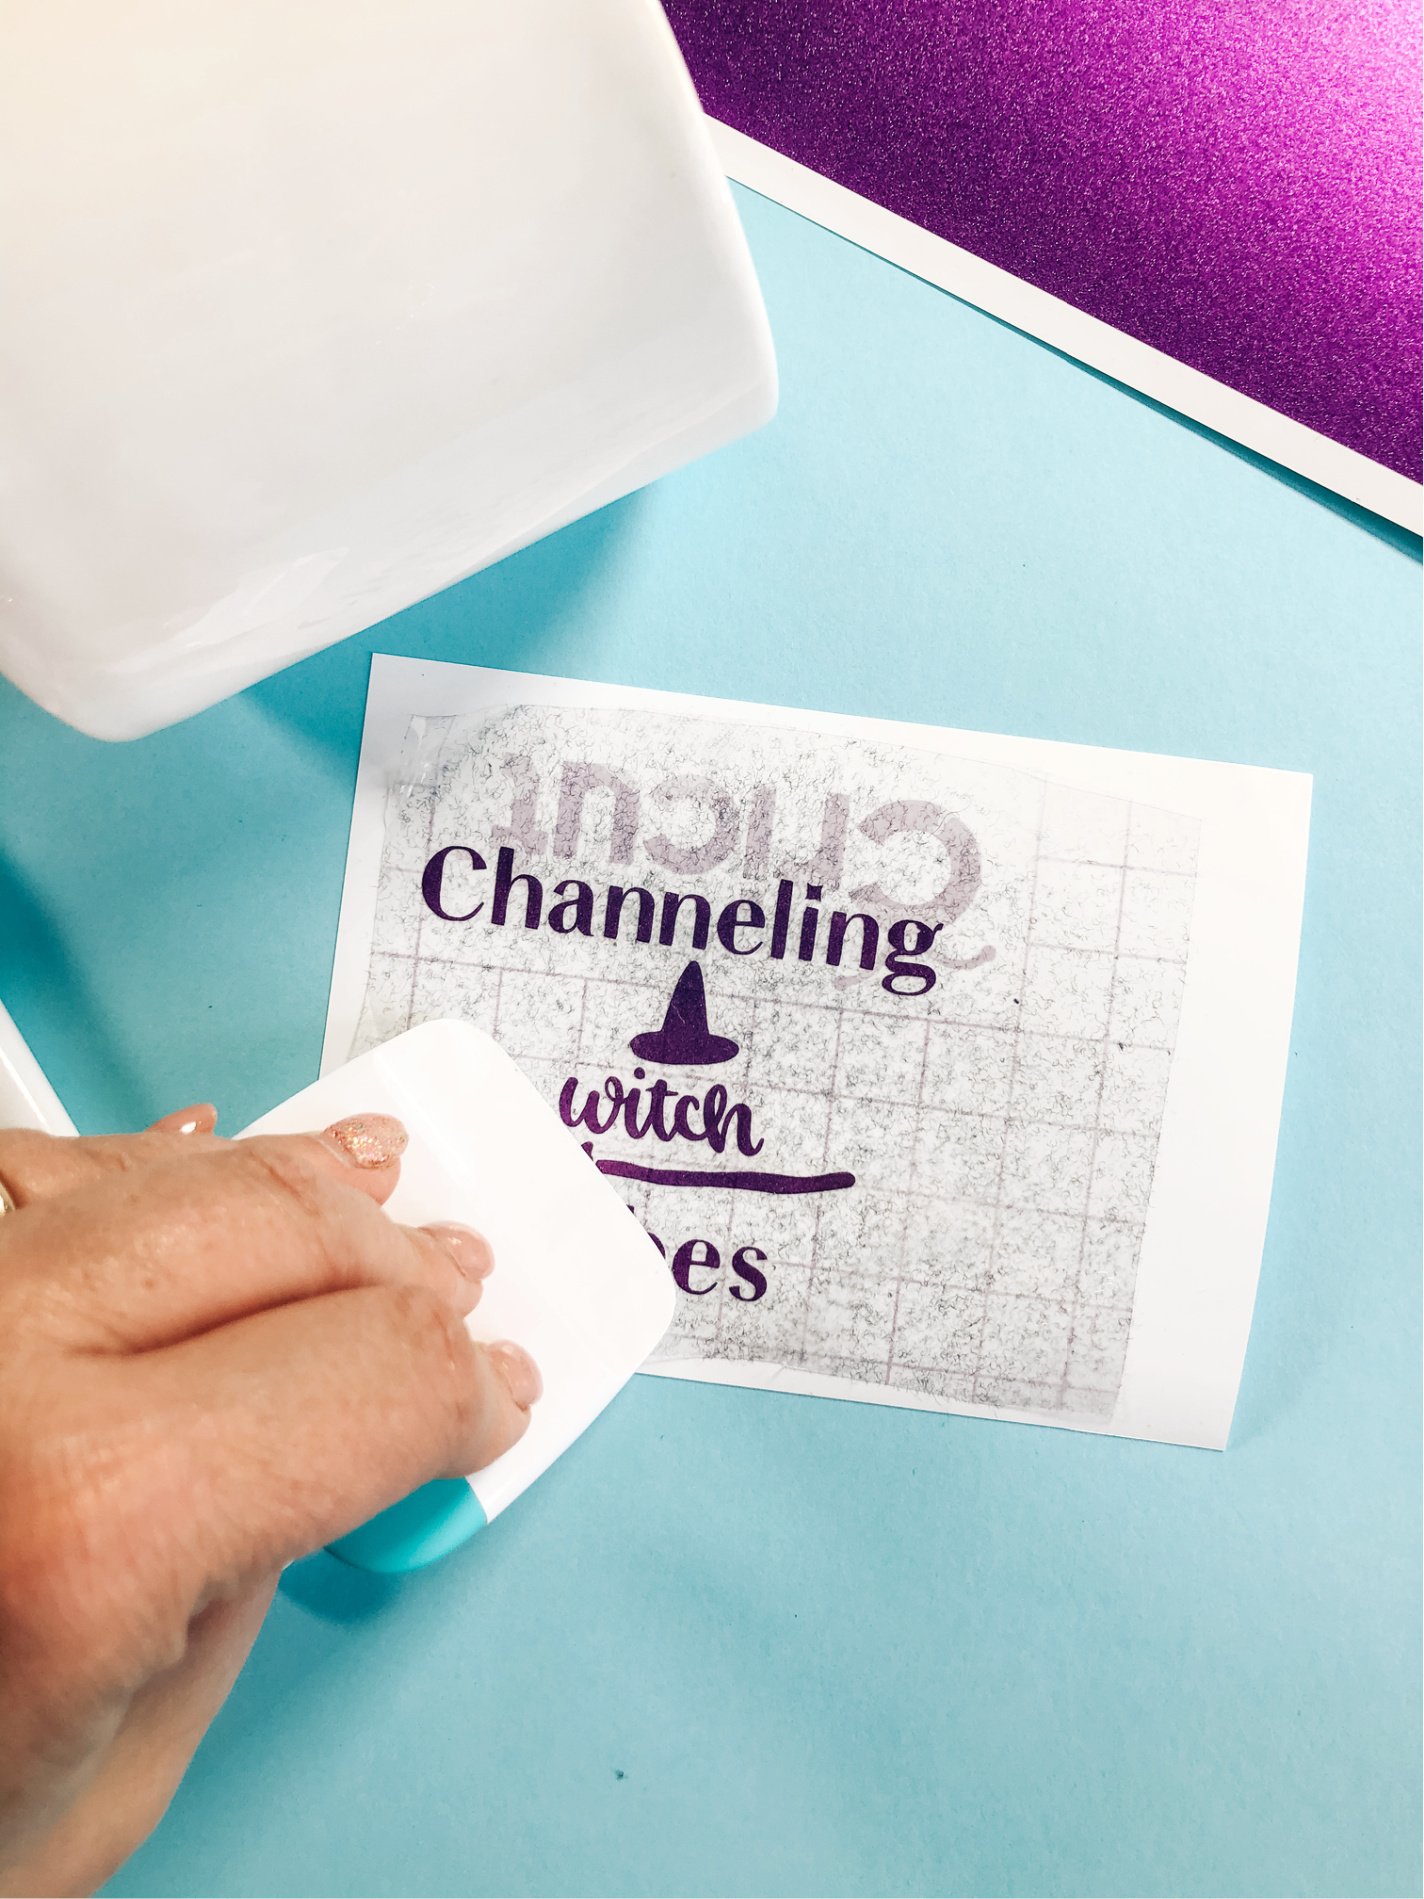
To lift the decal use a scraper to rub until it adheres to the transfer tape and lift it away, ready to transfer onto the cup.
Now position the image gently onto the cup, do not press down until you are happy the position is correct. When you are happy use the scraper the rub over decal to ensure your Halloween Witch Vibes decal is adhered to the mug. Taking care to remove any air bubbles.
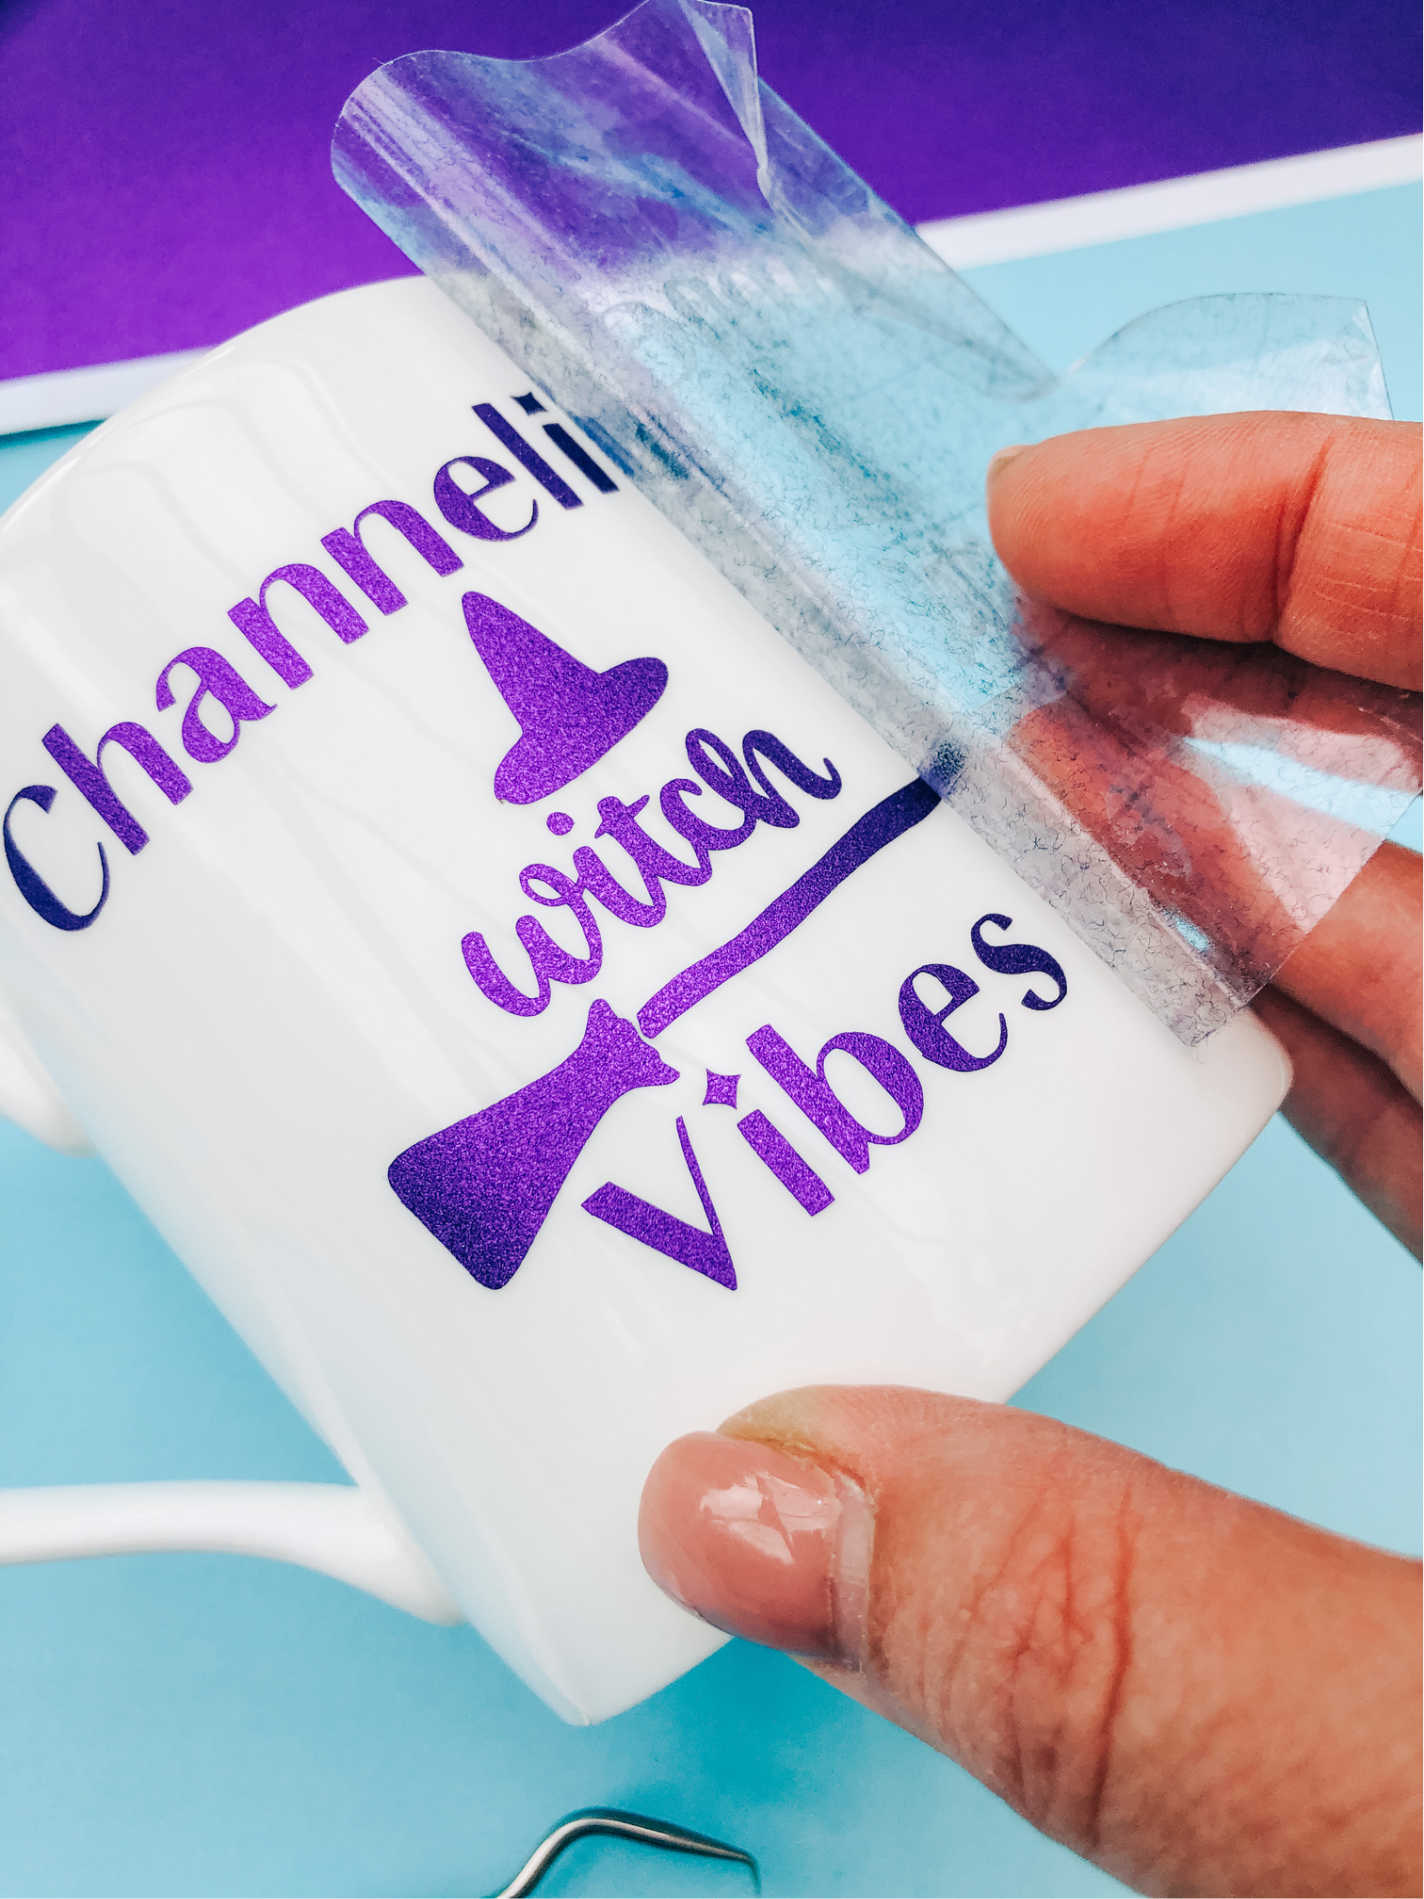
Now gently peel away the transfer tape, giving the vinyl a last rub to ensure it is thoroughly adhered to the mug.
Leave for 24 hours to allow the glue to settle before using.
How To Care For Your Mug
Cricut recommends hand washing only, I have washed mugs with permanent vinyl in the dishwasher and have not had a problem. However the only was to truly guarantee the vinyl lasting is to follow manufacturers instructions.
More Cricut Halloween Projects
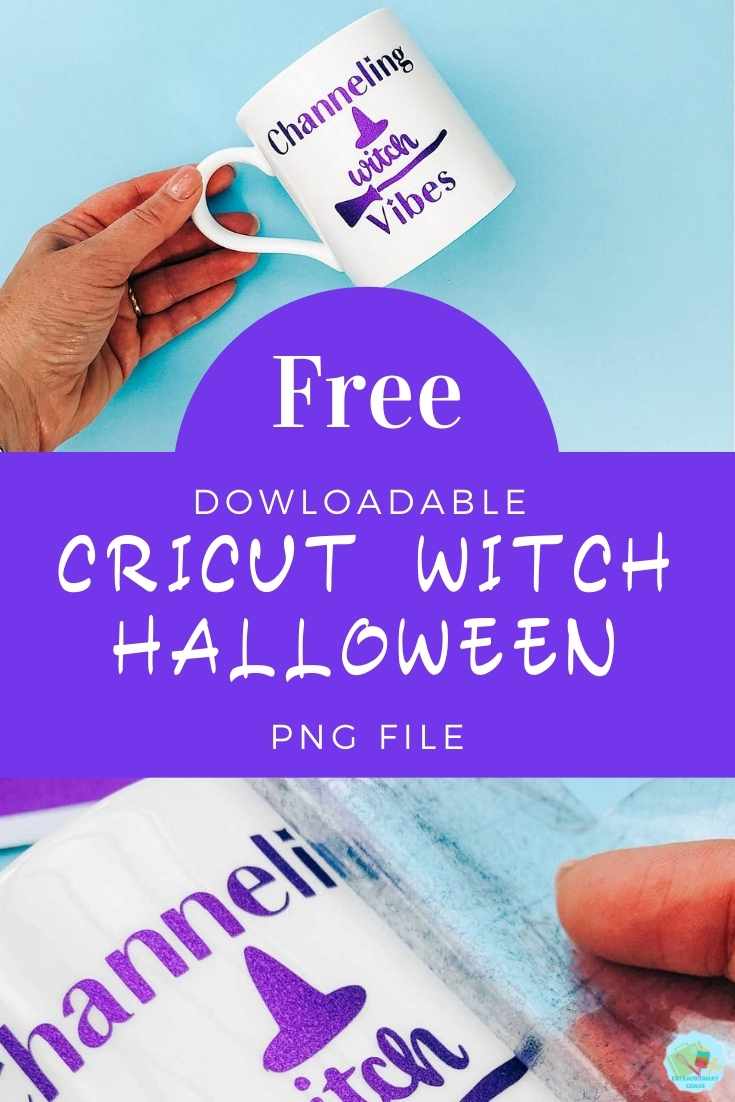

Halloween Witch Vibes Mug With Free PNG File.
Create a Halloween Witch Vibes Mug With Free PNG File using Cricut permanent vinyl, this Halloween PNG file can also be used on t shirts with iron on vinyl.
Materials
- Cricut Permanent Smart Vinyl ( I Used Purple Shimmer)
- Transfer Tape
- Mug
Tools
- Cricut Joy
- Design Space
- Or Cricut Regular Size Permanent Vinyl With A Blue Cutting Matt
- Weeding Tool
Instructions
Preparing Your Image And Cup
Start by adding your halloween png into Cricut design space, read here how to upload files to design space.
Once your image is uploaded, size it to fit correctly onto the mug you are using.
Now send to cut ensuring you are using permanent vinyl and have your Cricut set to the correct setting for the material you are using.
Making Your Halloween Witch Vibes Mug
Once your image is cut weed it, starting by taking the outer vinyl off. Then move into the centre of the letters using a weeding tool. When you’re happy the decal is fully weeded prepare your cup.
Before adding your vinyl ensure the cup is clean and dry. I use an alcohol wipe to ensure there is no greasy finger prints or oil. Then dry with a clean dry cloth.
Use transfer tape to lift the image from its backing. However I find transfer tape can be a bit too sticky, so I stick it to my jeans once or twice before adding to my image.
To lift the decal use a scraper to rub until it adheres to the transfer tape and lift it away, ready to transfer onto the cup.
Now position the image gently onto the cup, do not press down until you are happy the position is correct. When you are happy use the scraper the rub over decal to ensure your Halloween Witch Vibes decal is adhered to the mug. Taking care to remove any air bubbles.
Now gently peel away the transfer tape, giving the vinyl a last rub to ensure it is thoroughly adhered to the mug.
Leave for 24 hours to allow the glue to settle before using.
Notes
Alternative Uses For This Witch PNG
Use with Iron on Vinyl For T Shirts
Or Cushions
Wall Decals
Window Cling
Halloween Signs On Wood
Planners and stationary
How To Care For Your Mug
Cricut recommends hand washing only, I have washed mugs with permanent vinyl in the dishwasher and have not had a problem. However the only was to truly guarantee the vinyl lasting is to follow manufacturers instructions.
Recommended Products
As an Amazon Associate and member of other affiliate programs, I earn from qualifying purchases.

