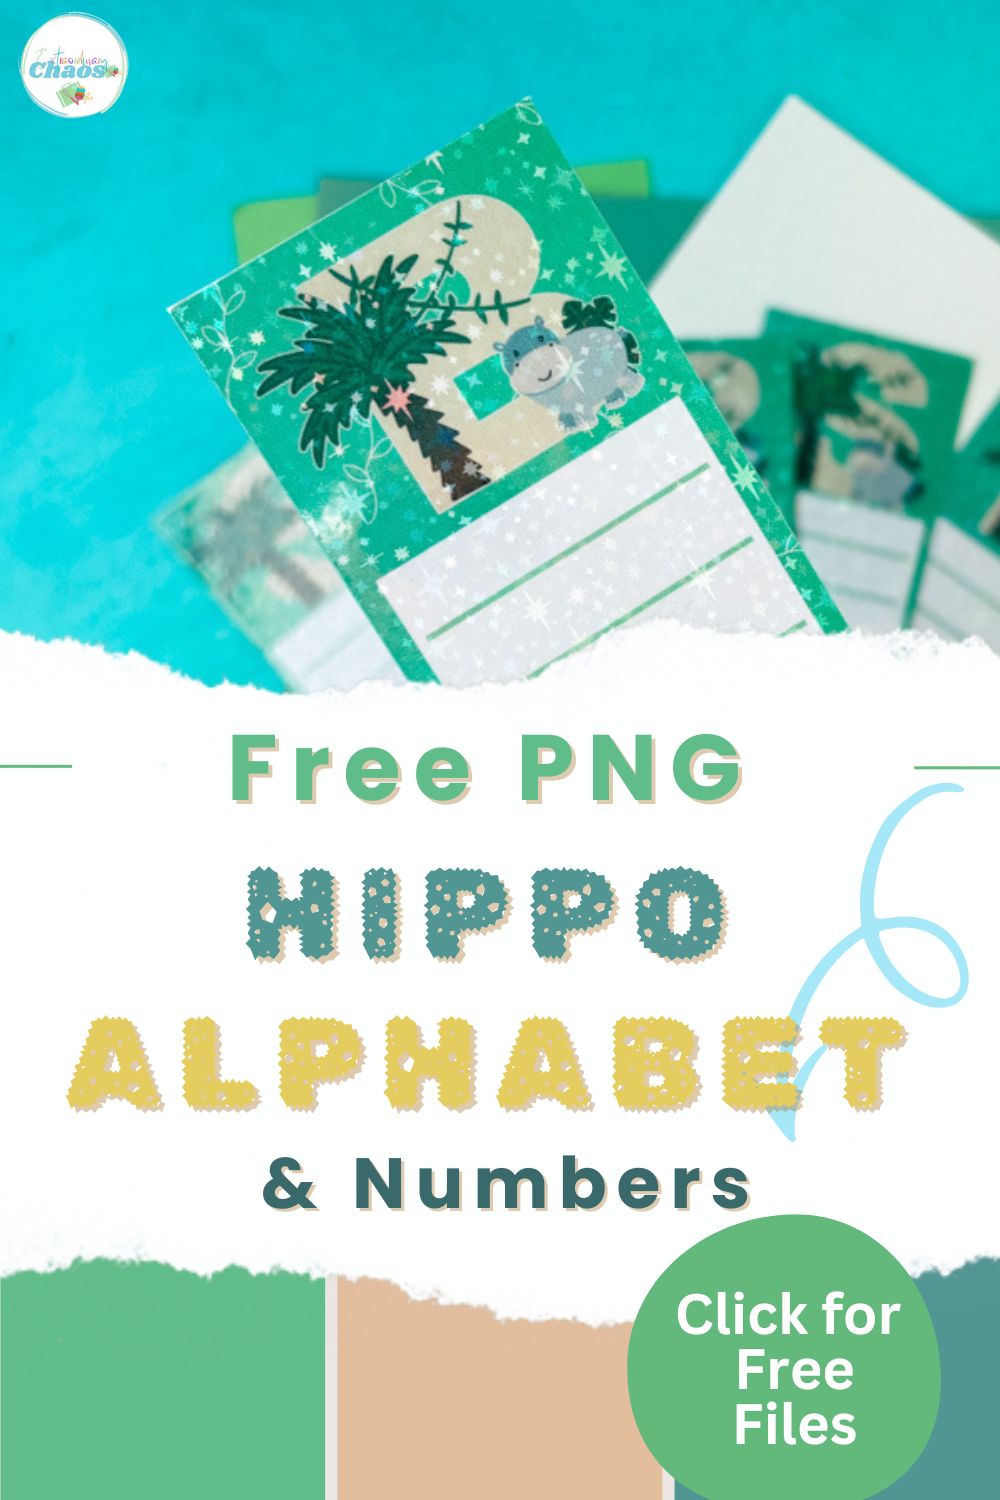
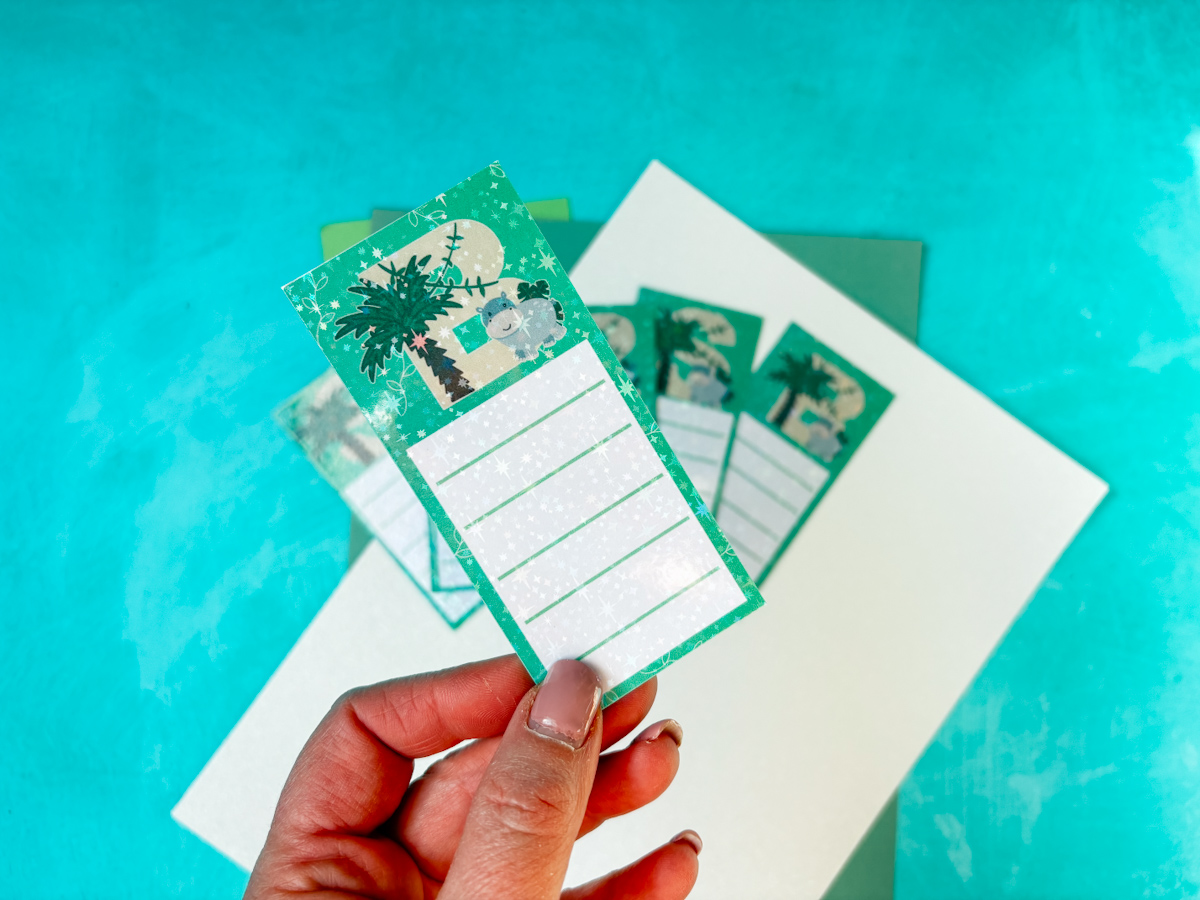
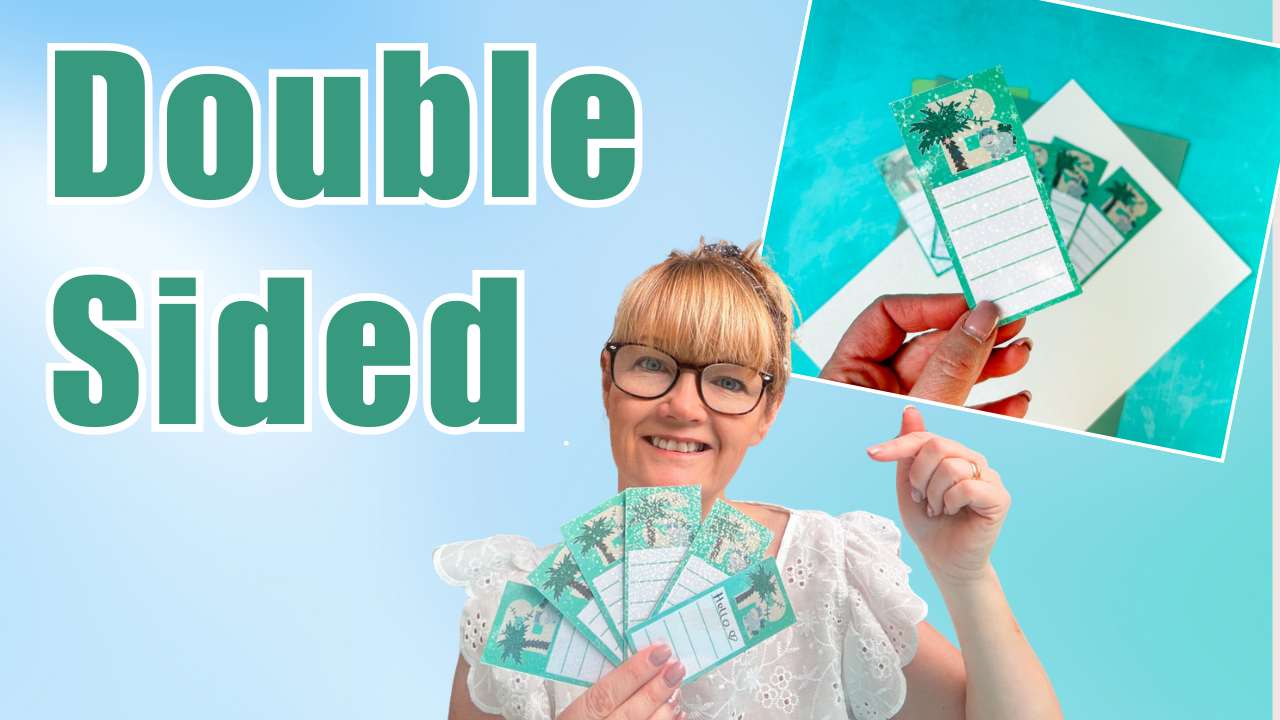
Today, we are sharing a step-by-step tutorial showing you how to create double-sided Print Then Cut bookmarks using your Cricut, along with a free Printable PNG Hippo Alphabet and Number Set. This method is perfect for making professional-looking bookmarks that are printed on both sides and perfectly aligned.
You can customise them with names, initials or themed designs using the hippo alphabet, making them ideal for kids, classrooms or personalised gifts. Whether you are using Cricut Design Space or another cutting machine, this tutorial will help you master double-sided printing and cutting with ease.
This post may contain affiliate links. Which means I may receive a small commission if you click a link and purchase something that I have recommended at no extra cost to yourself. As an amazon, Cricut and Glowforge associate, I earn from qualifying purchases.
What You Will Find Here
Project Ideas For Our Free Printable Hippo Clip Art PNG Alphabet
- Personalised Nursery Decor
- Cake Toppers
- Hippo Themed Birthday Banners
- Planner Stickers
- Sublimation Mugs
- Nursery Decor
- New Baby Cards
- Hippo Scrapbooking Page Layouts
How To Upload and Print Your Printable Hippo Clip Art Alphabet Letters And Numbers To Cricut Design Space.
Follow this step-by-step guide to upload images and SVG and PNG files to Cricut Design Space. Once uploaded, click Make it; if you need help with this, follow our step-by-step print and cut guide.
If You Don’t Have Cricut ?
You can upload our Hippo Alphabet to Canva, a great program for making posters and cards, or to Word or Pages. Just arrange your letters or numbers with spaces between them and cut them with a guillotine.
Also Get Our Other Jungle Alphabets
Click on the images to get more of our cute jungle alphabets.


Get The Full Double-Sided Print and Cut Tutorial Here
How to Do Double-Sided Print Then Cut with Cricut (Step-by-Step Guide)
Want to create double-sided Print Then Cut projects with your Cricut? This method lets you print on both sides of your paper and cut perfectly aligned designs. It is ideal for bookmarks, flashcards, cards and more.
It might feel a bit tricky at first, but once you understand the process, it is actually very simple.
What You’ll Need
- Cricut Joy Xtra or Maker
- Cricut Design Space (free software)
- Standard Gripmat or The Maker Mat
- Weeding tool
- Brayer, great to use on older mats that are less sticky
- White Printable Card Stock
- Laminating sheets or holographic overlay (optional)
- Hp Printer
- Scroll Down for the Alphabet and Number Set
- Ruler or scraper
1: Create Your Front Design in Cricut Design Space
Start by designing your front layer:
- Upload your images or letters
- Add a shape such as a rectangle for bookmarks
- Resize it to your desired size
- Change it to Print Then Cut
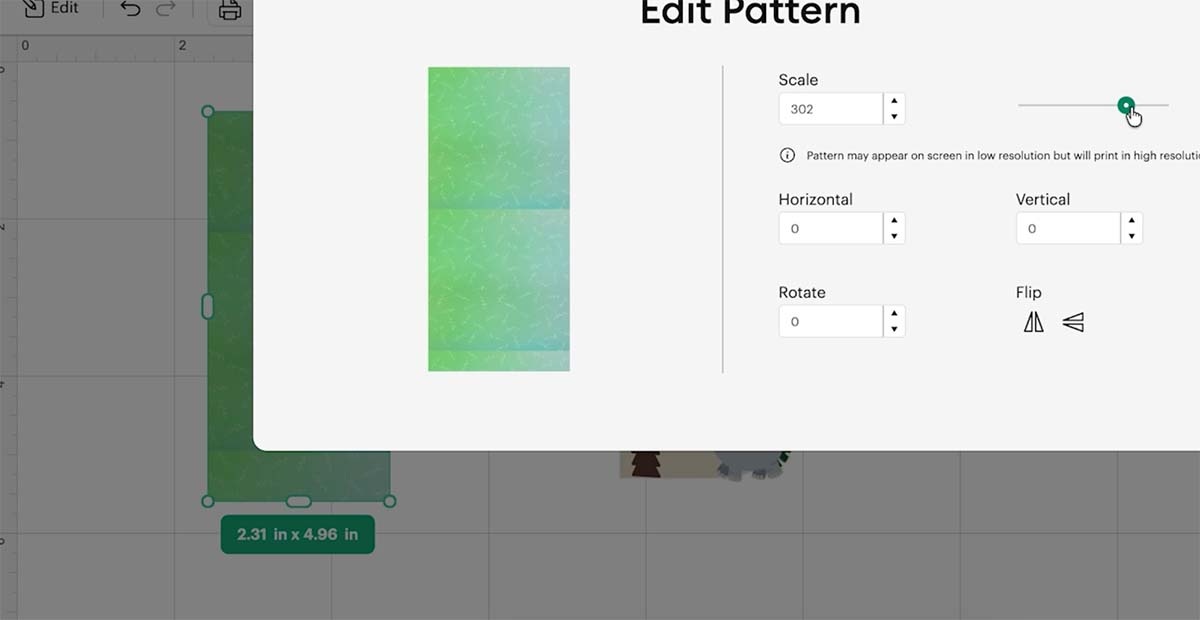
- Add a pattern or colour background
- Position your design on top
Tip: Keep everything neat and aligned as this is important later.
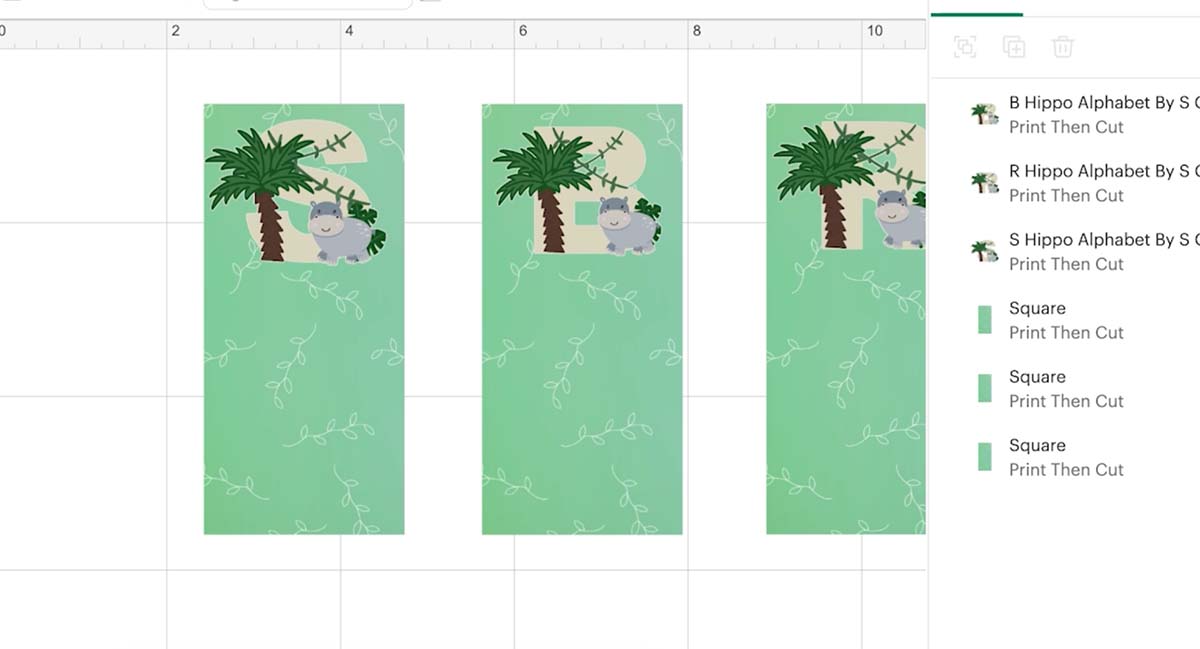
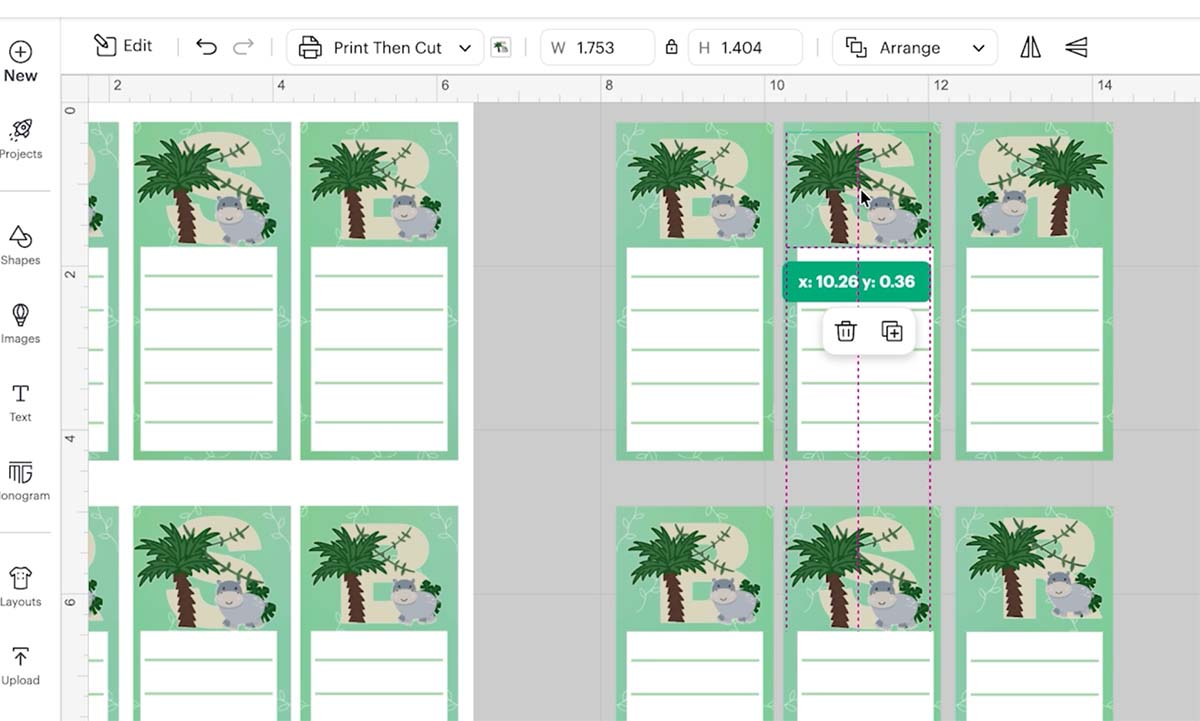
2: Duplicate Your Designs
- Duplicate your bookmark or design multiple times
- Arrange them to fit within the maximum Print Then Cut area
- Resize if needed so you can fit as many as possible on one sheet
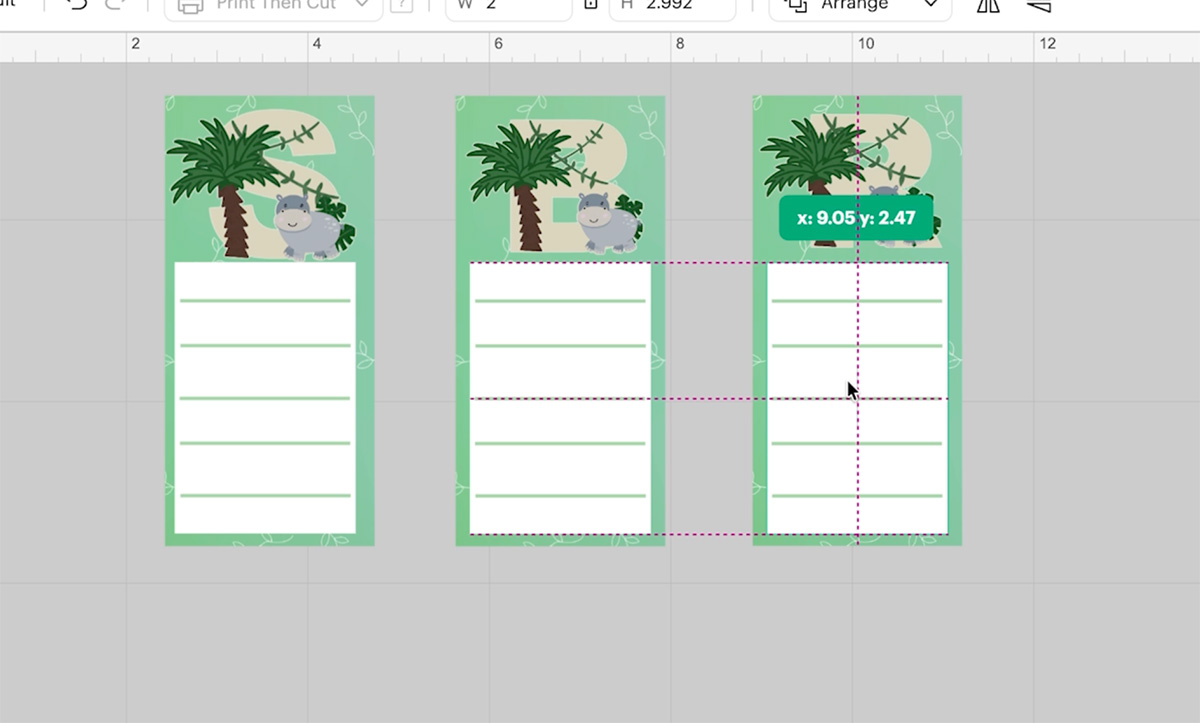
3: Add Extra Elements (Optional)
If you want to add features like a reading tracker:
- Insert shapes such as small rectangles or lines for reading record
- Duplicate to create rows
- Align evenly using guidelines
- Select and Flatten to turn into a single Print Then Cut image
4: Add a Full Background Layer
This step is crucial for keeping everything aligned:
- Add a large rectangle
- Resize it to the maximum Print Then Cut size
- Change it to Print Then Cut
- Send it to the back
This acts as a frame to hold everything in place.
5: Attach (Not Flatten)
- Select all your elements
- Click Attach, not Flatten
This ensures everything stays in the exact position when printed and cut.
6: Duplicate and Mirror for the Back
Now for the key step:
- Duplicate your entire design
- Flip or mirror it horizontally
- Keep everything in the exact same position
Do not move anything.
7: Fix Text Direction
- Select each design on the mirrored version
- Unflatten if needed
- Flip only the text or images back so they read correctly
The layout stays mirrored, but the text is readable. See the video for more help on back to back print and cutting.
8: Print the First Side of Your Double-Sided Print and Cut Bookmark
- Click Make It
- Send the first design to your printer
- Print on best quality settings
Important: Watch how your printer feeds the paper.
9: Reinsert the Paper Correctly
This is the key to success:
- Take your printed sheet
- Flip it based on how your printer feeds
- Reinsert it so the second design prints correctly on the back
This may take a test run to get right for your printer.
10: Print the Second Side
- Send the mirrored design to print
- Print onto the back of your original sheet
You can hold it up to the light to check alignment if needed.
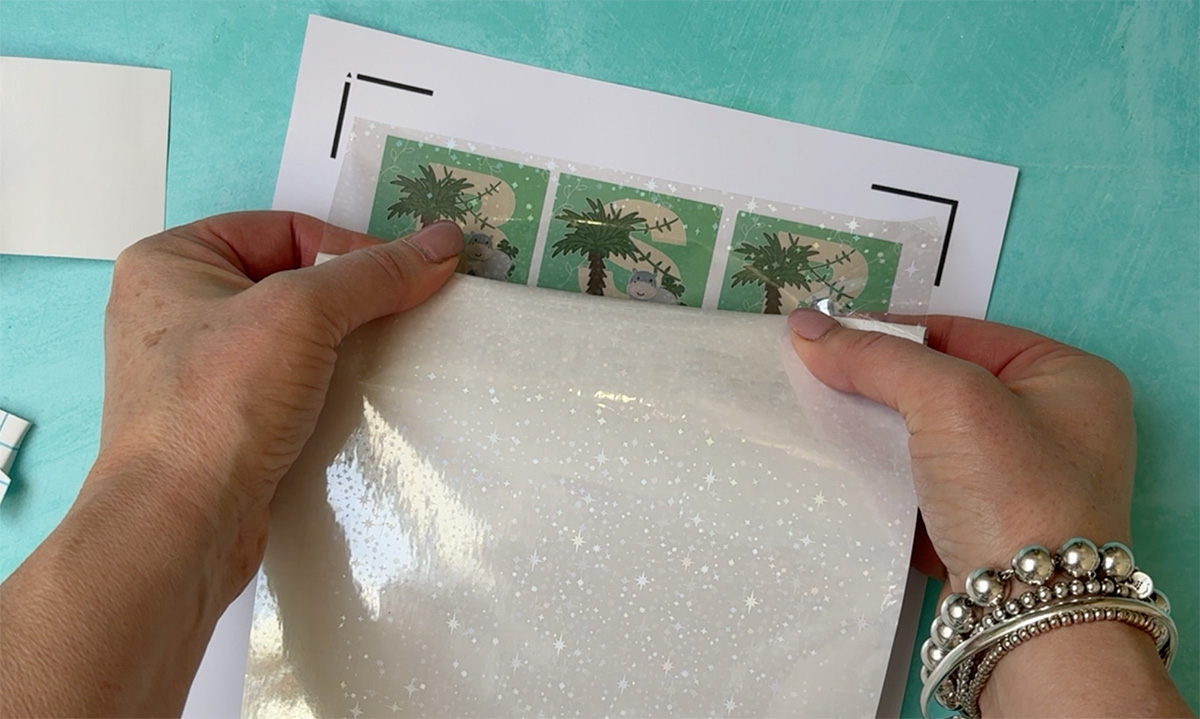
11: Laminate (Optional)
- Apply laminating or holographic sheets
- Use a ruler or scraper to avoid bubbles
- Use scraps to save materials where possible
12: Cut Your Designs
- Place your sheet onto the Cricut mat
- Use a brayer to secure it
- Select the correct material setting such as heavy cardstock
- Let Cricut scan and cut
Top Tips for Success
- Always Attach, not Flatten until the final step
- Never move your design after positioning
- Learn how your printer feeds paper
- Use a full background layer to keep alignment
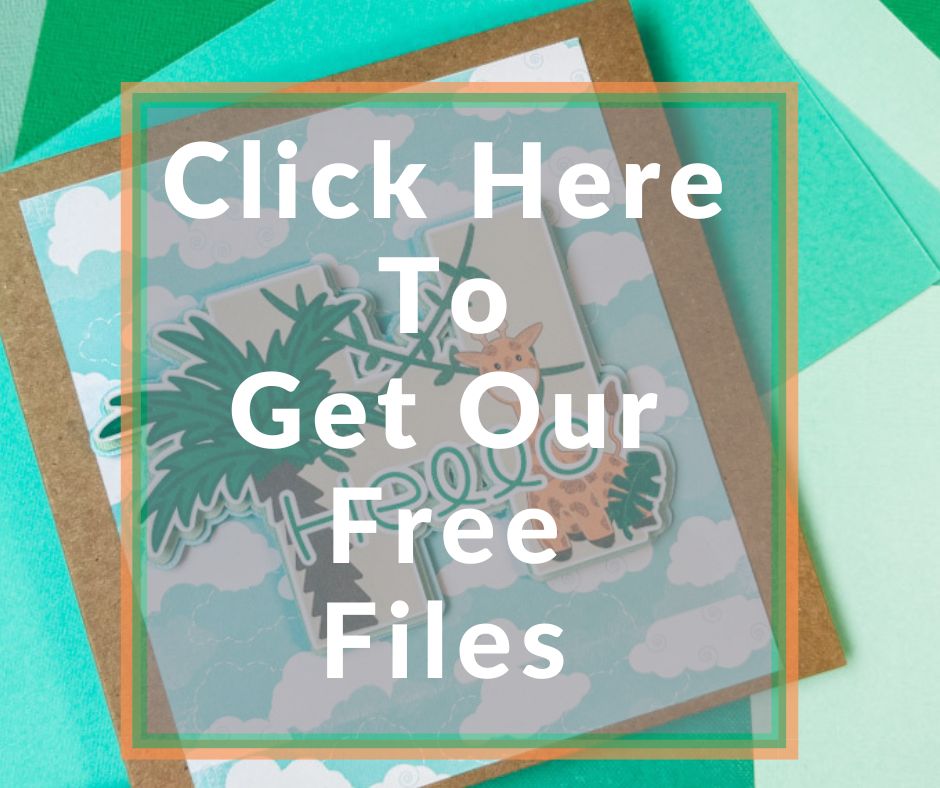
If You Want To Use These Free Printable Hippo PNG Alphabet Letters And Numbers Template?
Click here or on the image below to get your free download of our Printable Hippo PNG cut files. They are instant downloads from our shop. Grab the Jungle Elements,plus get our free Lion Alphabet and Number set.

If You’re Having Problems?
Check out my troubleshooting page, hopefully it will answer any questions you may have.
Tips And Advice For Using Cricut
- Cricut Design Space Guide
- How to upload to Cricut Design Space
- How To Make Print And Cut Stickers In Cricut Design Space
- Where Else To Get Free SVG Files
Also please do pop over to Instagram, or TikTok and give me a follow and if you make a project please do tag me! I love seeing everyone else’s makes and chatting crafting. I could do that all day! This is also where I share all my projects in progress.