My latest Cricut project found me creating this gorgeous reversible sequin cushion with Infusible Ink. I had reservations about how this would work out due to the cushion not being a Cricut approved blank. However I have decided I will try a few sublimation blanks to see how far I can push what Infusible Ink can do.

What You Will Find Here
How To Create A Reversible Sequin Cushion With Infusible Ink?
Did the Infusible Ink work on a sequin cushion?
Yes it did, although when purchasing my blank I did ensure it was a sublimation blank, also I chose white for a clearer brighter image. The result is beautiful, solid clear and took perfectly.
You Will Need
- Cricut Joy or Maker
- Sublimation Sequin Cushion
- Cricut Joy Blue Cutting Mat
- Infusible Ink
- Cricut Easy Press
- Cricut Easy Press Mat
- Brayer And Tweezers
- Piece of white card stock
- Butcher paper ( Supplied with the ink)

Choosing Your Image For Your Sequin Cushion.
If you are using Cricut Joy I have wrote about how to make large projects on the Cricut Joy. I chose an image in Cricut Design Space that was made to be cut 12×12. However by breaking it down I was able to break the project down. I have also shared how to add your own images such as logos, or your Childs drawings into Cricut Design Space.

How To Cut An Infusible Ink Image
Ensure when you send your image to cut your Infusible Ink transfer sheet is facing upwards. You must also mirror your cut.

Weeding Your Image
To weed your images, bend the transfer sheet to crack it, you will then be able to see the lines and cut. Now use tweezers to pull away excess. I find infusible ink the easiest Cricut product to weed as the excess comes away easily as you pull it.
Transferring Onto Your Sequin Cushion With Infusible Ink
Stack Your Project
- Cricut EasyPress 2
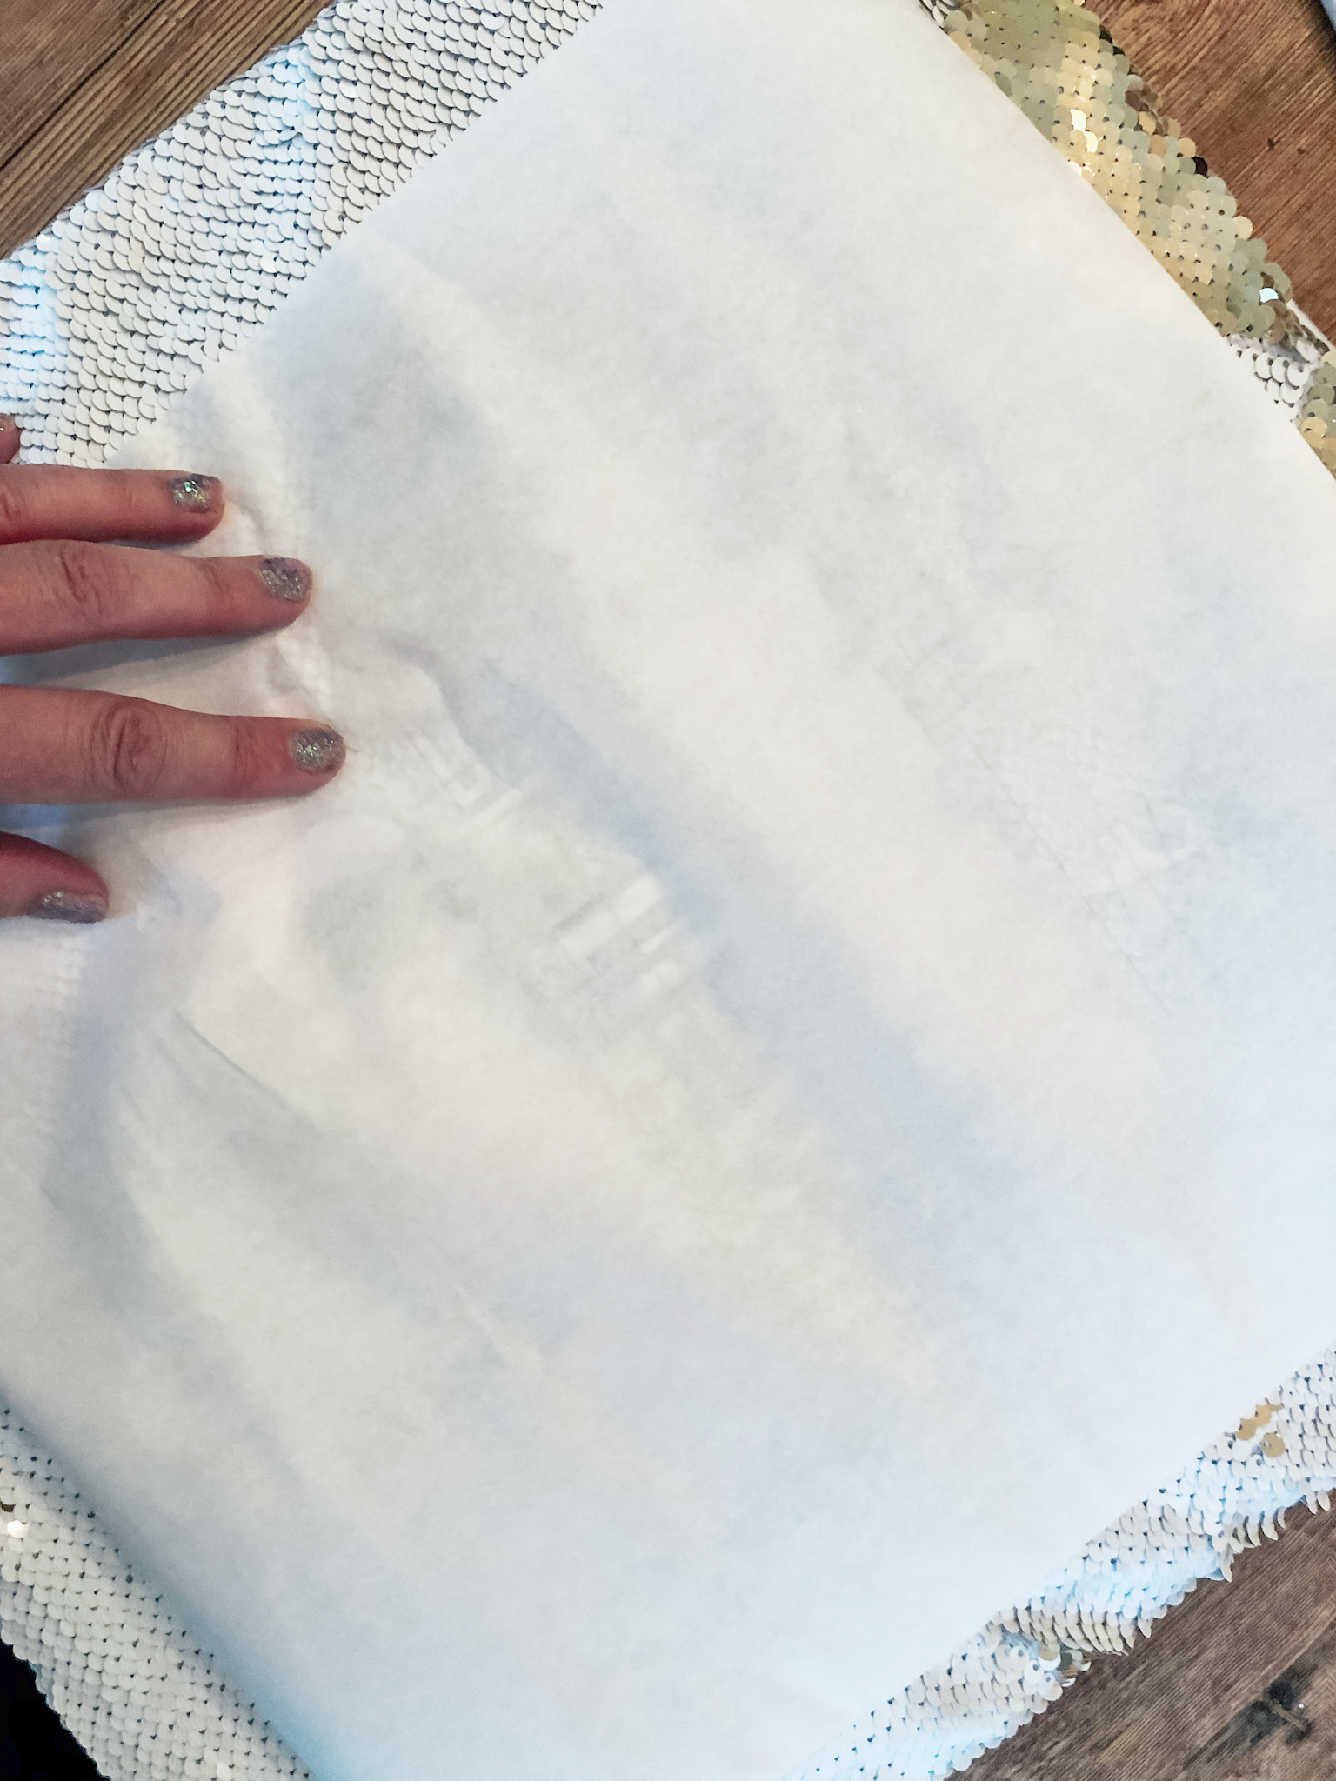
- Butcher paper
- Infusible Ink Transfer Sheet design, face up
- Cricut cushion face up
- White card stock inside the cushion
- Cricut EasyPress Mat under the card inside the cushion

Transfer Your Image
Press with the heat press on 360° with no pressure for 160 seconds.
When the timer has finished lift the heat press straight up to avoid smudging. Now allow it too cool before removing your butcher paper the sequins do get quite hot.
Infusible Ink Trouble Shooting
My image was blurry – to avoid a blurry result you must keep your heat press totally still, no moving about whilst pressing. Also ensure you pick it straight up when lifting of your project.
The ink didn’t transfer – did you check the heat instructions? If these are wrong the heat or timing may have been wrong for the blank.
The images is patchy – are you using a Cricut Heat Mat, I found this made all the difference. Also check you have stored you transfer sheets correctly, if they are damp the quality will decrease. Additionally avoid touching your transfer paper with greasy fingers, this can affect your result. Weed with tweezers where you can.
And there you have it an infusible ink sequin cushion, I loved the result it is something I would make again.


Please note this post contains affiliate links.

Create A Reversible Sequin Cushion With Infusible Ink
How to use infusible in on a sublimation sequin blank
Materials
- Sublimation Sequin Cushion
- Infusible Ink
- Piece of white card stock
- Butcher paper ( Supplied with the ink)
Tools
- Cricut Joy or Maker
- Cricut Joy Blue Cutting Mat
- Cricut Easy Press
- Cricut Easy Press Mat
- Brayer And Tweezers
Instructions
- Choose Your Image For Your Sequin Cushion.
- Cut Your Infusible Ink Image, Ensure when you send your image to cut your Infusible Ink transfer sheet is facing upwards. You must also mirror your cut.
- To weed your images, bend the transfer sheet to crack it, you will then be able to see the lines and cut. Now use tweezers to pull away excess. I find infusible ink the easiest Cricut product to weed as the excess comes away easily as you pull it.
- Stack Your Project in this order
Cricut EasyPress 2
Butcher paper
Infusible Ink Transfer Sheet design, face up
Cricut cushion face up
White card stock inside the cushion
Cricut EasyPress Mat under the card inside the cushion - Transfer Your Image
Press with the heat press on 360° with no pressure for 160 seconds.
When the timer has finished lift the heat press straight up to avoid smudging. Now allow it too cool before removing your butcher paper the sequins do get quite hot.
Notes
Infusible Ink Trouble Shooting
My image was blurry – to avoid a blurry result you must keep your heat press totally still, no moving about whilst pressing. Also ensure you pick it straight up when lifting of your project.
The ink didn’t transfer – did you check the heat instructions? If these are wrong the heat or timing may have been wrong for the blank.
The images is patchy – are you using a Cricut Heat Mat, I found this made all the difference. Also check you have stored you transfer sheets correctly, if they are damp the quality will decrease. Additionally avoid touching your transfer paper with greasy fingers, this can affect your result. Weed with tweezers where you can.