Today I am sharing my super cute Naughty or Nice Spinner Card for Cricut or Silhouette. You could also use the template to cut our by hand
It’s that time of year when kiddies everywhere are wondering if they are on the naughty or nice list. And ahem, us parents may use it for a bit of leverage when spirits are running very hight for the festive season. That ok right?
This is such a great little project to make too go on Christmas Cards, Christmas Eve boxes or for the Elf On The Shelf to leave for a bit of Elf fun.

This post may contain affiliate links. Which means I may receive a small commission if you click a link and purchase something that I have recommended at no extra cost to yourself. As an amazon, Cricut and Glowforge associate, I earn from qualifying purchases.
What You Will Find Here
How To Make A Naughty Or Nice Spinner Card
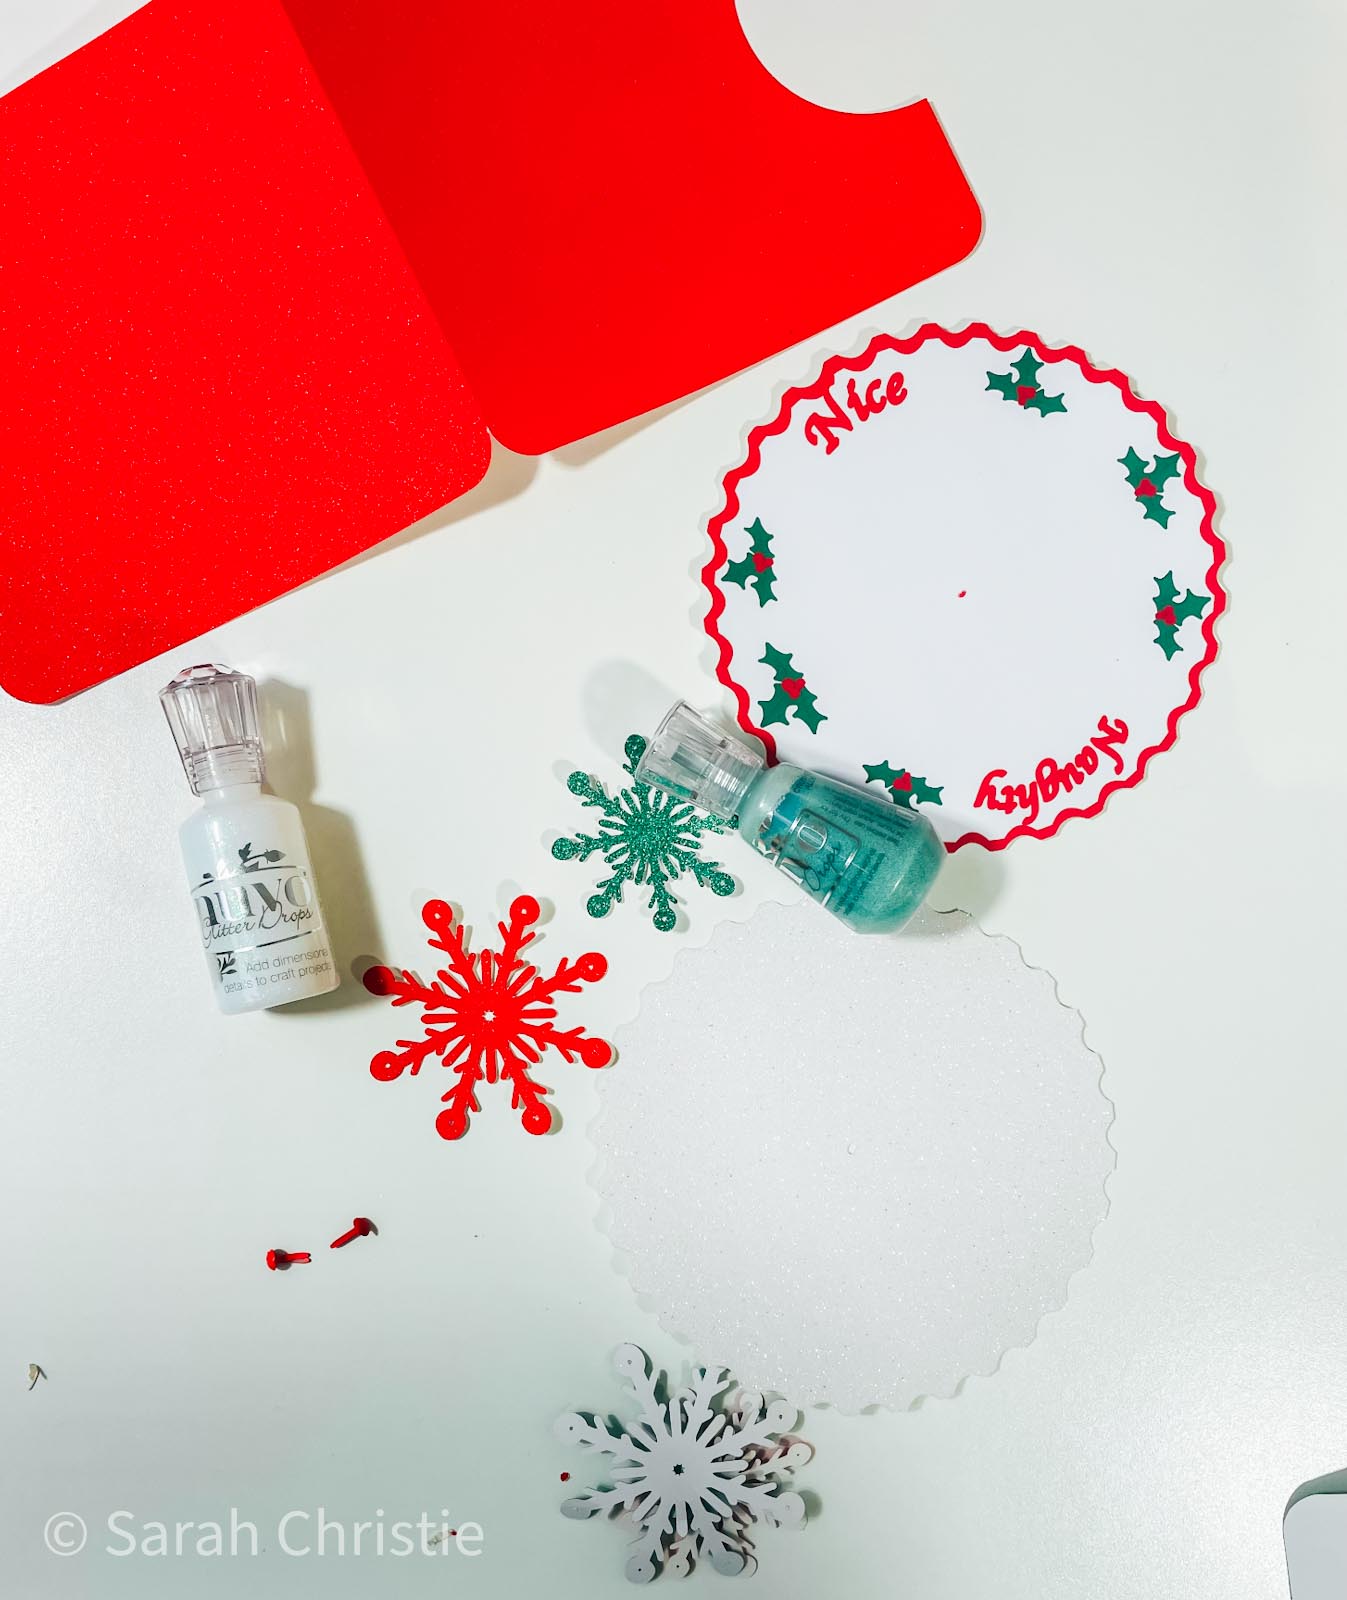
What You Will Need For Our Free Naughty Or Nice Spinner Card
- Cricut Maker,
- Weeding Tools
- Brayer
- Card Stock, Red Glitter or Green Glitter, White Glitter, White Printable Card.
- Brads
- Glue, I use Cosmic Shimmer Acrylic Glue
- Nuvo Drops
How To Make Your Spinner Card
Upload all of you images to design space, you will need….
- 1 base file, cut on glitter card stock
- 2 snowflakes, cut on glitter card stock
- 1 printable Naughty or Nice Spinner (This is PNG Only) cut on printable card
- 1 spinner background, they make the spinner firmer, cut on glitter card stock.
Sizing Your Files In Design Space
Once all the files are uploaded you will need to size your base file. That will be dependent on the size of your spinner wheels, I sized mine to slightly over 11x 6 inches but it would also work bigger on a 24inch mat or smaller.
However be mindful the spinner can’t be larger than 6.75 wide if you print and cut it. If you want it larger you would need to cut on card stock and use pen or vinyl for your naughty of nice.
Now grab a score line from shapes and position where the crease needs to be, you can see below where to position it.

Next size your naughty or nice wheel, it has to fit inside the edges of the square but overlap the half moon cut out so it spins around when turned. Once sized the backing has to be exactly the same size.
Once this is done size your stars to fit on the front of your spinner.

Send You Spinner Card To Print And Cut
Now click make it, this will take you to the print preview page, ensure you feed your card the correct way into the printer and press print. When you unload your printer avoid touching the black guide line around the edge of your naughty or nice spinner as I find this can smudge easily.
Once printed, gently put the card from your cutting mat, I don’t roll it with a brayer as I usually would, simply gently press around the edge. But always ensure I use a sticky mat and ensure the edges are well stuck down.
You will now be taken to the cut screen, here you can choose your material, I chose heavy card stock for this project. Remember if you have added a score line to your card you will need to use a scoring wheel or stylus.

Building Your Naughty Or Nice Spinner Card
Start by folding the crease in your card and then glue the spinner to the spinner backing to make it firmer. Now position in the centre of the backing card, the cut outs need to be at the front.
Before making and hole and putting your brad through ensure the wheel will spin. Then use a silent setter to make a hole and pop the brad though the spinner and back layer and opening the pins of the brad at the back to secure the wheel.

Once the spinner is in position you need attach the front to the back of the base card, without affecting the spinning motion of the wheel. To do this put glue to the 4 corners of the back card and stick the top card down, holding until it dries, whilst checking your wheel is still moving.

Now decorate the front with your snowflakes and Nuvo Drops to decorate and add a little texture. I used white glitter crystal drops around the edge of the peep window too.

How To Get Your Free Naughty Or Nice Spinner Card SVG/PNG Files
Click here or the the image below to get your free downloadable Merry And Bright SVG/png files from our members shop and follow these instructions to add to Cricut Design Space. Don’t forget to turn off any pop up blockers, and if your email doesn’t come through check your spam folder. Note if you are using Glowforge you need SVG files to cut the image out of wood or acrylic. Or Png or SVG to engrave.

Tips And Advice For Using Your Download For Cricut
- Cricut Design Space Guide
- How To Slice And Weld In Cricut Design Space
- How to upload to Cricut Design Space
- Using Iron On Vinyl
- Where Else To Get Free SVG Files
- Check Out What I Thought Of The xTool M1
Also please do pop over to Instagram, or Tik Tok and give me a follow and if you make a project tag me! I love seeing everyone else’s makes and chatting crafting. I could do that all day.

What a wonderful and fun creation, love the sparkle too. Thanks for the template.
Can’t wait to make this. I think you’ll be on the nice list!
Ah, thanks, Betsy. Let me know how you get on.