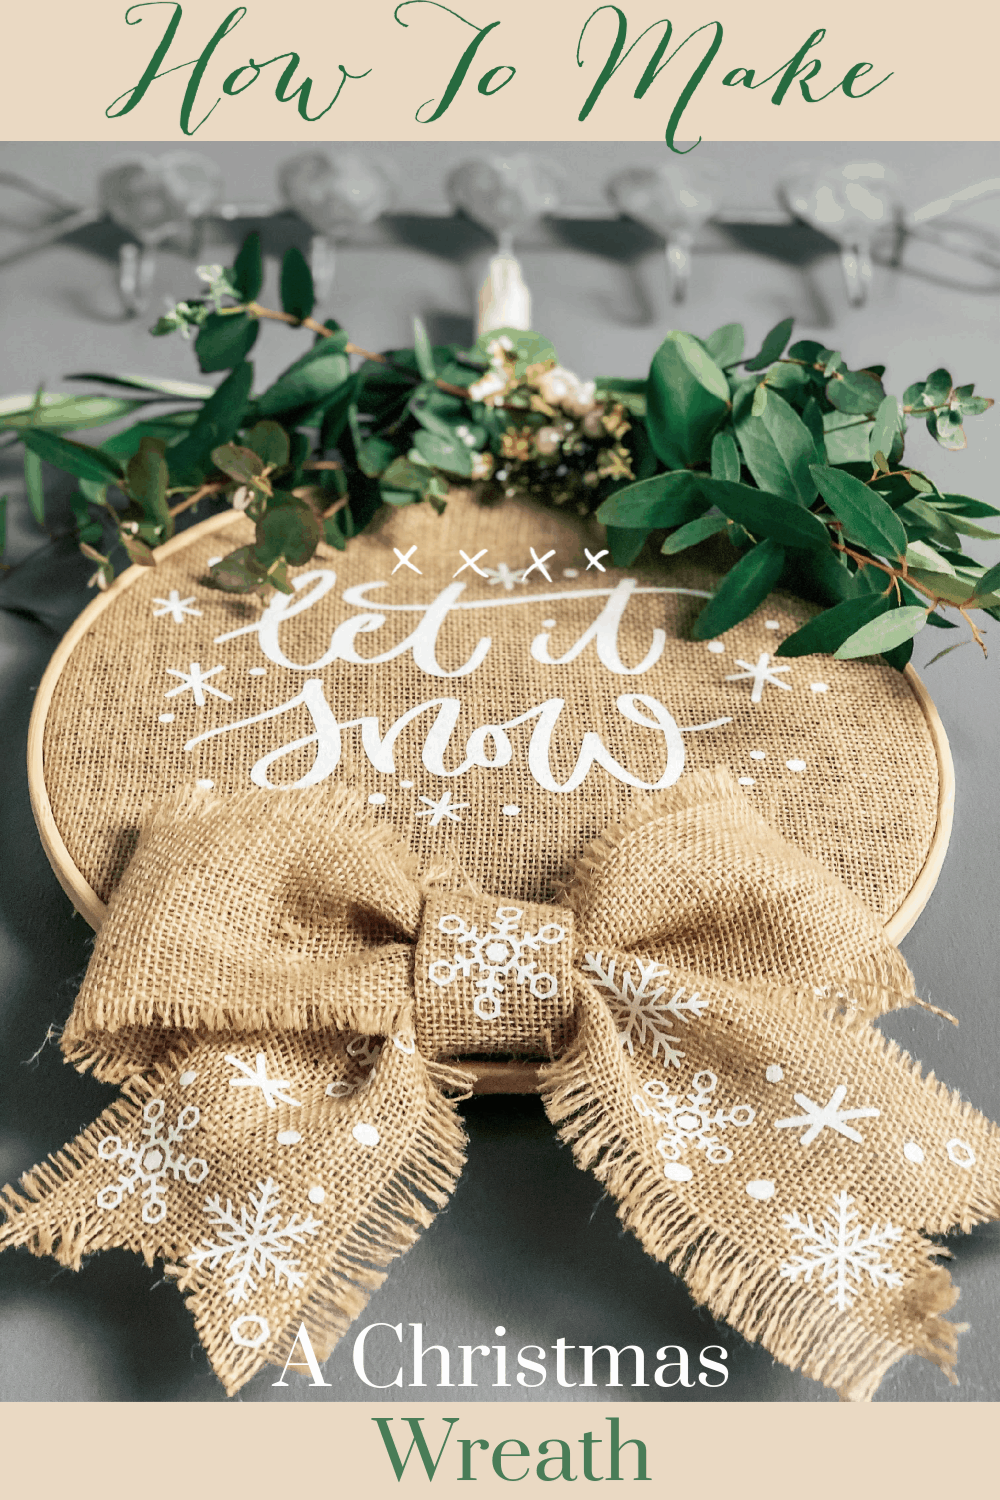
I have been meaning to create a wreath with embroidery hoops for some time. Hoops are super effective and have such a contemporary edge. Thus making them the perfect base with which to create. Today, I want to share a quick tutorial on how to make a hoop wreath for Christmas using a burlap shopping bag, and a hoop.
What You Will Find Here
How To Make A Hoop Wreath For Christmas
For this project I challenged myself to recycle where I could. There is so much around the home waiting to be recycled and reused. Hence before I created a shopping list I raided cupboards, the garden and the Christmas box to see what I could come up with.
To Make This Hoop Wreath You Will Need

- Cricut Machine
- Cricut Design Space
- Heat Press and mat
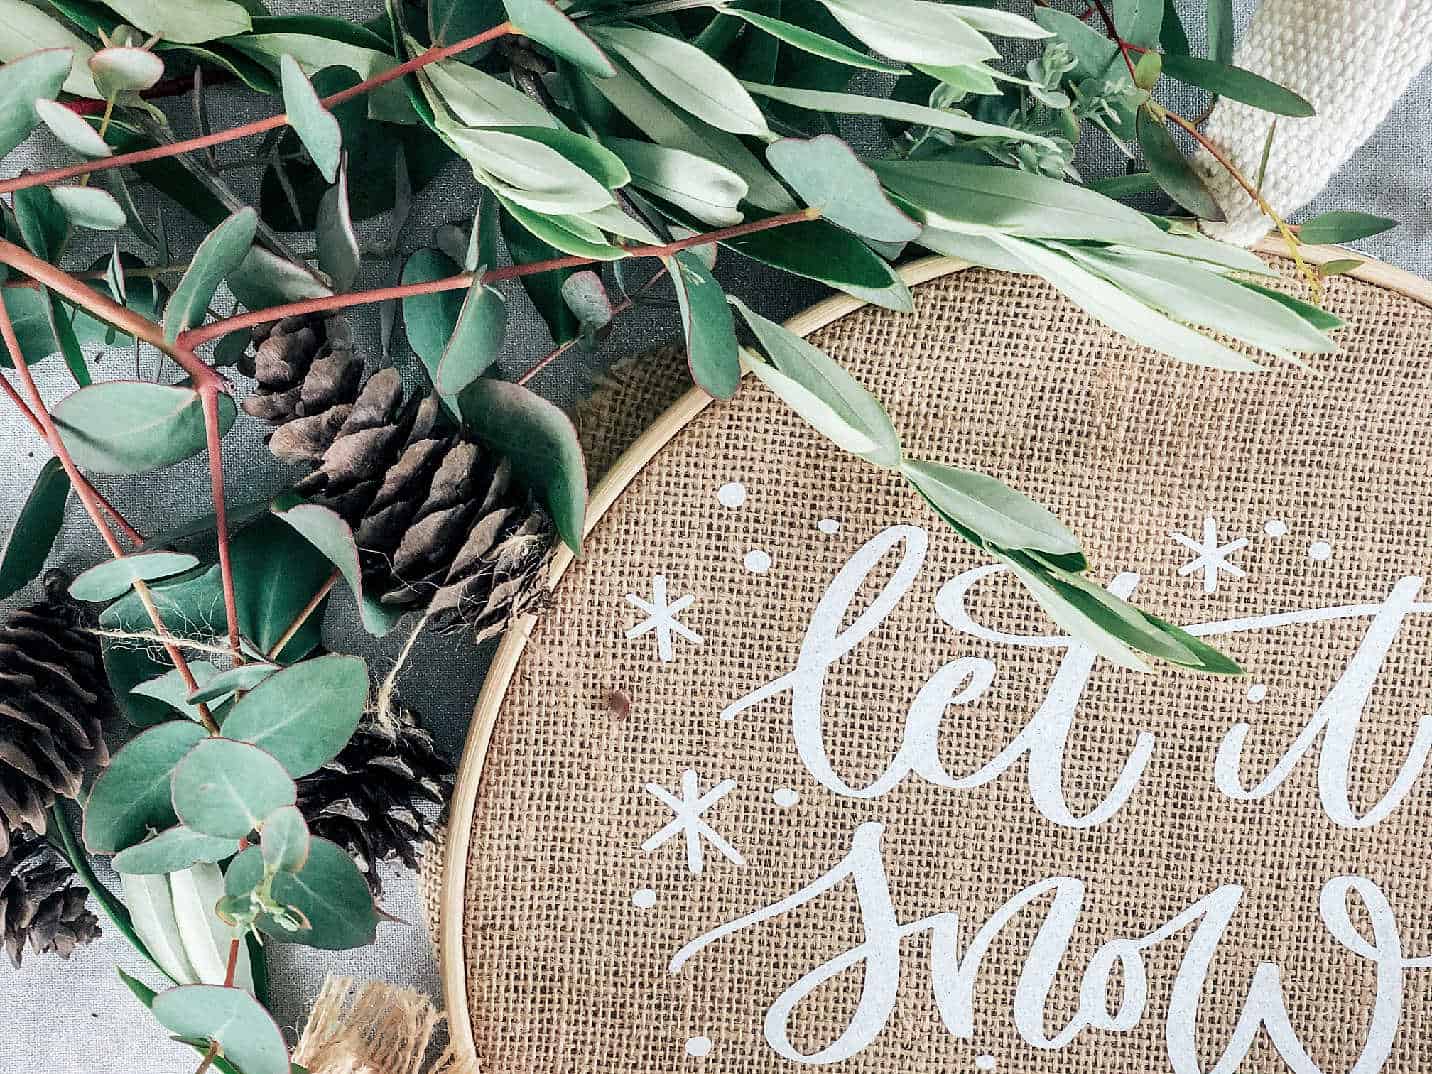
- I choose the ‘Let It Snow’ Text and ‘Star’ images to cut out on my machine
- Burlap, (I recycled a shopping bag)
- Iron On Vinyl ( I had scraps from an old project)
- Wire ( Found in the Christmas box)
- Eucalyptus and olive branches. ( or whatever you can find that works in the garden)
Firstly Lets Look At How To Upload Images To The Cricut Design Space

As I had chosen letters from Design Bundles and outside app, I started by downloading your Christmas Craft Bundle and chose my images. This was the hardest part there is sooooo much choice. Once you have decided on an image, you need to load it onto the Cricut Design Space. Click on Upload and choose the image from the folders.
Choose PNG Files

When it appears, you get several options of file types to choose from. I chose PNG. However, many file types are supported. Now click how complex the file is. Then you get the option to choose a print and cut or cut image, make your choice and click save. The image is now ready to use in Design Space. You could use my cute Christmas tree SVG words.
Cutting Your Images Onto Vinyl

Once you have you images you can prepare to cut, but first I needed to choose my stars. The bundle has a sheet of starts with lots of options. To choose the stars for the project simply pull a square over the chosen star and slice the image. Thus resulting in a sliced out star to copy and use.
Now Send Your Project To Cut

You can now send your project to cut, ensure you mirror the text before cutting. Once the image is cut, weed and prepare to iron on the text.
Cut The Burlap To Shape Around The Hoop

Using the hoop as a guide cut the burlap with a few inches to spare all the way round. You can trim this off later. Now cut a long strip of burlap to make a bow and remove one of the bag handles for the hanger.
Position the vinyl using the hoop as a guide, remove the hoop, and use the heat press to heat the burlap then heat transfer the vinyl to the burlap. Ensure you use the correct heat settings for burlap. With glitter vinyl it is 305° for 30 seconds.
Add Stars To The Bow

Do the same with your bow, ensuring you consider where you want the stars to be positioned on the finished bow. I cut my stars out individually to place and iron on.
To Make The Bow

Firstly, fray the edges of the burlap and tie a string around both hanging parts of the bow, just above where you have positioned your vinyl. Secondly, pull the middle and tie it together. Lastly, create a centrepiece; I added a star onto mine to finish the look. Wrap this around the centre of the bow and use a glue gun to secure the back.
Construct The Hoop Wreath

Stretch the burlap over the inner ring of the hoop and slide the hanger through the top. Now slide the top hoop over and tighten, making sure the burlap is tight. Glue the bow into position, but ensure it’s well secured.
Add The Greenery

Finally bundle together the greenery, use the wire to secure it and wrap around the handle to attach to the wreath. It can therefore be removed at the end of the festive season, before storing away and re-using next year.
Get The Printable Step By Step Tutorial

Click here for a printable step by step tutorial.

Sarah I love this, I’m a fan of using embroidery hoops for decoration and this is lovely.
I absolutely love this Sarah, It really does have a contemporary look! Just need one of those machines for Christmas?xxx