I can’t believe I am creating Easter Crafts, one minute I am busy working in Christmas then its Easter! But you know what? It feels so exciting, snuggled by my log burning stove, with the snow coming down thick and fast outside to be thinking of spring, new life and growth. And hopefully a bit of a return to normality, walks to the pub and days shopping in the city. But for now I want to share my super cute Free Printable Easter Alphabet set of Letters and Numbers.
This alphabet is not only adorable, but has endless possibilities, and the beauty is, you can download it here from my blog.
If you want to see me create my projects, follow me on Tik Tok and Instagram.
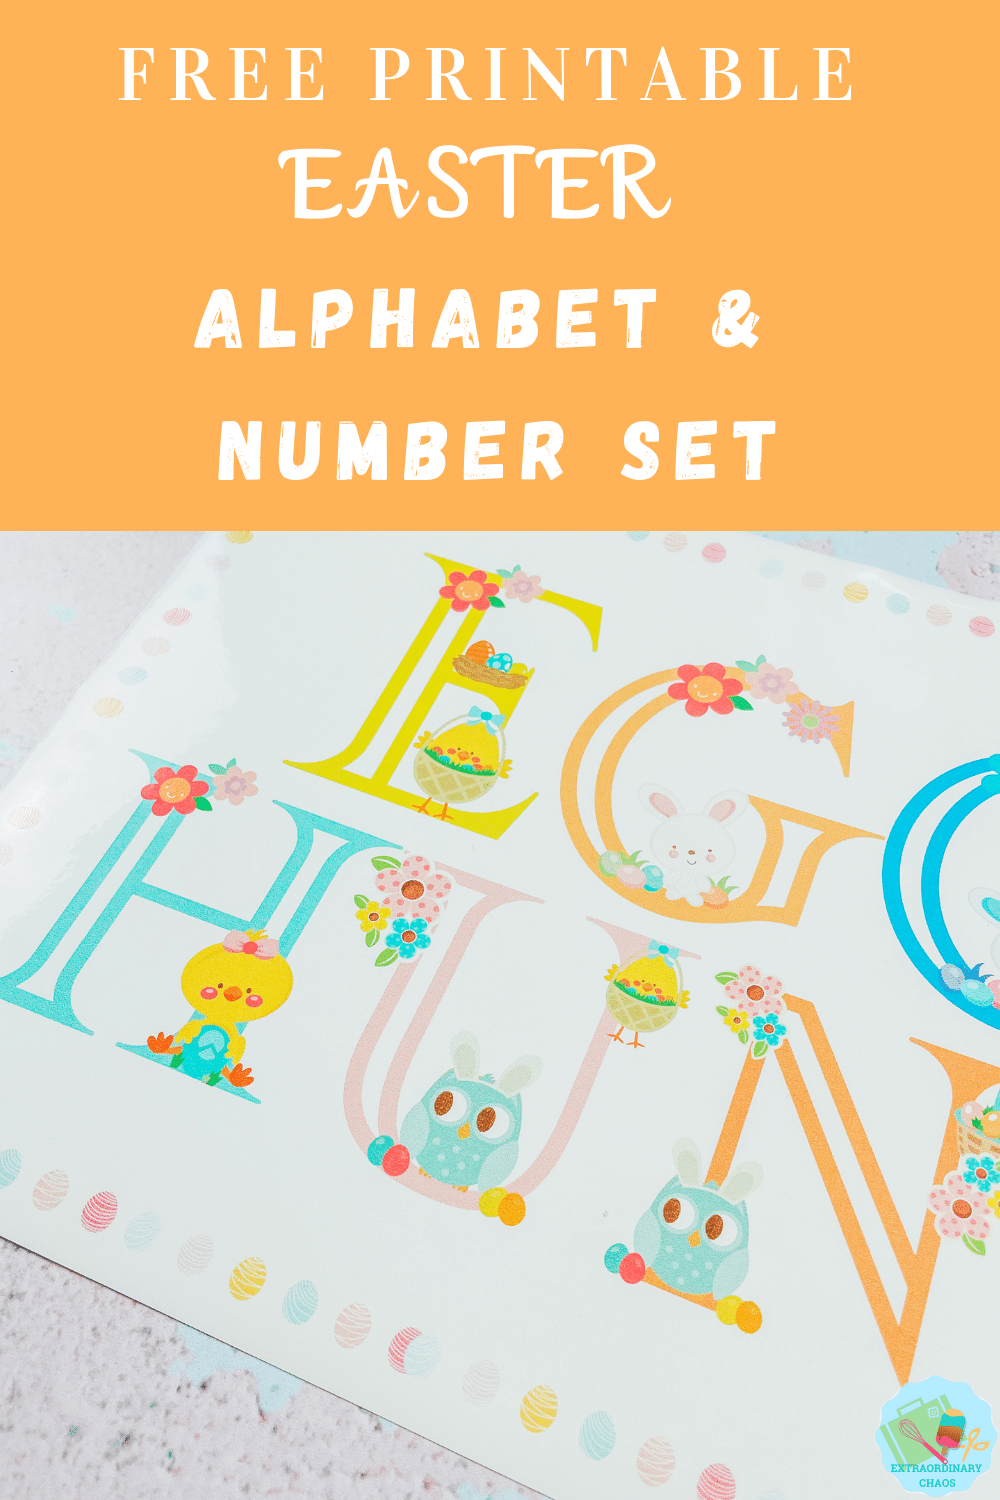
Project Ideas For My Free Printable Easter Alphabet
- Printed letters and words, perfect for School Easter activities
- Themed Easter Parties
- Cake Toppers
- Easter Cards
- Use Pegs And String For Hanging Easter Banners
- Easter egg hunt Signs
- Framed Art
- Wall Stickers
- Kids Easter Crafting
- Sublimation Mugs
- Iron On Vinyl Hoops
- Door Decals And Name Signs
- Scrapbooking Page Layouts
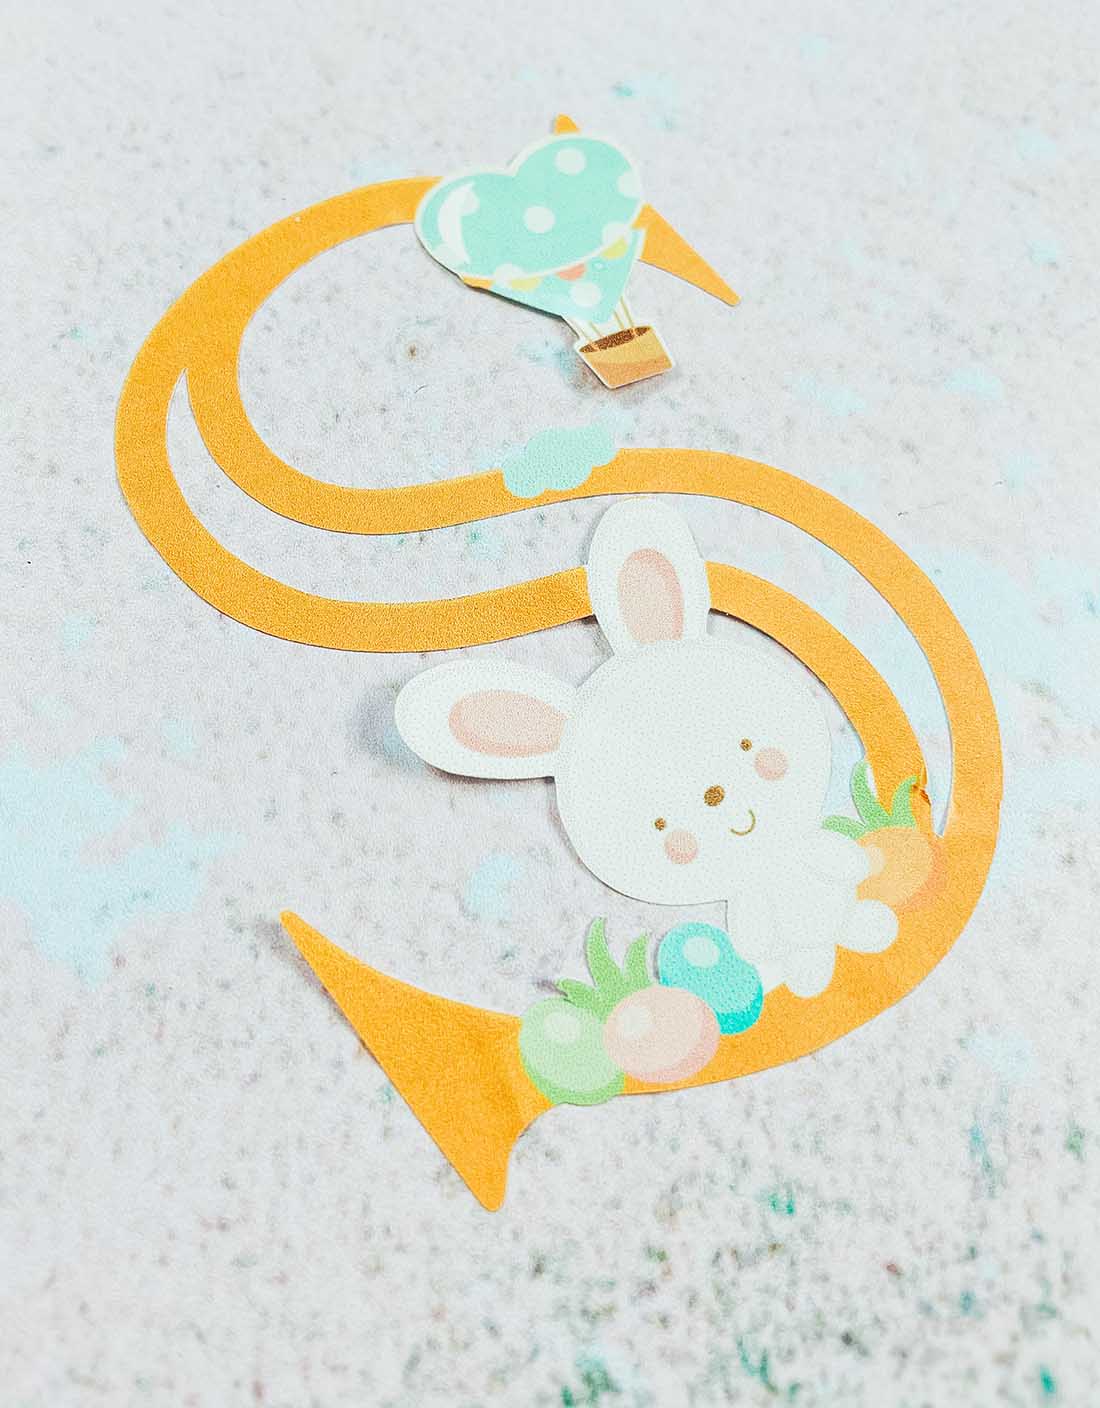
You Will Need
- Printer, I use the HP Envy 5020 (Make sure you calibrate your printer to your Cricut before using for the first time, you will find the calibration button by clicking on the 3 lines next to CANVAS in the top left corner of Design Space)
- Glossy sticker printer paper or printable vinyl.
- Cricut Maker
- Cutting Mat
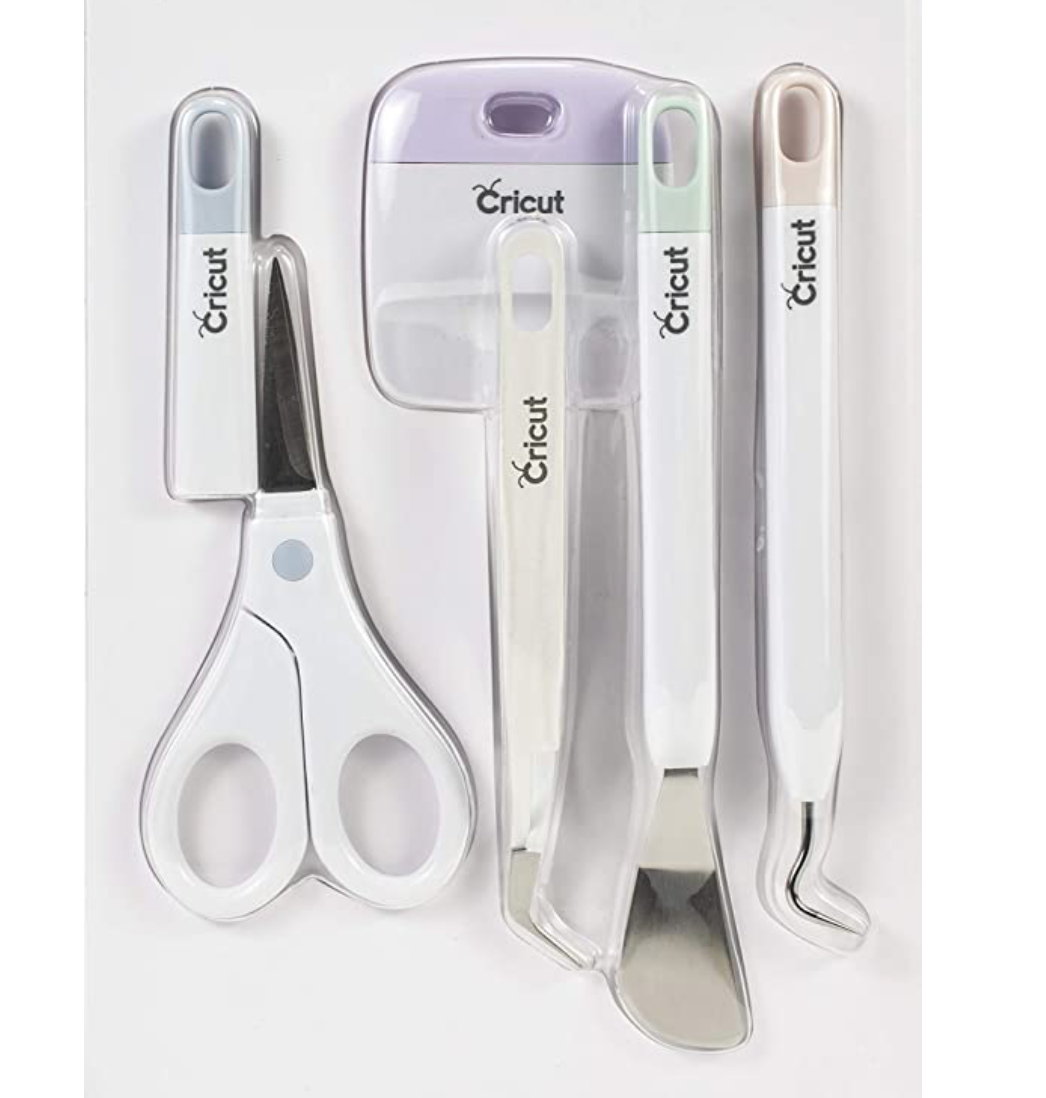
- Cricut Tool Kit
- Or Any Sublimation Ink, Tools and Blanks
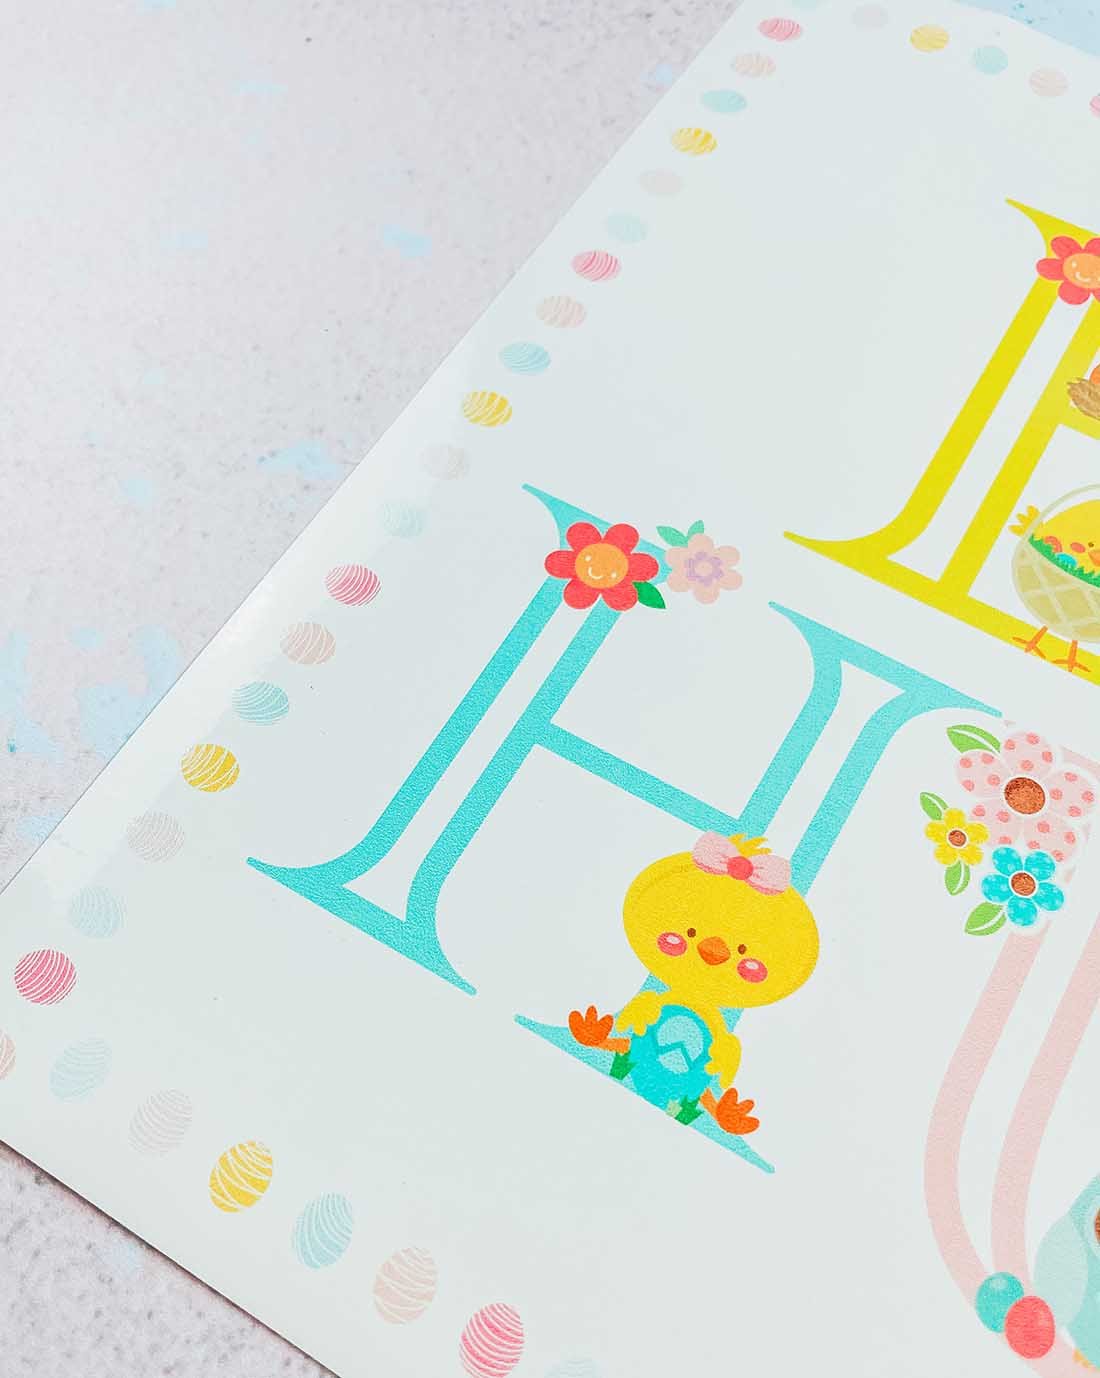
If You Want To Use These Free Cricut Printable Easter Alphabet Letters And Numbers?
Click here or the image below to get your free downloadable png files. Don’t forget to turn off any pop up blockers.
How To Upload Your Printable Easter Alphabet Letters And Numbers To Cricut Design Space.
Start by clicking upload in the bottom left hand corner of Cricut Design Space, a box will appear where you can select browse. Now find you download file and choose the PNG folder, these are the files you will need for design space. ( I am using images from my Baby alphabet post, but the principle is the same)
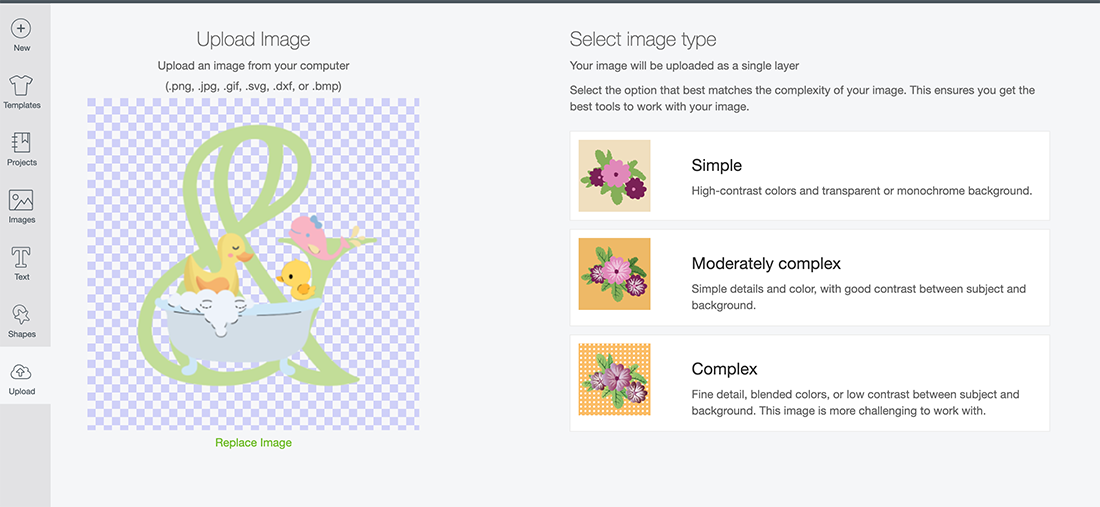
Select the printable Easter letters and numbers you require one at a time. When you choose a letter you will see the box below. Select complex and click continue in the Botton right corner.
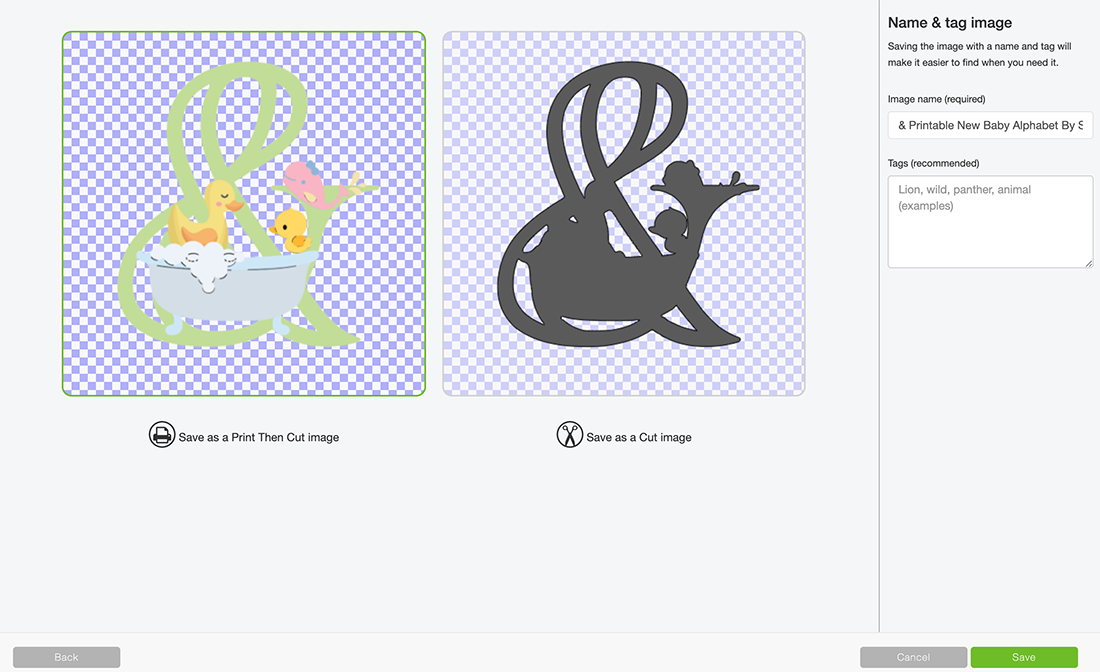
Next you’ll be taken to a screen where you can remove the back of the file, however I have done this for you, click continue in the bottom left corner. Now you will get the choice to save your printable alphabet as a cut file or a print then cut file. You must save as print then cut.
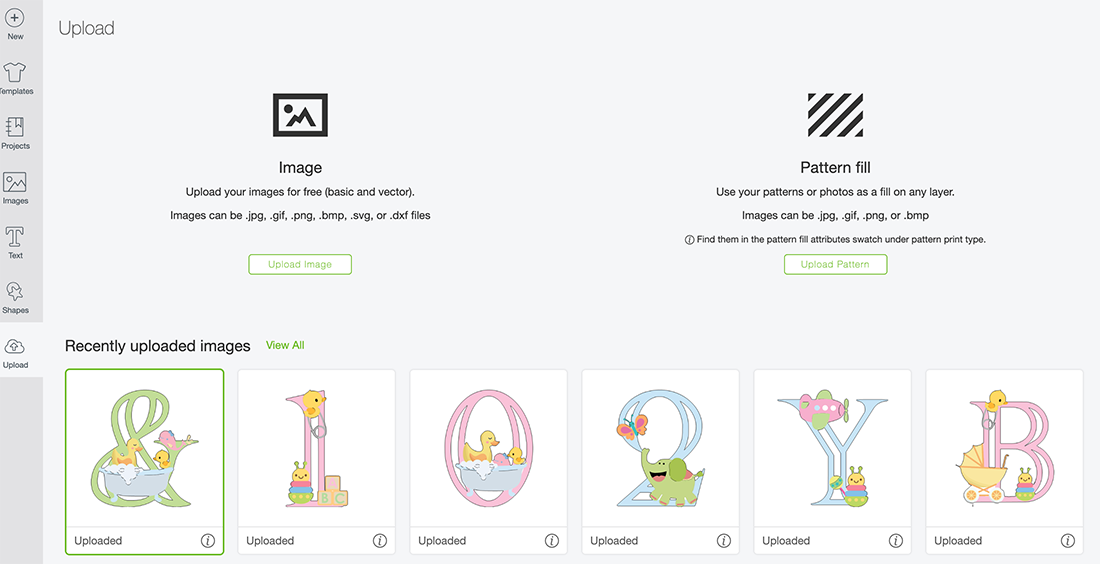
You can now bulk select the letters and numbers for your Easter project to pull into Cricut Design Space.
How To Change The Colours Of Your Printable Easter Project In Cricut Design Space
You Can Only Do This If You Use The Design Space Link Above, And Have Paid Design Space Access.
If you are using my Easter Alphabet project link for Cricut Design Space, you are able to change the colour of the letters of the alphabet. ( You can’t do this with the downloads) I am so excited about this as it enables you to tailor your alphabet to fit your project colours.
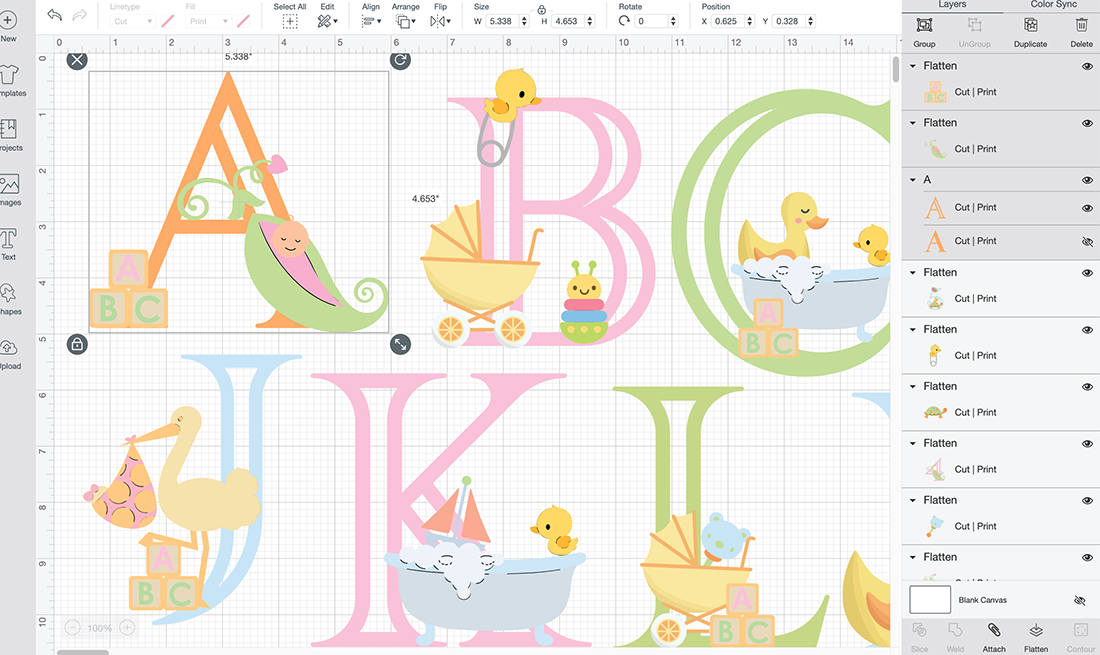
Click on the letter you want to change and select unflatten in the bottom left had corner. This will separate all the images in the design. Now you are able to select the letter, click fill in the top bar and choose a new colour.
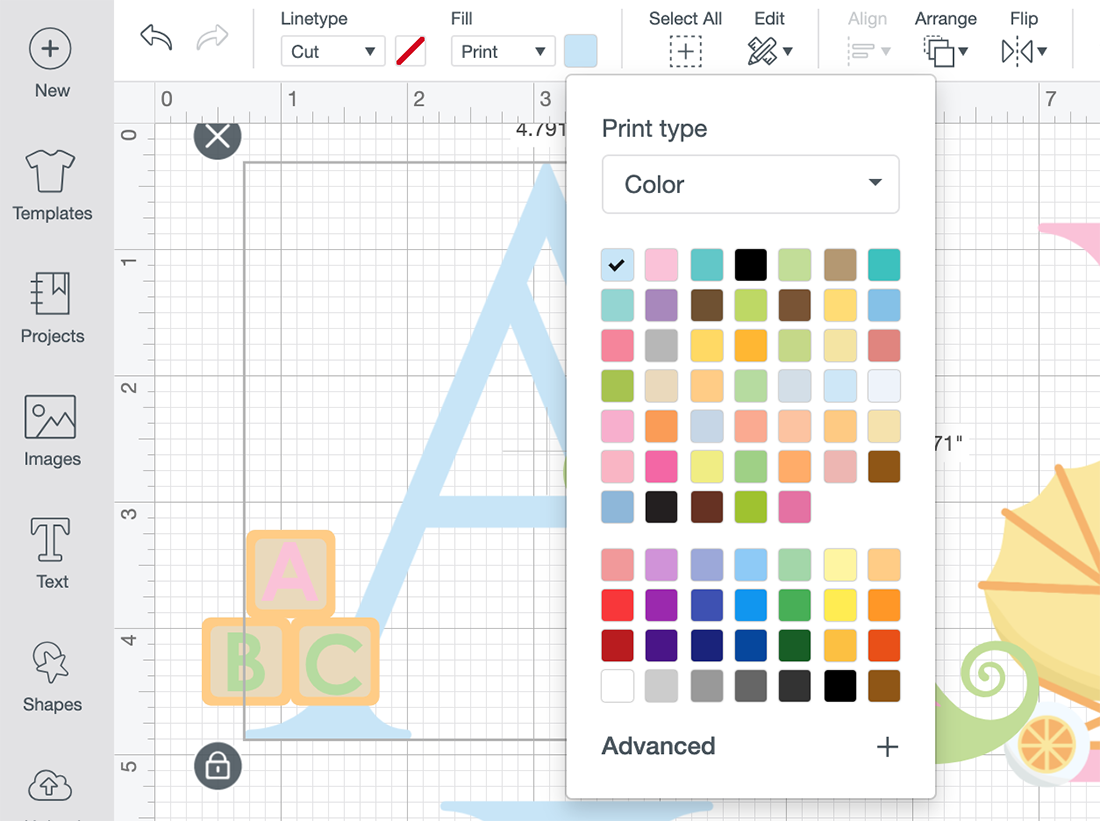
Lastly, right click to select your letter and elements and click flatten in the bottom right corner. You must re flatten before proceeding.
How To Print Stickers With Cricut
Once you are happy with your choice and sizes, click on the corner and drag the attached images until they are the correct size to print and cut. They need to be 6.75.x 9.25 or less to use the print and cut feature.
I find arranging your letters or numbers together, selecting all and flattening the whole lot together so it is one big image, is the best way to avoid wastage. As long as you have white space between the letters they will still cut separately. This way you can move letters upside down to fit more into your printing space.
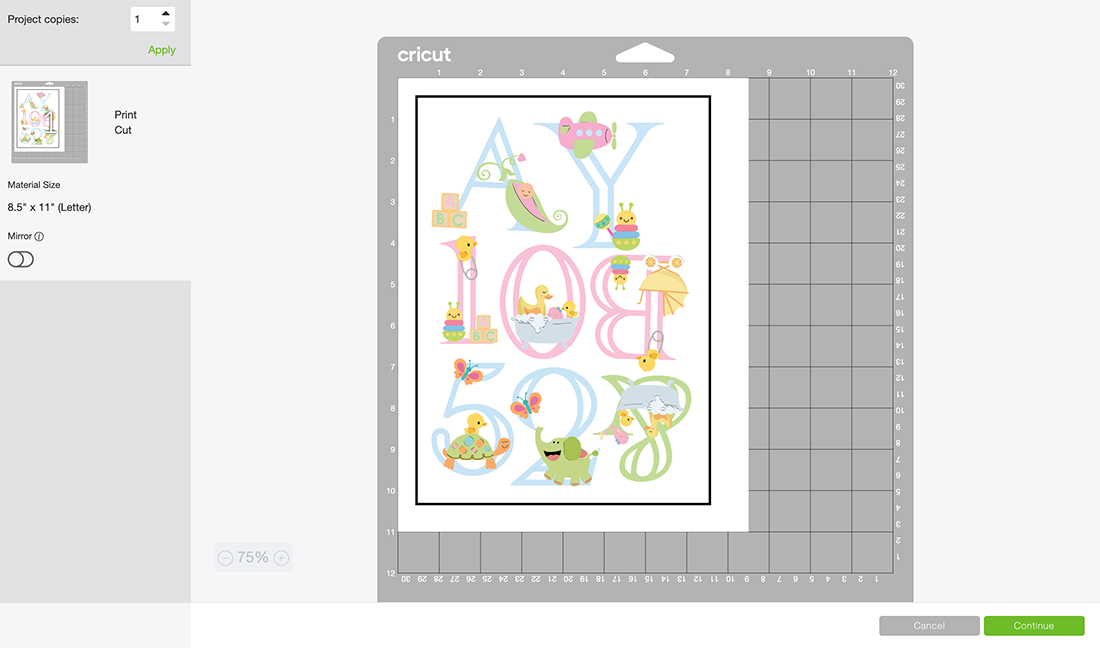
Now click make it, this will take you to the print preview page, ensure you feed your sticker paper is the correct way into the printer and press print, when you unload your printer avoid touching the black guide line around the edge of the printed stickers as I find this smudges easily.
Once printed, gently put the sticker sheet on your cutting mat, I don’t roll it with a brayer as I usually would, simply gently press around the edge. But always ensure I use a sticky mat and ensure the edges are well stuck down.
You will now be taken to the cut screen, here you can choose your material. I always use printable vinyl, this successfully cuts the top sticker layer only with the default pressure setting. And press go on your Cricut.
If You Don’t Have Cricut ?
You can print my Easter alphabet off on Canva, this is a great programme for making posters and cards, or indeed Word or Pages. I have proved a set on Jpg files for use in these programs if you would prefer your Printable Baby Alphabet to have the white background on.
Please do tag me on Instagram with any projects you make, I love seeing them. And happy crafting.
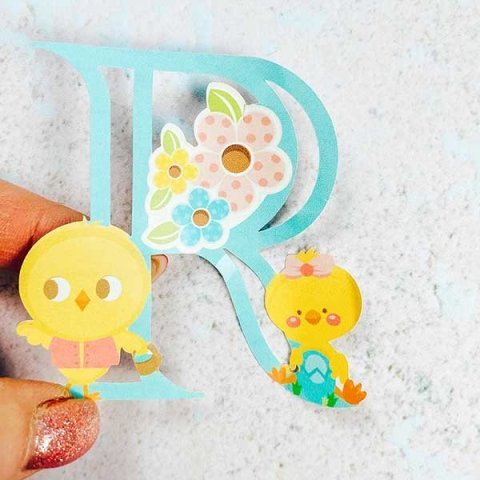
Easter Printable Alphabet
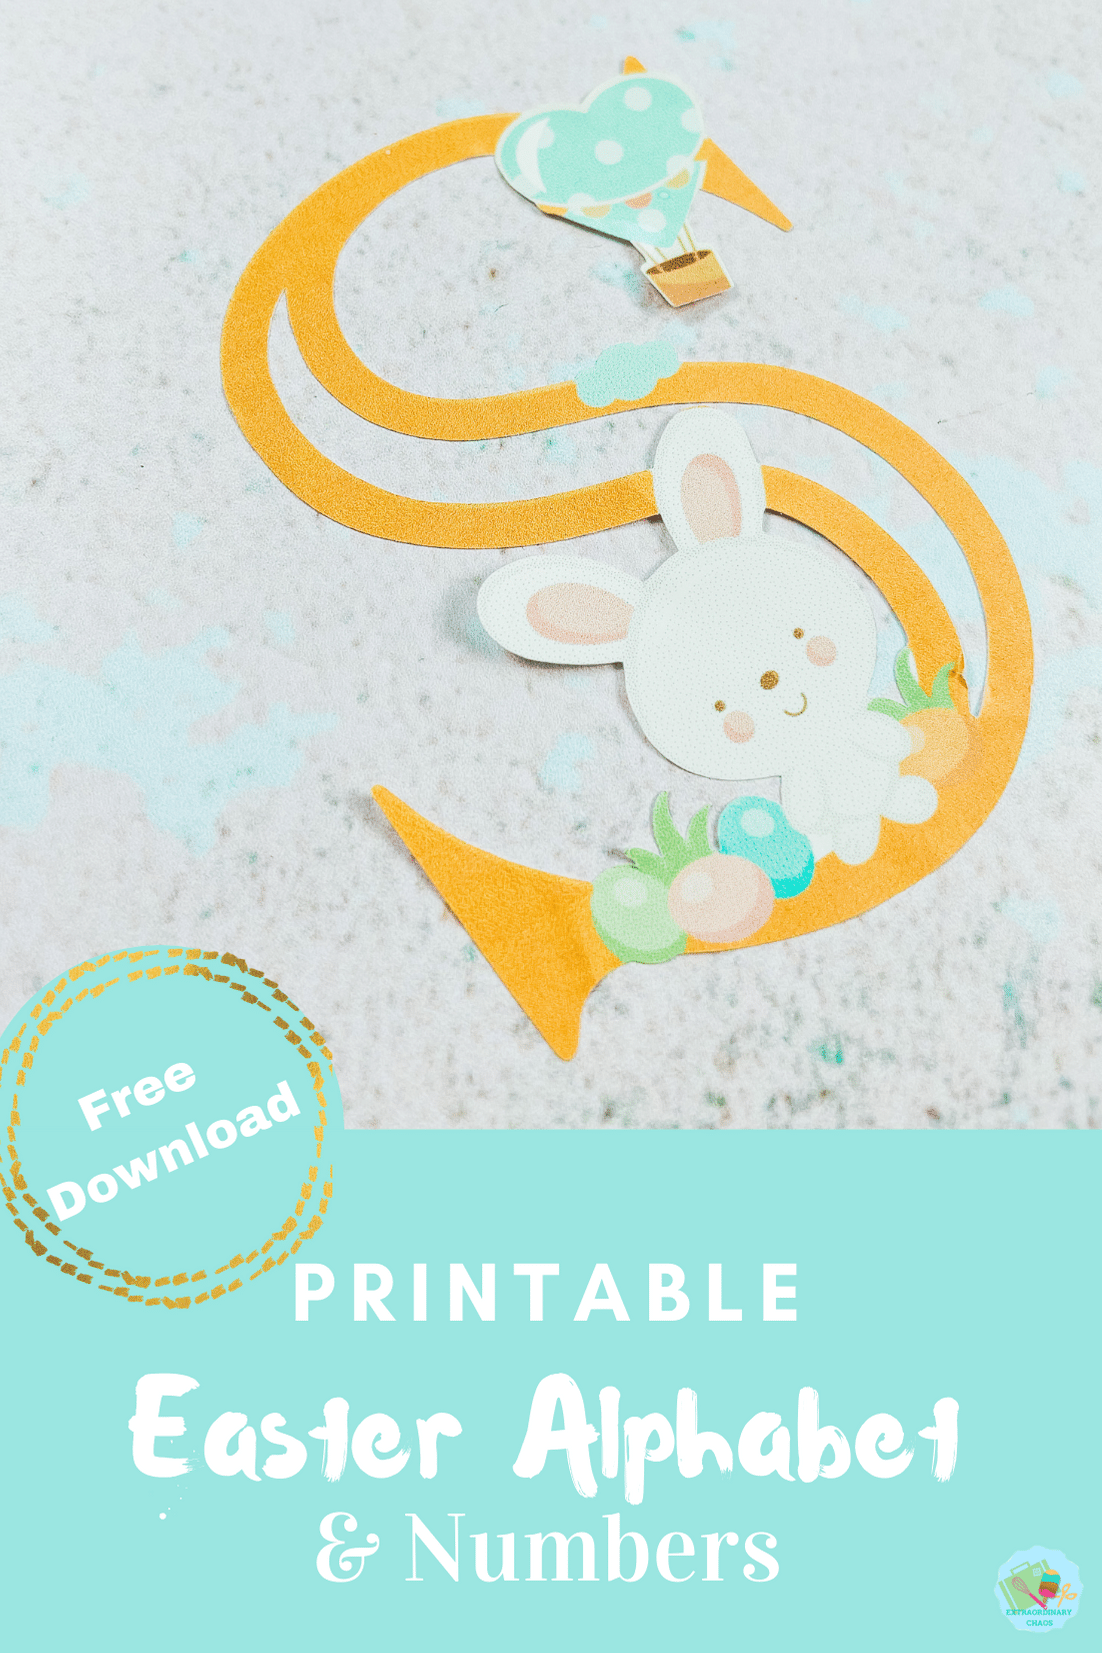
Free Printable Easter Alphabet for creating Easter print and cut and sublimation projects, also perfect for schools and crating with kids.
Materials
- Glossy sticker printer paper or printable vinyl.
- 10 sheets for £2.99
- Or 50 for £8.99
- Or Any Sublimation Ink, Tools and Blanks
Tools
- Printer, I use the HP Envy 5020 (Make sure you calibrate your printer to your Cricut before using for the first time, you will find the calibration button by clicking on the 3 lines next to CANVAS in the top left corner of Design Space)
- Cricut Maker/Explore
- Cutting Mat
- Cricut Tool Kit
Instructions
Step 1. How To Upload Your Printable Easter Letters And Numbers To Cricut Design Space.
Start by clicking upload in the bottom left hand corner of Cricut Design Space, a box will appear where you can select browse. Now find you download file and choose the PNG folder, these are the files you will need for design space. ( I am using images from my Baby alphabet post, but the principle is the same)
Select the printable baby letters and numbers you require one at a time. When you choose a letter you will see the box below. Select complex and click continue in the Botton right corner.
Next you’ll be taken to a screen where you can remove the back of the file, however I have done this for you, click continue in the bottom left corner. Now you will get the choice to save your printable alphabet as a cut file or a print then cut file. You must save as print then cut.
You can now bulk select the letters and numbers for your Easter project to pull into Cricut Design Space.
Step 2. How To Change The Colours Of Your Printable Easter Project In Cricut Design Space
You Can Only Do This If You Use The Design Space Link Above, And Have Paid Design Space Access.
If you are using my Easter Alphabet project link for Cricut Design Space, you are able to change the colour of the letters of the alphabet. ( You can’t do this with the downloads) I am so excited about this as it enables you to tailor your alphabet to fit your project colours.
Click on the letter you want to change and select unflatten in the bottom left had corner. This will separate all the images in the design. Now you are able to select the letter, click fill in the top bar and choose a new colour.
Lastly, right click to select your letter and elements and click flatten in the bottom right corner. You must re flatten before proceeding.
Step 3. How To Print Stickers With Cricut
Once you are happy with your choice and sizes, click on the corner and drag the attached images until they are the correct size to print and cut. They need to be 6.75.x 9.25 or less to use the print and cut feature.
I find arranging your letters or numbers together, selecting all and flattening the whole lot together so it is one big image, is the best way to avoid wastage. As long as you have white space between the letters they will still cut separately. This way you can move letters upside down to fit more into your printing space.
Now click make it, this will take you to the print preview page, ensure you feed your sticker paper is the correct way into the printer and press print, when you unload your printer avoid touching the black guide line around the edge of the printed stickers as I find this smudges easily.
Once printed, gently put the sticker sheet on your cutting mat, I don’t roll it with a brayer as I usually would, simply gently press around the edge. But always ensure I use a sticky mat and ensure the edges are well stuck down.
You will now be taken to the cut screen, here you can choose your material. I always use printable vinyl, this successfully cuts the top sticker layer only with the default pressure setting. And press go on your Cricut.
If You Don’t Have Cricut ?
You can print my Easter alphabet off on Canva, this is a great programme for making posters and cards, or indeed Word or Pages. I have proved a set on Jpg files for use in these programs if you would prefer your Printable Baby Alphabet to have the white background on.
Notes
Project Ideas For My Free Printable Easter Alphabet
Printed letters and words, perfect for School Easter activities
Themed Easter Parties
Cake Toppers
Easter Cards
Use Pegs And String For Hanging Easter Banners
Easter egg hunt Signs
Framed Art
Wall Stickers
Kids Easter Crafting
Sublimation Mugs
Iron On Vinyl Hoops
Door Decals And Name Signs
Scrapbooking Page Layouts
Recommended Products
As an Amazon Associate and member of other affiliate programs, I earn from qualifying purchases.

Hi there! Just downloaded your files (THANK YOU!!!!) but noticed that you have both PNG and JPG files. Which ones do I use please? Not up on all the file types. I want to use these for scrapbooking but wondering too if the sticker paper is safe to use for this purpose – as in lignen free and photo safe? Just starting out and I have a LOT to learn.
Hi Karen for print and cut I find The PNG files are better if you are uploading them to cricut, and as far as the sticker paper goes I am sure each manufacture will state that in the description xx