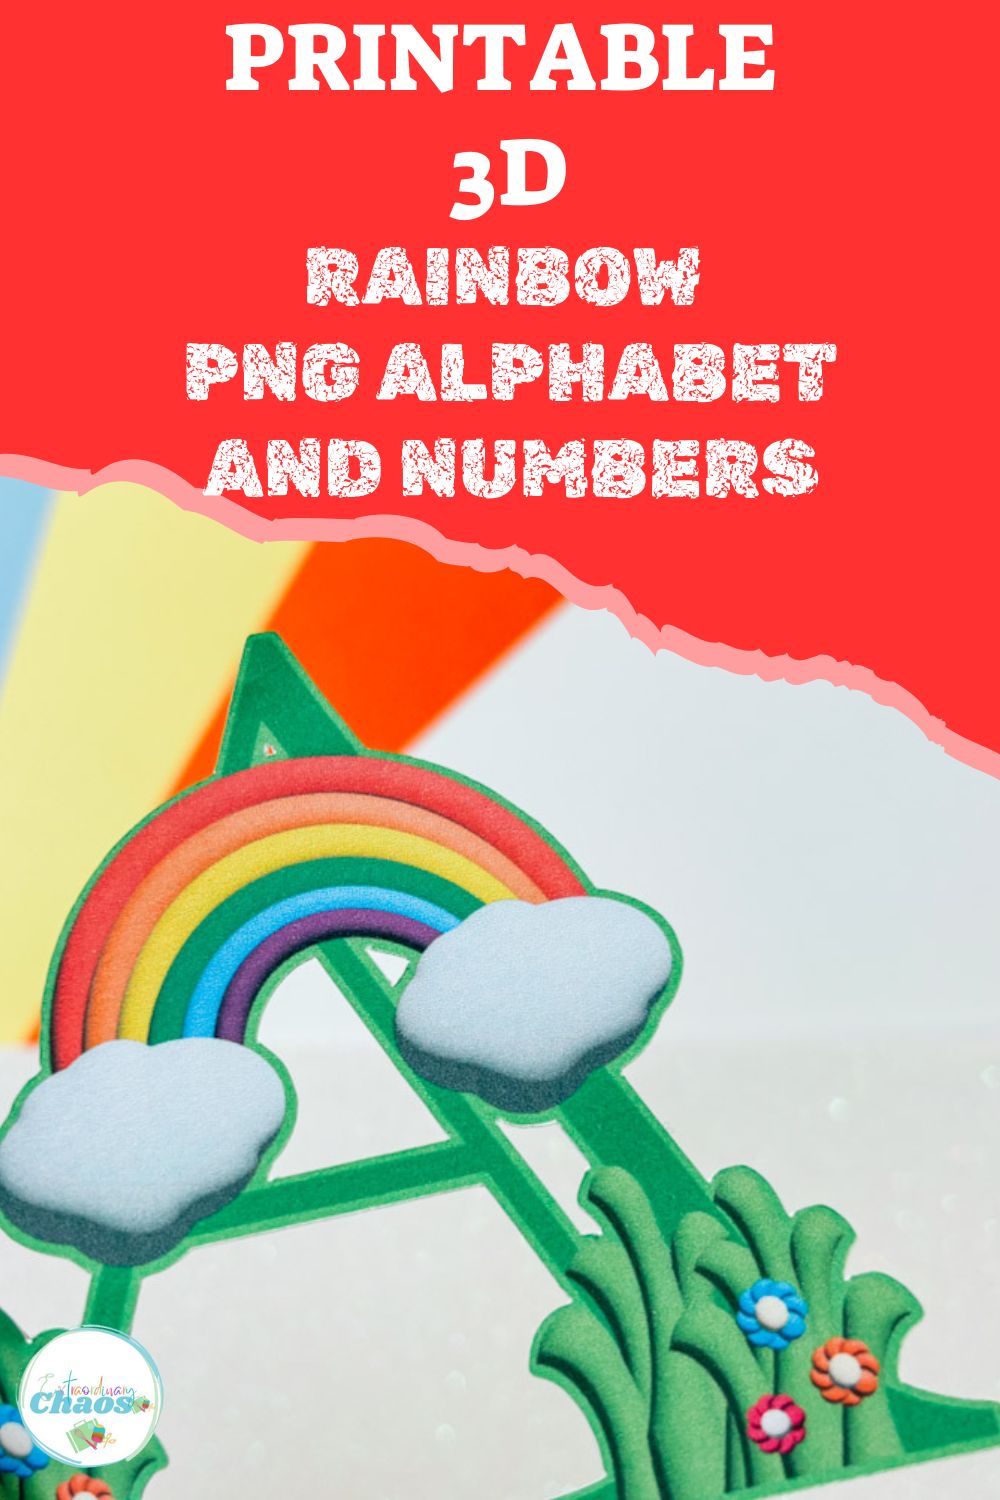
Today, we are sharing a cute free Printable PNG 3d Rainbow Alphabet and Number Set. Our 3d Rainbow PNG Alphabet Letters and Numbers are ideal for use with LOKLiK, Cricut and Silhouette or to cut out by hand. They are perfect for rainbow-themed craft projects, from personalised cards to rainbow scrapbooking layouts, nursery decor, party banners and decorations. The 3d Rainbow craft possibilities are endless.

This post may contain affiliate links. Which means I may receive a small commission if you click a link and purchase something that I have recommended at no extra cost to yourself. As an amazon, Cricut and Glowforge associate, I earn from qualifying purchases.
What You Will Find Here
Project Ideas For Our Free Printable 3d Rainbow Clip Art PNG Alphabet
- Themed 3d Rainbow Activities
- Planner Stickers
- Framed Art
- Sublimation Mugs
- Fridge Magnets
- Cake Toppers
- Children Bedroom Rainbow Wall Decals
- 3d Rainbow Scrapbooking Page Layouts

How To Upload and Print Your Printable 3d Rainbow Clip Art Alphabet Letters And Numbers To Cricut Design Space.
Follow this step-by-step guide to upload images and SVG and PNG files to Cricut Design Space. Once uploaded, click Make it; if you need help with this, follow our step-by-step print and cut guide.
If You Don’t Have Cricut ?
You can upload our 3d Rainbow Clip Art PNG Alphabet to Canva, a great program for making posters and cards, or to Word or Pages. Just arrange your letters or numbers with spaces between them and cut them with a guillotine.
If You Want To Use These Free Printable 3d Rainbow PNG Alphabet Letters And Numbers Template?
Click here or on the image below to get your free download of our Printable 3d Rainbow PNG cut files. They are instant downloads from our shop.
If You’re Having Problems?
Check out my troubleshooting page, hopefully it will answer any questions you may have.
How To Make This Rainbow Cake Topper
It helps to watch this alongside the YouTube video above. You can open it in another window.
1: Gather Your Materials
Start by downloading the free rainbow alphabet numbers set from the website (link above), along with the rainbow, sunshine, and cloud files from the shop, these are optional.
2: Upload Files to Cricut Design Space
Upload the downloaded files to Cricut Design Space. Select the files for the rainbow, sunshine, and cloud.
3: Resize and Arrange Elements
Choose the number for your topper (e.g. number five) and resize the rainbow, sunshine, and cloud elements as needed.
4: Create Offsets for Texture
To add texture to your cake topper, create offsets for each layer. Resize and adjust until you’re happy with how the topper looks. You can always tweak the colours later if needed.
5: Adjust Layers
When you create an offset, it may default to a print and cut design. Change this to a cut image. You can also adjust the colour of the layers to suit your design. You might want to remove the contours from the middle of the layer to enhance the overall look.
6: Add the Sunshine and Cloud
Place the sunshine and cloud elements where you’d like them on the topper. Create additional offsets to integrate these elements into the design.
7: Final Adjustments to Colours and Layers
Go back and adjust any colours you aren’t happy with, removing contours where necessary. This is your chance to fine-tune the design before cutting.
Step 8: Save and Send to Cut
Save your work and send the design to cut. Print and cut the elements as needed. Make sure your project is set to print and cut before sending it to the Cricut machine.
Step 9: Prepare Your Mat
Load your printed and cut elements onto your Cricut mat. Use a brayer to ensure the elements stick securely if you’re using an older mat. Be mindful of the stickiness of new mats.
Step 10: Build the Layes
Start assembling the layers from the top down, using sticky pads between each layer to create a 3D effect. Use larger sticky pads and trim them to the right size with scissors.
Step 11: Attach Each Layer
Add the sticky pads to the back of each layer and start stacking the elements, such as the sunshine, cloud, and rainbow. Make sure they overlap slightly for a more dynamic, layered effect.
Step 12: Add the Final Details
Once the layers are built, you can add additional touches like a rainbow on top of the layers for extra detail. Use sticky pads to attach it securely.
Step 13: Attach to a Straw
Once your topper is fully assembled, attach it to a straw using glue (Cosmic Shimmer glue works well for this). Allow it to dry completely.
Step 14: Finished 3D Cake Topper
And there you go! You now have a beautifully layered 3D cake topper that’s ready to be placed on your cake.
Tips And Advice For Using Cricut
- Cricut Design Space Guide
- How to upload to Cricut Design Space
- How To Make Print And Cut Stickers In Cricut Design Space
- Where Else To Get Free SVG Files
Also please do pop over to Instagram, or TikTok and give me a follow and if you make a project please do tag me! I love seeing everyone else’s makes and chatting crafting. I could do that all day! This is also where I share all my projects in progress.