Birthdays are a big deal right? Well, they are for me, celebrating being another year older is an honour. And I mean any age, not just the milestone birthdays. Our Free Happy Birthday SVG is perfect for such celebrations. This is a single layered file but scroll down to see how to make it into a multi layered file by using duplicate and contour in Cricut Design Space.
If you are planning birthday celebrations, also check out my Happy Birthday Alphabet and Printable Banners.

This post may contain affiliate links. Which means I may receive a small commission if you click a link and purchase something that I have recommended at no extra cost to yourself. As an amazon, Cricut and Glowforge associate, I earn from qualifying purchases.
What You Will Find Here
Free Happy Birthday SVG For Crafting And Scrapbooking
Just For A Little Fun Here Is Happy Birthday In 10 Different Languages.
Also if you want to perfect the phrase head over to Google Translate, it has a speaker, press that and it will speak Happy Birthday in any language you want.
- Spanish, Felix cumpleaños.
- French, joyous anniversaire.
- German, Alles Gute zum Geburtstag.
- Arabic, Eid mealie saeid.
- Italian, buon compleanno
- Norway, Gratulerer med dagen.
- Portuguese, Feliz aniversário.
- Japanese, Tanj?bi.
- Greek, charoúmena genéthlia.
- Polish, Wszystkiego najlepszego

What You Will Need For My Happy Birthday You SVG
- Cricut Maker,
- Weeding Tools
- Brayer
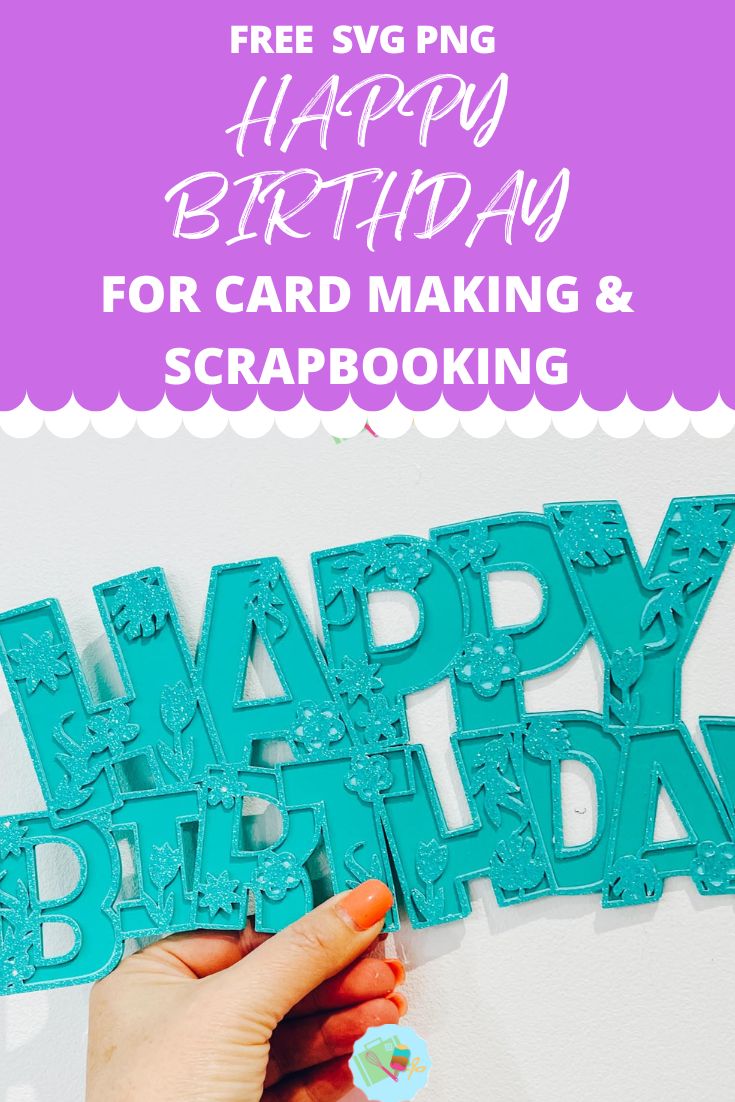
- Card Stock in 3 Colours, I used 3 shade of blue/green with glitter card as the top layer.
- Glue, I use Cosmic Shimmer Acrylic Glue
Making Your Happy Birthday SVG/PNG On Cricut
Upload your Happy Birthday SVG to Cricut Design Space, follow these instructions if you need help doing this. If you want to create a layered file it’s simple if you follow these instructions.
Start by duplicating your Free Happy Birthday SVG, once duplicated click on one of the layers and click the contour tool, you will find this in the bottom right hand corner of Cricut Design Space.
Now choose which contours to remove, this is personal choice, however I removed the centre of all of the flowers and open petals.

Next duplicate the Free Happy Birthday layer you have just contoured and click contour. You now have 2 choices, you can remove contours for another layer. Or remove all contours and create the back layer.
You will need to ensure all layers line up correctly, they should, however if they don’t, click on the padlock on the corner of the file to adjust. Once you are happy, colour all the layers.
Cutting Your Free Happy Birthday SVG On Cricut
Next, line up all the Free Happy Birthday SVG layers in design space to confirm all files line up correctly and are exactly the same size. However, do remember you are using 3 different colour layers, so have the card stock ready to hand and really think about the colours.

When you send your Free Happy Birthday SVG/PNG files to your Cricut to cut, ensure you use your brayer to roll the paper, vinyl or card to adhere to the mat. Note that movement will affect the cut.
How To Build Your Free Happy Birthday SVG Layered File
Firstly start by making sure they all line up and every layer is the correct way round, then flip all of the layers over.
Next, add a thin layer of glue, (I use cosmic shimmer acrylic glue) to the back of your middle layer and attach it to the back layer, followed by the top glittery layer. I find the cosmic shimmer glue sets really well, but it does give you a second or two to allow you to adjust and slide before setting. However you only need a tiny bit to avoid it leaking.

How To Get Your Free Happy Birthday SVG/PNG Files
Click here of the the image below to get your free downloadable Free Happy Birthday SVG/png files and follow these instructions to add to Cricut Design Space. Don’t forget to turn off any pop up blockers. Note if you are using Glowforge you need SVG files to cut the image out of wood or acrylic. Or Png or SVG to engrave.

If You’re Having Problems?
Check out my trouble shooting page, hopefully it will answer any questions you may have.
Tips And Advice For Using Your Download For Cricut
- Cricut Design Space Guide
- How To Slice And Weld In Cricut Design Space
- How to upload to Cricut Design Space
- Using Iron On Vinyl
- Where Else To Get Free SVG Files
Also please do pop over to Instagram, or Tik Tok and give me a follow and if you make a project tag me! I love seeing everyone else’s makes and chatting crafting. I could do that all day.
Hi, Thank you for these lovely designs, you are so generous with your time and creativity. I’ve not made stickers before but am going to give it a try when my niece(12) and nephew (6) come over for the day which usually continues into the next day because they want a sleepover with pancakes for breakfast. 🙂
Thank you again .
Dee