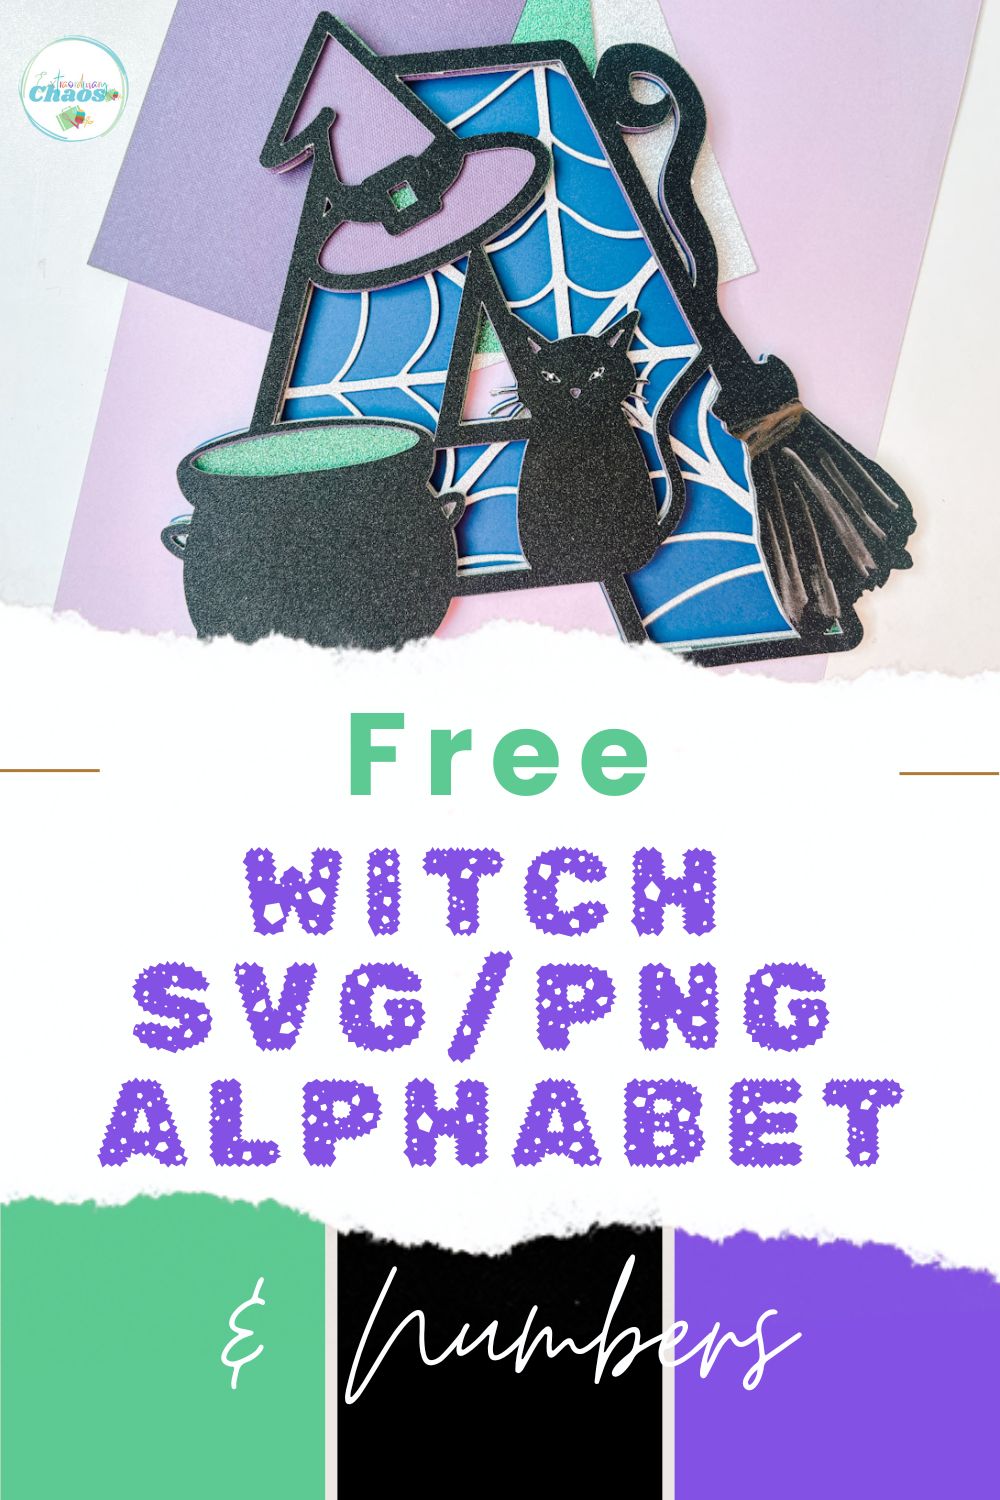
Today, I am sharing this spooky Free SVG Halloween Witch Alphabet and Number Set for Cricut and Silhouette. Creating stunning projects for cards, scrapbooking, and cake toppers has never been spookier.
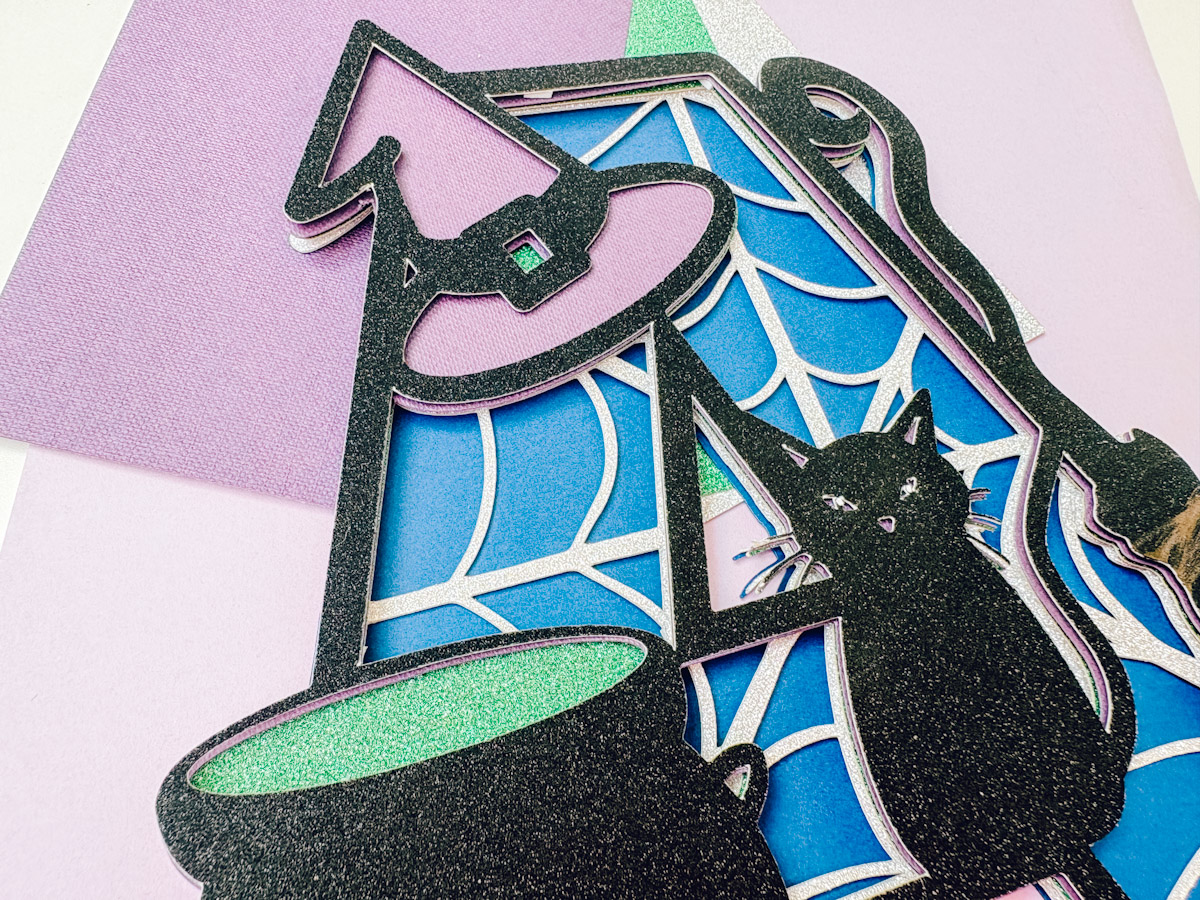
If you’re looking for a fun and creative Cricut project, this layered Halloween Witch alphabet tutorial is perfect, whether you’re a beginner or a seasoned crafter. In this easy step-by-step guide, I’ll walk you through how to upload your files and create a super cool layered witch letter for porch signs or Halloween decorations. I will also show you how to add a spooky cobweb layer to add extra detail to the file.
This post may contain affiliate links. Which means I may receive a small commission if you click a link and purchase something that I have recommended at no extra cost to yourself. As an amazon, Cricut and Glowforge associate, I earn from qualifying purchases.
What You Will Find Here
Craft Ideas For Our SVG Witch Alphabet Letters & Number Set For Cricut And Glowforge
- Halloween Witch Cake Toppers
- Framed Art
- Scrapbooking Layouts
- Cards
- Iron on Vinyl Projects
- Youtube Step By Step Tutorial
Step-by-Step Instructions: How to Make a Witch-Themed Layered Letter Using Cricut
You will need….
- Cricut machine (Joy, Explore, or Maker)
- Cricut Design Space (free software)
- Standard Gripmat (green)
- Weeding tool (for removing small bits)
- Brayer (optional, to smooth cardstock on mat)
- Foam pads or glue
- Pintasa Acrylic Paint Pens
- Card Stock
- Free Cobweb SVG
Prep in Cricut Design Space (file setup)
1. Upload Your Files
Upload the Witch Alphabet top-layer SVG and the spider-web SVG into Design Space. Insert the letter or number you want to make.
2. Make The Top Two Decorative Layers
- Select the top-layer duplicate and set its colour to the colour you plan for the very top (e.g., black glitter) and then duplicate.
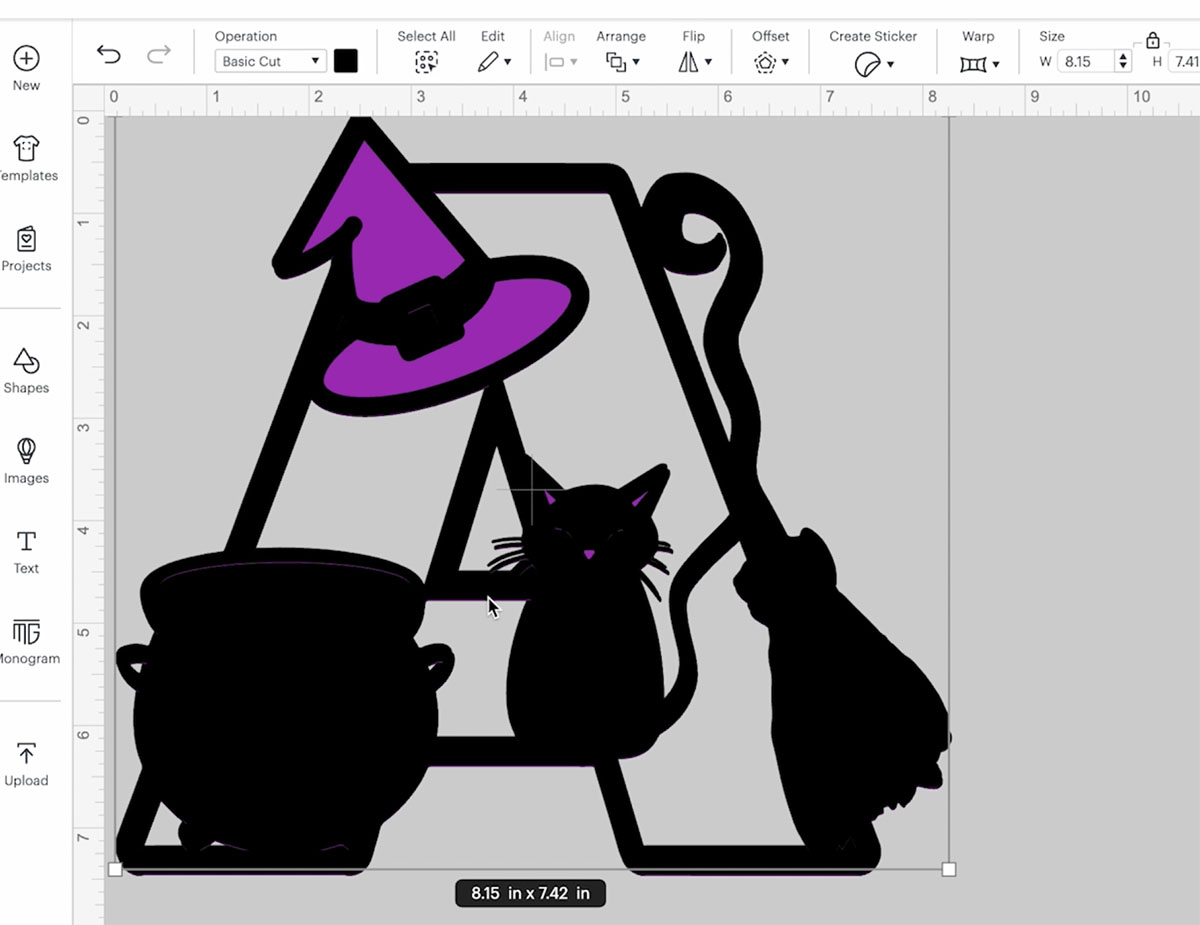
- Create the second layer by clicking the contour tool and removing the contour on the witch’s hat, the cat’s nose and ears. Colour this purple and send the layer to the back.
- Dulplicate the last purple layer to create the next layer and remove the cauldron and cat eyes, this layer will be your green layer.
3. Prepare The Spider-Web Layer
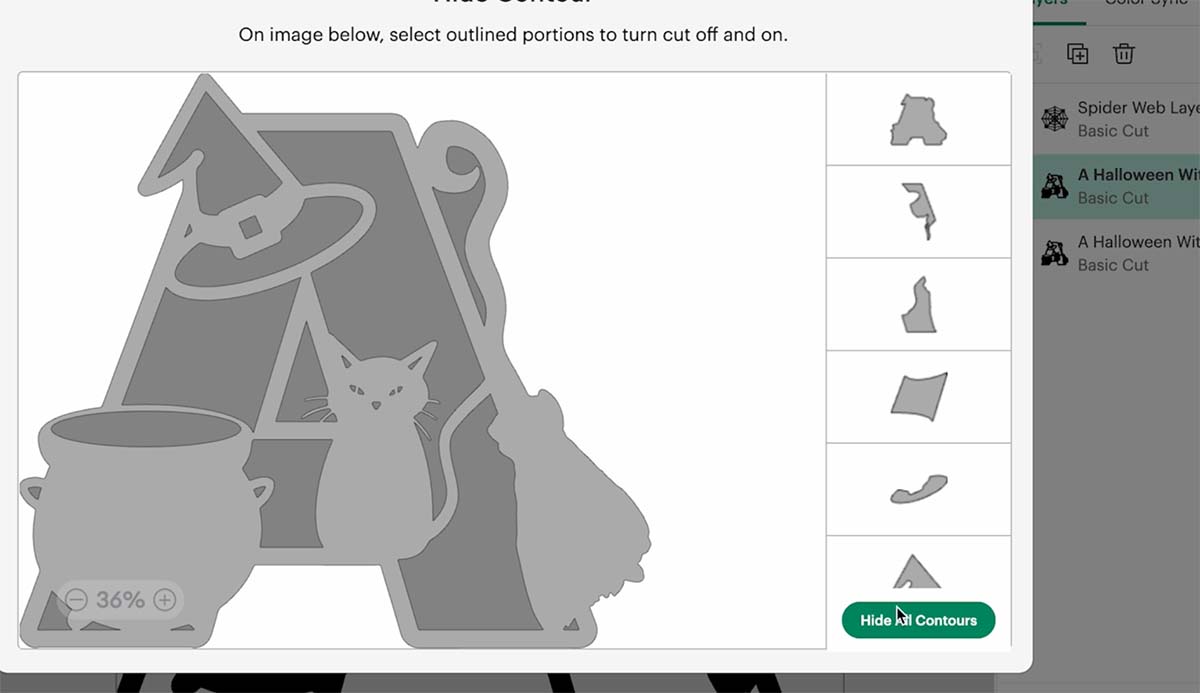
- Duplicate the letter that will receive the spider web (you’ll slice the web into this duplicate). From this duplicate, click Hide All Contours, then re-open (un-hide) only the pieces you need open (for example, the space behind the broom and the letter center) so the web doesn’t fill those areas.
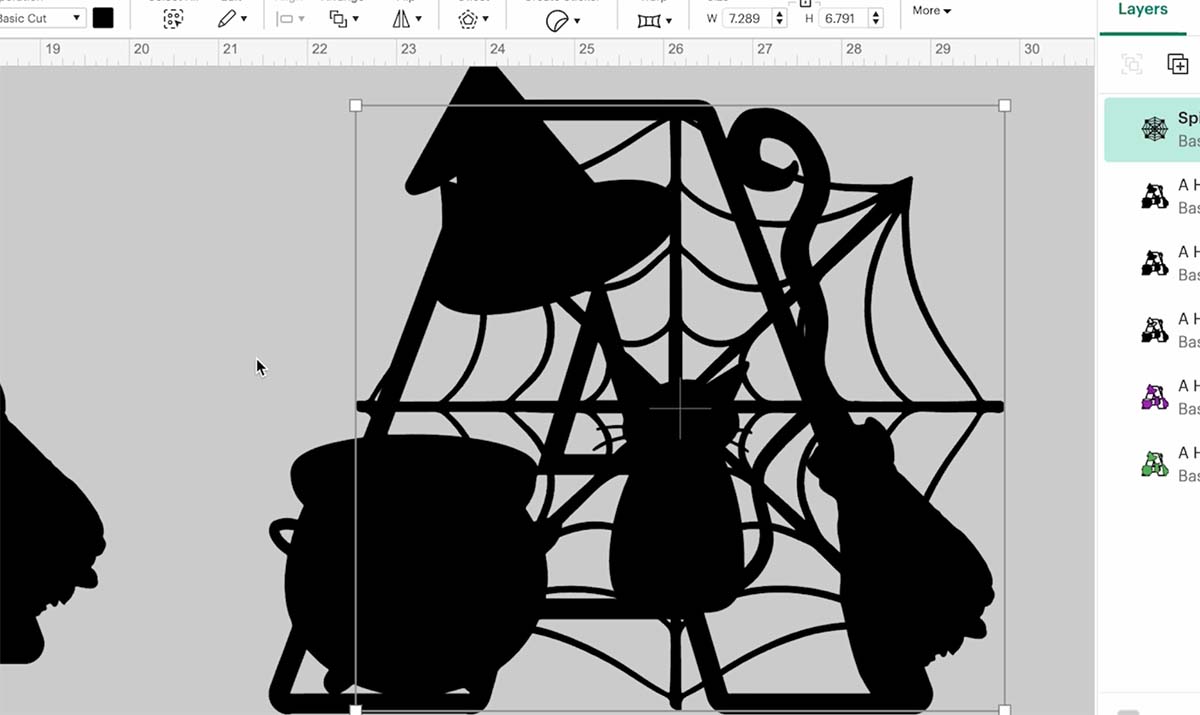
- Position the spider-web SVG over the letter where you want it to sit. Scale the web so it reads clearly but still fits within the letter boundaries.
4. Slice The Web Into The Letter
- Select both the web and the duplicate letter layer, click Slice.
- Delete the extra slice pieces you don’t need. If there are tiny floating bits that would cut loose, remove them in Design Space before cutting.
5. Create The Base/Background Layer
- Remove the contours on this last layer but keep the open areas such as the centre of open letters and numbers open. Change the colour to dark blue and send to the back.
6. Final Alignment Before Cutting
- Select all layers, group them (optional) to keep them together while you work; don’t attach unless you want them fixed on the mat positions. For cutting separate mats is fine.
Cutting: Recommended Settings
- Top detail layer: glitter cardstock (if glitter for top), select Glitter Cardstock setting and increase pressure (or use Deep-Point blade if your machine recommends it). Use a new mat if the glitter is thick.
- Spider web glitter layer: silver glitter cardstock, same as top glitter setting.
- Middle and back layers: heavy cardstock settings on more pressure.
- Mats: use green standard grip for most cardstocks; for glitter consider using a more secure mat or masking tape to prevent shifting.
Assembly
- Work back, forward (start with the backmost layer lying flat). This gives the best control.
- Apply foam pads:
- Use larger foam sticky pads in the broad open areas and smaller pads for fine details. Place most of the pads towards the middle/back of the layer for even lift.
- Cut foam pads in half for narrow areas to avoid bulk. For very fine sections use small glue dots or double-sided tape instead of foam.
- Attach the top decorative layer (hat, cat, details) — use sticky pads for dimension. Make sure the top sits flush and that eyes or small holes reveal the color beneath as planned.
- Finish accents: add tiny silver wisps, white dots for eye highlights, or a thread on the broomstick with glue or miniature embellishments.

How To Get Your Halloween Witch Alphabet Letters And Numbers
Click here or the image below to get your free downloadable Halloween Witch SVG Alphabet from our shop and follow these instructions to add to Cricut Design Space if you are using a Cricut Machine. Note if you are using Glowforge you need SVG files to cut the image out of wood or acrylic. Or Png or SVG to engrave.
If You’re Having Problems?
Check out my trouble shooting page, hopefully it will answer any questions you may have.
Tips And Advice For Using Your Free SVG Halloween Witch Alphabet and Number Download For Cricut
This alphabet is also perfect to make cards and cake toppers with your Cricut, check out my guides below.
- How To Add Fonts To Cricut Design Space
- How To Remove Backgrounds On Illustrator
- Cricut Design Space Guide
- How To Slice And Weld In Cricut Design Space
- How to upload to Cricut Design Space
- Using Iron On Vinyl
- Where Else To Get Free SVG Files
Also please do pop over to TikTok or Instagram, and give me a follow and if you make a project tag me! I love seeing everyone else’s makes and chatting crafting. I could do that all day! This is also where I share videos of my makes.