This is a super easy step by step tutorial to take you through How To Upload Fonts To Cricut Design Space. I think sometimes when you have been using a programme for years, you forget that the simple is not so simple to a beginner. In my bid to answer all those little questions, I have lots of little step by step design space guides.
Today we are looking at adding fonts, glyphs and special icons which once you know how, is super easy. I use a Mac, but the principle will be the same on a windows laptop or pc too. Also check out my guide to help you Add Images To Cricut Design Space.
If you want to see me create my projects, follow me on Tik Tok and Instagram.
How To Upload Fonts To Cricut Design Space
If you don’t have Design Space Access, or you just need something a little different, its super easy to upload fonts to Cricut Design Space. In 3 simple steps you can download a font and also have it uploaded to your Cricut ready to use on your next craft project. It’s that easy I promise.
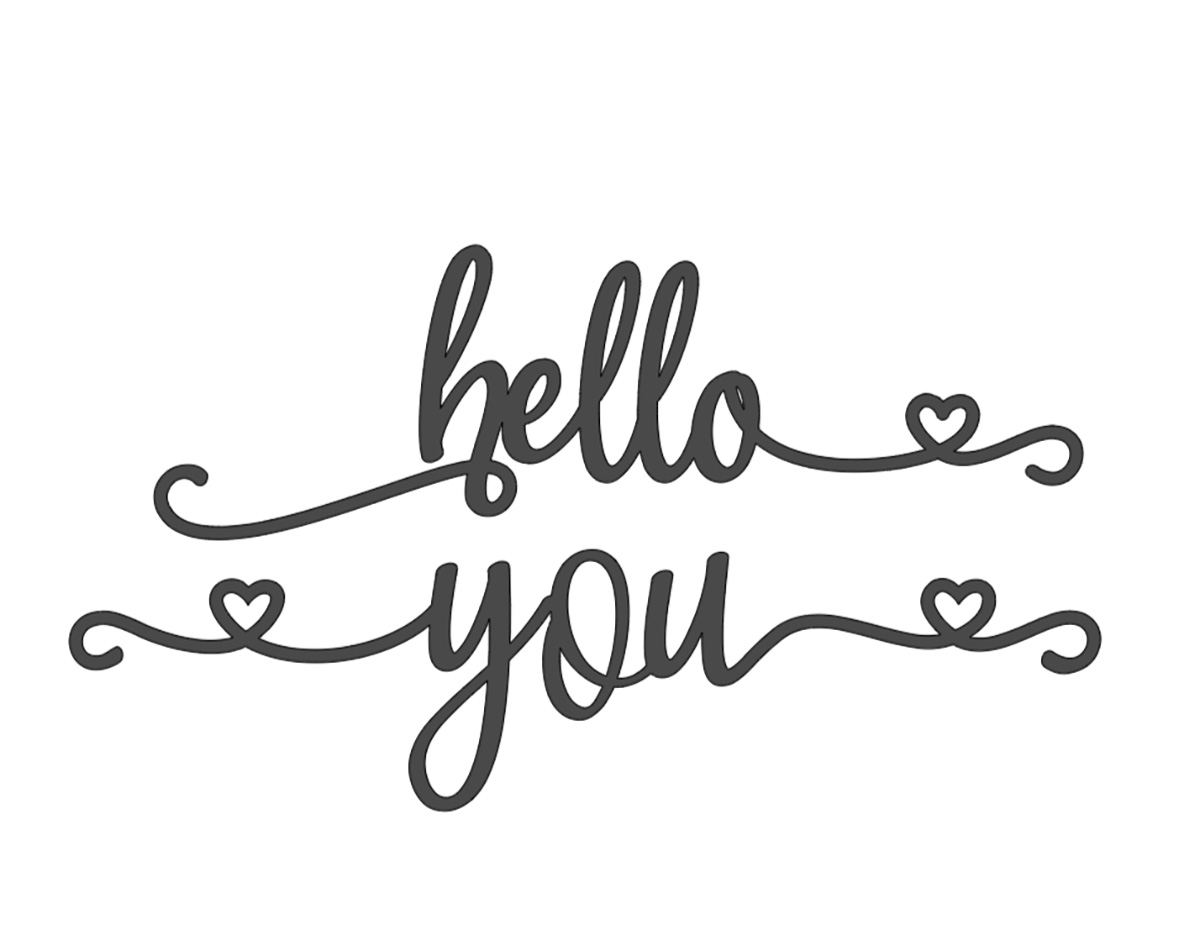
And with a few extra steps you can also add the special glyphs and icons, such as letters with swirls and hearts that give words that something extra special.
Where Can I Get Free Fonts For Cricut
There are several places you can get free fonts for uploading to Cricut, firstly start with your own system. When you choose the text box on Cricut you can find system fonts, which are yours, so free to use!
To find system fonts on Cricut simply click the text box on the side bar. A text book will appear, type a word and now click system on the top bar. You will now be offered all the fonts available to you free for use. However, you can also add to the list by uploading new fonts.

Where Else Can I Get Free Fonts For Cricut?
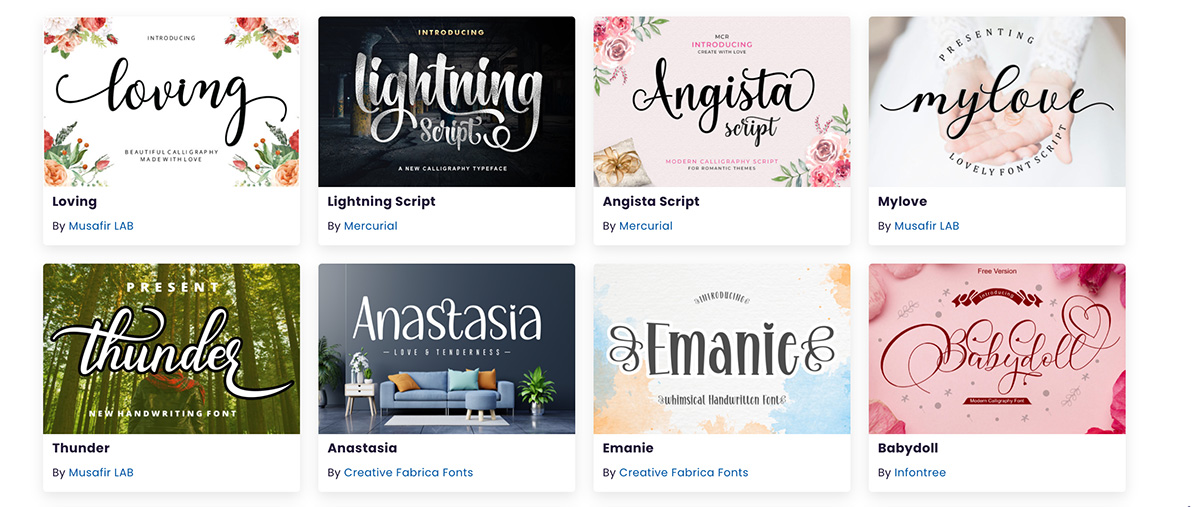
There are many sites on the internet who offer free fonts, however do make sure you check out the usage rights if you are making to sell. Although many do offer a certain amount of commercial use.
How To Upload Free Fonts To Cricut?
Start By Downloading Your Free Font
When you download a file it should go to your download folder. You can find this in finder on you Mac. If you can’t find it, check the recents folder in finder. On a PC the file will go into downloads.
Click The File You Want To Download
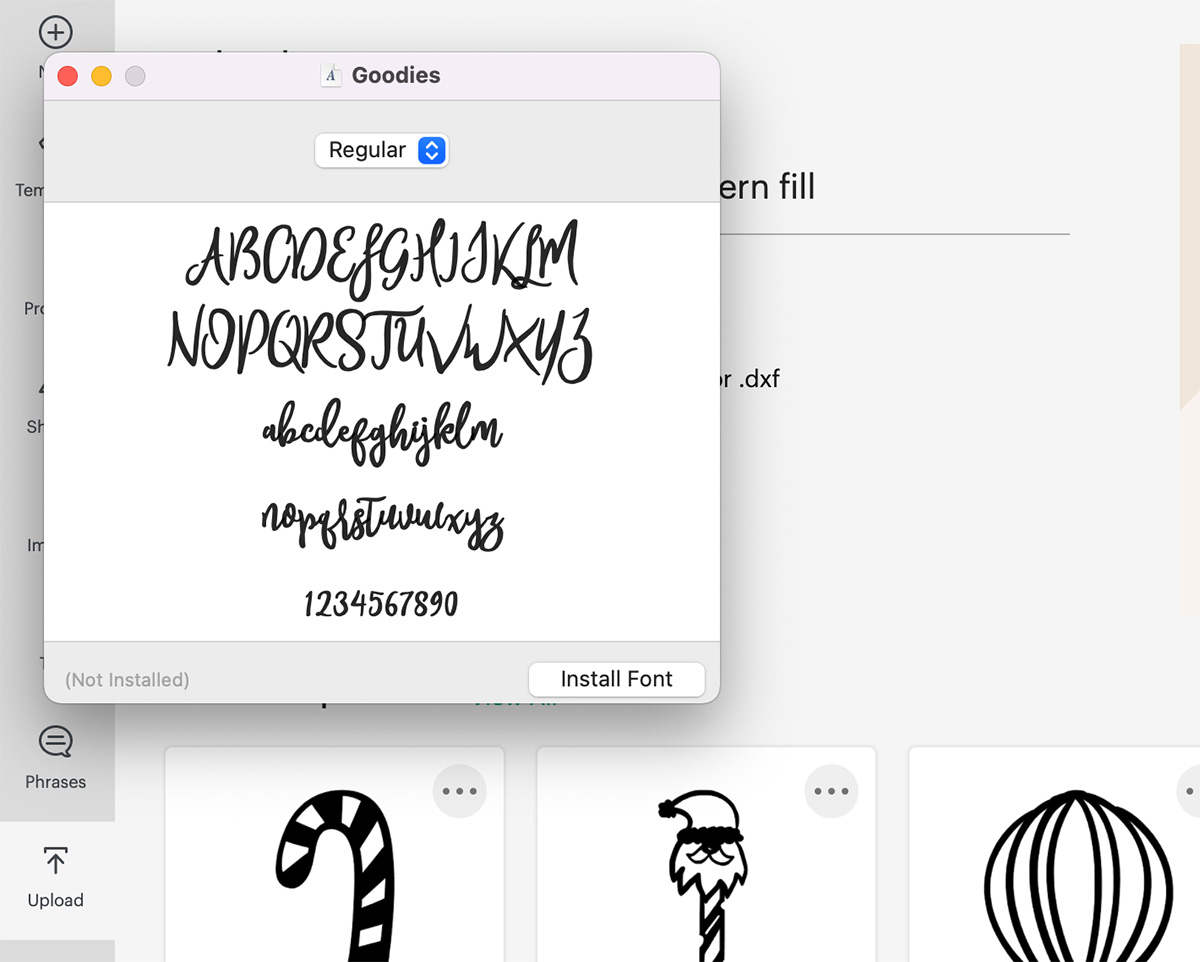
Click on the folder and choose the version you want to download. A box will open with a button on the Botton corner which says install font. Click install font and it will install onto your system. Once I have installed the font I move the font folder to my Cloud drive so its not using space on my Mac.
How To Upload The New Font To Cricut Design Space?
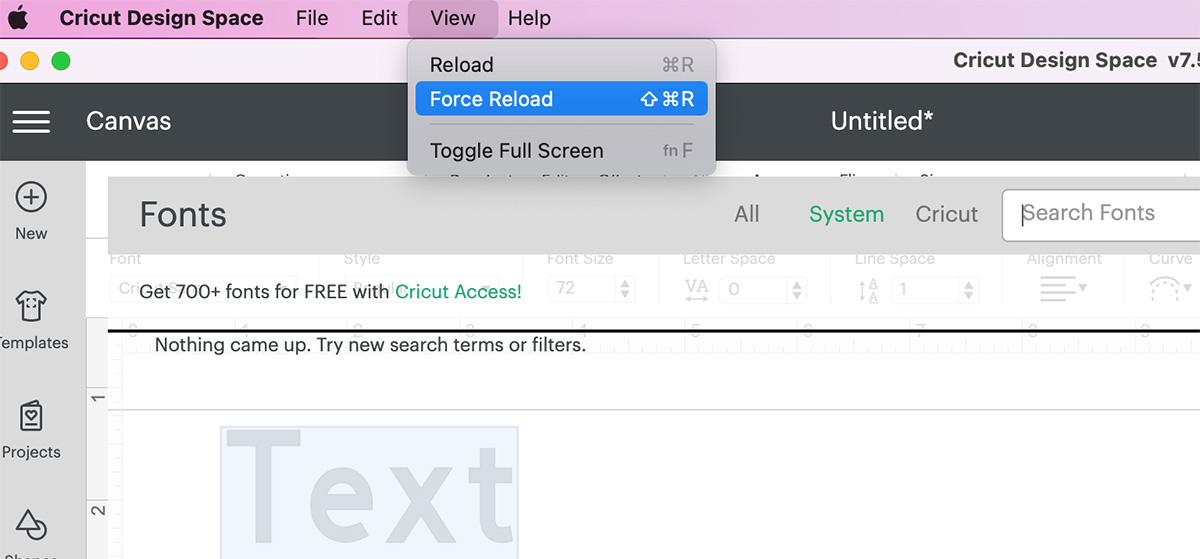
To see the new font in Cricut Design Space, firstly save any projects you are working on. Next go to the top system bar and click view, here you have two options, reload and force reload.
I generally save force reload for those times that Cricut Design Space freezes or is going extra slow. However you must save your work first. But in this instance clicking reload will work, click reload and it will refresh the system. Thus any changes not saved will be lost.
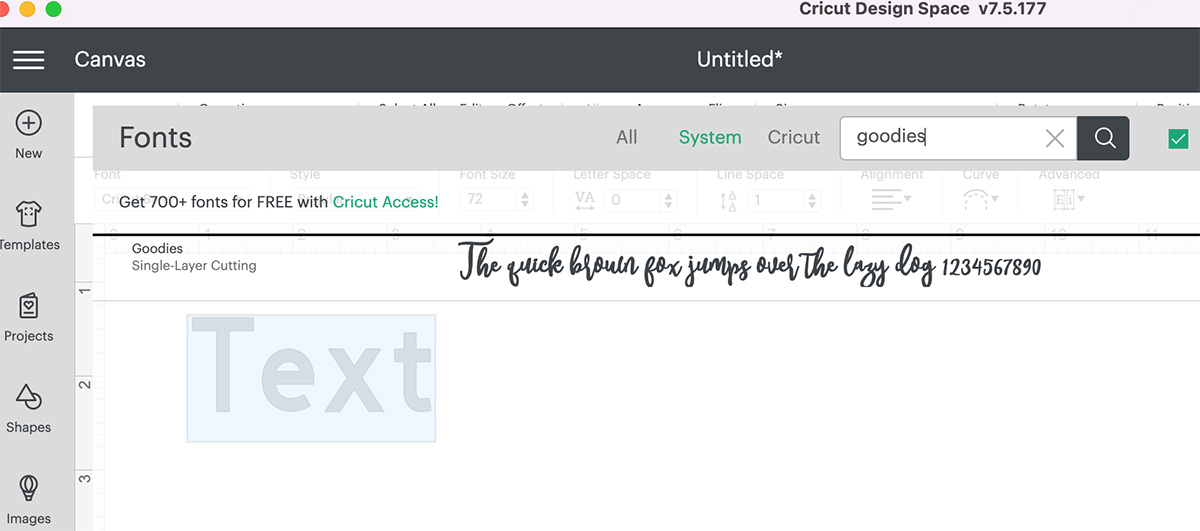
Once the system has refreshed, click on the side text box, choose system type in the name of the new font you want to use in Cricut Design Space and your font will be there. It really is that easy.
How to Upload Font Glyphs And Special Characters In Cricut Design Space
If you would like to install some of the extra’s you get with some fonts such as special characters, glyphs and swirls, there are a few extra steps. Although at first adding special characters to Cricut seems a faff! But once you have done it once or twice its a quick and easy process and worth the extra effort.
Open Font Book
Start by choosing a font you want to use and type the middle of your word in Cricut Design Space, so if you are writing Hello just type “ell” in Design Space. For this post I am using the font Magic Love, which I found over on Font Bundles.
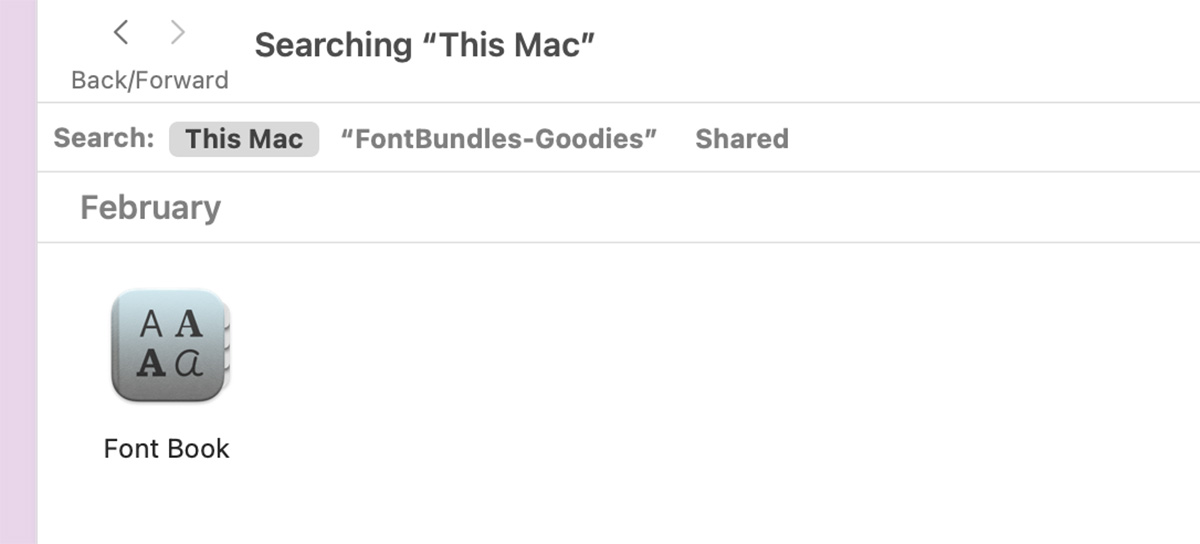
Next go to finder and type Font Book into the search bar in the top right hand corner. Click on front book and this will open up all of the available fonts.
Find The Font, Glyph Or Icon You Want To Add
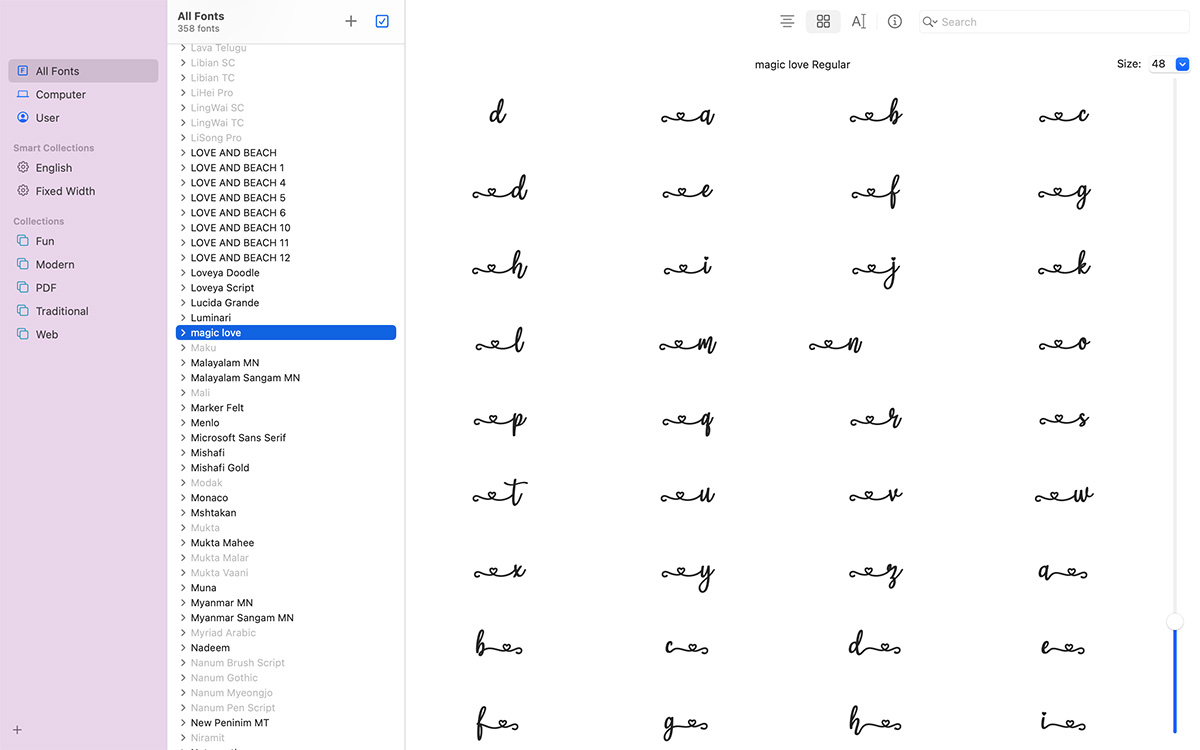
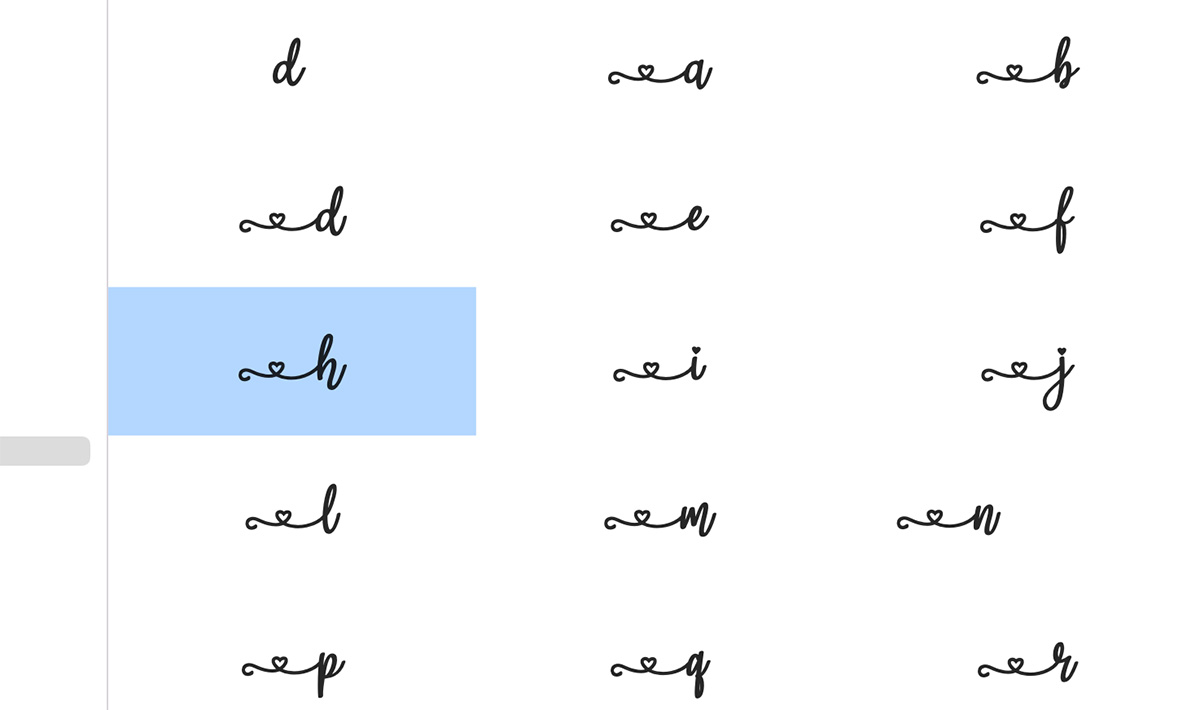
Now a window will open with all of your font choices, click on your font, in this case “Magic Love” and scroll down till you find the special characters.
Copy The Special Character
When you find the letter and character you want, note the letters have flourishes at each end, thus you will need one for each end. Click on the letter you want to highlight it and either right click and copy or click command, C to copy. Sometimes one works, sometimes the other!
Paste The Special Character Into Design Space
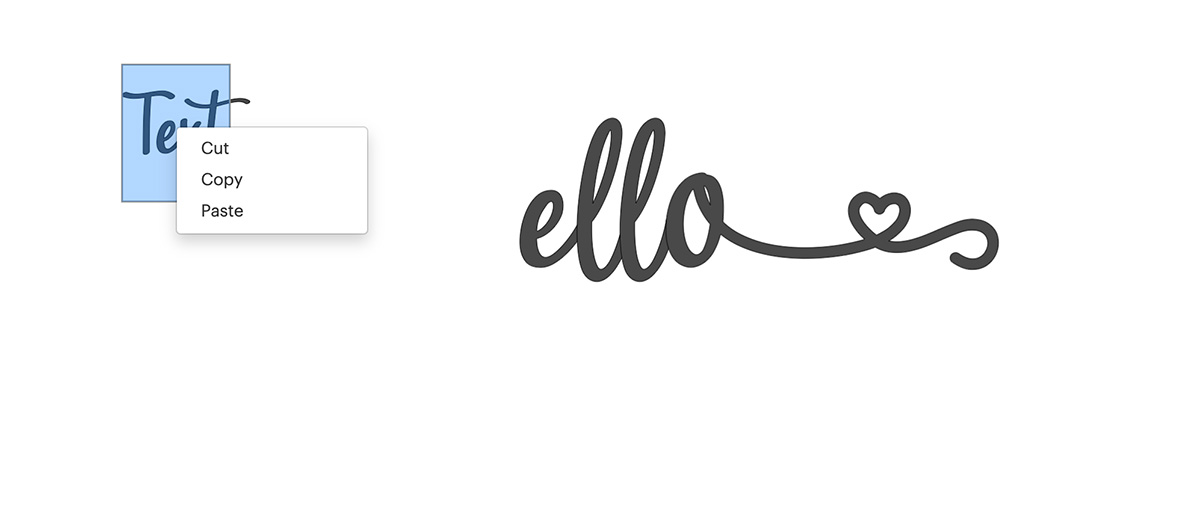
Now head back over to Cricut Design Space open a text box and paste the character into the text box. Note, it won’t wonk without the test box. You can do this by right clicking and clicking paste or holding Command, V, again there is another rhyme and reason to why sometimes one method of pasting works, sometimes the other.
Weld The Text Together
Once you have pasted the special characters you need size and align the text and weld the word together to create one word. Do this by positioning your letters, right click to select all and clicking weld on the bottom right hand bar.

And thats it, adding fonts to Cricut Design Space is super easy, and with a few extra clicks so is adding glyphs and features. Once you have done it a few times it becomes easy. Hope that helped and don’t forget to check out all of my free SVG files and Alphabets.

How To Upload Fonts To Cricut Design Space
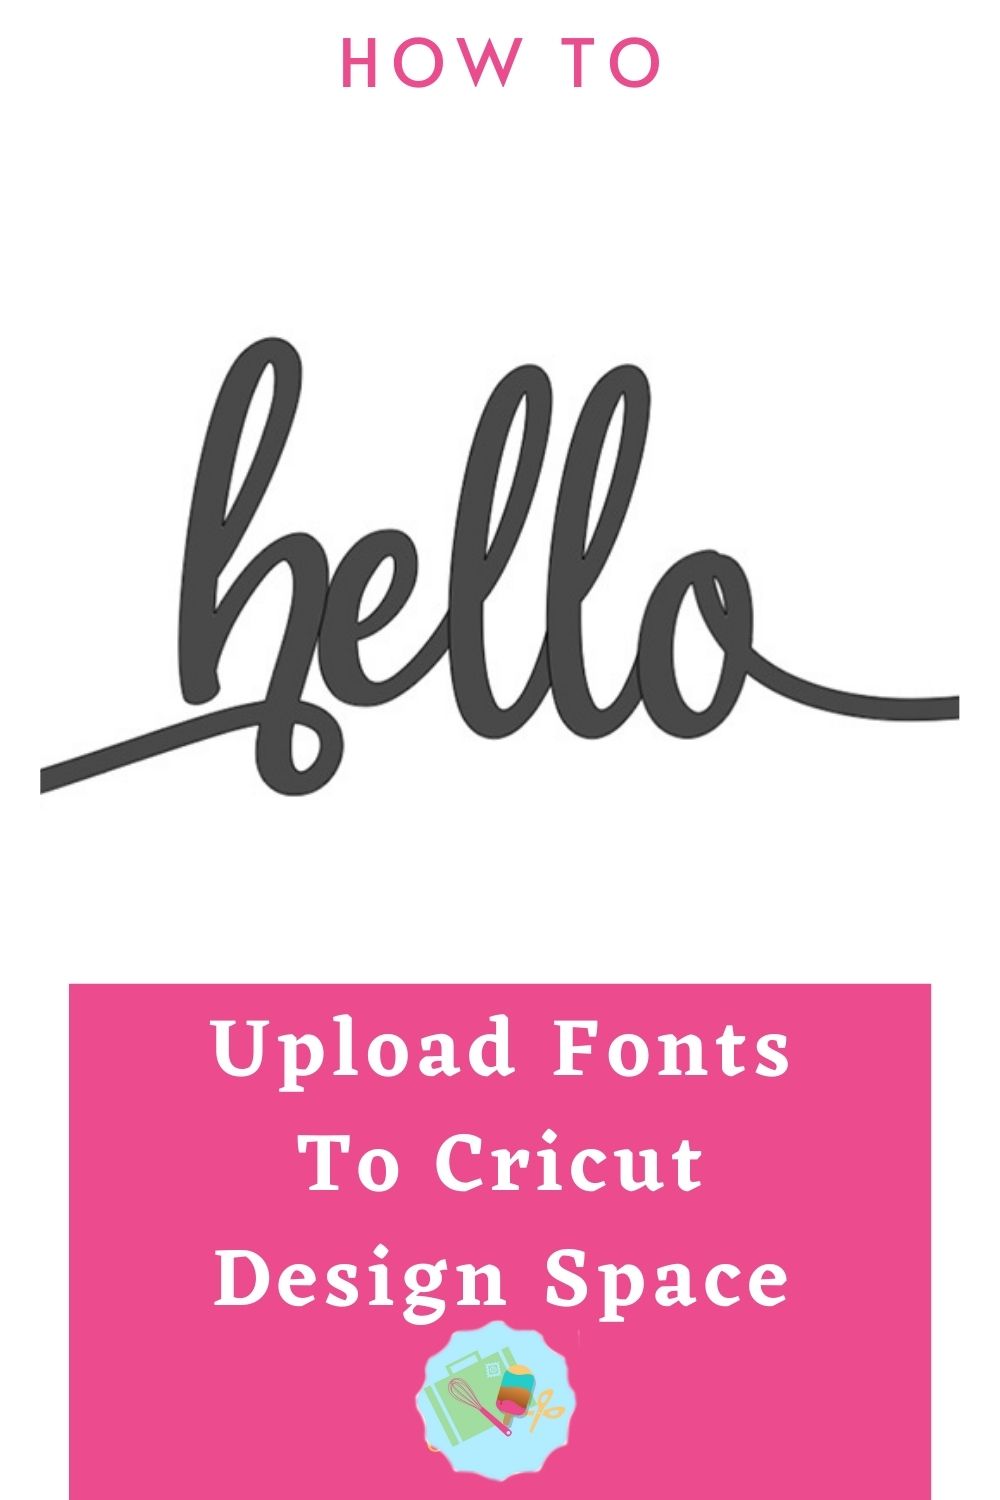
How To Upload Fonts To Cricut Design Space and step by step guide for adding fonts, special characters and glyphs to Design Space
Materials
- Any blank for Cricut Craft Projects
Tools
- Cricut Design Space
- Free Fonts
Instructions
- How To Upload Fonts To Cricut Design Space. If you don't have Design Space Access, or you just need something a little different, its super easy to upload fonts to Cricut Design Space. In 3 simple steps you can download a font and also have it uploaded to your Cricut ready to use on your next craft project. It's that easy I promise. And with a few extra steps you can also add the special glyphs and icons, such as letters with swirls and hearts that give words that something extra special.
- Where Can I Get Free Fonts For Cricut
There are several places you can get free fonts for uploading to Cricut, firstly start with your own system. When you choose the text box on Cricut you can find system fonts, which are yours, so free to use! - To find system fonts on Cricut simply click the text box on the side bar. A text book will appear, type a word and now click system on the top bar. You will now be offered all the fonts available to you free for use. However, you can also add to the list by uploading new fonts.
- How To Upload Free Fonts To Cricut? Start By Downloading Your Free Font When you download a file it should go to your download folder. You can find this in finder on you Mac. If you can't find it, check the recents folder in finder. On a PC the file will go into downloads.
- Click The File You Want To Download, Click on the folder and choose the version you want to download. A box will open with a button on the Botton corner which says install font. Click install font and it will install onto your system. Once I have installed the font I move the font folder to my Cloud drive so its not using space on my Mac.
I generally save force reload for those times that Cricut Design Space freezes or is going extra slow. However you must save your work first. But in this instance clicking reload will work, click reload and it will refresh the system. Thus any changes not saved will be lost.
- Select The New Font In Cricut Design Space, Once the system has refreshed, click on the side text box, choose system type in the name of the new font you want to use in Cricut Design Space and your font will be there. It really is that easy.
- How to Use Font Glyphs And Special Characters In Cricut Design Space If you would like to install some of the extra's you get with some fonts such as special characters, glyphs and swirls, there are a few extra steps. Although at first adding special characters to Cricut seems a faff! But once you have done it once or twice its a quick and easy process and worth the extra effort.
- Open Font Book
Start by choosing a font you want to use and type the middle of your word in Cricut Design Space, so if you are writing Hello just type "ell" in Design Space. For this post I am using the font Magic Love, which I found over on Font Bundles. - Find The Font, Next go to finder and type Font Book into the search bar in the top right hand corner. Click on front book and this will open up all of the available fonts.
- Find The Font, Glyph Or Icon You Want To Add, Now a window will open with all of your font choices, click on your font, in this case "Magic Love" and scroll down till you find the special characters.
- Copy The Special Character, When you find the letter and character you want, note the letters have flourishes at each end, thus you will need one for each end. Click on the letter you want to highlight it and either right click and copy or click command, C to copy. Sometimes one works, sometimes the other!
- Paste The Special Character Into Design Space, Now head back over to Cricut Design Space open a text box and paste the character into the text box. Note, it won't wonk without the test box. You can do this by right clicking and clicking paste or holding Command, V, again there is another rhyme and reason to why sometimes one method of pasting works, sometimes the other.
- Weld The Text Together, Once you have pasted the special characters you need size and align the text and weld the word together to create one word. Do this by positioning your letters, right click to select all and clicking weld on the bottom right hand bar.
Recommended Products
As an Amazon Associate and member of other affiliate programs, I earn from qualifying purchases.

Thank you so much for this tutorial on adding fonts to cricut design space.
You are so welcome Gail