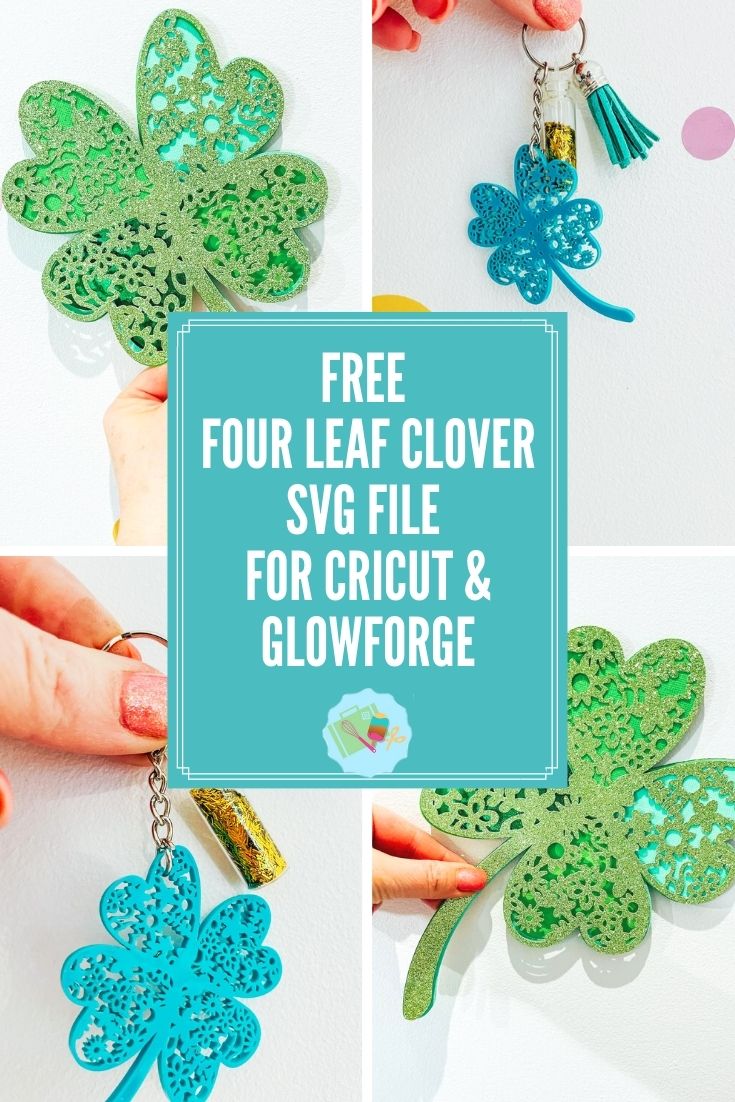
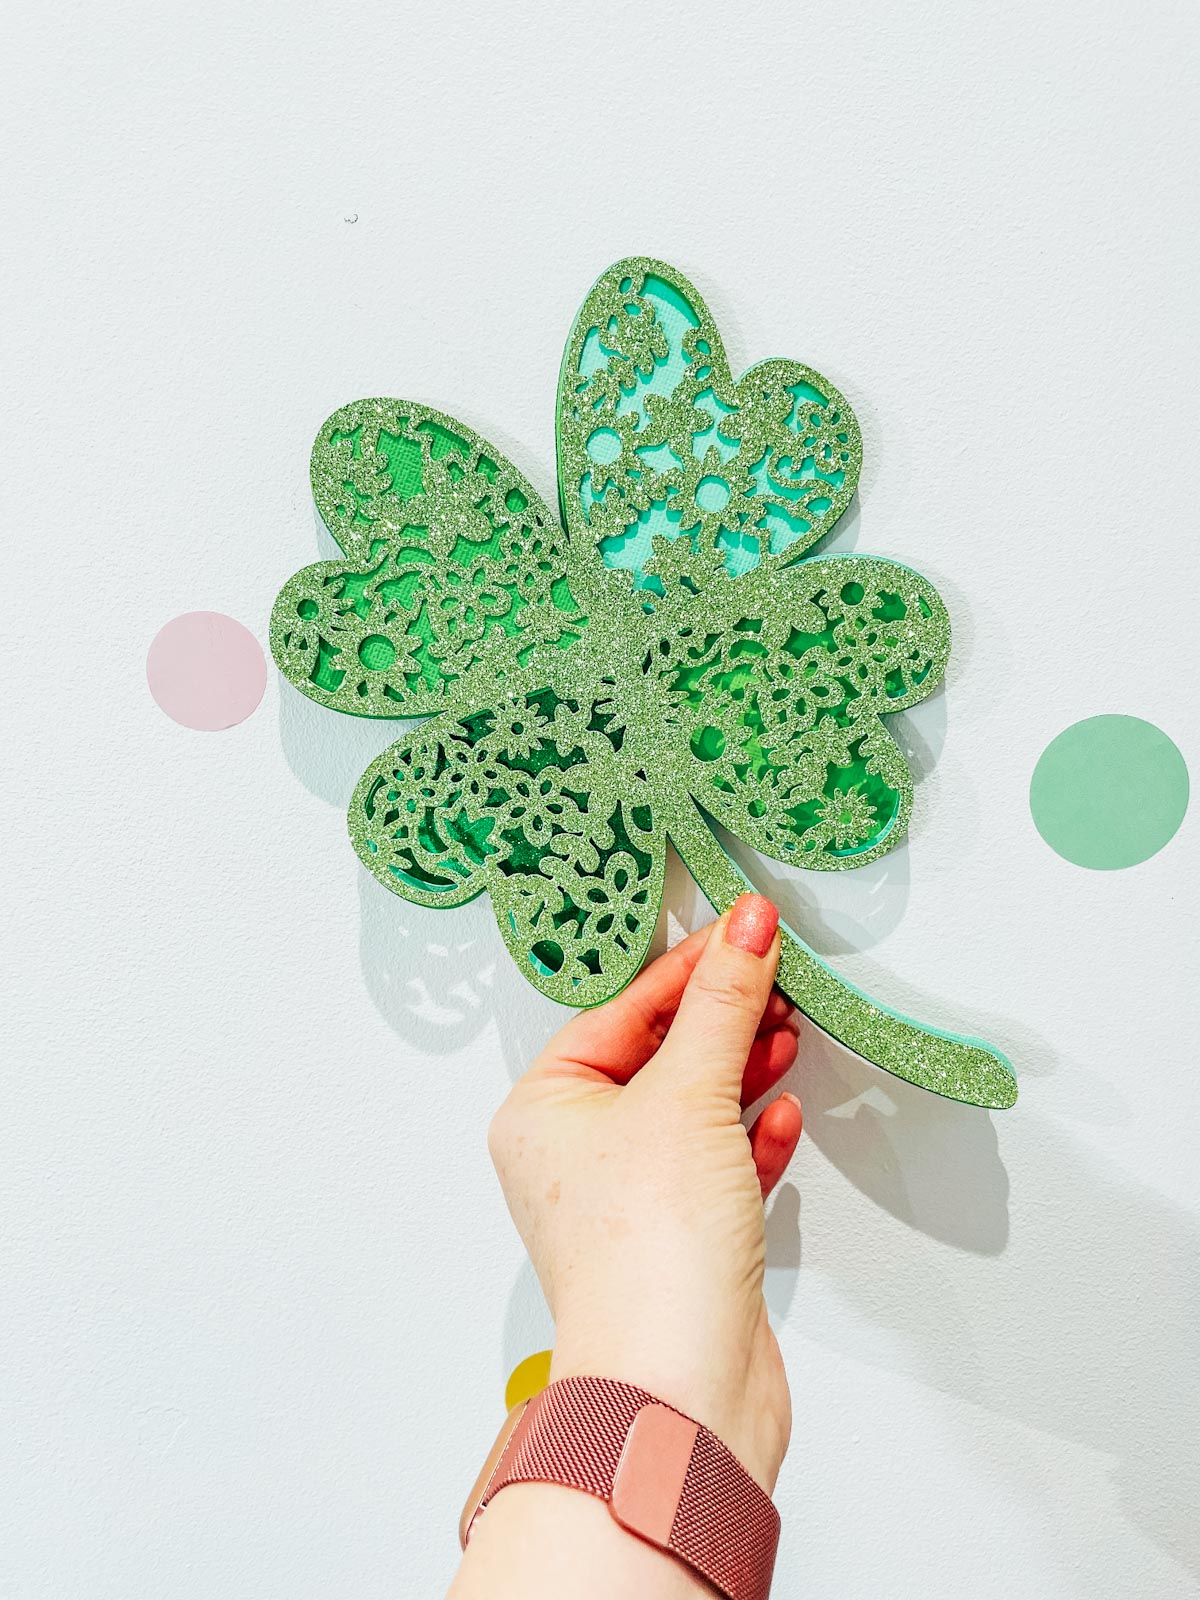
St.Patricks day is not far away, the 17th March is the day we celebrate all thing Irish. St. Patrick’s Day is celebrated to observe of the death of St. Patrick, the patron saint of Ireland. This holiday has evolved into a wonderful celebration of Irish culture and the life of Saint Patrick. Thus it seems fitting that I create a Free Free Four Leaf Clover SVG to use with wood, acrylic, card and vinyl and of course it had to be glittery and green. If you are celebrating this year also check out my ST Patricks Day alphabet.
St. Patrick is said to have been born in Roman Britain in the late 4th century, however was kidnapped at the age of 16 and taken to Ireland as a slave. He managed to escape but returned in around 432 to spread the word of Christianity. When he died on March 17, 461, he had formed many churches, schools and monasteries. Of course many urban myths have been built around St Patrick, this giving us leprechauns, rainbows and pots of gold.
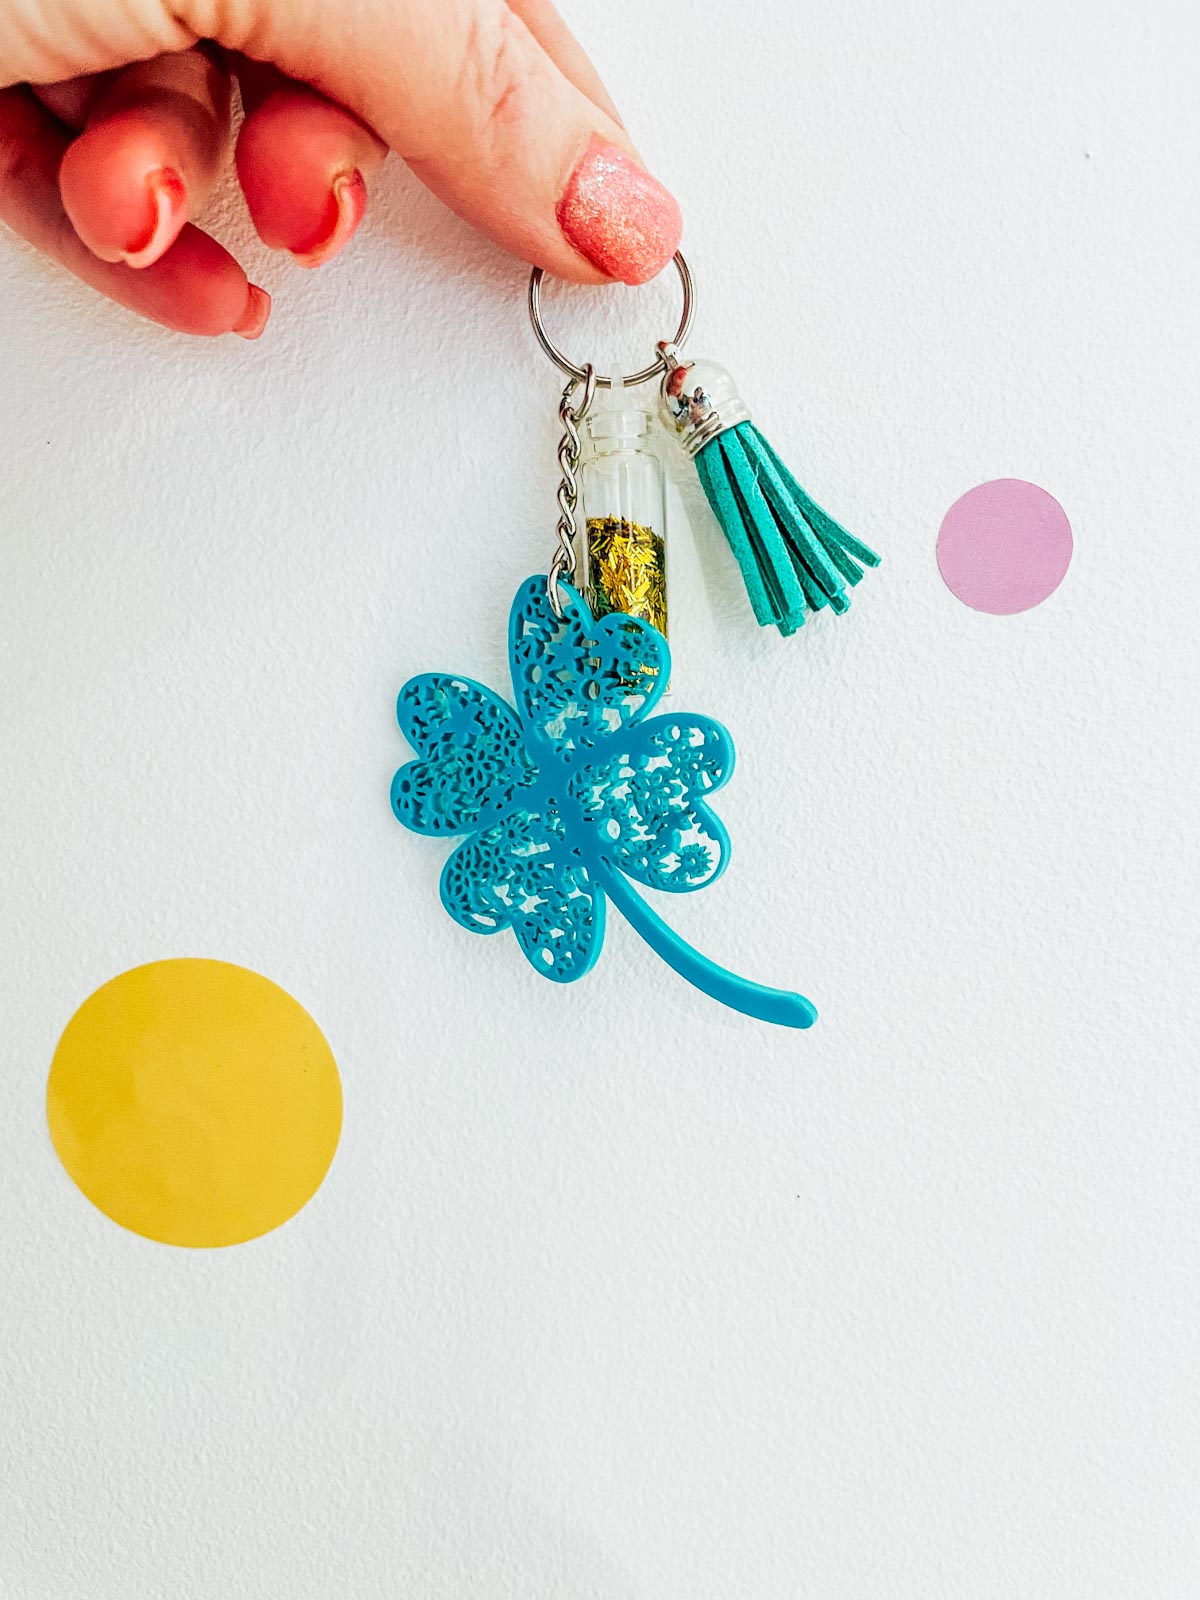
This gave me the perfect opportunity to create a gorgeous 4 leaf clover keyring with its very own pot of gold. But also a layered 4 leaf clover with card stock. However as with all my layered files you can use whatever layers you wish, some, one or all. This gives you a lot more creative versatility.
This post may contain affiliate links. Which means I may receive a small commission if you click a link and purchase something that I have recommended at no extra cost to yourself. Also as an amazon, Cricut and Glowforge associate, I earn from qualifying purchases.
What You Will Find Here
Project Ideas For My Layered Free Four Leaf Clover SVG For St Patricks Day Crafts
- St Patricks Day Cards
- St Patricks Day Cake Toppers
- Acrylic Four Leaf Clover Keyring With Glowforge
- Use Pegs And String For Clover Banners For St Patricks Day
- Framed Art
- Iron On Vinyl Hoops
- Welcome Signs
- Engraved Chopping Boards
- Decoupage Clover Cushions
- Scrapbooking Pages
How To Make My Four Leaf Clover SVG
What Do I Need To Make My Four Leaf Clover With My Free SVG On Cricut Or Glowforge
- Cricut Maker, to cut out of Cardstock or Glitter Card
- Sticky Pads
- Glue
- Weeding Tools
- Brayer
- Glitter Card Stock, the I used the pastel pack and plain card-stock for some of the layers.
Or
- A Glowforge Printer
- Teal or Green Acrylic (Proofgrade)
- Or you could use Plywood and Spraypaint for a coloured effect.
- Key Chains and Tassels
- Mini Glitter Bottles

Also Use My Glowforge Discount Code To Get The Following Discounts If you Are Thinking Of Investing.
- Glowforge Pr, $500 USD.
- The Glowforge Plus, $250 USD
- Glowforge Basic, $125 USD
If you are UK based your Glowforge will ship from the UK.

How To Upload My File To Glowforge?
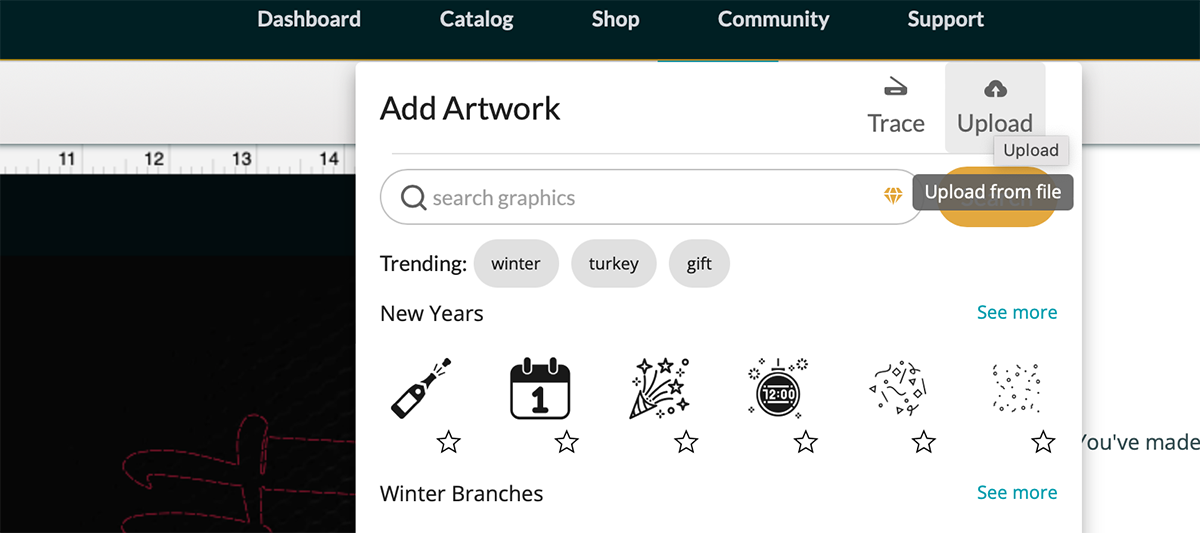
If you are cutting on Glowforge, make sure you upload the SVG file to cut, you are unable to cut PNG files. ( However can engrave PNG files.) Simply click the + sign in the top bar, choose upload and select your Four Leaf Clover SVG files. Now drag the file to the correct size and click on the image to select the cut or engrave option.
You can now select the correct materials for whatever machine you are using, and send your project to cut or engrave.
Remove the protective layer from your clover and add your keychain and glitter bottle.
Making Your Layered Four Leaf Clover On Cricut
Line Up Your Layers In Cricut Design Space
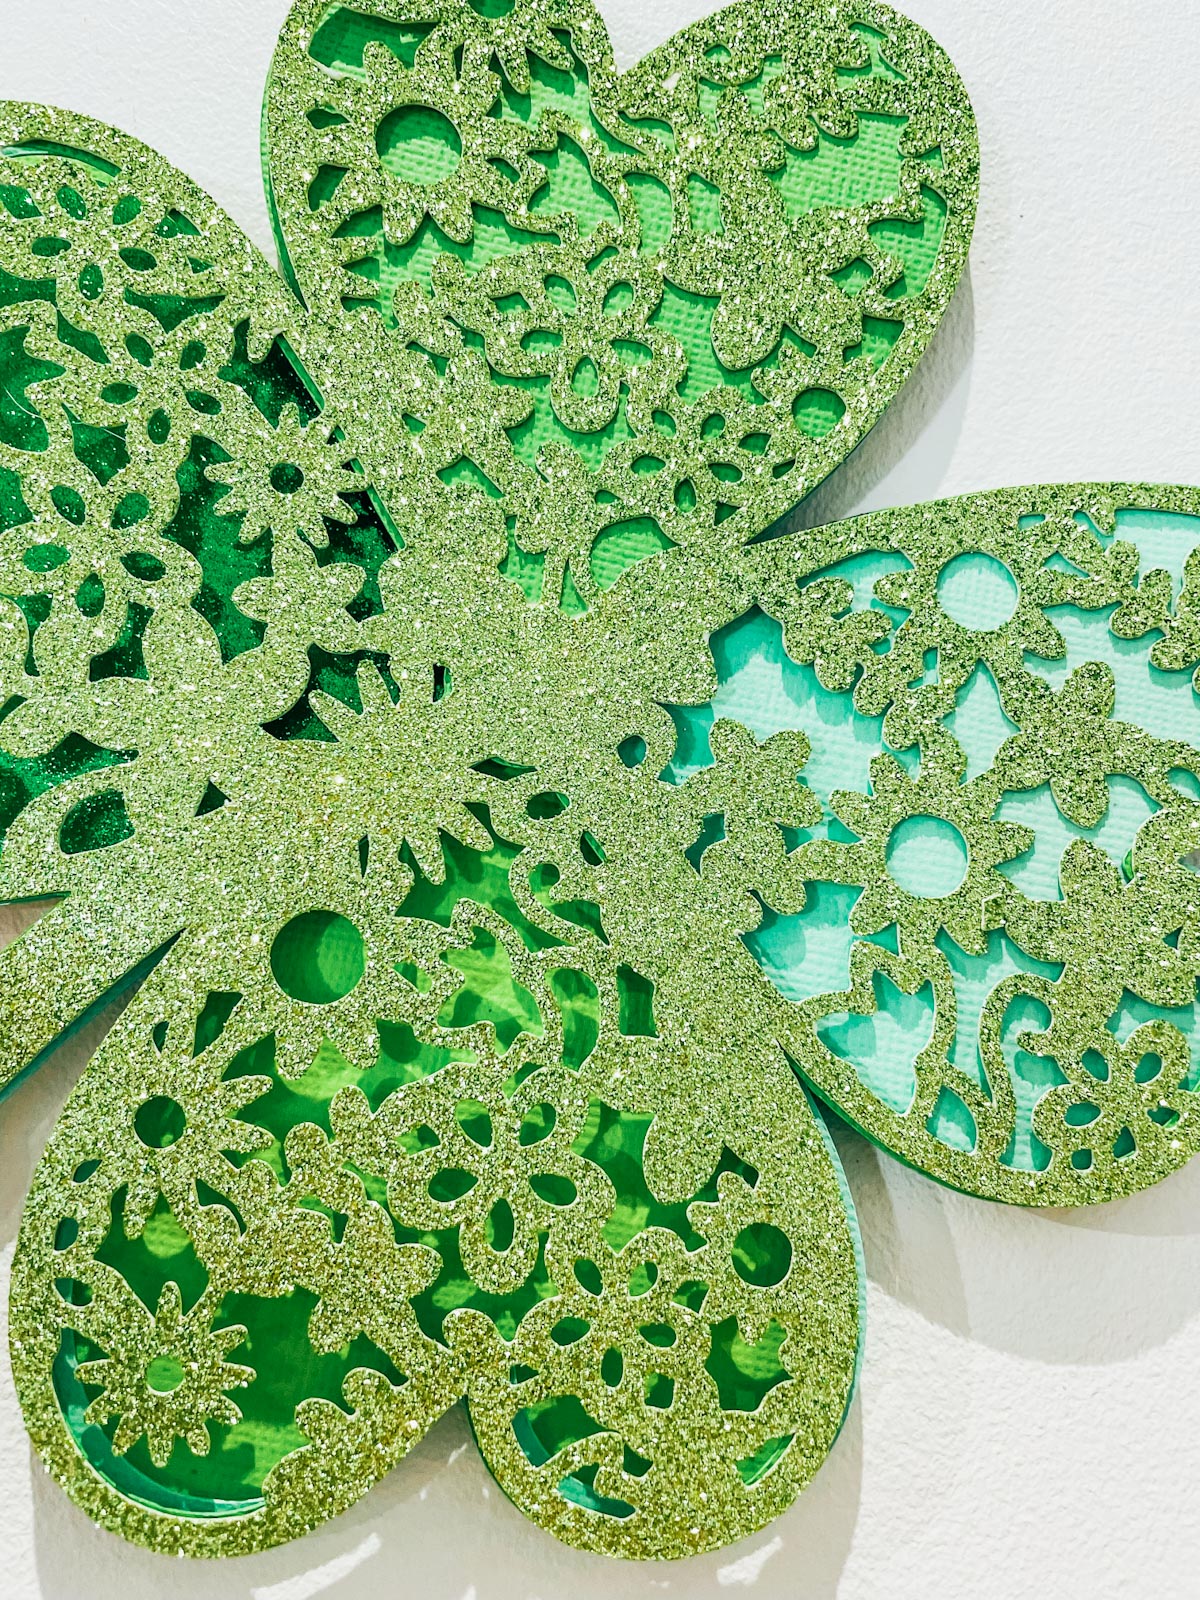
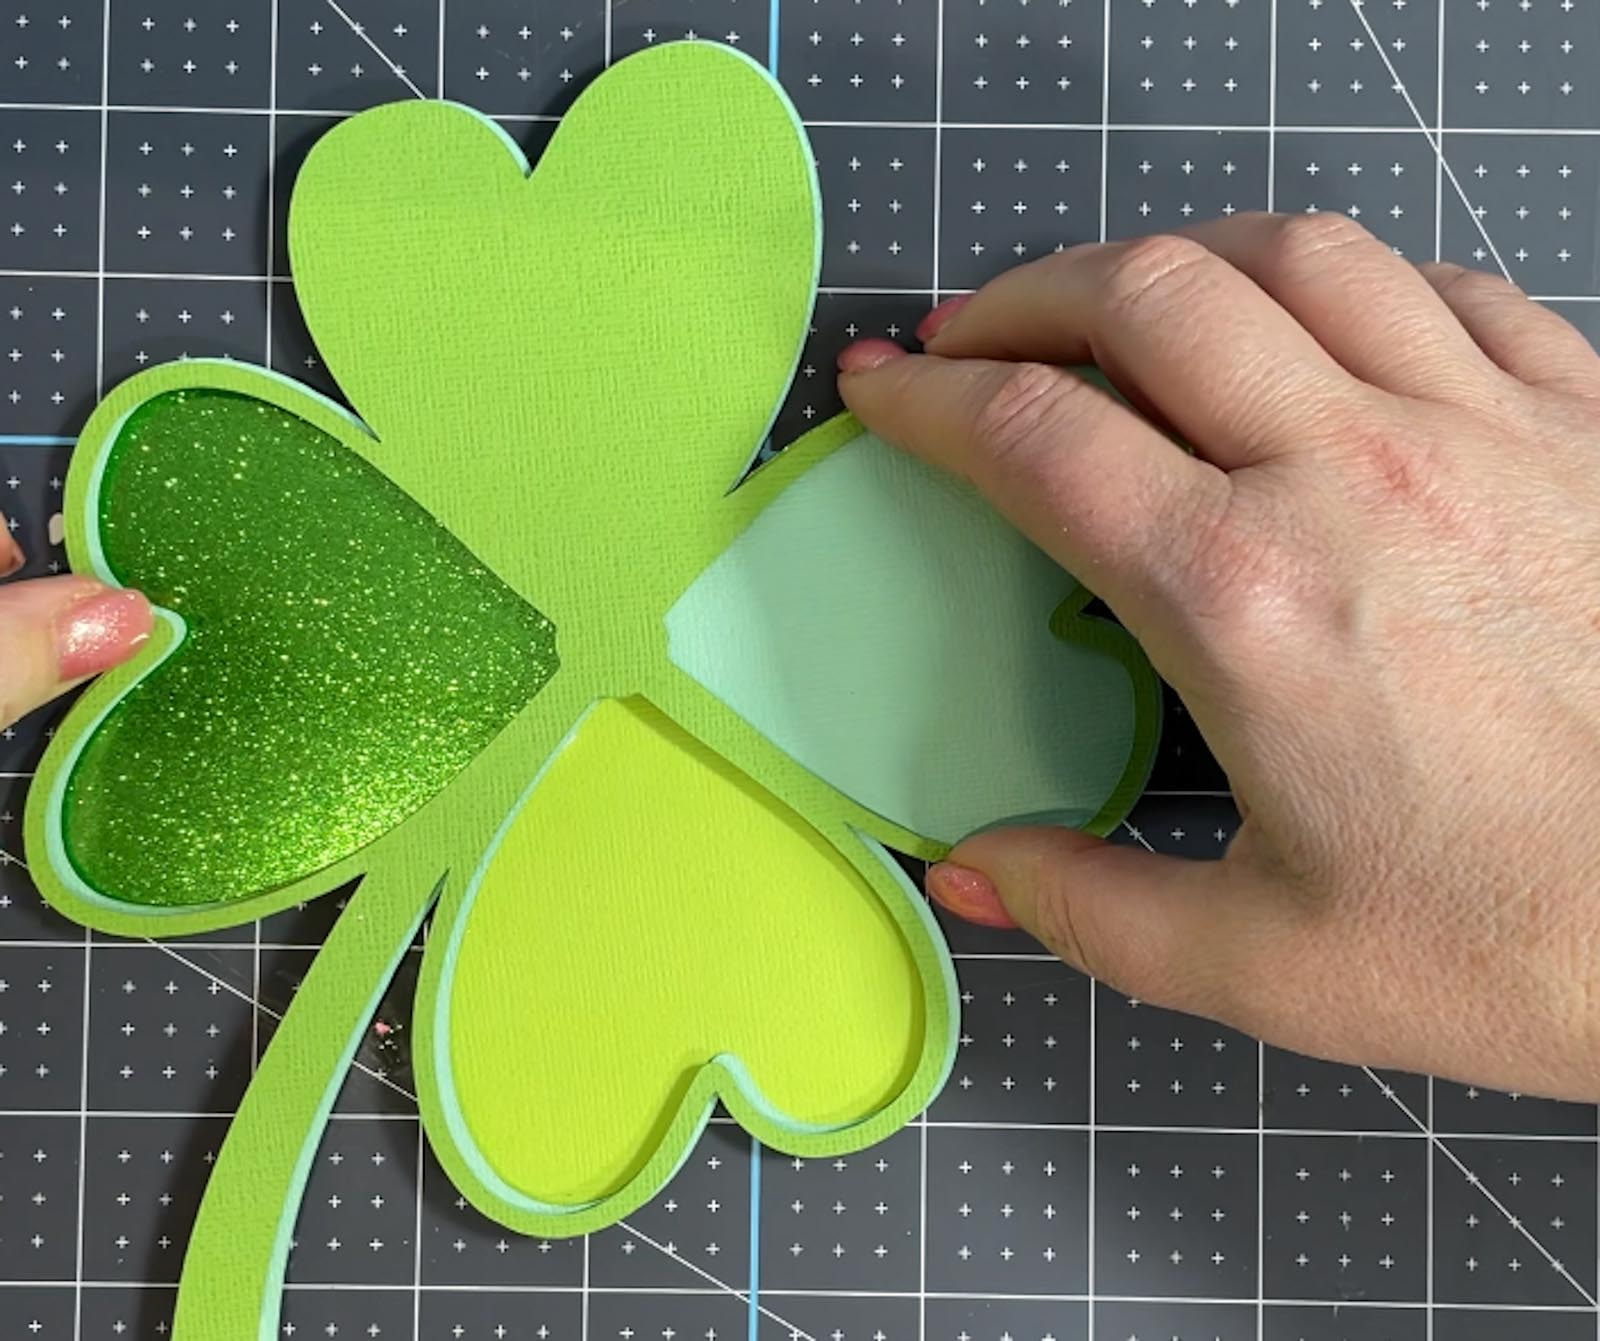
My Four Leaf Clover SVG files comes as a 5 layer project, so its all ready to upload to your Cricut Design Space and cut.
Once uploaded, line up all the layers in design space to confirm all files line up correctly and exactly the same size. Remember you are using 5 colours in this case so have the card stock ready to hand and really think about the colours.
Cutting Your St Patricks Day Four Leaf Clover SVG On Cricut
When you send your Four Leaf Clover SVG/PNG files to your Cricut to cut, ensure you use your brayer to roll the paper, vinyl or card to adhere to the mat. Movement will affect the cut.

How To Build Your Four Leaf Clover Layered File
I have suggested an order on the 5 files which makes sense and the layers are numbered accordingly. I suggest lining up first to ensure you have the order right and have your clover the correct way round.
Start by placing the back Four Leaf Clover SVG layer face up, and sticking foam pads to the back of your layer 2.
Now flip the layer over and position onto the back layer, making sure it lines up. Keep going layer by layer until you get to the top layer, I attached the top layer with glue as there was more detail and felt it would look neater.

How To Get Your Four Leaf Clover SVG/PNG Files
Click here or the image below to get your free downloadable Four Leaf Clover SVG/png files from our shop, and follow these instructions to add to Cricut Design Space.
If You’re Having Problems?
Check out my trouble shooting page, hopefully it will answer any questions you may have.
Tips And Advice For Using Your Download For Cricut
- Cricut Design Space Guide
- How To Slice And Weld In Cricut Design Space
- How to upload to Cricut Design Space
- Using Iron On Vinyl
- Where Else To Get Free SVG Files
Also please do pop over to Instagram, and give me a follow and if you make a project tag me! I love seeing everyone else’s makes and chatting crafting. I could do that all day! Additionally I also post daily videos of my makes in progress.


Layered 4 Leaf Clover with Cricut
How to make a layered Four Leaf Clover SVG For St Patricks Day Crafts with Cricut for signs, cards and banners.
Materials
- Sticky Pads
- Glue
- Glitter Card Stock, the I used the pastel pack and plain card-stock for some of the layers.
Tools
- Cricut Maker, to cut out of Cardstock or Glitter Card
- Weeding Tools
- Brayer
Instructions
- How To Get Your Four Leaf Clover SVG/PNG Files.
Click to get your free downloadable Four Leaf Clover SVG/png files and follow these instructions to add to Cricut Design Space. Don’t forget to turn off any pop up blockers, and if your email doesn’t come through check your spam folder. If you are already a subscriber check the members area on the main page and the files are ready for you there. - Line Up Your Layers In Cricut Design Space
My Four Leaf Clover SVG files comes as a 5 layer project, so its all ready to upload to your Cricut Design Space and cut. Once uploaded, line up all the layers in design space to confirm all files line up correctly and exactly the same size. Remember you are using 5 colours in this case so have the card stock ready to hand and really think about the colours. - Cutting Your St Patricks Day Four Leaf Clover SVG On Cricut
When you send your Four Leaf Clover SVG/PNG files to your Cricut to cut, ensure you use your brayer to roll the paper, vinyl or card to adhere to the mat. Movement will affect the cut. - How To Build Your Four Leaf Clover Layered File
I have suggested an order on the 5 files which makes sense and the layers are numbered accordingly. I suggest lining up first to ensure you have the order right and have your hearts the correct way round.
Start by placing the back Four Leaf Clover SVG layer face up, and sticking foam pads to the back of your layer 2.
Now flip the layer over and position onto the back layer, making sure it lines up. Keep going layer by layer until you get to the top layer, I attached the top layer with glue as there was more detail and felt it would look neater.
Notes
Project Ideas For My Layered Free Four Leaf Clover SVG For St Patricks Day Crafts
St Patricks Day Cards
St Patricks Day Cake Toppers
Acrylic Four Leaf Clover Keyring With Glowforge
Use Pegs And String For Clover Banners For St Patricks Day
Framed Art
Iron On Vinyl Hoops
Welcome Signs
Engraved Chopping Boards
Decoupage Clover Cushions
Scrapbooking Pages
Recommended Products
As an Amazon Associate and member of other affiliate programs, I earn from qualifying purchases.

