My Free Bumble Bee SVG was inspired by the creeping in of lighter evenings, isn’t it glorious to be able to walk the dogs in daylight? That got me thinking of Spring and Easter Crafts and of course you think of Spring, you think of new life, flowers and Bee’s.
I also have a Bee Alphabet which is super cute. However for now my Bee SVG is perfect for Cricut, Glowforge and Silhouette.
The download comes as an SVG and PNG one layer file and can be used as a single layer or if you follow the tutorial below can be converted to a multi layer mandala file.

This post may contain affiliate links. Which means I may receive a small commission if you click a link and purchase something that I have recommended at no extra cost to yourself. As an amazon, Cricut and Glowforge associate, I earn from qualifying purchases.
What You Will Find Here
Project Ideas For My Bumble Bee SVG
- Bee Themed Cards
- Bumble Bee Cake Toppers
- Wooden Art With Glowforge
- Use Pegs And String For Hanging Bee Banners
- Framed Art
- Iron On Vinyl Hoops
- Hanging Wooden Signs With Glowforge
- Nursery Decor
- Layered SVG File
- Welcome Signs
- Decoupage Bee Cushions
- Scrapbooking Pages
- Bumble Bee Disks For Glowforge
How To Cut Or Engrave My Bee SVG
What Do I Need To Make My Bumble Bee SVG Free SVG On Cricut Or Glowforge
- A Glowforge Printer
- Maple Plywood

Or
- Cricut Maker
- Weeding Tools
- Brayer
- Glitter Card Stock, the classic pack
- Plain Coloured Card Stock, I used American Crafts Card Stock
- Sticky Pads

Also Use My Glowforge Discount Code To Get The Following Discounts If you Are Thinking Of Investing.
- Glowforge Pr, $500 USD.
- The Glowforge Plus, $250 USD
- Glowforge Basic, $125 USD
If you are UK based your Glowforge will ship from the UK.
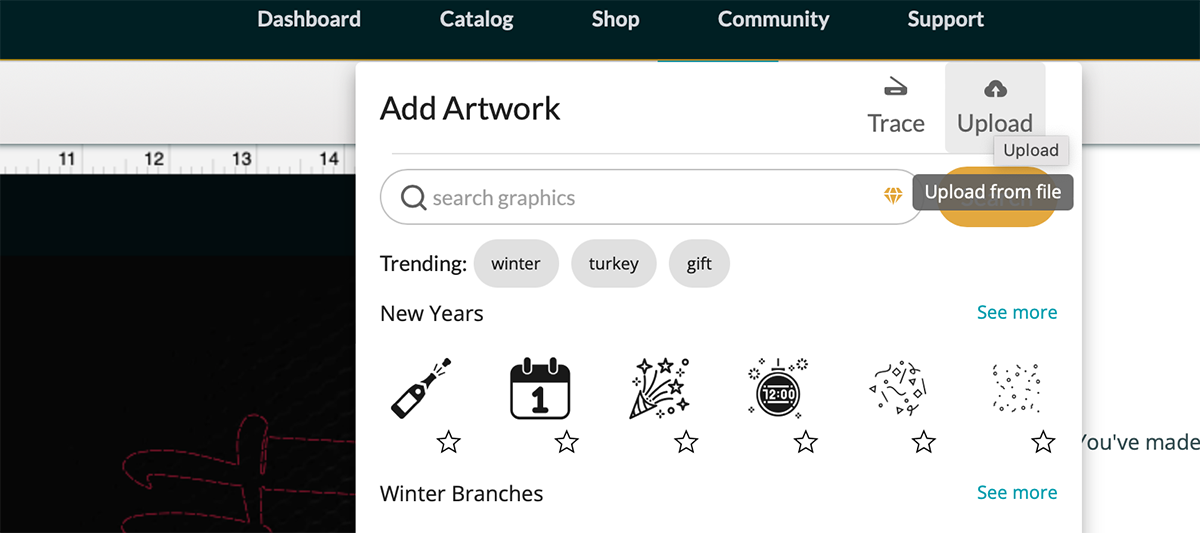
How To Upload My File To Glowforge?
If you are cutting on Glowforge, make sure you upload the SVG file to cut, you are unable to cut PNG files. ( However can engrave PNG files.) Simply click the + sign in the top bar, choose upload and select your Bee SVG files. Now drag the file to the correct size and click on the image to select the cut or engrave option.
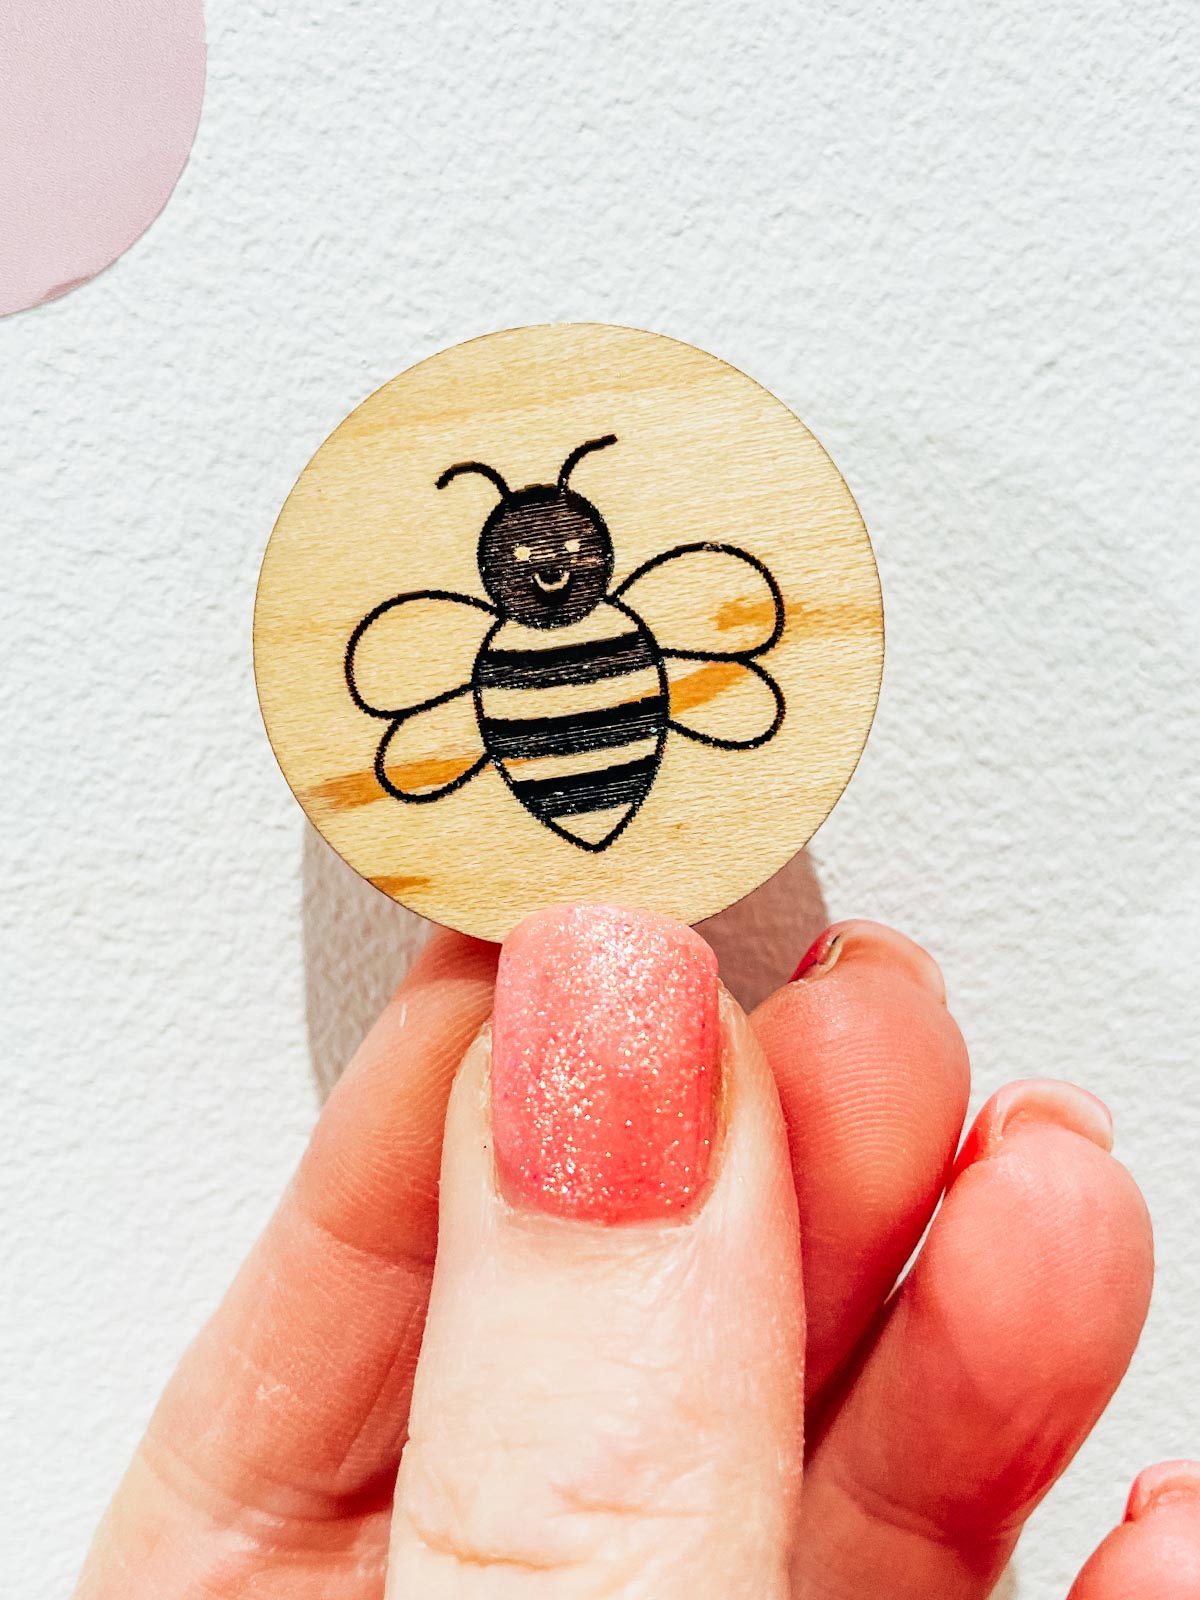
You can now select the correct materials for whatever machine you are using, and send your project to cut or engrave. You have many options now, I engraved my Bee games disk onto a circle you could also and put a message on the back to make the game more interesting.
Start by adding a circle to Glowforge Studio, set the circle to cut and position your Bee inside the circle and set that to engrave. If you want to create multiple disks, select all and copy your file. When you are happy press print.
How To Make A Layered Bumble Bee SVG On Cricut
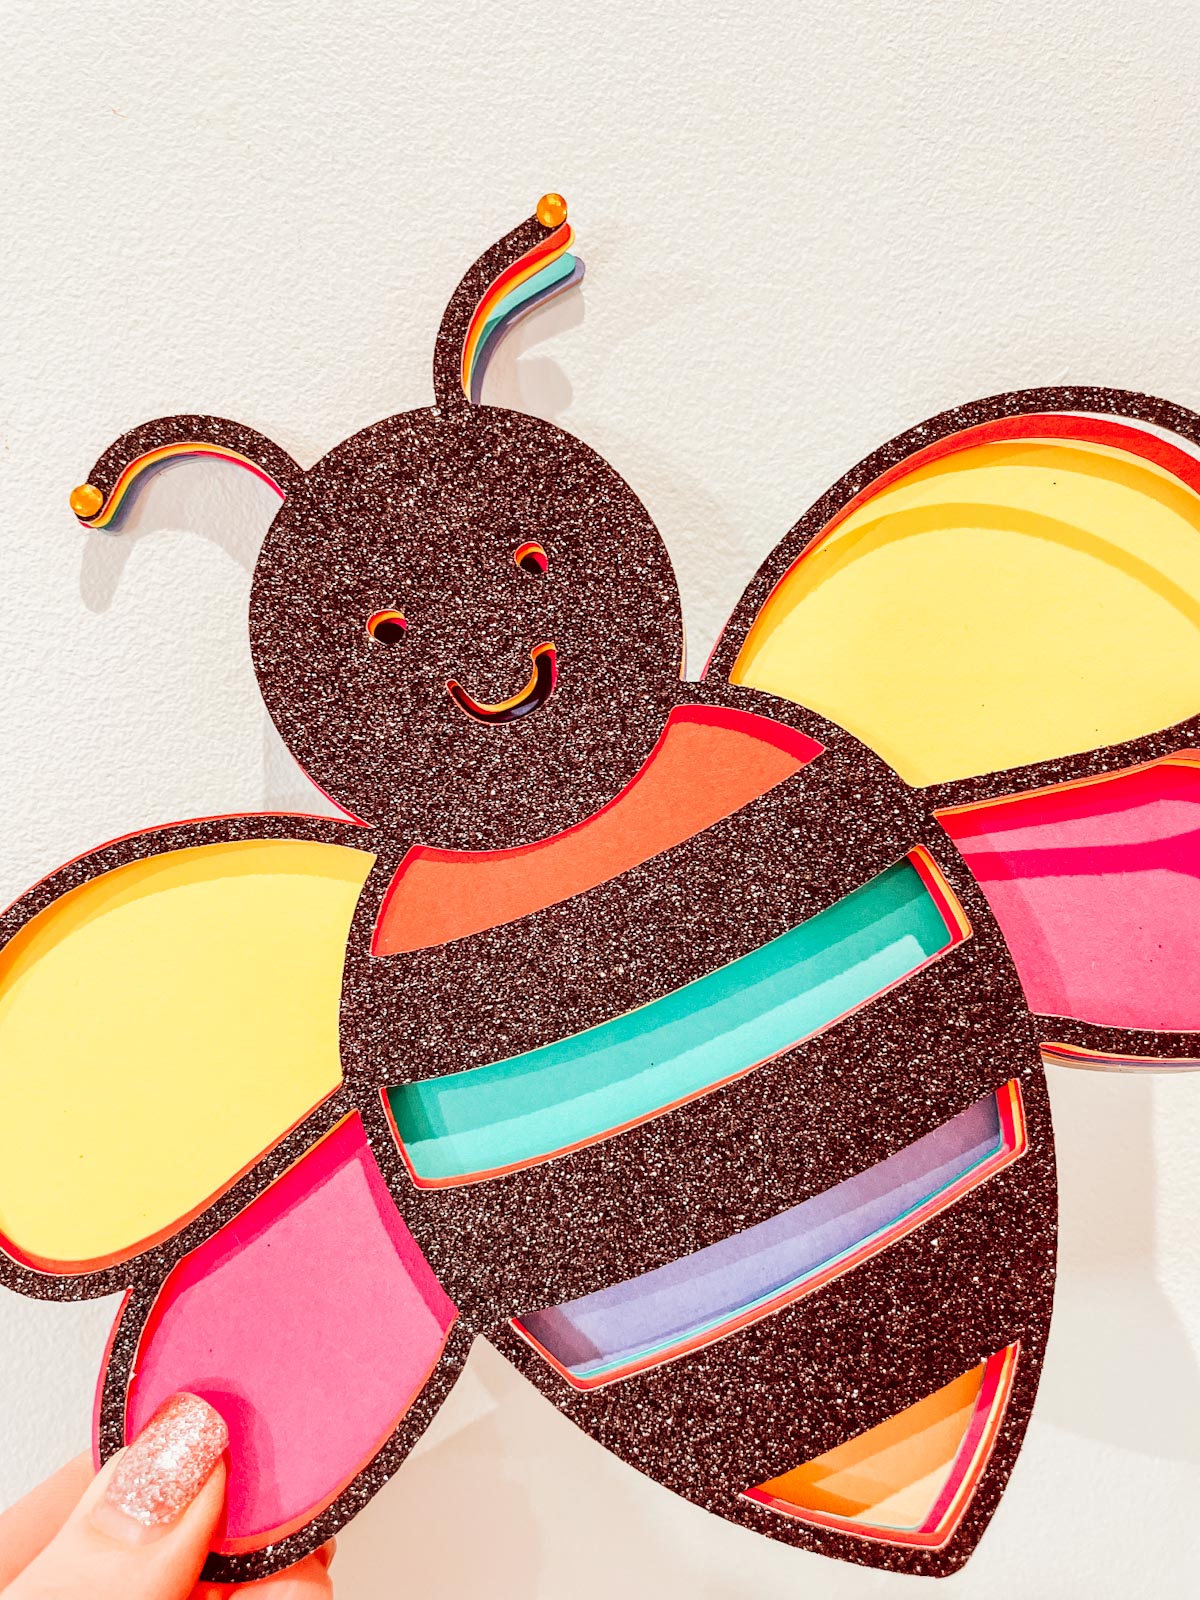
Making Your Layered Rainbow Bee In Cricut Design Space
Start by uploading your Bee SVG to Cricut Design Space. I wanted a layer to represent all the colours of the rainbow so created my layered accordingly, however you can create as many as you want.
Click on your Bee SVG and duplicate it, now click on the contour tool in the bottom right corner. Here you can start removing contours to create your layers. For the 2nd layer I took away the top Bee stripe.

To make the 3rd layer you must duplicate layer 2 and remove another contour. The copy layer 3 and remove a contour, keep going until you have all the layers you need and are happy with your Bee Layers.

Cutting Your Layered Bumble Bee SVG On Cricut
When you send your Bumble Bee SVG/PNG files to your Cricut to cut, ensure you use your brayer to roll the paper, vinyl or card to adhere to the mat. Movement will affect the cut.
Line up all the layers in design space, to confirm all files line up correctly and exactly the same size. Remember you are using 8 different colours so have the card stock ready to hand and really think about the colours.
I chose rainbow colours as I really wanted a Rainbow Bee, but you can go for whatever colours you like.

How To Build Your Bumble Bee Layered File
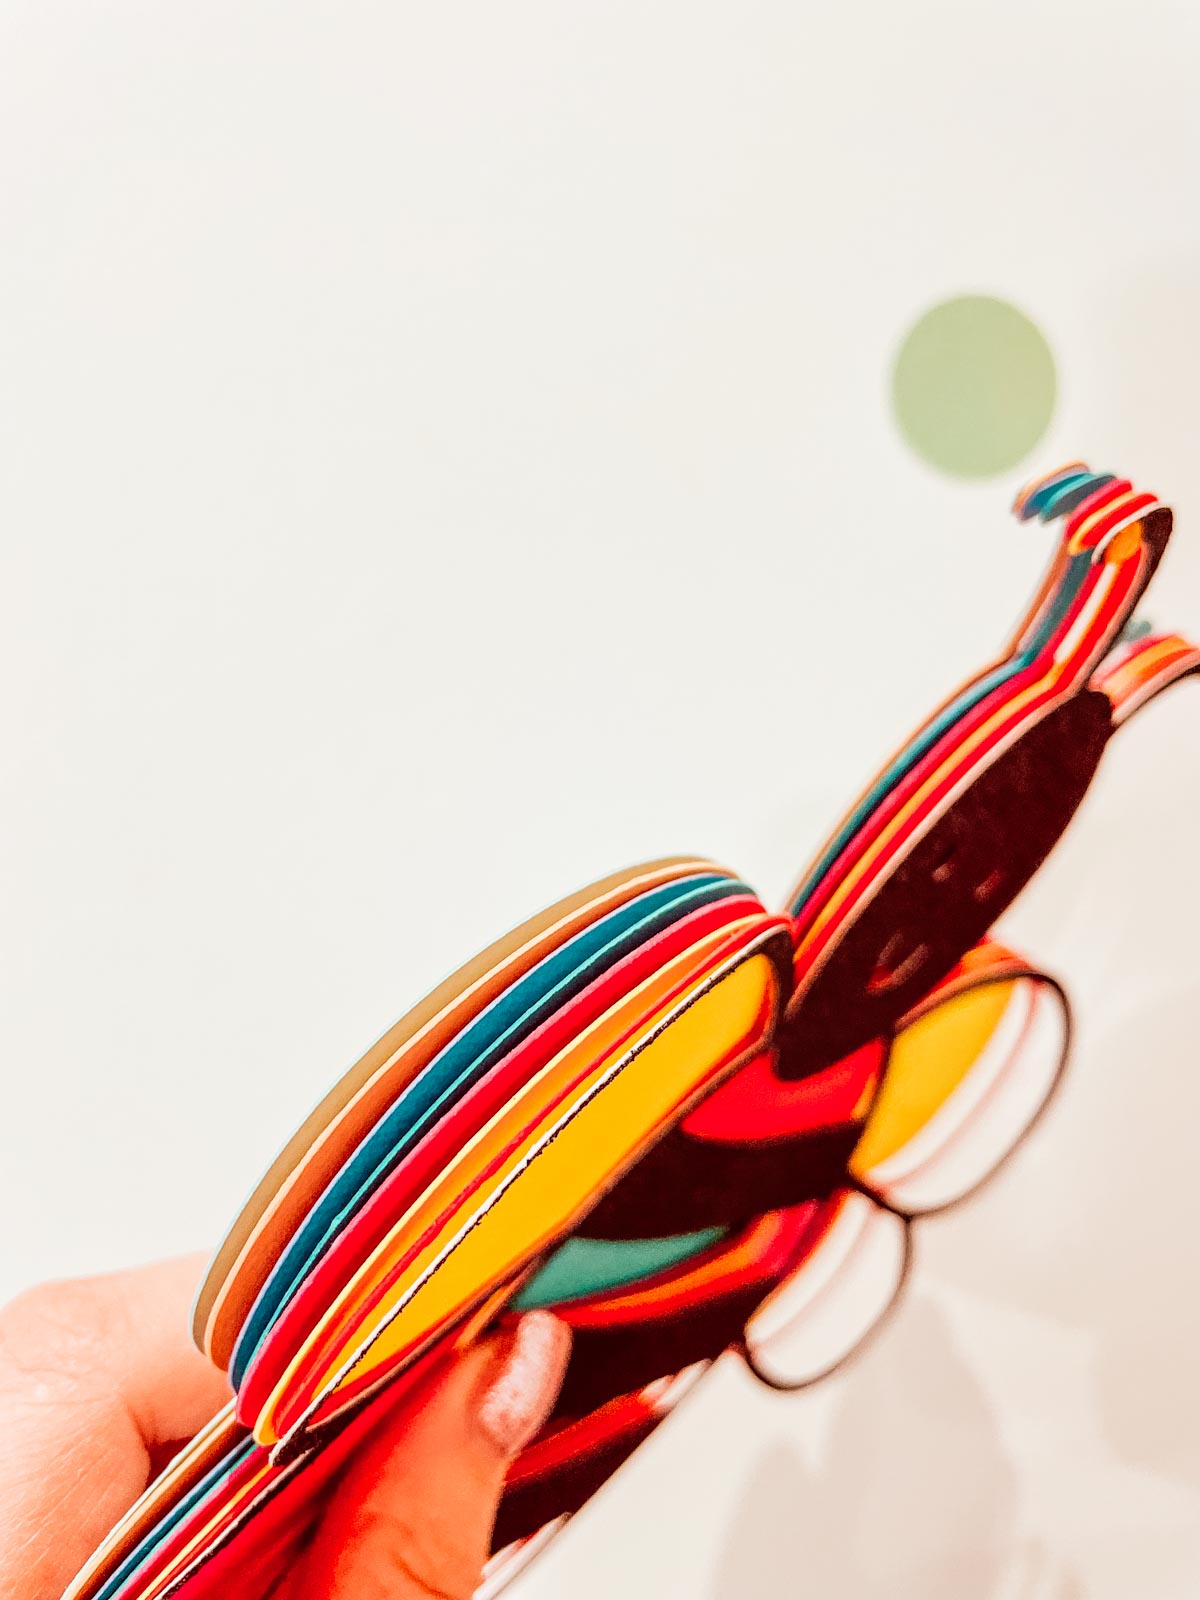
Start by lining up all the layered of your Bee to check you have the order right. Then placing the back Bee SVG layer face up, and sticking foam pads to the back of your layer 2
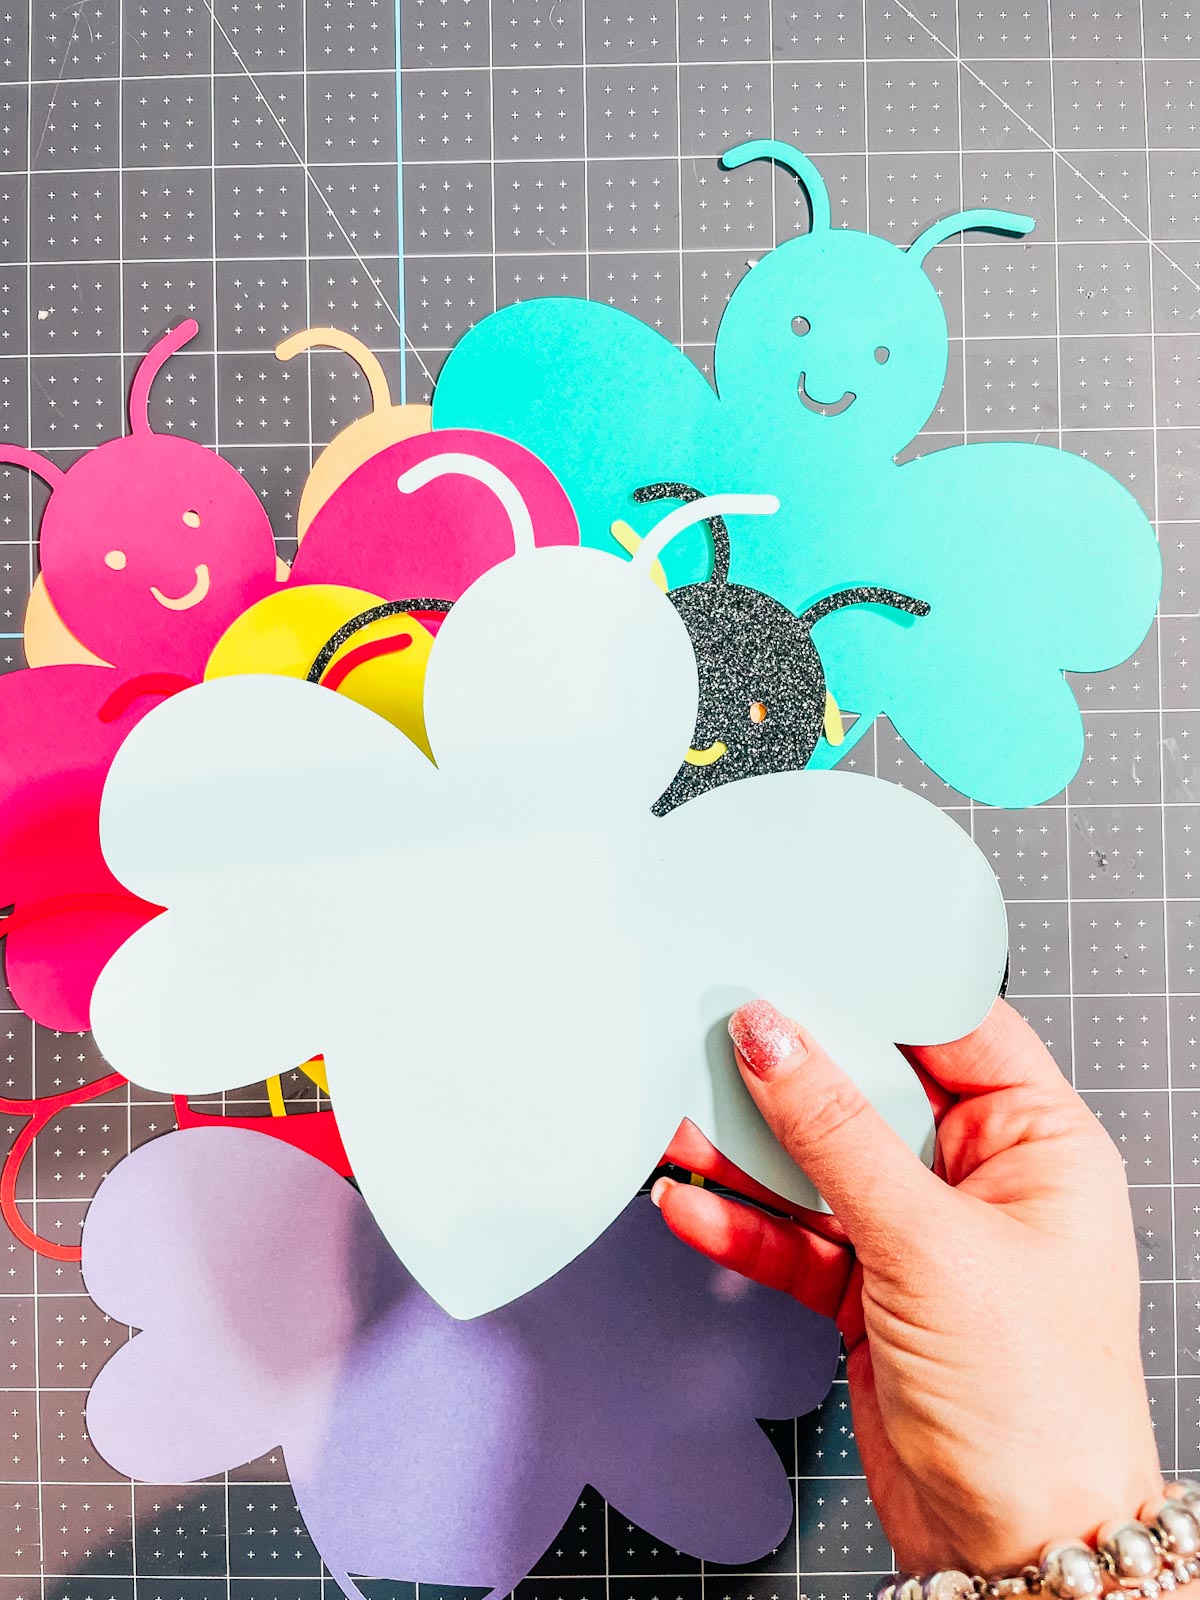
Now flip the layer over and position onto the back layer, making sure it lines up. Keep going layer by layer until you’ve finished.
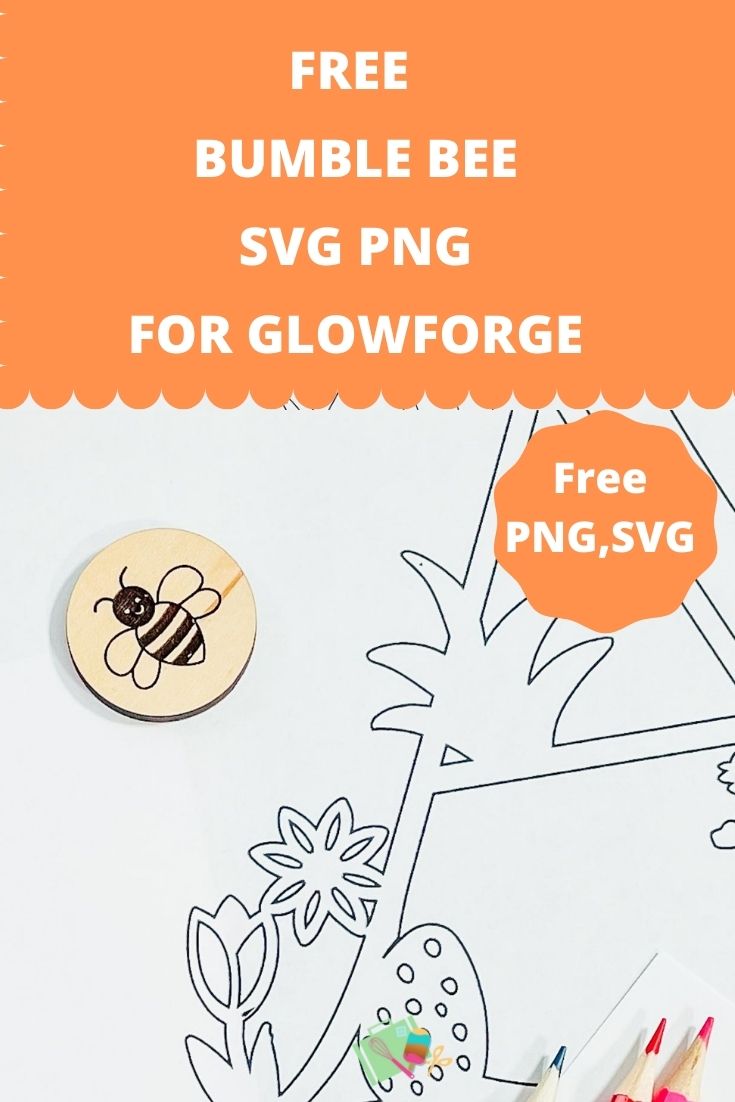
How To Get Your Bumble Bee SVG/PNG Files
Click here or the image below to get your free downloadable Bee SVG/png files and follow these instructions to add to Cricut Design Space. Don’t forget to turn off any pop up blockers. Note if you are using Glowforge you need SVG files to cut the image out of wood or acrylic. Or Png or SVG to engrave.

If You’re Having Problems?
Check out my trouble shooting page, hopefully it will answer any questions you may have.
Tips And Advice For Using Your Download For Cricut
- Cricut Design Space Guide
- How To Slice And Weld In Cricut Design Space
- How to upload to Cricut Design Space
- Using Iron On Vinyl
- Where Else To Get Free SVG Files
Also please do pop over to Instagram, and give me a follow and if you make a project tag me! I love seeing everyone else’s makes and chatting crafting. I could do that all day!


Layered Bumble Bee
Free Bumble Bee SVG For Cricut, Silhouette & Glowforge to create spring themed Bumble Bee crafts & a layered file tutorial for Design Space.
Materials
- Glitter Card Stock, the classic pack
- Plain Coloured Card-stock I used American Crafts
- Sticky Pads
Tools
- Cricut Maker, to cut out of Cardstock or Glitter Card
- Weeding Tools
- Brayer
Instructions
- Making Your Layered Rainbow Bee In Cricut Design Space
Start by uploading your Bee SVG to Cricut Design Space. I wanted a layer to represent all the colours of the rainbow so created my layered accordingly, however you can create as many as you want. - Click on your Bee SVG and duplicate it, now click on the contour tool in the bottom right corner. Here you can start removing contours to create your layers. For the 2nd layer I took away the top Bee stripe.
 To make the 3rd layer you must duplicate layer 2 and remove another contour. The copy layer 3 and remove a contour, keep going until you have all the layers you need and are happy with your Bee Layers.
- Cutting Your Layered Bumble Bee SVG On Cricut
When you send your Bumble Bee SVG/PNG files to your Cricut to cut, ensure you use your brayer to roll the paper, vinyl or card to adhere to the mat. Movement will affect the cut.
Line up all the layers in design space, to confirm all files line up correctly and exactly the same size. Remember you are using 8 different colours so have the card stock ready to hand and really think about the colours.
I chose rainbow colours as I really wanted a Rainbow Bee, but you can go for whatever colours you like.
- How To Build Your Bumble Bee Layered File
Start by lining up all the layered of your Bee to check you have the order right. Then placing the back Bee SVG layer face up, and sticking foam pads to the back of your layer 2. Now flip the layer over and position onto the back layer, making sure it lines up. Keep going layer by layer until you’ve finished. - How To Get Your Bumble Bee SVG/PNG Files, Click to get you Bee SVG/png files and follow these instructions to add to Cricut Design Space. Don’t forget to turn off any pop up blockers, and if your email doesn’t come through check your spam folder. If you are already a subscriber check the members area on the main page and the files are ready for you there. Note if you are using Glowforge you need SVG files to cut the image out of wood or acrylic. Or Png or SVG to engrave.
Notes
Project Ideas For My Bumble Bee SVG
Bee Themed Cards
Bumble Bee Cake Toppers
Wooden Art With Glowforge
Use Pegs And String For Hanging Bee Banners
Framed Art
Iron On Vinyl Hoops
Hanging Wooden Signs With Glowforge
Nursery Decor
Layered SVG File
Welcome Signs
Decoupage Bee Cushions
Scrapbooking Pages
Bumble Bee Disks For Glowforge
Recommended Products
As an Amazon Associate and member of other affiliate programs, I earn from qualifying purchases.

