
Today, we are sharing a cute free Printable PNG 3D Blue Moon and Stars Baby Alphabet and Number Set. Our 3D Blue Moon and Stars PNG Alphabet Letters and Numbers are ideal for use with LOKLiK, Cricut and Silhouette or to cut out by hand. They are perfect for Baby-themed craft projects, from personalised cards to Blue Baby scrapbooking layouts, party banners and decorations. Scroll down for the video and step by step tutorial.

This post may contain affiliate links. Which means I may receive a small commission if you click a link and purchase something that I have recommended at no extra cost to yourself. As an amazon, Cricut and Glowforge associate, I earn from qualifying purchases.
What You Will Find Here
Project Ideas For Our Free Printable 3D Blue Moon and Stars Baby Clip Art PNG Alphabet And Numbers
- Planner Stickers
- Framed Art
- Cake Toppers For Baby Showers
- Sublimation Mugs
- Nursery Decor
- Personalised Banners

How To Upload and Print Your Printable 3D Blue Moon and Stars Baby Clip Art Alphabet Letters And Numbers To Cricut Design Space.
Follow this step-by-step guide to upload images and SVG and PNG files to Cricut Design Space. Once uploaded, click Make it; if you need help with this, follow our step-by-step print and cut guide.
And get the separate moon, star, duck and cloud elements in the shop for £1.

Also Scroll Down For Our Step By Step Text Guide
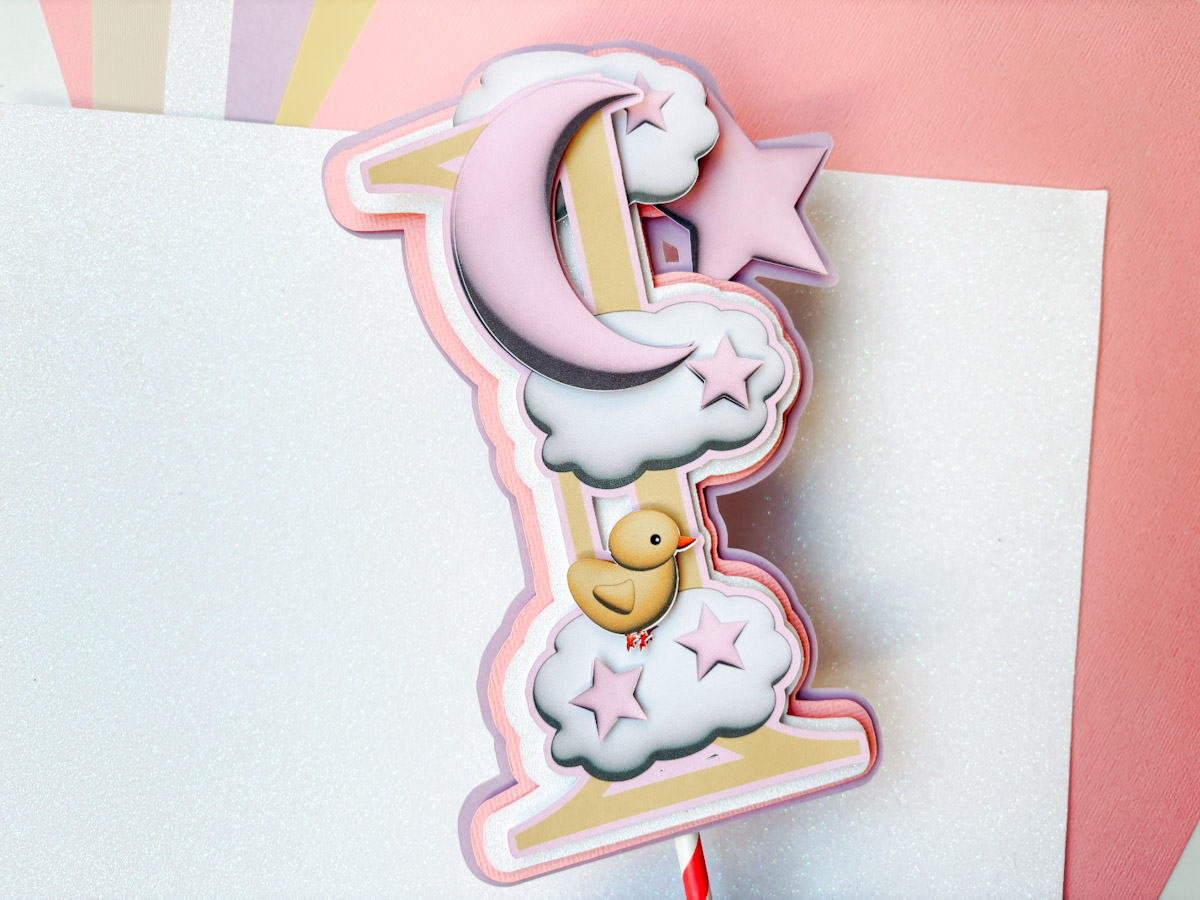
Also, check out our Pink Alphabet
If You Don’t Have Cricut ?
You can upload our Blue Moon and Stars Baby Clip Art PNG Alphabet to Canva, a great program for making posters and cards, or to Word or Pages. Just arrange your letters or numbers with spaces between them and cut them with a guillotine.
If You Want To Use These Free Printable 3D Blue Moon and Stars Baby PNG Alphabet Letters And Numbers Template?
Click here or on the image below to get your free download of our Printable Blue Moon and Stars PNG cut files. They are instant downloads from our shop.
How To Make A Printable Baby Banner With Our Free Alphabet
Materials Needed:
- PNG alphabet file
- White printable cardstock
- Extra design elements (moon, cloud, stars, duck – optional)
- Hole punch
- String or ribbon
- Printer
- Cutting machine (e.g., Cricut or Silhouette)
- Brayer
- Green cutting mat

Step 1: Uploading Letters to Cricut Design Space
- Open Cricut Design Space.
- Upload the PNG alphabet file.
- Select Print Then Cut when uploading.
- If creating a banner with repeated letters, upload only one set and duplicate them as needed.
Step 2: Adding Design Elements (Optional)
- Upload additional design elements such as a moon, cloud, stars, or duck.
- Resize them to fit the banner.
- If needed, adjust colors to match your theme.
Step 3: Creating the Banner Shape
- If you don’t have a pre-made banner shape, create one using a square and a triangle:
- Add a square and a triangle from the shapes tool.
- Adjust the triangle size and position to form a banner shape.
- Weld the shapes together.
- If you have Cricut Access, use a pre-made banner shape from the extra shapes menu.
- Adjust the shape as needed to get the right proportions.
Step 4: Preparing the Banner for Print Then Cut
- Convert the banner shape into a Print Then Cut image.
- Change the banner base color to white.
- Modify the canvas background to pale grey to make light-colored designs easier to see.
Step 5: Adding Holes for Stringing
- Use the shapes tool to create small circles for holes at the top of the banner.
- Position them symmetrically.
- Select both circles and the banner shape, then use the Slice tool to cut out the holes.
- Alternatively, you can use a hole punch after printing and cutting.
Step 6: Adding an Offset Layer
- Duplicate the banner shape to create an offset.
- Change the colour of the offset layer to match your theme.
- Ensure the holes align properly with the offset layer.
Step 7: Arranging and Customising the Design
- Place the alphabet letters on each banner piece.
- Arrange decorative elements as desired (e.g., a star in the corner, a cloud at the side).
- Duplicate and flip designs for symmetrical end pieces.
Step 8: Printing and Cutting
- Select Print Then Cut for all elements.
- Remove the bleed option and use the system dialog for better print settings.
- Set your printer to the best or highest quality for clear printing results.
- Load the printed sheet onto a Cricut cutting mat.
- Use a roller to ensure the sheet sticks well.
- Start the cutting process.
Step 9: Assembling the Banner
- Arrange the cut-out banner pieces in order.
- Use a hole punch if holes were not pre-cut.
- Thread the string or ribbon through the holes:
- For a clean look, thread from the front to the back so the string is hidden behind.
- If using decorative string, thread from the back to the front for visibility.
- Adjust spacing and tie knots at the ends if necessary.
Step 10: Displaying Your Banner
- Hang it on a wall, fireplace, or party backdrop.
- Use laminated sheets for outdoor banners to make them more durable.
- Experiment with different themes, colours, and messages for various occasions.

If You’re Having Problems?
Check out my troubleshooting page, hopefully it will answer any questions you may have.
Tips And Advice For Using Cricut
- Cricut Design Space Guide
- How to upload to Cricut Design Space
- How To Make Print And Cut Stickers In Cricut Design Space
- Where Else To Get Free SVG Files
Also please do pop over to Instagram, or TikTok and give me a follow and if you make a project please do tag me! I love seeing everyone else’s makes and chatting crafting. I could do that all day! This is also where I share all my projects in progress.

