
Today, I am sharing this stunning Free SVG Autumn Fall Pumpkin Alphabet and Number Set for Cricut and Silhouette. Creating stunning projects for cards, scrapbooking, and cake toppers has never been cuter.
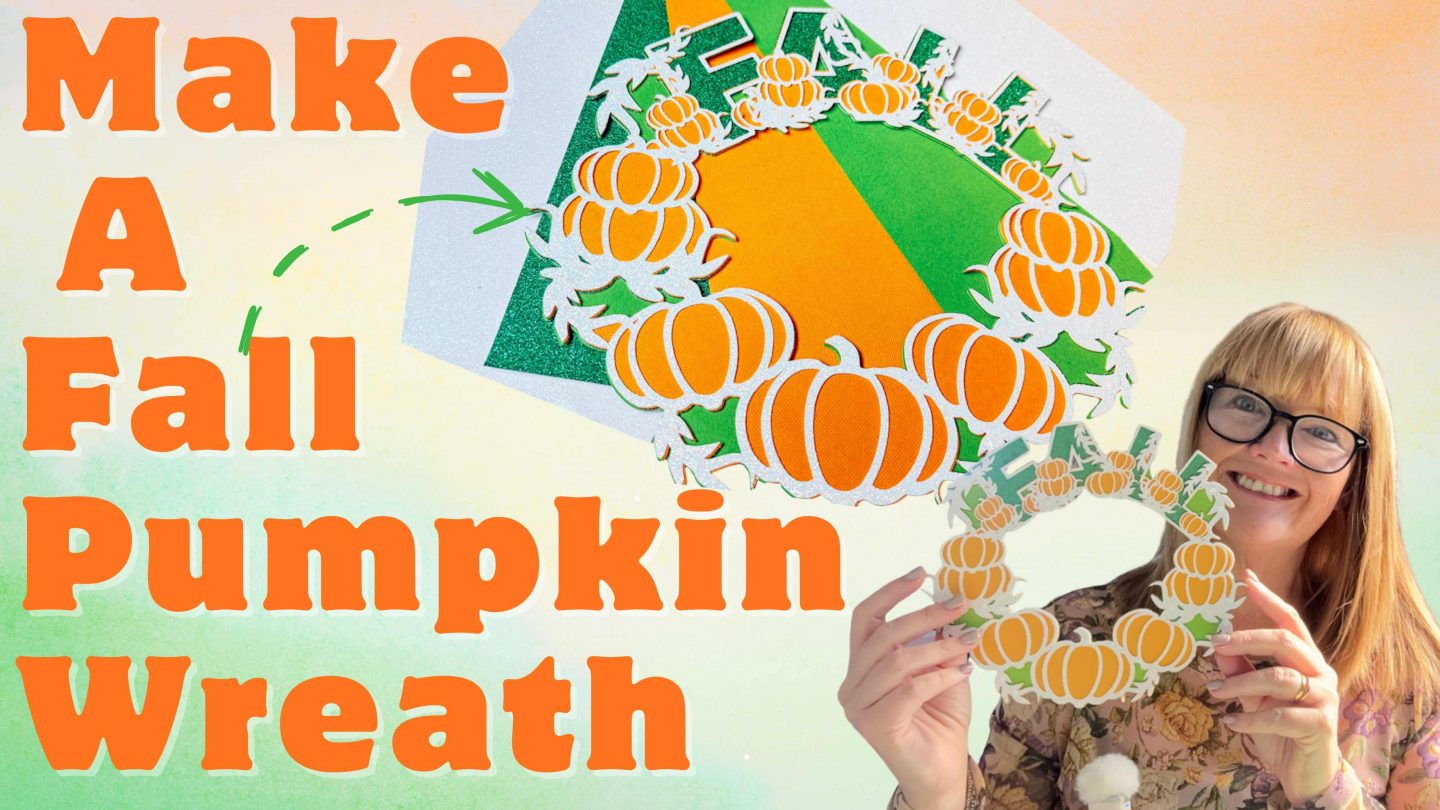
Autumn/Fall is the perfect season for cosy crafting, and what better way to celebrate than with a beautiful handmade pumpkin wreath? In this tutorial, I’ll show you step-by-step how to create a layered fall pumpkin wreath using your Cricut machine. It’s a fun project that looks intricate, but once you master slicing, welding, and contouring in Cricut Design Space, you’ll be amazed at how easily it all comes together.
The best part? I’ve designed a FREE Pumpkin Alphabet SVG set that you can download and use to personalize your wreath. Whether you want to spell out “FALL,” your family name, or even “THANKFUL,” this alphabet gives you endless creative possibilities for autumn crafting.
So grab your cardstock, glue, and your Cricut machine, and let’s dive into this gorgeous layered pumpkin project that’s perfect for autumn décor, Thanksgiving, or even a thoughtful handmade gift!

This post may contain affiliate links. Which means I may receive a small commission if you click a link and purchase something that I have recommended at no extra cost to yourself. As an amazon, Cricut and Glowforge associate, I earn from qualifying purchases.
What You Will Find Here
Craft Ideas For Our SVG Autumn Pumpkin Alphabet Letters & Number Set For Cricut And Glowforge
- Thanksgiving Cake Toppers
- Framed Art For Thanksgiving
- Scrapbooking Layouts
- Cards
- Childrens Themed Bedroom Decals
- Iron on Vinyl Projects
Step-by-Step Instructions: How to Make a Fall Pumpkin-Themed Layered Letter Using Cricut
You will need….
- Cricut machine (Joy, Explore, or Maker)
- Cricut Design Space (free software)
- Standard Gripmat (green)
- Weeding tool (for removing small bits)
- Brayer (optional, to smooth cardstock on mat)
- Foam pads or glue
Watch The Video As You Craft Along
If you’d like to see the process in action, make sure to check out my step-by-step video tutorial on YouTube , where I walk you through the design process in Cricut Design Space and the assembly of the layered wreath.
1. Upload Your Files to Cricut Design Space
- Open Cricut Design Space and upload the pumpkin, vines, and alphabet SVG files.
- Save them as cut images (single layer).
- Insert your chosen letters into the canvas. For this tutorial, I used the word “FALL.”
- Resize the elements to fit your design (I sized mine to around 8×8 inches so it fits A4 cardstock).

2. Create the Wreath Template
- Insert a circle shape into your canvas; this will be your guide for arranging the pumpkins and letters.
- Change the circle’s colour and send it to the back so you can build on top of it.
- Start arranging your chosen letters around the circle, overlapping them slightly so they flow around the wreath.
3. Slice, Weld, and Contour for Clean Cuts
- Decide which letters you want to appear on top.
- Remove the contour and the Slice tool to remove parts of overlapping letters so they layer cleanly. ( See video)
- Use Weld to join the letters together into one solid layer.
- Repeat this process until all of your letters fit neatly around your circle.
Tip: Don’t skip this step. If you weld without slicing, you’ll get messy lines that won’t cut cleanly.

4. Add Pumpkins and Vines
- Drag in your stacked pumpkins and place them on each side of the circle.
- Flip and duplicate pumpkins to create a balanced look.
- Add vine elements around the wreath to fill in the gaps and build up the circular shape.
- When you’re happy, select everything and weld it together to create your top layer.

5. Prepare the Layers
Duplicate your design.
Use Contour to separate different sections, pumpkins, vines, and letters.
Change each duplicate to a different colour layer:
- Pumpkins = orange
- Vines = green (glitter for detail, plain for base)
- Letters = glitter green
- Top layer = white glitter

6. Cut Your Layers
- Send each layer to cut.
- Select the right material settings (I used “Glitter Cardstock” with more pressure for the glitter layers).
- Carefully weed and remove each cut from the mat.

7. Assemble the Wreath
- Start with your solid background layer.
- Apply a thin layer of glue around the edges.
- Layer each piece one by one, vines, pumpkins, then the glitter letters.
- Make sure everything lines up perfectly before the glue dries.
- Optional: Add Nuvo Crystal Drops to the leaves or pumpkins for subtle detail.
How To Get Your Autumn Fall Pumpkin Alphabet Letters And Numbers
Click here or the image below to get your free downloadable Autumn Fall Pumpkin SVG Alphabet from our shop and follow these instructions to add to Cricut Design Space if you are using a Cricut Machine. Note, if you are using Glowforge, you need SVG files to cut the image out of wood or acrylic. Or Png or SVG to engrave.

If You’re Having Problems?
Check out my trouble shooting page, hopefully it will answer any questions you may have.
Tips And Advice For Using Your Download For Cricut
This alphabet is also perfect to make cards and cake toppers with your Cricut, check out my guides below.
- How To Add Fonts To Cricut Design Space
- How To Remove Backgrounds On Illustrator
- Cricut Design Space Guide
- How To Slice And Weld In Cricut Design Space
- How to upload to Cricut Design Space
- Using Iron On Vinyl
- Where Else To Get Free SVG Files
Also please do pop over to Instagram, and give me a follow and if you make a project tag me! I love seeing everyone else’s makes and chatting about crafting. I could do that all day! This is also where I share videos of my makes.

