
If you’re searching for a free SVG ice lolly alphabet and number set for Cricut, you’re in the right place. This project is designed for anyone who wants to create fun, layered cake toppers, personalised birthday decorations, or themed party crafts using their cutting machine without buying expensive design bundles.
In this tutorial, I’m using our ice lolly-themed alphabet and number SVG set to create a bright, layered 8-piece cake topper in Cricut Design Space. This free SVG set is perfect for beginners and experienced Cricut users who want to design custom names, ages, and birthday toppers with a playful summer feel.
You’ll learn how to use the Cricut contour tool, duplicate and layer shapes, and build dimensional designs using cardstock, glitter card, and adhesive foam pads. I’ll also show you how to adapt the alphabet and number set so you can turn it into personalised cake toppers, monograms, or party decorations for any celebration.

This post may contain affiliate links. Which means I may receive a small commission if you click a link and purchase something that I have recommended at no extra cost to yourself. As an amazon, Cricut and Glowforge associate, I earn from qualifying purchases.
What You Will Find Here
Craft Ideas For Our SVG Lolly Alphabet Letters & Number Set For Cricut And Glowforge
- Birthday cake toppers
- Kids party decorations
- Summer themed Cricut crafts
- Personalised name toppers
- Number cake toppers for milestone birthdays
Whether you’re brand new to Cricut Design Space or looking to improve your layering skills, this ice lolly SVG alphabet and number set gives you endless creative possibilities for DIY crafting.
Let’s dive in and start building your custom cake topper step by step in Cricut Design Space.
Watch Our Step-by-Step Video Tutorial
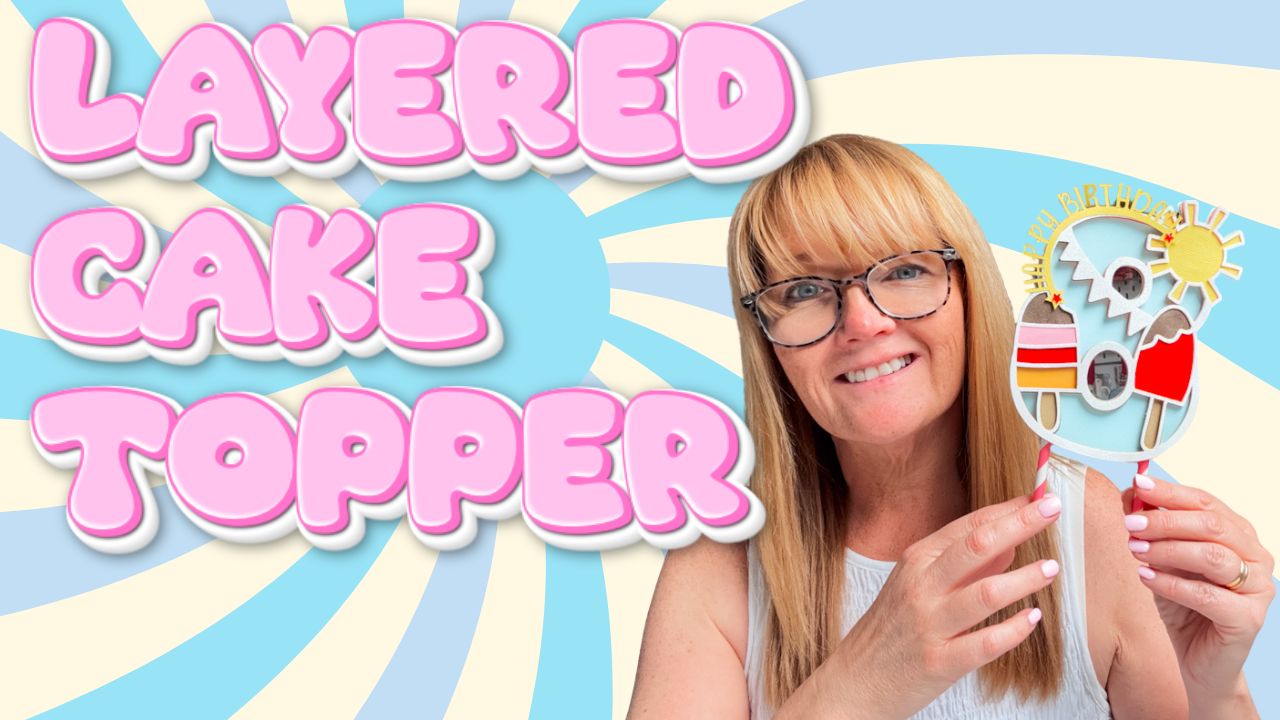
Step-by-Step Instructions: How to Make a Cake Topper With Our Lolly Alphabet and Number Set
Supplies You’ll Need
- Ice Lolly Alphabet (scroll down for link)
- Cricut machine (Joy, Explore, or Maker)
- Cricut Design Space (free software)
- Standard Gripmat (green)
- Cardstock in your chosen colours
- Weeding tool (for removing small bits)
- Brayer (optional, to smooth cardstock on mat)
- Cosmic Shimmer glue
- Sticky Pads
- Straw
Step-by-Step Cricut Tutorial: Ice Lolly Cake Topper Using Free SVG Alphabet & Number Set
This step-by-step guide shows you how to create a layered ice lolly cake topper in Cricut Design Space using a free SVG ice lolly alphabet and number set. This method uses simple tools like the contour tool, duplicate function, and basic shapes to build a professional-looking 3D cake topper.

1: Upload Your Free Ice Lolly SVG Alphabet or Number
Start by opening Cricut Design Space.
- Click Upload
- Select your ice lolly alphabet or number SVG file
- Add it to your canvas
Once uploaded, choose the letter or number you want to use. In this tutorial, we are using the number 8, but you can personalise this for any age or name.
Tip: Keep your design size medium at this stage so it is easier to edit.
2: Resize and Duplicate Your Base Shape
Next, adjust your design.
- Click the shape on your canvas
- Resize it to your preferred cake topper size
- Click Duplicate to create multiple layers
You will use each duplicate to build different coloured layers of your ice lolly design.
This is the foundation of your layered SVG cake topper design.

3: Use the Contour Tool to Build Layers
Now comes the key Cricut technique: the contour tool.
For each duplicated layer:
- Select the layer
- Click Contour
- Hide parts of the design (such as sun details, stripes, or lolly sections)
- Click Apply
Repeat this process for each layer to create separate sections of your ice lolly.
This is what gives your cake topper its multi-layered 3D effect. But you must always duplicate the layer you have just contoured to creating a contour that works and builds up into a multi coloured, multi layered file.

4: Assign Colours to Each Layer
Even though you will cut in cardstock, assigning colours helps you visually organise your design.
- Set the top layer to white or glitter card
- Assign bright colours (red, pink, orange, yellow) to inner layers
- Use brown for chocolate details
- Use blue for background sky layer
This step makes your Cricut cake topper easier to cut, as you can see the colours in Design Space for each cut layer.
5: Arrange Layers in the Correct Order
Once all layers are created:
- Move each layer into position
- Use Arrange, Send to Back / Bring to Front
- Stack layers in correct order (background to top detail)
Check that every layer lines up correctly before cutting.
6: Add Your “Happy Birthday” Text
Now personalise your topper.
- Click Text Tool
- Type “Happy Birthday” or a custom name
- Choose a font (example: Love and Beach or any script font)
- Click Curve Tool to curve the text into a circular shape
This creates a professional frame-style cake topper design.

7: Create a Cake Topper Frame
To support your wording:
- Insert a circle shape
- Resize it so the text sits neatly around it
- Duplicate the circle
- Weld a circle to the letters
- Then slice out the centre of the circle using your duplicate circle
- Now slice off the ends and add stars to neaten the frame ( See video for help)
This step helps your wording sit neatly as part of your Cricut cake topper structure.

8: Cut Your Design in Cardstock
Now it’s time to cut.
- Click Make It
- Assign material settings (cardstock or glitter cardstock)
- Load your mats and cut each layer
Tip: Cut all layers before assembly to speed up the process.
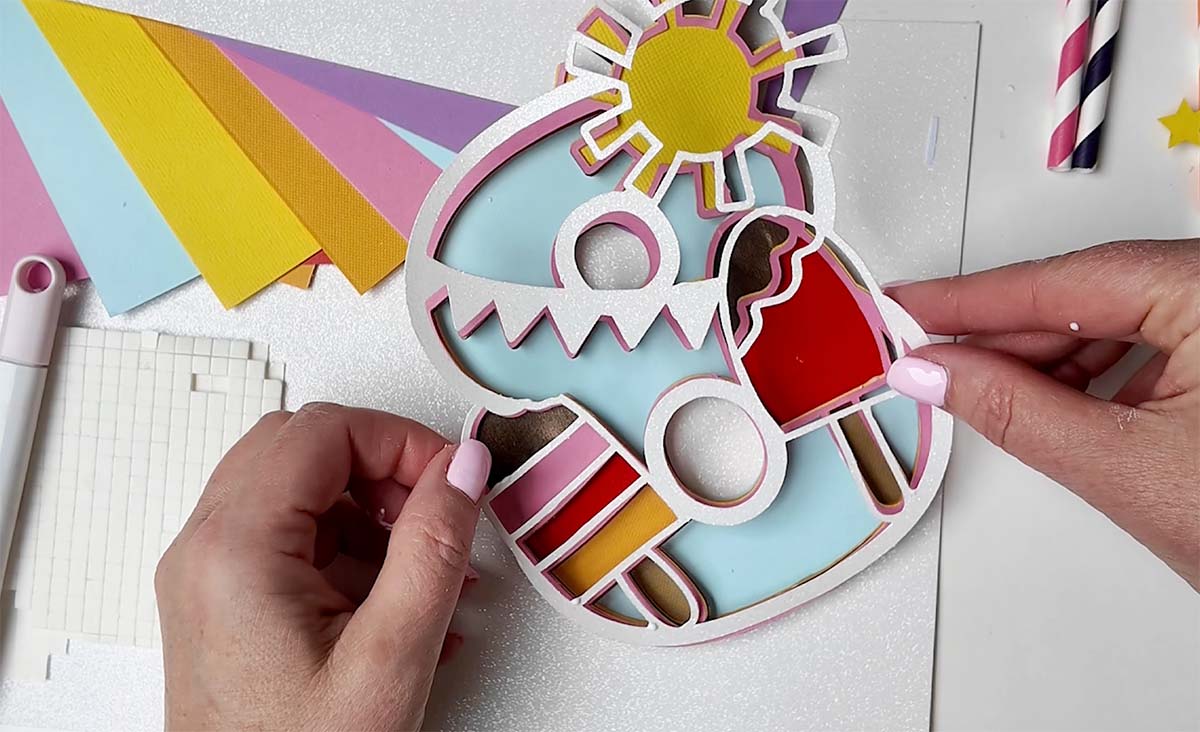
9: Assemble Your Layered Cake Topper
Finally, build your topper:
- Start from the bottom layer
- Use foam pads for depth on selected layers
- Glue finer layers flat for stability
- Line everything up carefully as you stack
Add your straw or cake dowel to the back using strong glue or tape.
How To Get Your Lolly Alphabet Letters And Numbers
Click here or the image below to get your downloadable Lolly SVG Alphabet from our shop and follow these instructions to add to Cricut Design Space if you are using a Cricut Machine. Note if you are using Glowforge you need SVG files to cut the image out of wood or acrylic. Or Png or SVG to engrave.

If You’re Having Problems?
Check out my trouble shooting page, hopefully it will answer any questions you may have.
Final Slice of Fun: Your Cricut Ice Lolly Masterpiece
And there you have it, a bright, layered ice lolly cake topper created entirely in Cricut Design Space using a free SVG alphabet and number set. Once you understand the simple steps of duplicating, contouring, and layering, you can turn any letter, number, or name into a personalised party centrepiece.
The best part is how flexible this method is. You can switch colours, change themes, or adapt the design for birthdays, summer parties, or custom name toppers. It’s all about building confidence with your Cricut and experimenting with layers to create depth and dimension.
If you’ve followed along, you now have a professional-looking cake topper that’s completely custom and handmade. And once you’ve mastered this technique, you can reuse it again and again for endless creative designs.

Tips And Advice For Using Your Download For Cricut
This alphabet is also perfect to make cards and cake toppers with your Cricut, check out my guides below.
- How To Add Fonts To Cricut Design Space
- How To Remove Backgrounds On Illustrator
- Cricut Design Space Guide
- How To Slice And Weld In Cricut Design Space
- How to upload to Cricut Design Space
- Where Else To Get Free SVG Files
Also please do pop over to TikTok or Instagram, and give me a follow and if you make a project tag me! I love seeing everyone else’s makes and chatting crafting. I could do that all day! This is also where I share videos of my makes.
