
Today, I am sharing this gorgeous Free SVG Hot Air Balloon Alphabet and Number Set for Cricut and Silhouette. Perfect for creating stunning projects for cards, scrapbooking, and cake toppers. This alphabet would be ideal for nursery, baby and travel themes.
The versatility of these Hot Air Balloon alphabets allows you to unleash your imagination and bring your artistic vision to life. The download contains a top-layer alphabet and number set. And I am going to teach you how to make layered monogram letters and also turn these into print and cut files. Scroll down for step-by-step instructions and video.

This post may contain affiliate links. Which means I may receive a small commission if you click a link and purchase something that I have recommended at no extra cost to yourself. As an amazon, Cricut and Glowforge associate, I earn from qualifying purchases.
What You Will Find Here
Craft Ideas For Our SVG Hot Air Balloon Alphabet Letters & Number Set For Cricut And Glowforge
- Hot Air Balloon Cake Toppers, see my step by step tutorial to make your own cake topper.
- Framed Art
- Scrapbooking Layouts
- Cards
- Baby Shower Table Decorations and Banners

Uploading Your Free SVG Hot Air Balloon Alphabet, Letters And Numbers To Cricut Design Space.
I am using my Jubilee Alphabet for illustration purposes, but the concept for my Hot Air Balloon Alphabet SVG Letters is the same. Click on upload image at the bottom of the left-hand sidebar; this will open a window; select browse and choose the Hot Air Balloon SVG Alphabet Letters Alphabet files, which will most probably be in your download folder.
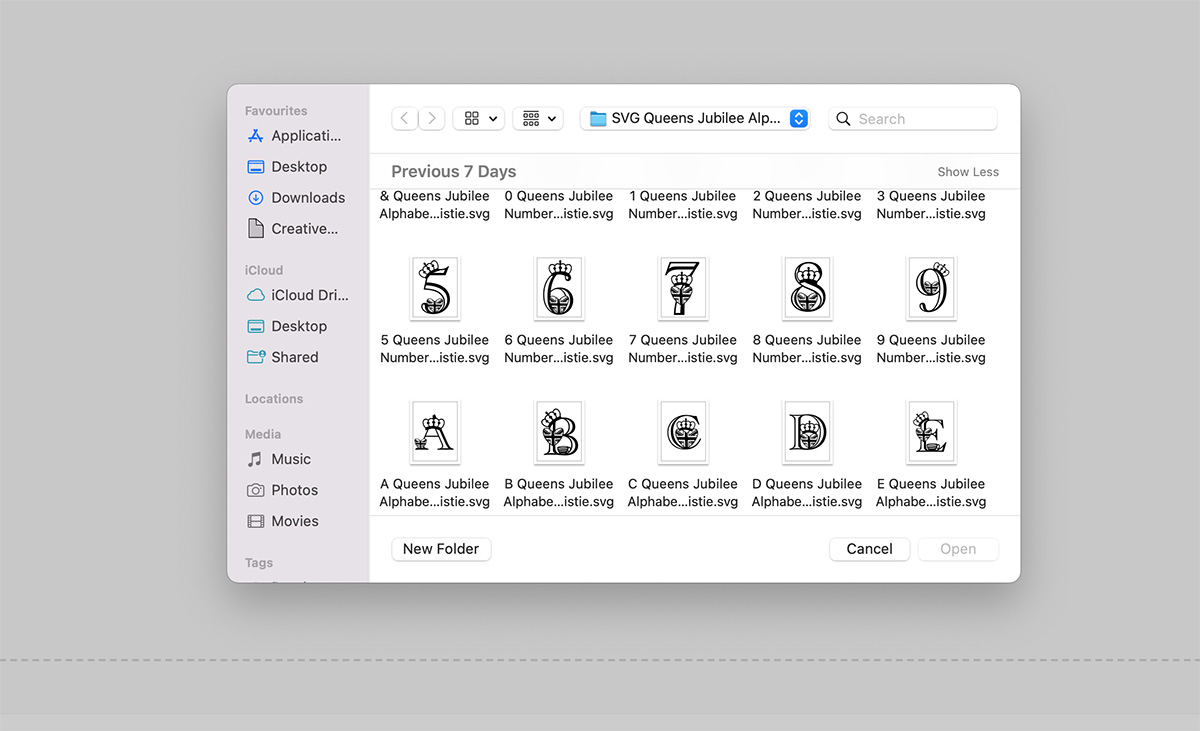
If you are uploading a PNG, you will be brought to a window with options, select complex file, then continue. The next window allows you the take the back off your Hot Air Balloon Alphabet Letters and number files, but I have done this for you. If you are uploading SVG the window below will open.
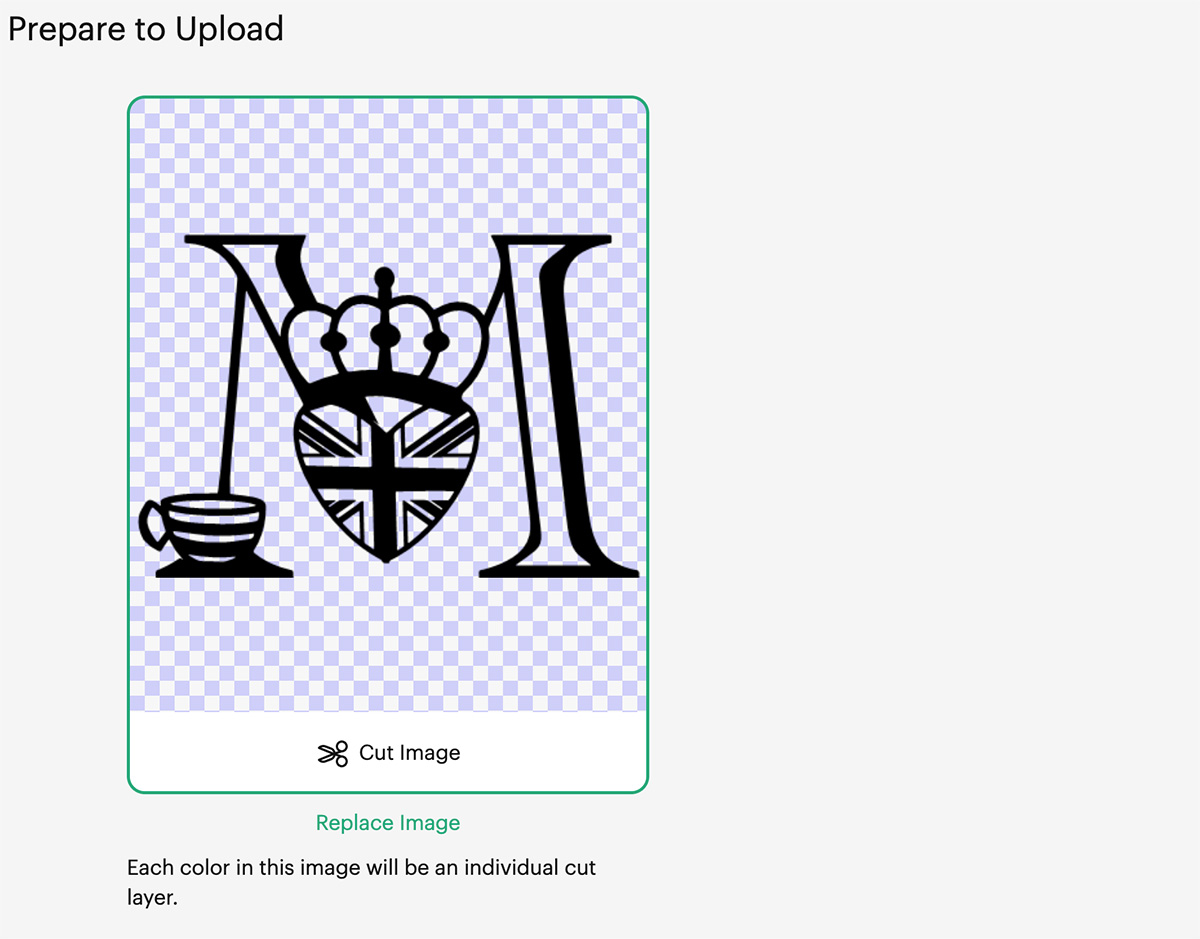
When you reach the save screen, click save as a cut image and continue. Do this one by one until you have all of your chosen Hot Air Balloon alphabet letters and numbers. Once this is done, you can select all the letters you have uploaded and pull onto your mat in one go.
Cutting Your Hot Air Balloon Alphabet Letters And Numbers On Cricut
When you send your SVG Alphabet SVG Letters and Numbers files to your Cricut to cut, ensure you use your brayer to roll the paper, vinyl or card to adhere to the mat. Movement will affect the cut.
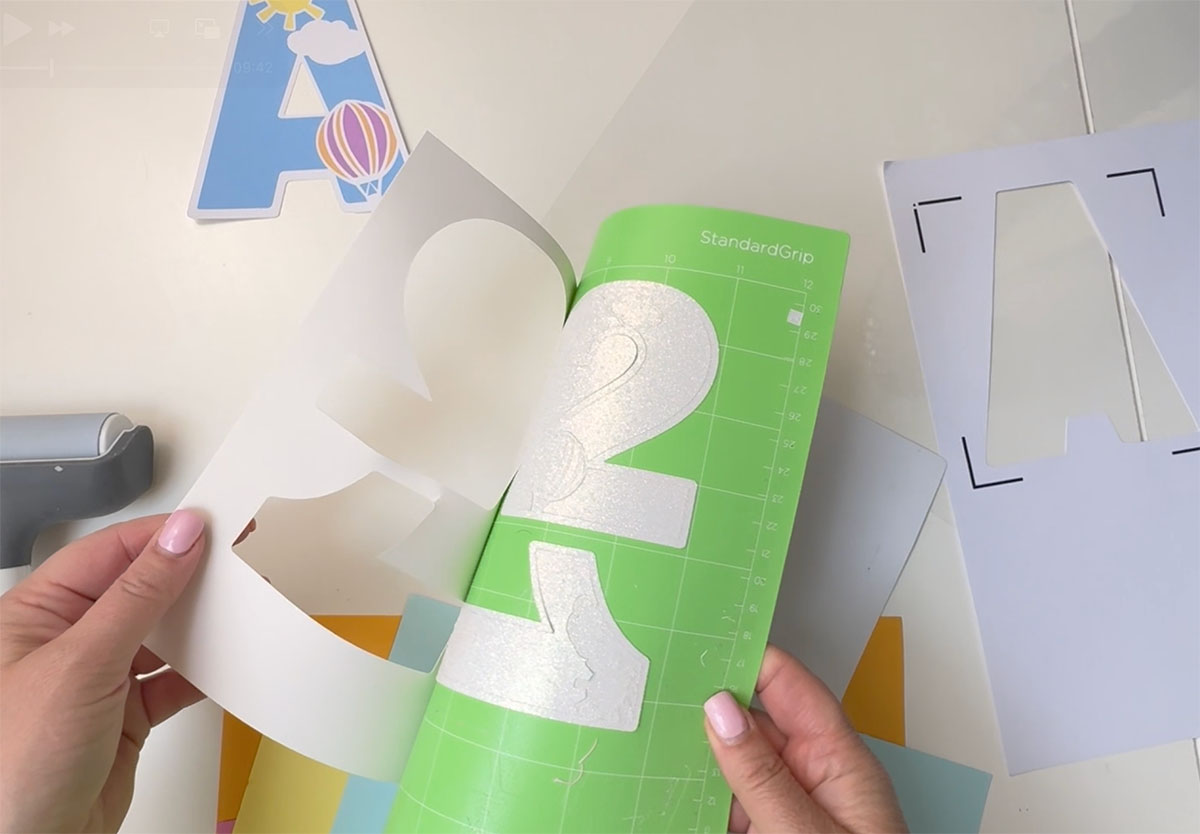
When your Cricut has finished cutting, flip the mat over and reverse weed, i find this works better as you are able to bend the mat slightly and gently peel the letters away.
How To Get Your Hot Air Balloon Alphabet Letters And Numbers
Click here or the image below to get your free downloadable Hot Air Balloon SVG Alphabet from our shop and follow these instructions to add to Cricut Design Space if you are using a Cricut Machine. Note if you are using Glowforge you need SVG files to cut the image out of wood or acrylic. Or Png or SVG to engrave. Please note you will need to weld the SVG letters before cutting.

If You’re Having Problems?
Check out my trouble shooting page, hopefully it will answer any questions you may have.
How to Make a Layered Balloon Monogram Letter in Cricut Design Space
1: Upload the Alphabet File
- Download the Balloon Alphabet and Number Set
- Open Cricut Design Space and upload the letter or number you’d like to use.
2: Start Your Design
- Begin by duplicating your chosen letter.
- The first copy will be your top layer – change its colour to white (glitter card looks great for this).
- Since this is an SVG, you’ll need to weld the letter to avoid it cutting in separate parts.
3: Begin Layering with Contour
- Duplicate the welded letter.
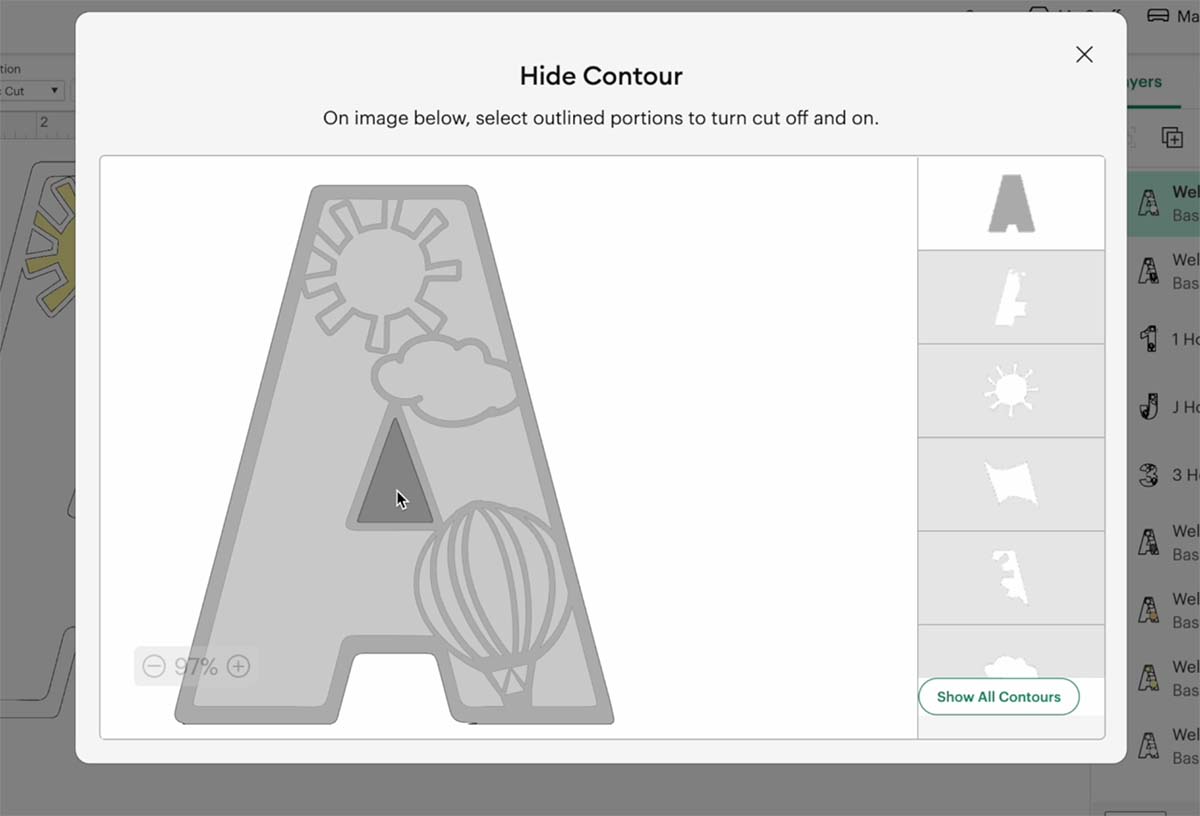
- Use the Contour tool (bottom right of Design Space).
- Start with the balloon section (the most detailed part). Remove contours on alternate sections to create your first coloured layer.
- Colour this new layer (e.g. pink, lilac).
- Send it to the back using Right Click > Send to Back.
4: Add More Layers
- Duplicate your most recent layer again.
- Use Contour to remove more elements (e.g. the balloon or sun).
- Choose new colours for each layer (e.g. green, orange, yellow, white).
- Always contour from the last duplicated layer so your design builds up correctly.
5: Align and Finalise Layers
- Once all the elements are in place (e.g. balloon, sun, cloud), align and centre the entire design.
- Use Contour again to isolate just the background (sky) and set that to blue.
- Send the blue background layer to the back.
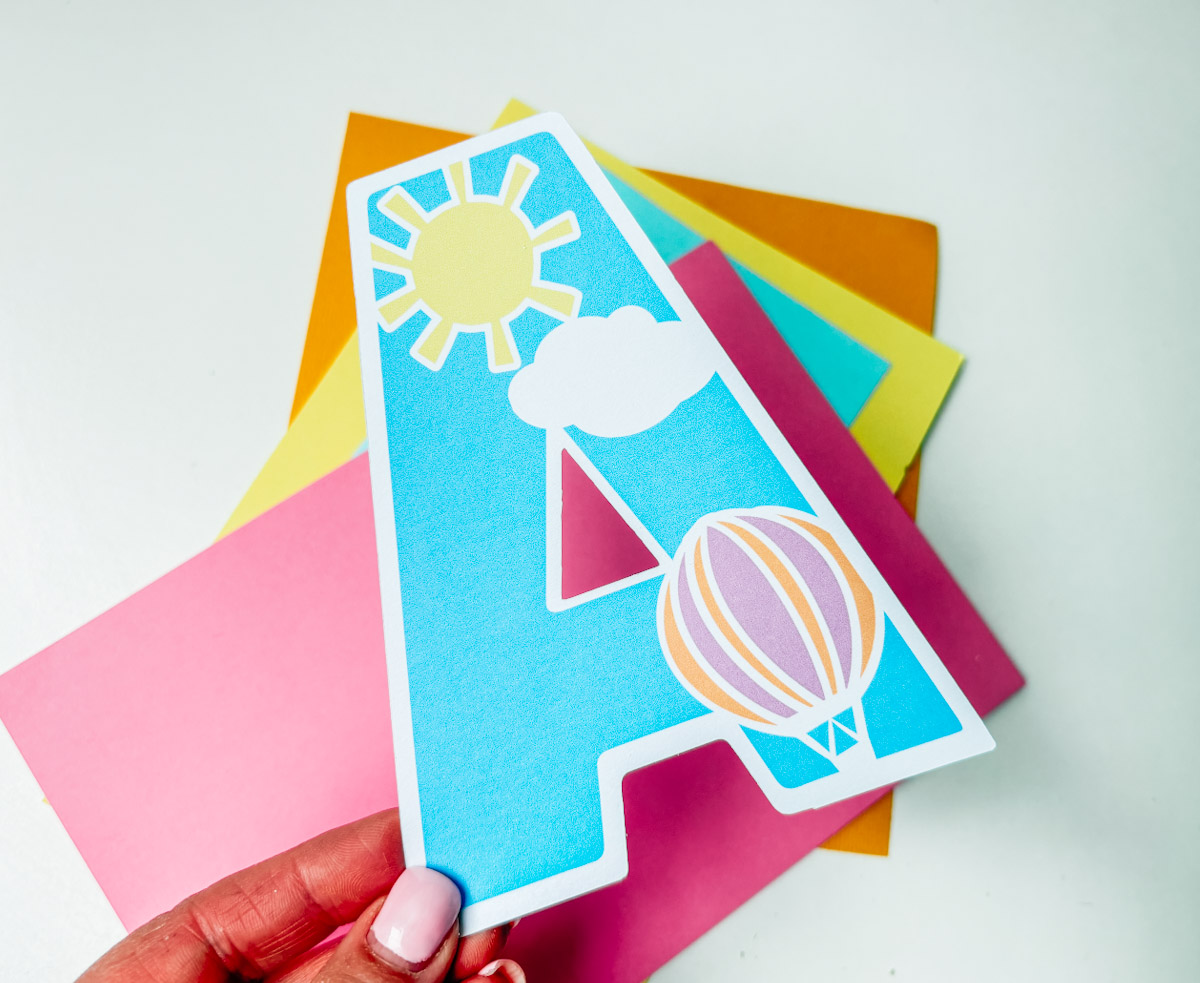
How to Create a Print Then Cut Version
6: Flatten Your Design
- Duplicate your full layered letter design.
- With all layers selected, click Flatten (bottom right of Design Space).
- This merges the layers into one printable image with a white outline.
7: Use as Stickers or Magnets
- The flattened image can now be used to create alphabet stickers, magnets, or printables.
- Just print and cut using your preferred material.
How to Cut the Layered Version on Cricut
8: Adjust Placement on the Mat
- Before cutting, click the three dots on the top left of the mat preview to move elements around.
- If using A4 card, rearrange the letters to fit within one sheet – rotate and drag as needed to save space.
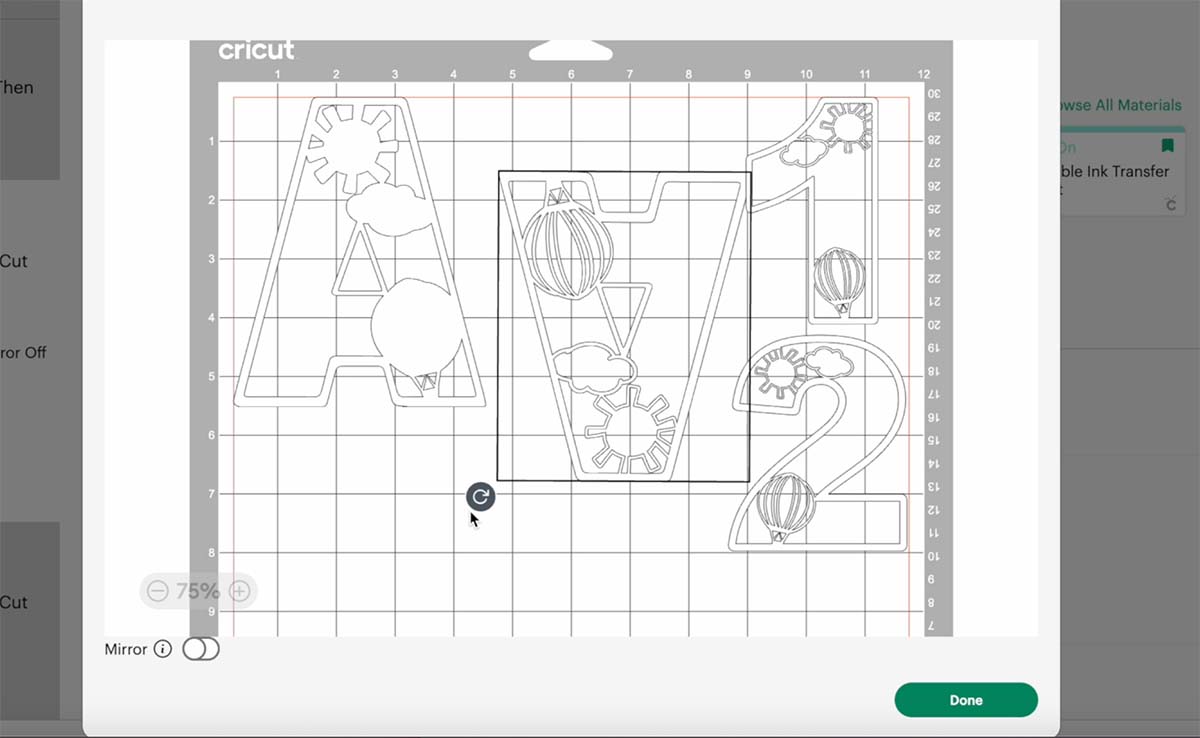
9: Cutting Tips
- Use a green mat (recommended over blue).
- Remove letters from the mat by flipping the mat and bending slightly. This prevents delicate parts from tearing.
Assemble Your Balloon Letter
10: Apply Adhesive
- Start with your top white layer, adding glue to the back.
- Use a fine-tip glue applicator if possible – it’s more precise and less messy.
- Carefully stack each layer, working backwards (e.g. white > pink > orange > yellow > blue).
- Always glue the back of the layer you’ve just added, not the next one.
11: Align and Press
- Line up edges and press down gently.
- Use glue that allows a little movement so you can adjust as you go.

- Once complete, you’ll have a beautiful layered balloon letter perfect for framing, scrapbooking, or nursery decor.
- Alternatively, use the print then cut version for stickers and other creative projects.
- Experiment with colours to match your theme.
Tips And Advice For Using Your Download For Cricut
This alphabet is also perfect to make cards and cake toppers with your Cricut, check out my guides below.
- How To Add Fonts To Cricut Design Space
- How To Remove Backgrounds On Illustrator
- Cricut Design Space Guide
- How To Slice And Weld In Cricut Design Space
- How to upload to Cricut Design Space
- Where Else To Get Free SVG Files
Also please do pop over to TikTok or Instagram, and give me a follow and if you make a project tag me! I love seeing everyone else’s makes and chatting crafting. I could do that all day! This is also where I share videos of my makes.
