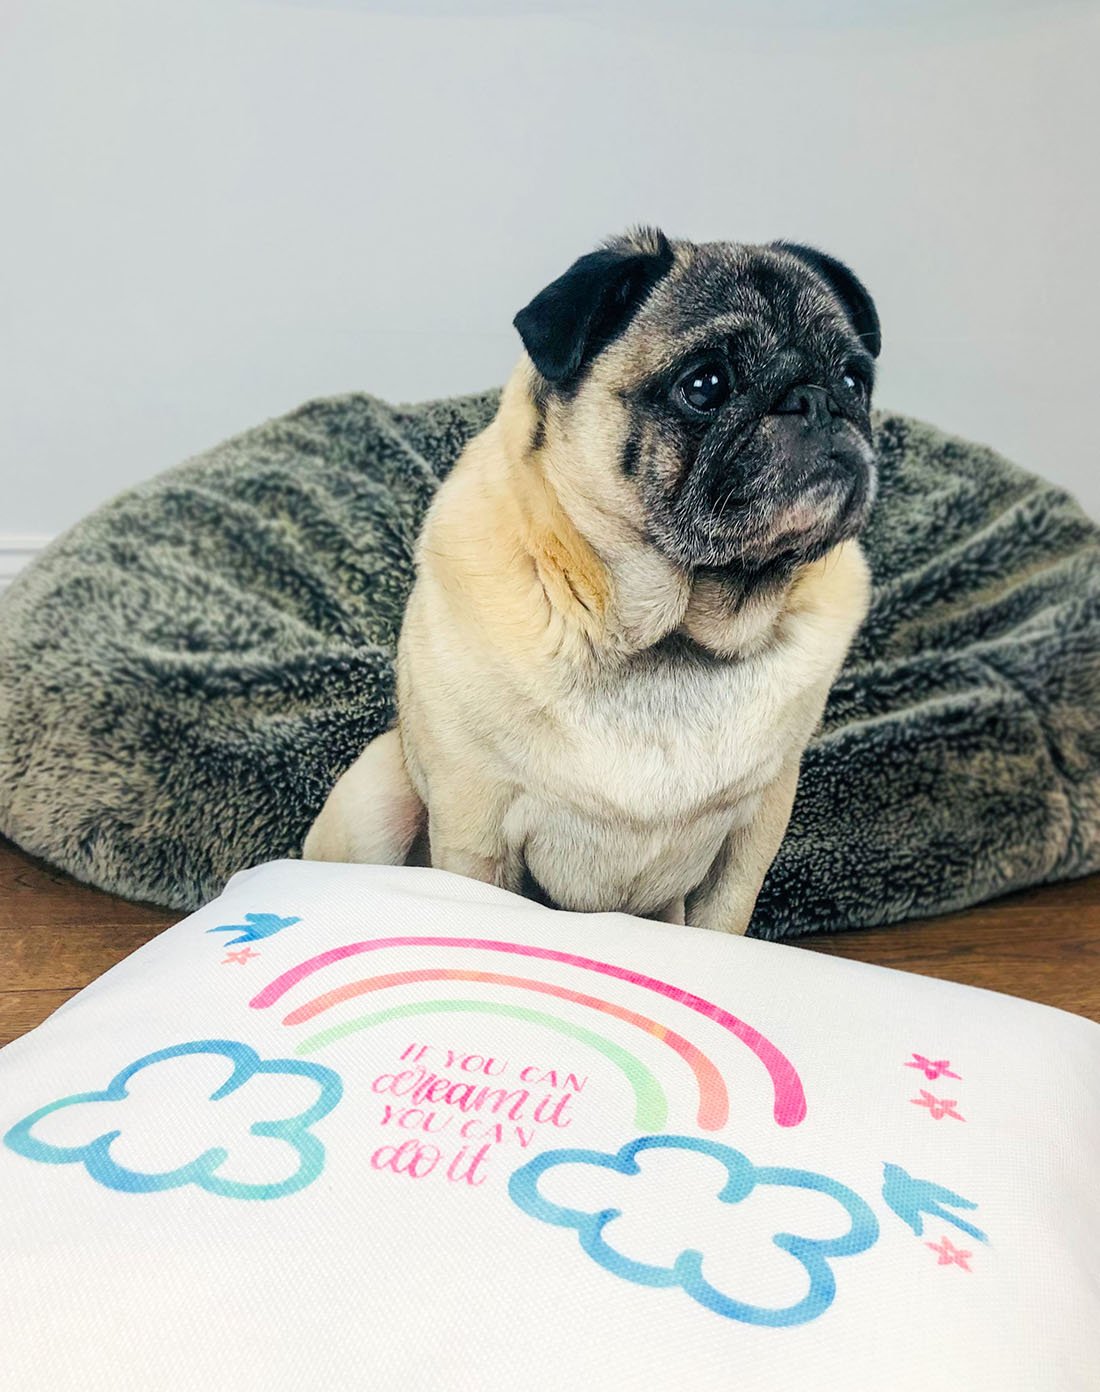
These are odd times aren’t they? And now more than every, kindness is so important. But it’s the little things, not the grand gestures, sometimes recognising that someone is struggling and feeling the pressure, and being able to do something small to make them smile. Thus I created this cute, motivational, multi coloured Infusible Ink cushion for a dear friend to remind her, that not only is she doing great, but she can continue to do so. Read on to see how I made this gorgeous Rainbow Infusible Ink Cushion in Cricut Design Space.
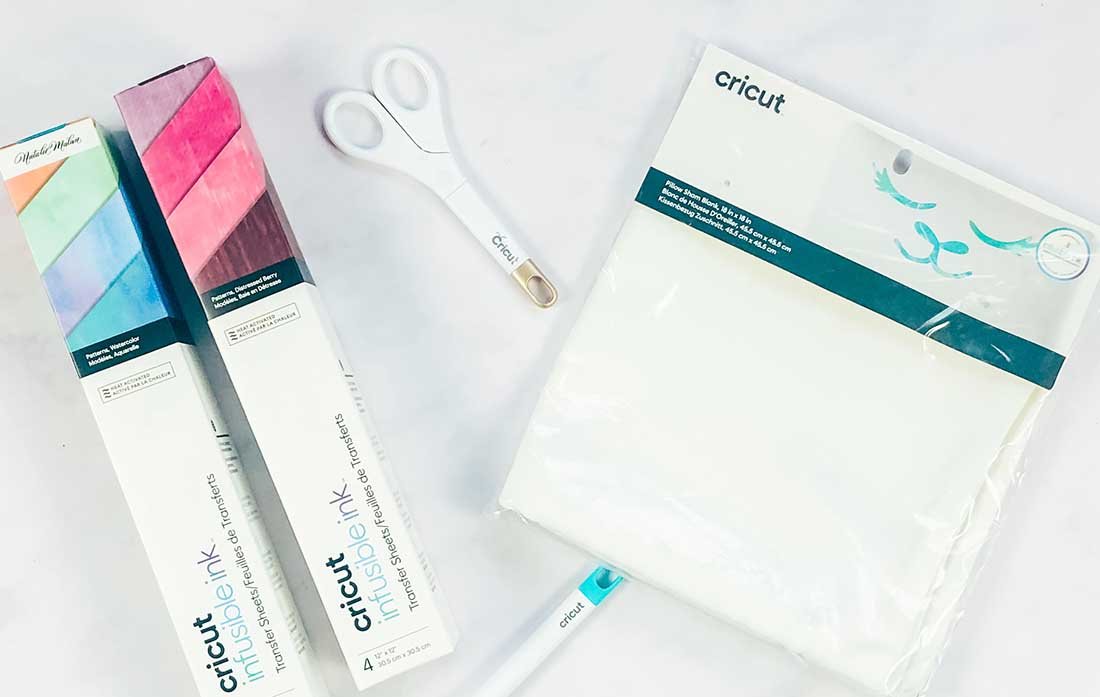
But first let’s take a minute to appreciate the new Cricut Infusible Ink Blanks and Colours? I am loving the cushions and small bags which are perfect for pencil cases and make up bags.
If you want to see me create my projects, follow me on Tik Tok and Instagram.
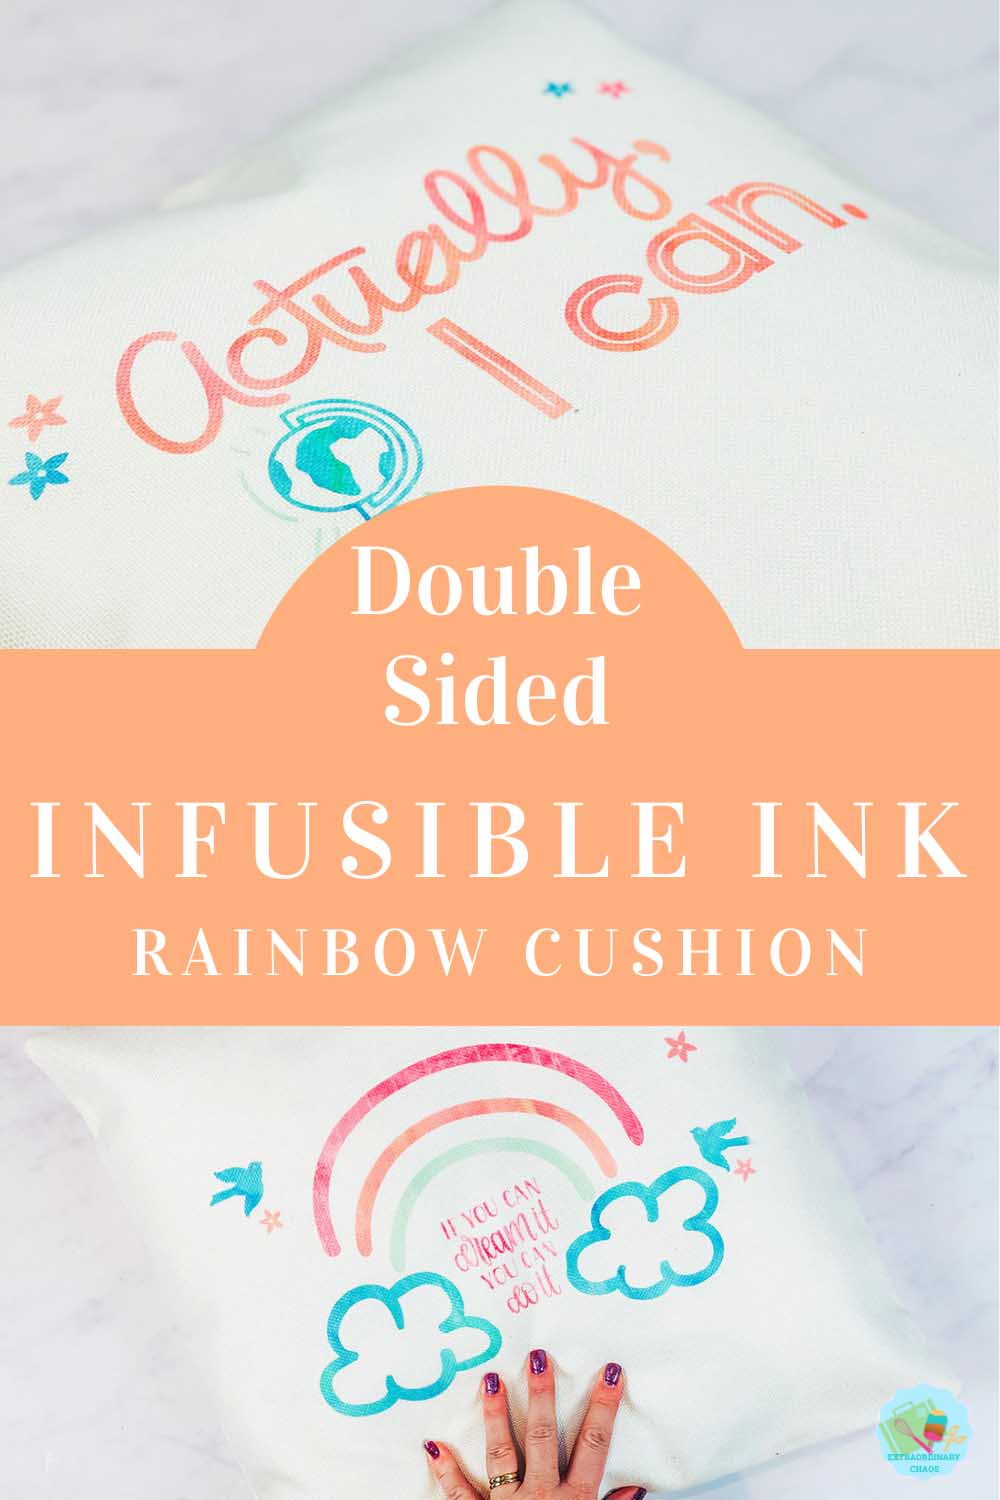
How To Make A Multi Coloured Rainbow Infusible Ink Cushion?
Does Infusible Ink Work On A Cushion?
Yes it does, and that’s because Cricut have launched a new range of Infusible Ink blanks and colours. I love how this gives us more flexibility to create with Infusible Ink. This blank is the Ivory cushion, you can also get white. The texture is woven and beautiful quality.
You Will Need
- Cricut Maker
- Cricut Infusible Ink Cushion
- Infusible Ink Distressed Berry And Water Colour Packs.
- Cricut Easy Press
- Cricut Easy Press Mat
- Brayer And Tweezers
- Piece of white card stock
- Butcher paper ( Supplied with the ink)
Choose An Image For Your Infusible Ink Rainbow Cushion
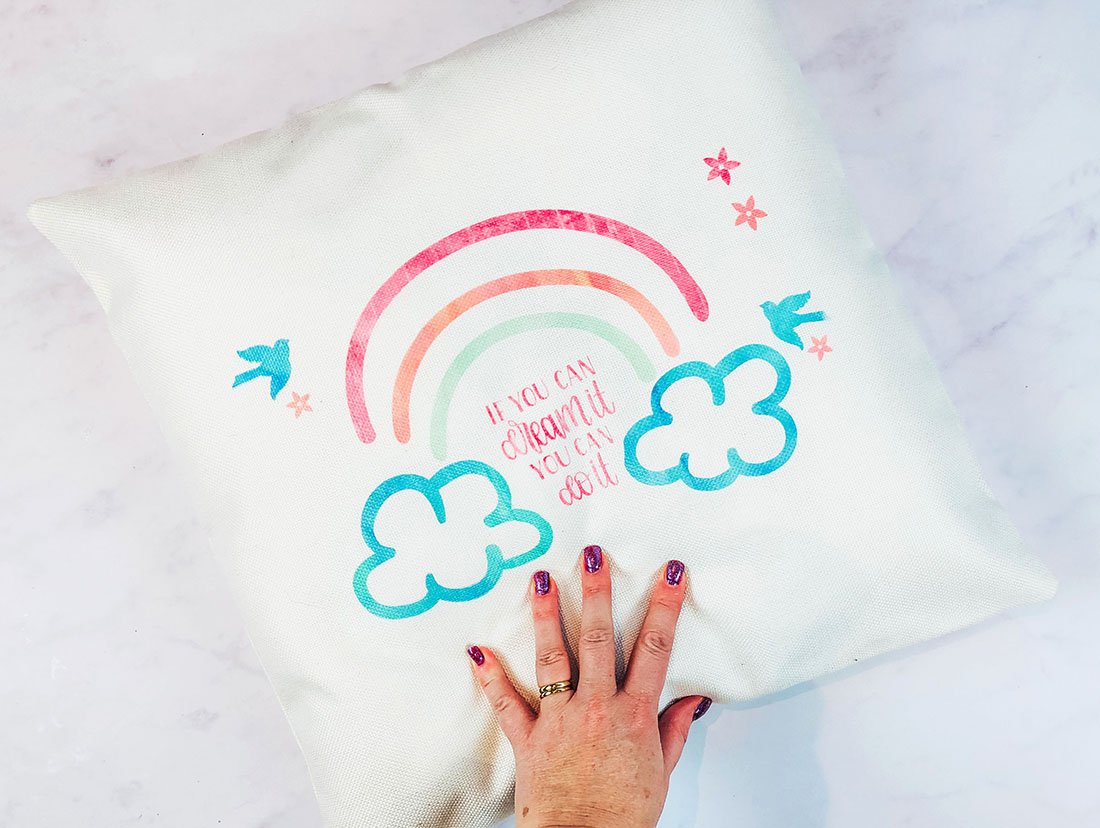
I chose a rainbow in Cricut Design Space and simply added some accents and a quote. There are two images, one for the front and one for the back. The point of this was to feature 2 motivational quotes from different angles. Get the project here.
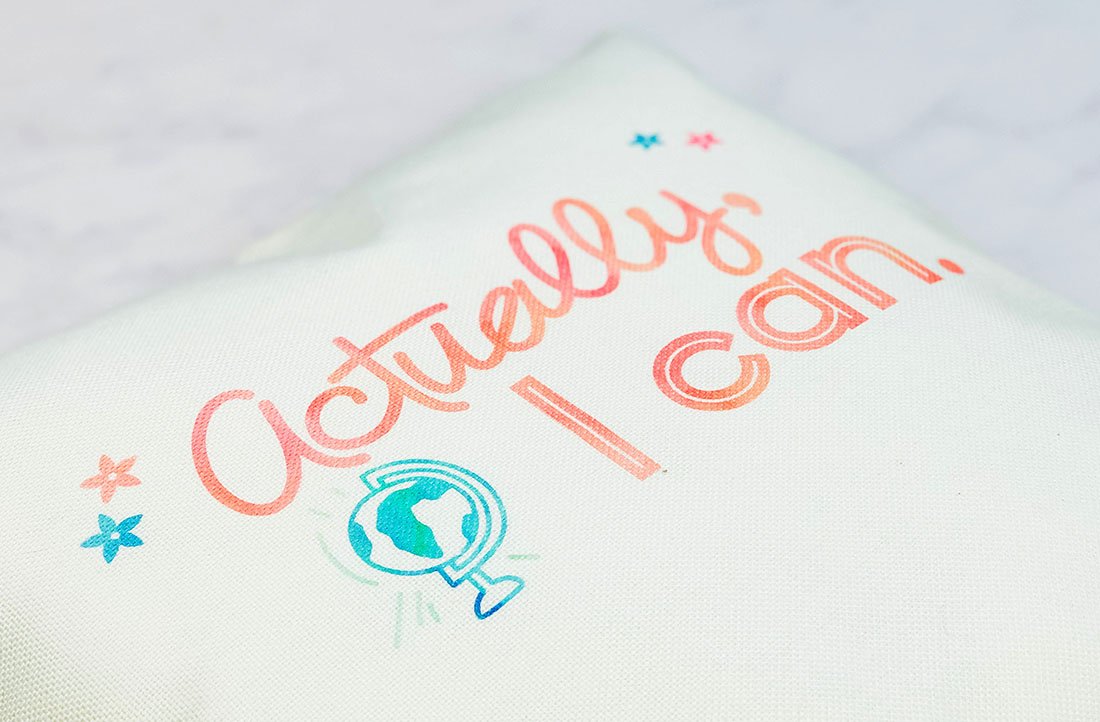
For the back I searched for quote and a globe, to represent anything is possible. These images are pretty but simple, this makes it easier to layer.
If you are using Cricut Joy I have wrote about how to make large projects on the Cricut Joy. I have also shared how to add your own images such as logos, or your Childs drawings into Cricut Design Space.
How To Cut Your Infusible Ink Image
Ensure when you send your image to cut your Infusible Ink transfer sheet is facing upwards. You must also mirror your cut, remembering to feed the correct colour transfer sheet through at the right time.
It’s also important to decide if you want your image to fit inside the perimeters of your Easy Press, mine is is 9×9.
However as I wanted by image a little larger to fill the cushion I did my heat press in 2 hits. This is totally doable, you simply have to ensure you image does not move at all as you move your heat press. If it moves slightly there will be a blur. Although this is resolved by repositioning any movement before pressing.
Weeding Your Image For Your Infusible Ink Cushion
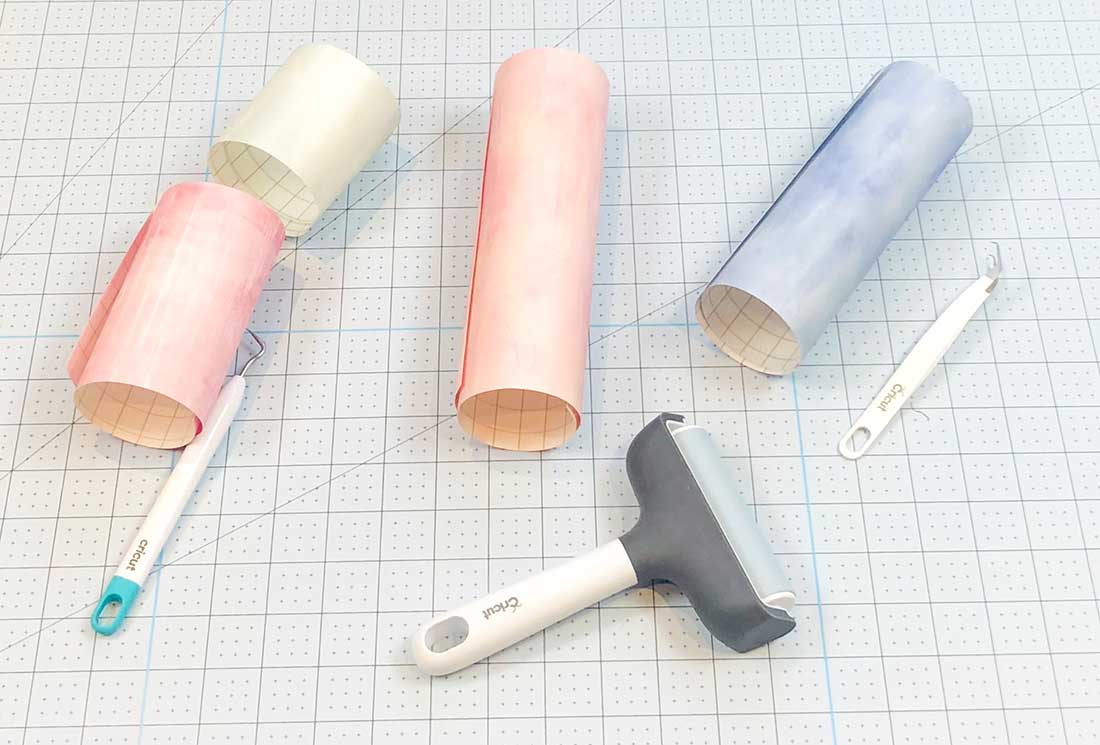
To weed your images, bend the transfer sheet to crack it, you will then be able to see the lines and cut. Now use tweezers to pull away excess. I find infusible ink the easiest Cricut product to weed as the excess comes away easily as you pull it.
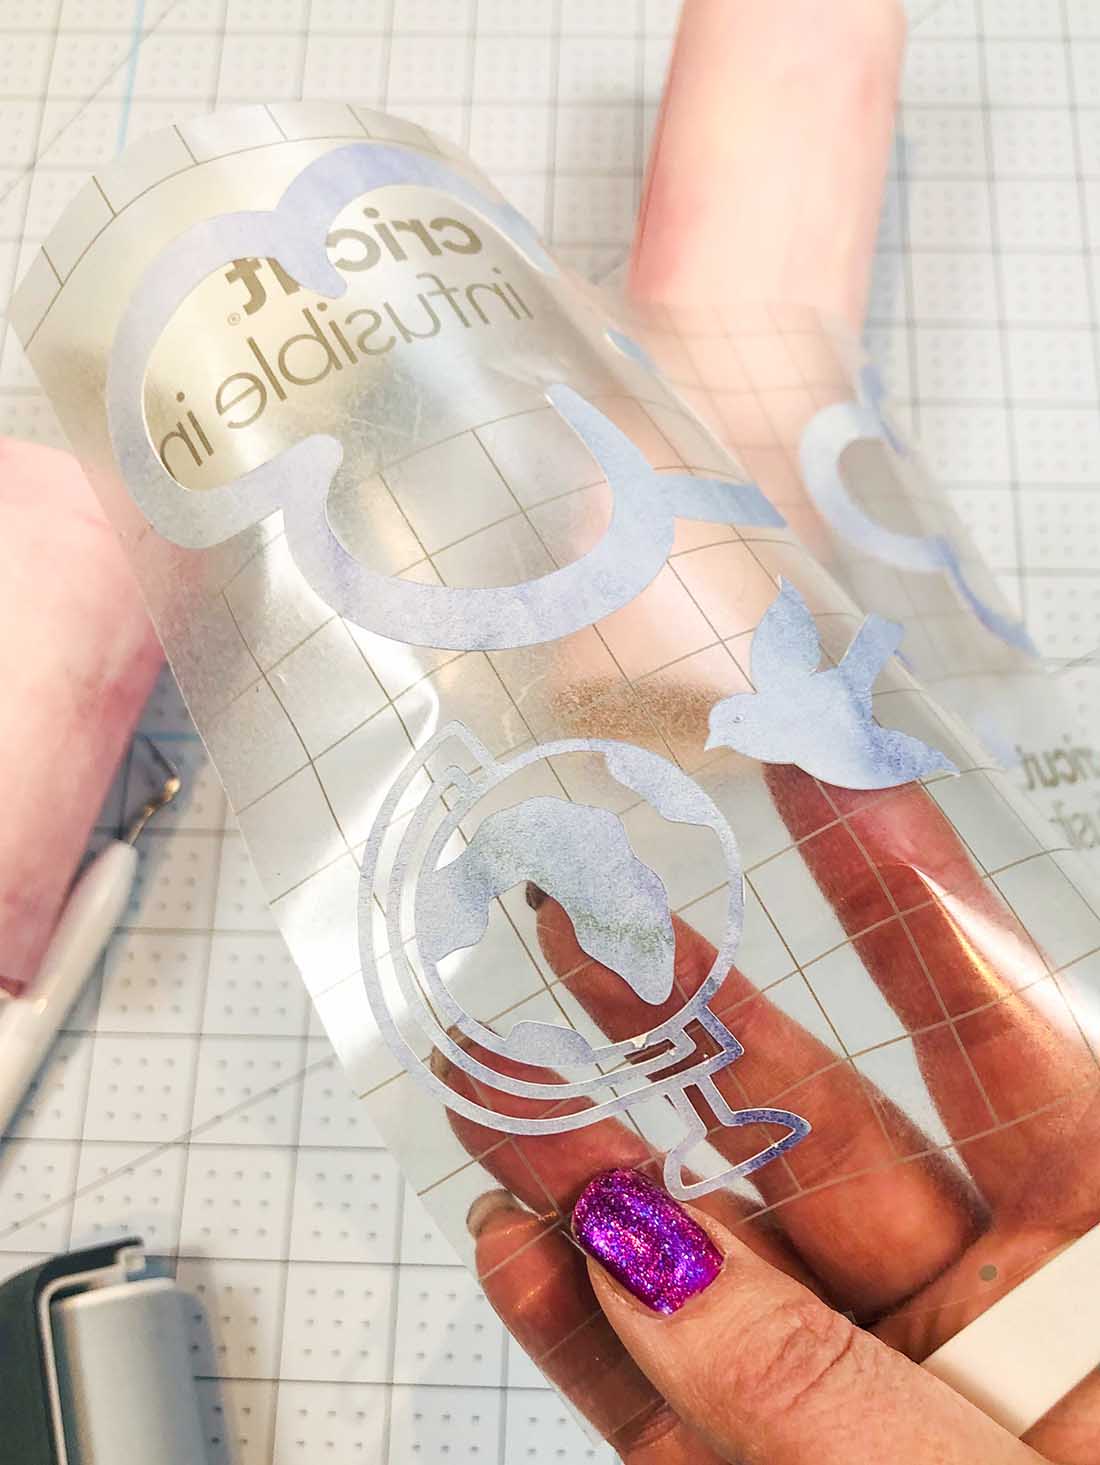
Layering Your Infusible Ink Cushion
Using the largest piece of backing vinyl, use tweezers and transfer all the pieces onto one piece to create 2 separate images on backing to re build your image. I found screenshooting my image from design space helped me to rebuild it, its also important to remember that you must mirror your image.
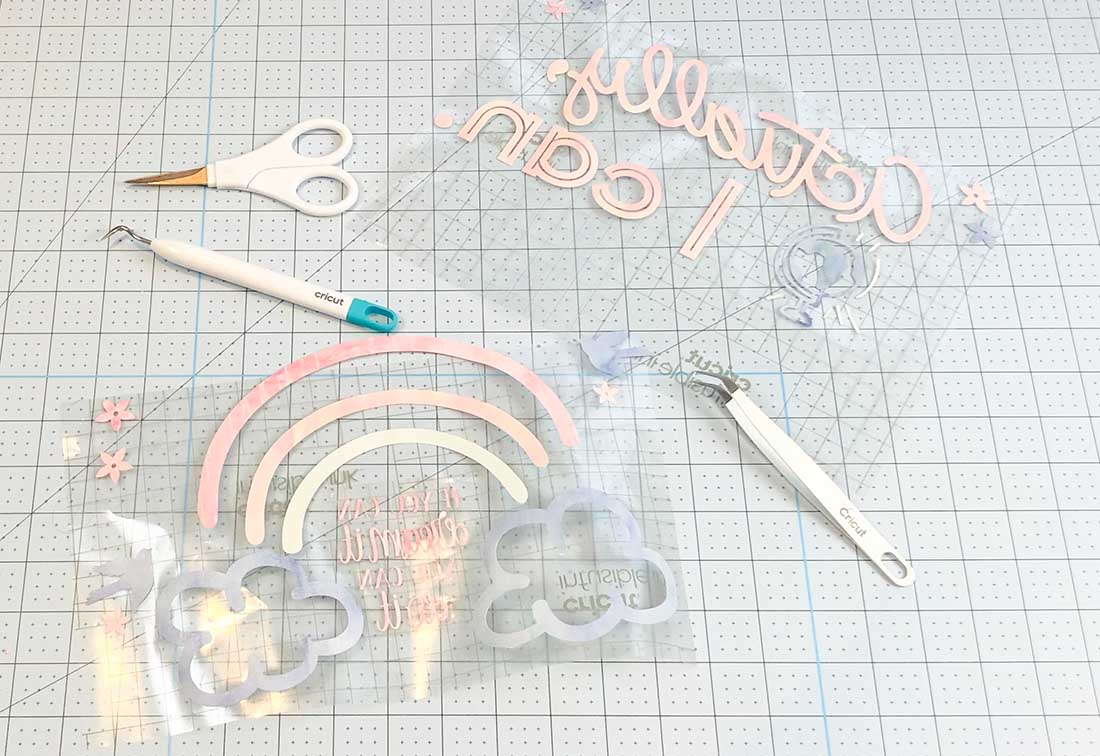
Transferring Your Infusible Ink Images Onto Both Sides Of Your Cushion
Do this one side at a time, and allow the cushion to cool in between. Also remember to change your white card stock in between, even if doesn’t appear to have absorbed the ink, any residue WILL transfer onto your cushion.
Stack Your Project
- Cricut EasyPress 2
- Butcher paper
- Infusible Ink Transfer Sheet design, face up
- Cricut cushion face up
- White card stock inside the cushion
- Cricut EasyPress Mat under the card inside the cushion
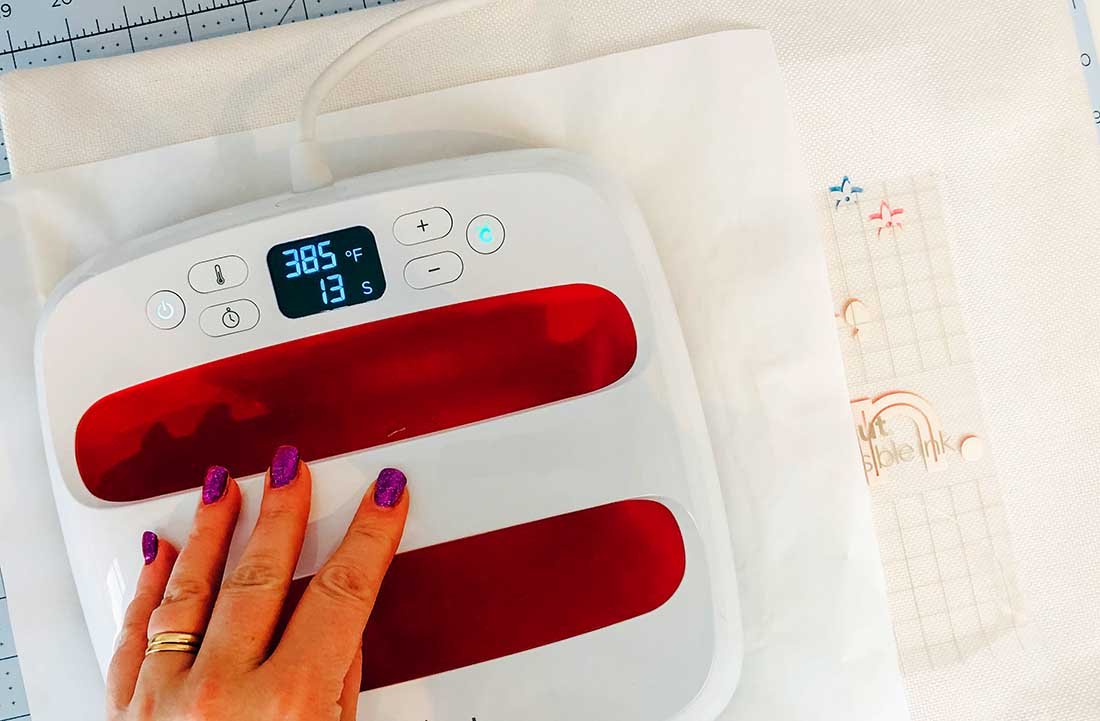
Transfer Your Image
Press with the heat press following the heat guide ( 385° with light pressure for 60 seconds.)
When the timer has finished lift the heat press straight up to avoid smudging. Now allow it too cool before removing your butcher paper.
Allow too cool and change the inner card stock and butcher paper before repeating on the back.
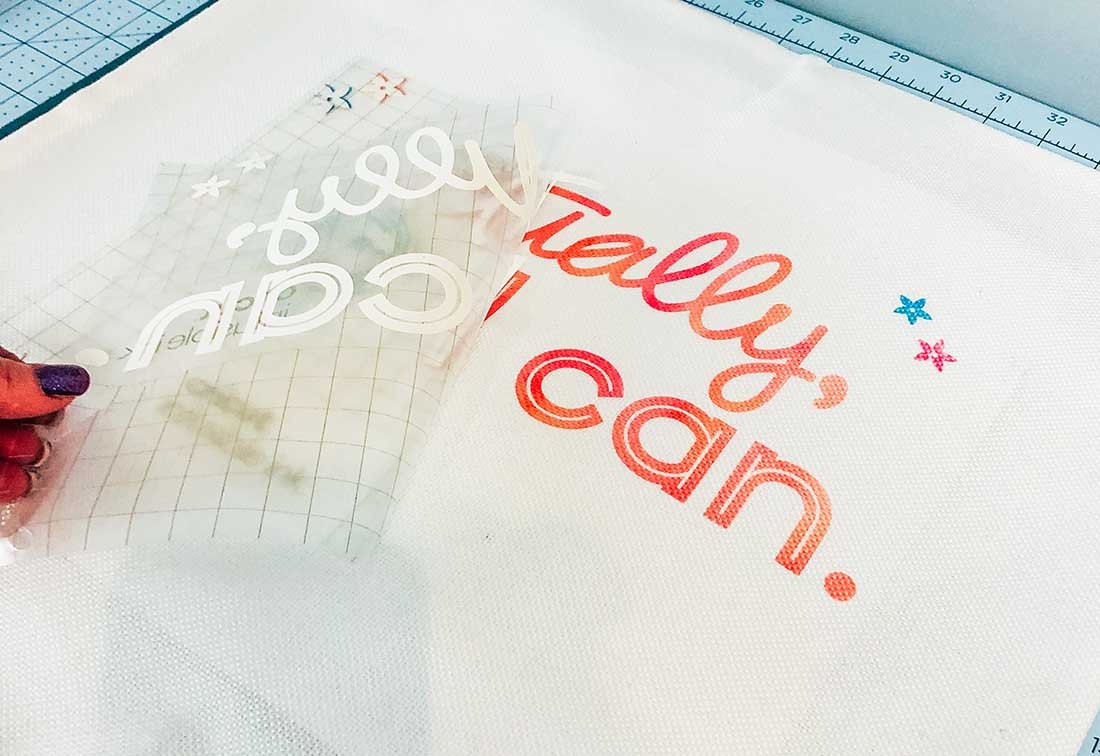
Infusible Ink Trouble Shooting
The image was blurry – to avoid a blurry result you must keep your heat press totally still, no moving about whilst pressing. Also ensure you pick it straight up when lifting of your project. If you are working on a larger project than your heat press, check the pattern/image is aligned before applying heat for the second time.
The ink didn’t transfer – check the heat instructions? If these are wrong the heat or timing may have been wrong for the blank.
The images is patchy – are you using a Cricut Heat Mat?, I found this made all the difference. Also check you have stored you transfer sheets correctly, if they are damp the quality will decrease. Additionally avoid touching your transfer paper with greasy fingers, this can affect your result. Weed with tweezers where you can.
#ad This is a paid collaboration with Cricut, however all thoughts are my own.
Create A Layered Rainbow Infusible Ink Cushion.
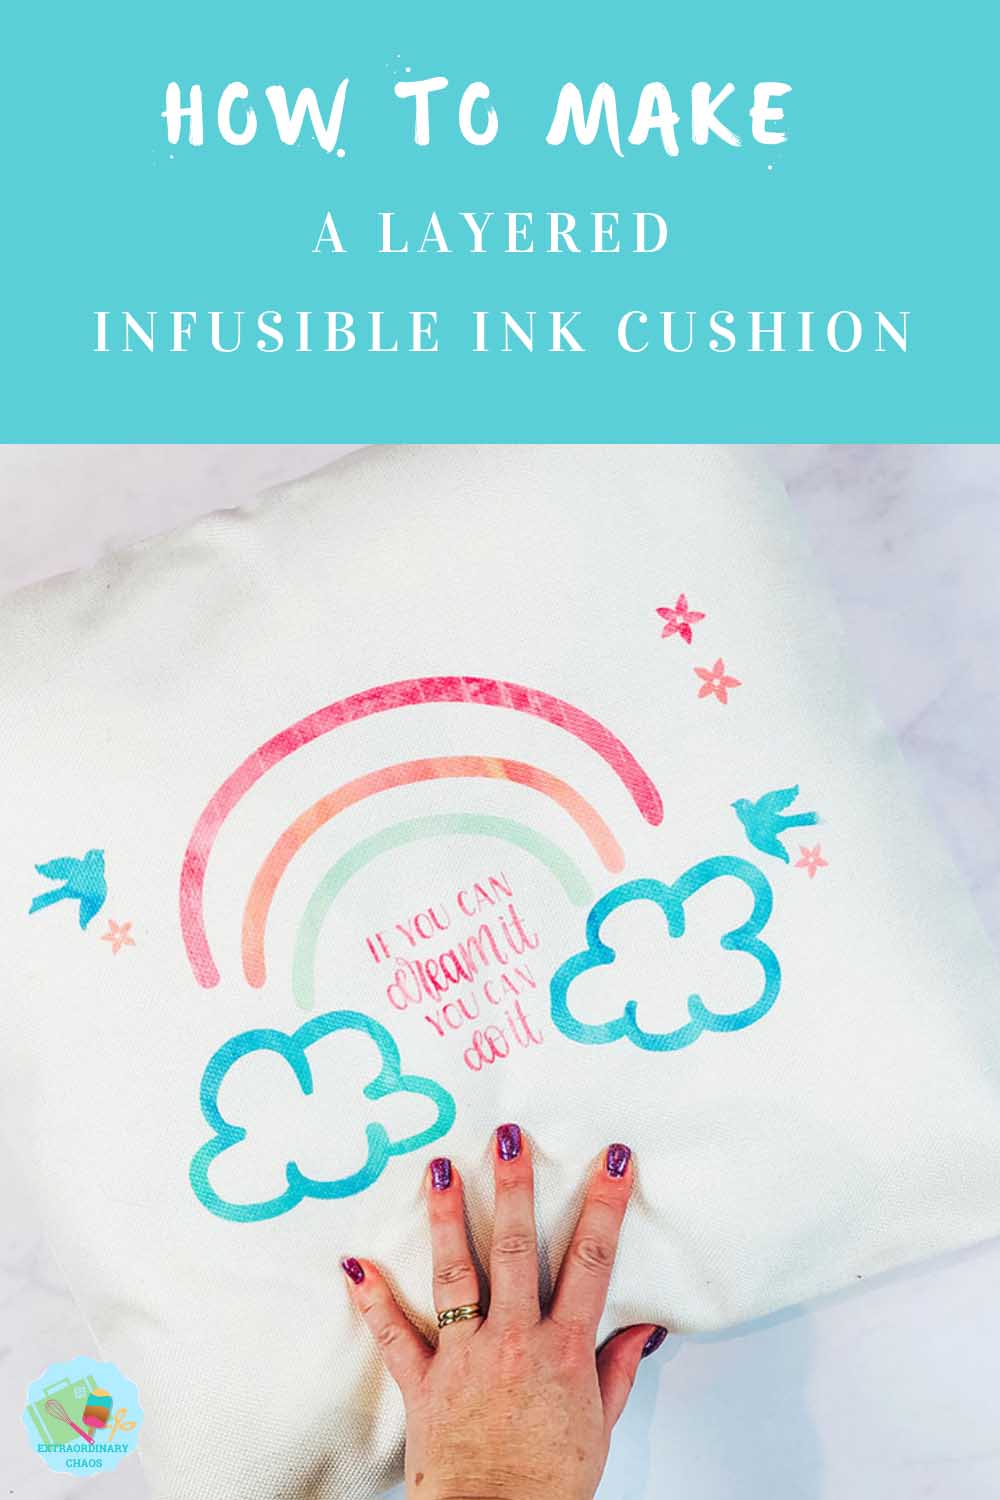
Create A Layered double sided Rainbow Infusible Ink Cushion & use multiple colours on a project and the new Infusible Ink Blanks/ink colours.
Materials
- Cricut Infusible Ink Cushion
- Infusible Ink Distressed Berry And Water Colour Packs.
- Piece of white card stock
- Butcher paper ( Supplied with the ink)
Tools
- Cricut Maker
- Cricut Easy Press
- Cricut Easy Press Mat
- Brayer And Tweezers
Instructions
Step 1. Choose An Image For Your Infusible Ink Rainbow Cushion
I chose a rainbow in Cricut Design Space and simply added some accents and a quote. There are two images, one for the front and one for the back. The point of this was to feature 2 motivational quotes from different angles.
For the back I searched for quote and a globe, to represent anything is possible. These images are pretty but simple, this makes it easier to layer.
Step 2. How To Cut Your Infusible Ink Image
Ensure when you send your image to cut your Infusible Ink transfer sheet is facing upwards. You must also mirror your cut, remembering to feed the correct colour transfer sheet through at the right time.
It’s also important to decide if you want your image to fit inside the perimeters of your Easy Press, mine is is 9×9.
However as I wanted by image a little larger to fill the cushion I did my heat press in 2 hits. This is totally doable, you simply have to ensure you image does not move at all as you move your het press. If it moves slightly there will be a blur. Although this is resolved by repositioning any movement before pressing.
Step 3. Weeding Your Image For Your Infusible Ink Cushion
To weed your images, bend the transfer sheet to crack it, you will then be able to see the lines and cut. Now use tweezers to pull away excess. I find infusible ink the easiest Cricut product to weed as the excess comes away easily as you pull it.
Step 4 Layering Your Infusible Ink Cushion
Using the largest piece of backing vinyl, use tweezers and transfer all the pieces onto one piece to create 2 separate images on backing to re build your image. I found screenshooting my image from design space helped me to rebuild it, its also important to remember that you must mirror your image.
Step 5. Transferring Your Infusible Ink Images Onto Both Sides Of Your Cushion
Do this one side at a time, and allow the cushion to cool in between. Also remember to change your white card stock in between, even if doesn’t appear to have absorbed the ink, any residue WILL transfer onto your cushion.
Stack Your Project
Cricut EasyPress 2
Butcher paper
Infusible Ink Transfer Sheet design, face up
Cricut cushion face up
White card stock inside the cushion
Cricut EasyPress Mat under the card inside the cushion
Transfer Your Image
Press with the heat press on 385° with light pressure for 60 seconds.
When the timer has finished lift the heat press straight up to avoid smudging. Now allow it too cool before removing your butcher paper.
Step 6. Allow too cool and change the inner card stock and butcher paper before repeating on the back.
Notes
Infusible Ink Trouble Shooting
The image was blurry – to avoid a blurry result you must keep your heat press totally still, no moving about whilst pressing. Also ensure you pick it straight up when lifting of your project. If you are working on a larger project than your heat press, check the pattern/image is aligned before applying heat for the second time.
The ink didn’t transfer – check the heat instructions? If these are wrong the heat or timing may have been wrong for the blank.
The images is patchy – are you using a Cricut Heat Mat?, I found this made all the difference. Also check you have stored you transfer sheets correctly, if they are damp the quality will decrease. Additionally avoid touching your transfer paper with greasy fingers, this can affect your result. Weed with tweezers where you can.
Recommended Products
As an Amazon Associate and member of other affiliate programs, I earn from qualifying purchases.

Wow! That looks really cool. Gonna try this one!