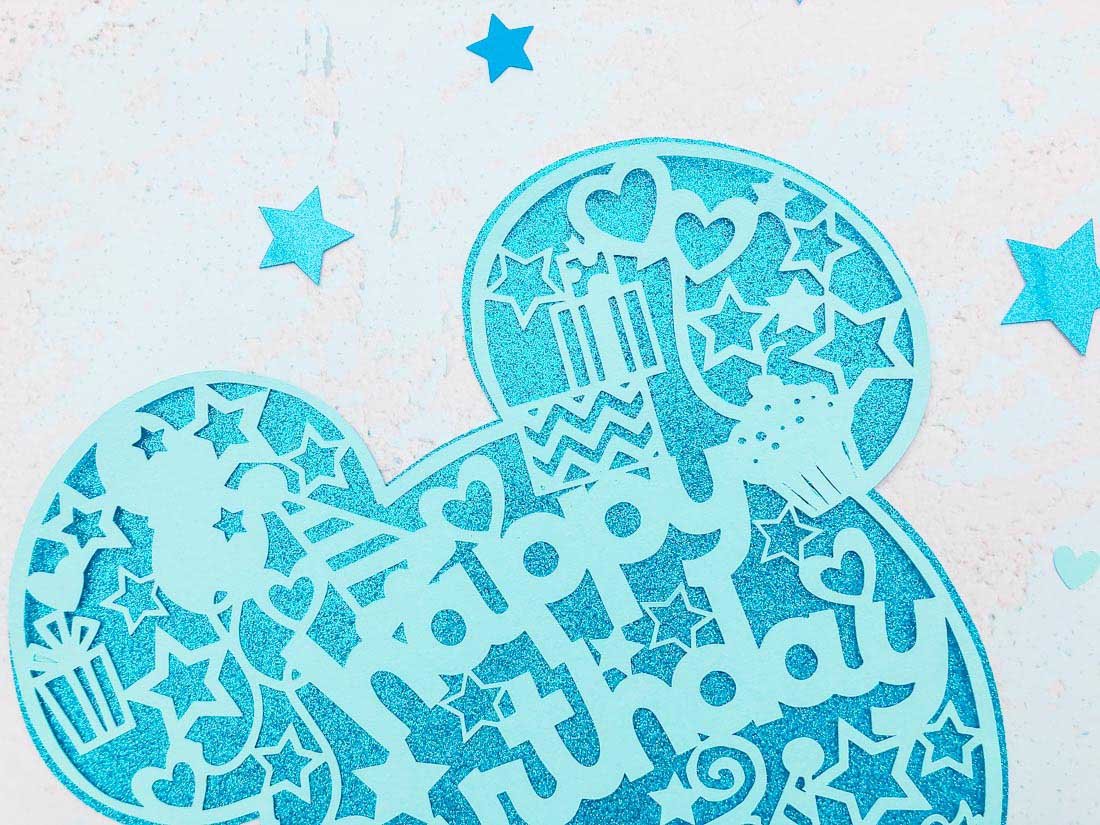
Birthdays are for celebrating, decorating the house and rejoicing for every year older that you get. Wouldn’t it be the dream to celebrate your birthday a Disney? But living in the UK and it being in term times means it’s not to be. However, you can still bring a little Mickey Mouse home for your birthday with my latest Mickey Mouse Happy Birthday PNG File, which is easy to cut on a Cricut.

What You Will Find Here
To Make A Cricut Happy Birthday Mickey Pop Art Paper Cut
You Will Need
- Cricut Maker
- Cricut Design Space
- 12x 12 plain card stock
- Brayer and weeding tools
- 12 x 12 Double Side Glitter Cardstock
Project Ideas For These Cricut Mickey Pop Art Cut Files.
These files can be used with paper, vinyl, to make stickers or to print onto banners to make cool birthday party decorations, some ideas are……..
- Scrapbooks
- Framing As A Gift
- Mickey Birthday Party Invitations and Thank You Cards
- T Shirts
- Back Pack Decals
- Mugs
- Table Decorations
- Party Banners
- Cake Toppers
- Window Cling
- Wall Decals

If You Want To Use This Cut File For Creating A DIY Disney Birthday Party?
To get your free Mickey Mouse Happy Birthday PNG files to use with your Cricut, simply click here or on the image below and I will pop it across to you.

However, make sure your pc pop-up blocker is turned off. Here’s how you upload the files to Cricut Design Space.
Quick Guide, Uploading Your Cricut Mickey Mouse Birthday PNG Files To Cricut Design Space
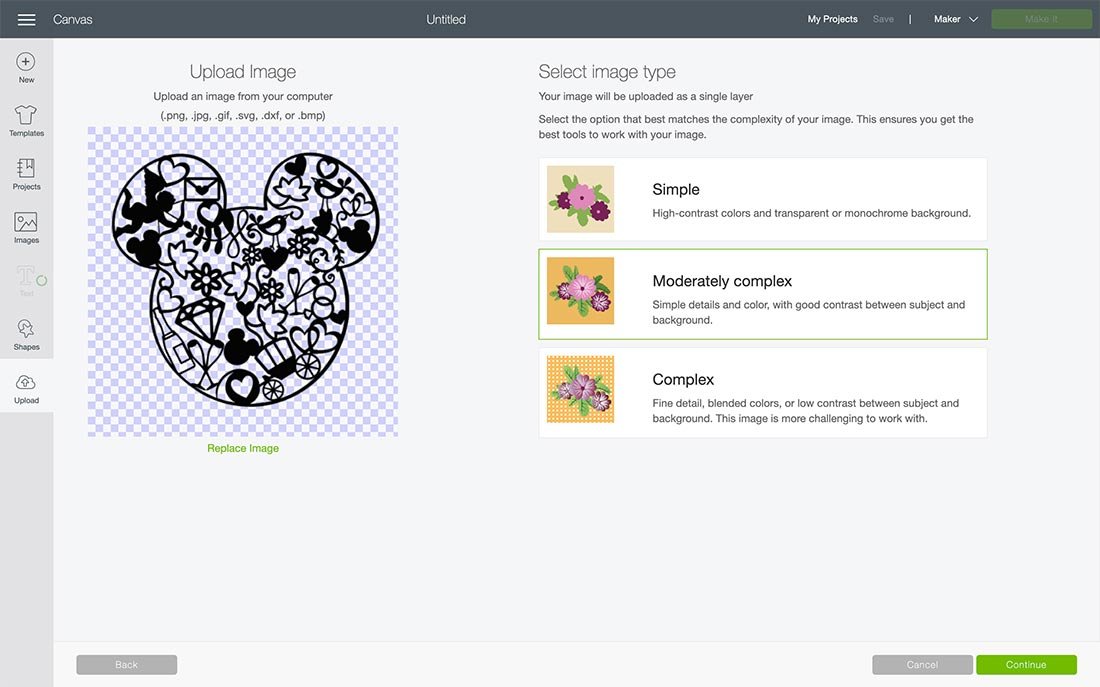
First click upload at the bottom of the left hand bar and find the Mickey Mouse Wedding File. You now have the option to remove the background, however I have done this for you.
Here you will see the image below, choose moderately complex. This is where you can remove any background if you need to, however I have done this for you.
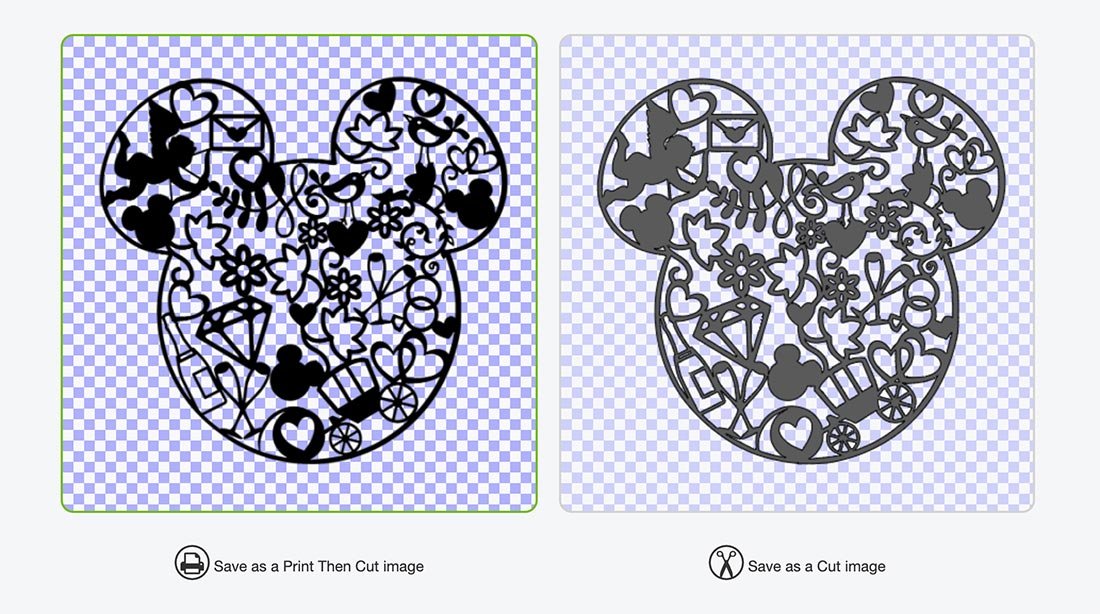
Next choose to save as a print and cut or cut file. If you change your mind it’s easy to change a file to print or cut.
Cutting Your Cricut Mickey Mouse Birthday Cut File
When you send your Mickey Birthday Cut File to your Cricut to cut ensure you use your brayer to roll the paper, vinyl or card to the mat. Any movement will effect the cut, asp if your cutting mat looses its stickiness this will affect the quality of cut.
Additionally, make sure you set the material and cut pressure correctly to match whatever Cricut materials you’re cutting to get a clean cut.
If cutting on card stock the bigger the better, this is a complicated cut, I cut 11×11, however cutting on vinyl will be easier to weed.
Once cut gently flex the mat to lift the corners, you will now be able to get the weeding tool underneath and gradually lift the file piece but piece.
How To Cut A Solid Mickey Mouse?
If you want to create a backing for your Mickey Mouse you will need to remove the contours. Start by right clicking on your image and duplicating it.
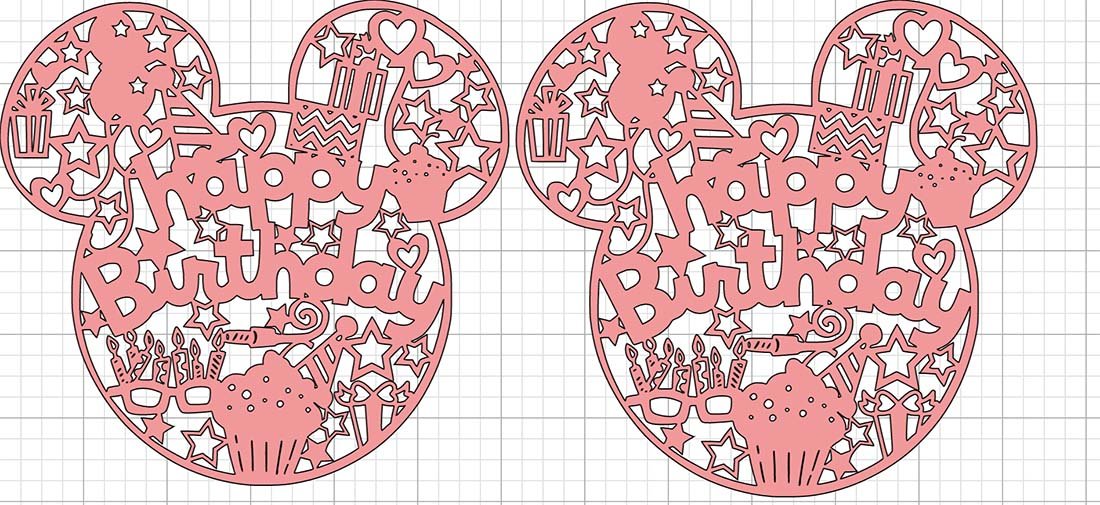
Now click on one of the images to select and click contour in the bottom right corner. You will see a box pop up like the one below, click hide all contours and close the box.

You will now have your cut file image and you solid image, if you resize either image be sure to lay one over the top to check they fit.
Please do pop over to Instagram, and give me a follow and if you make a project tag me! I love seeing everyone else’s makes and chatting crafting. I could do that all day!

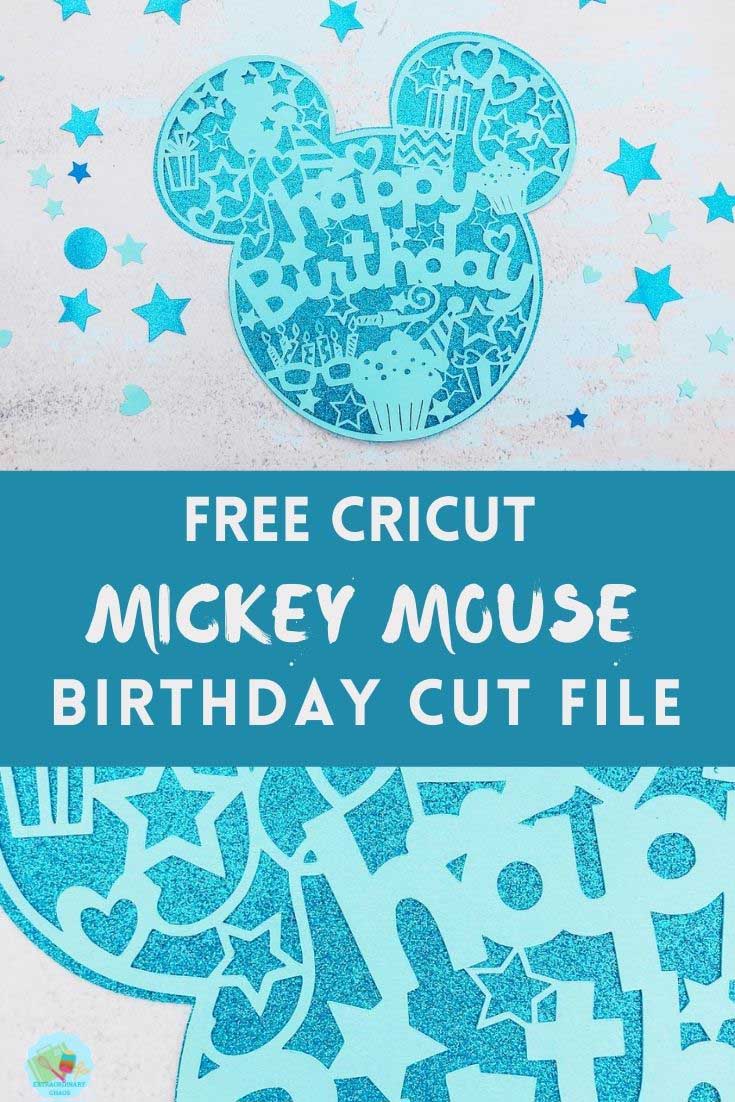

Mickey Mouse Happy Birthday PNG File
Mickey Happy Birthday PNG Files For Banners And Cake Toppers, this free file Cricut Mickey Mouse is perfect for Disney style parties, birthday celebrations.
Materials
- 12x 12 plain card stock
- 12 x 12 Double Side Glitter Cardstock
Tools
- Cricut Maker
- Cricut Design Space
- Brayer and weeding tools
Instructions
Quick Guide, Uploading Your Cricut Mickey Mouse Birthday PNG Files To Cricut Design Space
First click upload at the bottom of the left hand bar and find the Mickey Mouse Wedding File. You now have the option to remove the background, however I have done this for you.
Here you will see the image below, choose moderately complex. This is where you can remove any background if you need to, however I have done this for you.

Next choose to save as a print and cut or cut file. If you change your mind it’s easy to change a file to print or cut.
Cutting Your Cricut Mickey Mouse Birthday Cut File
When you send your Mickey Birthday Cut File to your Cricut to cut ensure you use your brayer to roll the paper, vinyl or card to the mat. Any movement will effect the cut, asp if your cutting mat looses its stickiness this will affect the quality of cut.
Additionally, make sure you set the material and cut pressure correctly to match whatever Cricut materials you’re cutting to get a clean cut.
If cutting on card stock the bigger the better, this is a complicated cut, I cut 11×11, however cutting on vinyl will be easier to weed.
Once cut gently flex the mat to lift the corners, you will now be able to get the weeding tool underneath and gradually lift the file piece but piece.
How To Cut A Solid Mickey Mouse?
If you want to create a backing for your Mickey Mouse you will need to remove the contours. Start by right clicking on your image and duplicating it.
Now click on one of the images to select and click contour in the bottom right corner. You will see a box pop up like the one below, click hide all contours and close the box.
You will now have your cut file image and you solid image, if you resize either image be sure to lay one over the top to check they fit.
Notes
Project Ideas For These Cricut Mickey Pop Art Cut Files.
These files can be used with paper, vinyl, to make stickers or to print onto banners to make cool birthday party decorations, some ideas are……..
Scrapbooks
Framing As A Gift
Mickey Birthday Party Invitations and Thank You Cards
T Shirts
Back Pack Decals
Mugs
Table Decorations
Party Banners
Cake Toppers
Window Cling
Wall Decals
Recommended Products
As an Amazon Associate and member of other affiliate programs, I earn from qualifying purchases.


I love it
Thanks so much Parti x
Thanks love it!
Thank you Sue x
My Pastor’s wife will love this Mickey Mouse for her birthday card!!!!
Ah Chris that has really made me smile, thank you x