We are creeping up to half term again! How did that happen, its seems 2 minutes since I was waving Joe off to school in September. Yet here I am wondering what Halloween craft activities I can fill half term with, and these trick or treat bags are a perfect Halloween activity.
Finding crafting projects to try out with teenagers is a tricky business. Let’s face it, there becomes a time they are too cool to craft. That is unless you find a craft or trip that motivates them.
What You Will Find Here
Finding Halloween Craft Activities That Teens Love
There is one answer to this, the way to a teens heart is through food. Am I right? So what better way to motivate them than to make their own trick or treat bags to fill with sweet things and treats?

How To Make Your Own Trick Or Treat Bags
A great way to make your own treat bags is to create an iron on template with the Cricut Maker. And today I am going to a share a quick tutorial of how to design a template and layer the vinyl for a multi coloured effect.
If You Want To Try This Halloween Project?
Click for the link in Cricut Design Space or follow this link for instructions how to drag the image below into design space.

Halloween Craft Activities, For This Trick Or Treat Bag You Will Need;
- Cricut Maker
- The Cricut Design Space
- Bright orange and metallic purple Cricut Iron On Vinyl to create a contrast.
- Natural hessian shopper
- Cricut Easy Press
- Heat Matt
- Scissors
- Weeding Tools
Design Your Image In Cricut Design Space
This is the final design I chose, the Cricut Design Space is full of amazing images ready to use. However if you want to design your own images its easy to do.

To get my images for the design I used the search words, trick or treat, ghost and candy in design space then scrolled through until I found images that worked for my Halloween craft activities.
For the centre piece I chose this cute ghost stamp, the plan was to create a feature around the design. I chose the trick or treat text but it was text in a line. I could have easily typed and chosen a text but I loved this so decided I would slice it in two, thus spliting the words.
To slice, put a square over the design and position where you want to slice. Next right click and slice. Now remove any excess. However, remember this only works on 2 layers. If another layer gets in the way you will not get the option to slice.

Next I positioned my image and chose my candy which I sized then duplicated and layered around the edge of the design at different angles.
Once I was happy with the design I chose my colour scheme, coloured my design to ensure I was happy with the colours I had chosen.
Now you can group each layer thus creating 2 coloured layers to your project.


At this stage it is important to ensure your project is the right size, I use my cutting matt as a guide which corresponds with design space.
Before Sending The Iron On Vinyl Image To Cut
Be sure to attach each layer. If you do not do this it will separate the image which means all the components will not be in the right place to iron on a one piece.
The image below has not been attached can you see how the sweets have moved? This would make it tricky to position to iron on.

However if you attach each layer it cuts in position and makes it easy to transfer onto your fabric.

The last step before cutting is to mirror your image as it cuts on the back of the vinyl.
I set my Cricut on everyday iron vinyl and choose extra pressure. Once each colour is cut out, weed the images keeping them on the plastic backing.
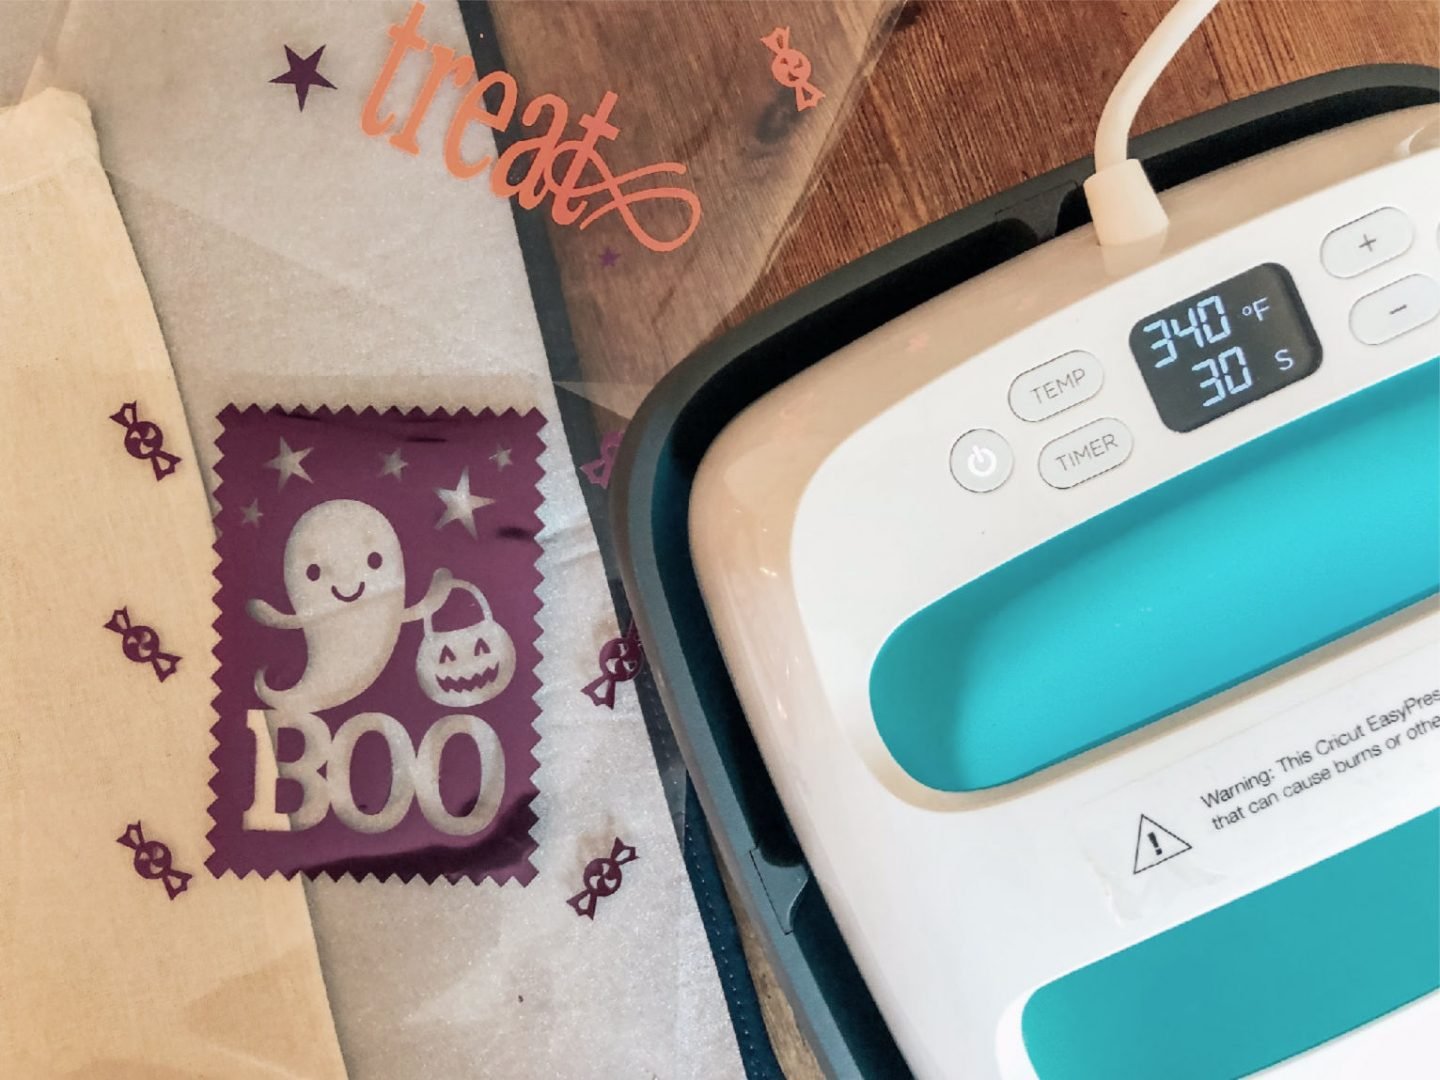
Before you start press the bag with the easy press to heat up the fabric.
Now place your first layer down, set the Cricut Easy Press at the correct heat and time and press down, keep a firm pressure but do not move the easy press, keep it still.
Once you have peeled off the plastic layer place your next layer down and repeat. When the image is transferred turn over the bag and press the back.
There you have it, a home made trick or treat bag all ready for Halloween. For an extra touch you can also personalise your design.

Other Ideas For Halloween Activities With Kids
Here are some of my other ideas for Halloween activities, a week can be a long time if you have nothing prepared. However a little planning can make a rainy week in October fly by.
How about trying Poison Apples, this is a great one for older kids.

Or for the teen with a little patience, designing halloween paper cut decorations is a wonderful way to spend and hour or two.

Happy Halloween crafting, and here’s to surviving half term.
Pin For Later

