
If you are a crafter like me, then new machines and gadgets are something to get excited about. So when you find something with multiple uses to add to the crafting collection, you are on to a winner. In my review of the xTool M1 Ultra cutting and laser machine, I will share how the machine stood under testing of each of it’s uses and share the results so you can judge for yourself if this is the right machine for you.

This post may contain affiliate links. Which means I may receive a small commission if you click a link and purchase something that I have recommended at no extra cost to yourself. As an amazon, Cricut and Glowforge associate, I earn from qualifying purchases.
What You Will Find Here
What is the xTool M1 Ultra
The xTool M1 is a crafting machine that offers four main functions: laser cutting and engraving, blade cutting, inkjet printing, and pen drawing. Each function has multiple uses, making it a great all-around machine for crafters who love to work across multiple disciplines such as lasering, papercraft and scrapbooking card making.
When I first unpacked the M1 Ultra, I was a little confused because it doesn’t have a camera like the M1 or P2. Why remove something that works? But this machine doesn’t need a camera, and after my first couple of projects, I had forgotten the camera was ever a thing. Why? Because the M1 Ultra just works as it is, the laser and placement functions just fine without it.

Setting up the xTool M1 Ultra
The initial setup is super easy. I also have the P2 laser machine, and the xTool M1 Ultra is a lot easier to set up. It’s more of a plug-and-play machine. The M1 Ultra comes ready built, just add the riser base, connect to the air assist and desktop fan and connect to the WIFI, calibrate, then you are good to go.
However, the M1 Ultra does have many features and elements, all requiring a little practice and learning to perfect. It’s all relatively easy, but with many possibilities come lots of exciting features to try out, and that’s all part of the fun. Today, I am going to share the first projects I made. There were no practice runs, just plug-in and go.
Yes, I could have spent longer practising, but I didn’t want to do that. It’s important to share first-hand, unfiltered experience of how the tool M1 performed as a beginner to the machine.

The Software, XCS Studio
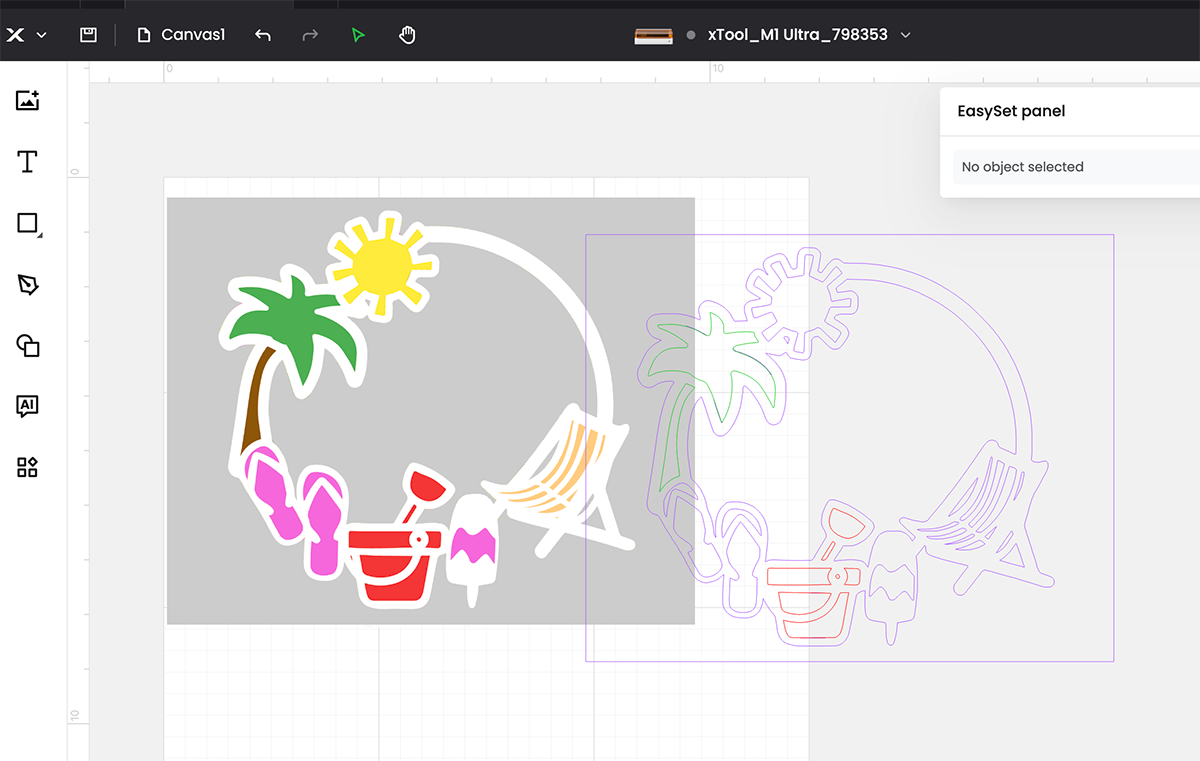
I will share more about the XCS Studio software in future posts and videos, but it’s phenomenal. I have been using it for a while and find it easy to use. But recent updates have made it so user-friendly, especially for uploading, tracing, and laser cutting multi-layer paper cut files.
The free software makes it super easy to upload screenshots, trace files and remove backgrounds from colour files. But it can also trace multi-colour PNG files to become single-layer SVG files; I kid you not! This totally blew my mind, and you can export SVG files.
Attachments and Modules on the xTool M1 Ultra
The M1 Ultra has four modes: laser, Ink, cutting and engraving. This gives you a lot of scope over an endless list of materials. Plus, there are more modules to come. I spent a week playing and testing and have only touched the tip of the iceberg. However, there is so much more I want to try out, including engraving a number, which will be my next project.

Lasering on the M1 Ultra
Laser Cutting
I had the machine set up and laser ready in no time at all; within 20 minutes, I was connected to xTool’s creative space and had set my first wood laser project to cut. Now, the M1 Ultra has a choice of 10 or 20-watt lasers, and I was working with the 10-watt. I have to say I had my doubts as I am used to working with my P2, which is 55-watt but also double the price.
But it effortlessly cut through balsa wood, it took 8 minutes to cut a beach wreath template. This was without the air assist, so I then cut a heart and used the air assist, and you can see the difference.

Great For Family Craft Projects
I have since cut shapes for my niece to colour. It’s her favourite activity when she visits, and we were able to safely craft together. And because of the protective cover, I know it’s safe for little eyes. Whilst I would never leave her with the machine, or indeed leave it myself. It’s great to know like the P2 it has a safety cut-off, and by pressing the start button, or lifitng the lid the machine pauses.

Laser Engraving with the xTool M1 Ultra
Laser engraving is easy with the laser guide and framing tool. This tool lets you position your project and set the framing to see precisely where your M1Ultra will engrave.

Engraving is one of my favourite projects and processes on the M1 Ultra; it’s quick and effortless but with excellent results. I started with the slate heart, the initial engrave tool 2 minutes and 22 seconds, I did add some flowers on after, but got my placement wrong. That was more down to me rushing.
The keyring took 40 seconds, and I got the placement perfect by using the laser guide. It’s just a matter of measuring your project to get the sizing right. And lastly, the cheeseboard took 16 minutes. If I made it again, I would make the design larger, but these were first projects, and I wanted to share the results of those first results.

Laser Cutting Paper
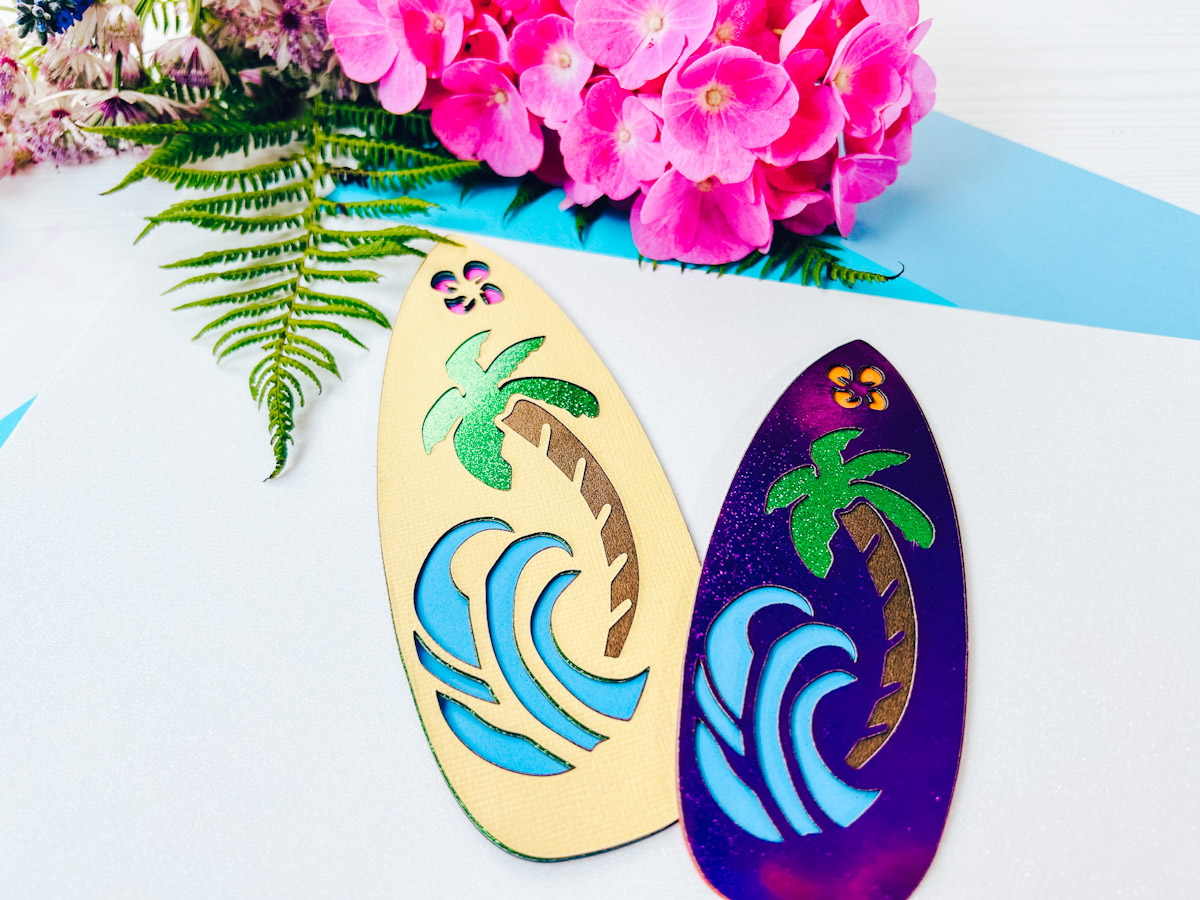
I have laser-cut paper before on my P2, but I worried about fires, which, of course, is a risk of laser-cutting paper. However, the Air Assist, which connects to the back of the M1 Ultra, creates some wizardry where it circulates air around the machine to prevent charing. This has given me much more confidence in laser cutting paper, making projects so much quicker.
Now there is still a charing smell when you cut paper and card. But I am finding that playing with settings helps reduce charing as it’s all about getting the right setting for the paper or card. I have discovered, the thicker the card or paper the lower the speed needs to be set—for thinner paper, up the speed as the laser can slice through the project quicker.
This five-layer project took less than 5 minutes to cut, and I only had to upload the top layer to XCS. The Release Compound Vector Tool is a game changer; it allows you to remove elements to cut each layer. So rather than uploading five layers, you upload the top layer, cut the layer, then remove an element and cut again. It’s genius.
Cutting Acrylic With The xTool M1 Ultra
Yes, it cuts acrylic. I made a keyring on green acrylic, I designed it all in the XCS software and it took 5 minutes and 25 seconds to cut. It took 3 passes on a slower speed, but there was no charing and the result is great.

Ink
I mean a cutting machine that prints, it’s crazy! I tried three projects, two on white card and one of wood and made a jigsaw puzzle. It will take a little practice, printing and cutting on wood, and the result isn’t as vibrant as I would have liked, but I think that is down to the colour of the wood. Plus, the ink doesn’t have black in, it’s tri-colour, so the colours have to work to make up the darker shades.

Printing onto paper had great results; you can choose your intensity because I was able to set an offset, and it was perfect. The print quality is a little mottled, but this is the first time I have used the feature so feel I may need to practice a little.

The Multi Function Tool
From the multi-function tool, I use the fine point blade for cutting; this sits in the basic carriage and the embossing tool in the Multi multi-function carriage. However there is a collection of other tools for cutting fabric and acetate, with more to be released in the future.
- Fine Point Blade
- Rotary Blade
- Knife Blade
- Embossing Tool and Foil Transfer Tip
- Pen Module
The Fine Point Blade
I did two papercuts in card stock and glitter. Both had excellent results; it’s all about getting your pressure right. I cut my Butterfly Cake Topper Numbers as I wanted to set the M1 Ultra with fine detail, and it didn’t disappoint.

Cutting HTV with the Fine Point Blade and Using the The xTool Smart Press
I love that the tool has so many uses, and the fact that you can order a 3-in-1 heat press as part of the package is genius. This clever heat press set allows you to use the mini press on smaller projects and the larger press independently or as part of a pressure-adjustable system.

I cut my vinyl and used the press to press a hoodie. The only mistake I made was my choice of vinyl. I should have gone with red or white vinyl; grey-textured vinyl is not for me. But the process was quick and easy. I love the Flexi Control; it’s easy to connect and use. And I have to say this is a pretty stylish machine.

The Embossing Attachment
This was an attachment I wasn’t too bothered to try. I have never had great foiling results, and I have always found it to be a bit underwhelming. But this was my first result, and I am thrilled. I think the foiling tool likes less detail and straight lines, but this was my first attempt, and it’s perfect.

Riser Base and RA2
The riser base allows you to engrave deeper and round projects, such as bowls, spoons, boxes, and beakers. I will try this next and share the results but here is a tumbler I made on the P2 to give you an idea of what you can create with the RA2.

How Much is the xTool M1 Ultra
I have the deluxe bundle plus the desktop fan; the M1 Ultra deluxe bundle currently costs £1949.00. Plus, the Heat Press all-in-one kit at £299 and the desktop air purifier at £349.00.
My Favourite Features and Final Thoughts on the xTool M1 Ultra
It is tough to say what I prefer: laser cutting and engraving wood is quick and clean; I am obsessed with the embossing tool, and the foiling results were incredible. This machine and the air assist take laser cutting card and paper to a new level. And the heat press results are fabulous. This machine is light years ahead of the old M1 and offers so many solutions and possibilities for crafters. Making it an exciting machine to learn and get to know.
Ad, Please note this is a collaboration, but all opinions are my own.

Great review! I’ve always wanted a laser cutter for super detailed paper cuts but love that you are able to cut other media!
Sandy its great, I love that it does so much