Imagine a tool that transforms your creative visions into reality with unmatched accuracy. The Xtool P2 CO2 Laser Machine is designed to do just that, and from my initial tests, I am not disappointed. From intricate designs to larger-scale projects, this machine promises to redefine how you approach engraving and cutting tasks.
I have owned my xTool P2 for just over a month and have spent that time putting it through its paces. When it initially arrived, it sat in the box for two weeks; ok, I needed to order a table for the P2 to sit on. But honestly, I felt a little intimidated by the machine. However, trust me when I tell you that as long as you follow the set-up instructions, this incredible laser machine is easy to learn and a joy to use.
This post may contain affiliate links. This means I may receive a small commission if you click a link and purchase something that I have recommended at no extra cost to yourself. As an amazon, Cricut and Glowforge associate, I earn from qualifying purchases.
What You Will Find Here
Review of the xTool P2 CO2 Laser Machine
Setting Up Your xTool P2
I was lucky enough to get a starter pack with some essential accessories to enable me to try various projects.
- XTool P2 Laser Machine
- Riser base enables you to make taller projects by increasing the depth of the machine.
- The RA2 Pro is a rotary attachment that enables you to engrave round objects and curved surfaces.
- The Honeycomb Panel creates a base for projects plus has magnetic clips to secure projects.
- Smoke Purifier exhaust fan to vent smoke from the P2.
You can also get an air assist and automatic passthrough attachment for larger projects that don’t fit in the xTool processing area. Although it has a large bed size, the automatic conveyor feeder allows you to go bigger.

Building The Riser Base
There are a few steps to get fully set up; the riser base needs to be built from scratch. This took about 40 minutes, and if I am honest, it wasn’t as bad as I initially thought. Depending on the project, the riser base allows you to choose several height levels. Giving you a lot more flexibility. It takes the P2 to a whole new level by increasing the workpiece height.
Once the riser base is in place, you put the xTool Laser on top and set that up. There are in-depth videos on the xTool site and on YouTube, plus there are step-by-step instruction books in the box. I found working between the box instructions and YouTube made set-up easy.
Set up also involved filling a reservoir around the laser tube with antifreeze and distilled water. There is clear guidance to help you add antifreeze depending on where you want to keep your laser cutter; the antifreeze levels you add to surround the CO? Glass Laser Tube will vary depending on where you are keeping your laser machine and the ambient room temperature, giving you the choice of keeping it in a garage, office or workroom.

Set Up The Exhaust Hose
Before you can use your laser machine, set up the exhaust fan. If you are venting outside, your P2 Laser Machine must be near a window. However, if you have the smoke purifier, you still have the option to vent outside but do not need to. I have found that with the power on full, it eliminates odours and fumes completely.
I also bought a fire safety kit as extra, more as a precaution. However its also reasuring that the P2 laser machine does have an emergency stop button on the side.
Connect Your xTool P2 To The Wi-fi
Again, you will find instructions in the box to connect by usb cable for the first time, the the P2 connects to WIFI after that, which is easy to follow. But I want to tell you about using the P2; that’s the fun bit, not all the setup. So get connected and launch xTool Creative Space and you can start to see the wizardry that is the xTool P2.
Do A Test Cut With Your xTool P2
The best way to learn is through trial and error, so grab a piece of plywood, close the lid and choose your first project. I opted for something nice and easy and chose a circle with an engraved owl.
To engrave onto a circle, just pop the image on top, select the circle and choose cut. Then click on the owl and choose engrave. Note the contour will engrave the outside image, and the engrave setting will create a more solid engraving. Then, choose your material setting and the camera should kick into action. You can now see the image in position on your material. This is great for sizing and positioning precision.

If You Have Any Problems Cutting
I had a problem with my P2 cutting and engraving better on one side of the machine than the other. I did a quick search on the xTool site, and realised the laser path needed calibrating with a screwdriver; it was slightly off. This tutorial takes you through it step by step, takes less than 5 minutes and resolves the issue. Once resolved, the difference in cutting was phenomenal. Its so crisp on every project.
What Can The xTool P2 Cut and Engrave
The xTool P2 offers endless opportunities, but to name a few.
The xTool P2 Can Cut
- Acrylic
- Plastic
- Wood
- Basswood
- Leather
- Corrugated Card (This is great for test templates)
- Card
- Rubber
And The xTool P2 Can Laser Engrave
- Acrylic
- Plastic
- Wood
- Basswood
- Leather
- Cork
- Bamboo
- Tumblers (with the rotary engraver tool)
- Fabric
- Slate
- Metal
- Titanium Steel
- Card
- Stainless Steel ( if you use laser marking spray or powder)

What File Types Can I Use on the xTool P2
You can upload dxf, SVG, PNG, JPG files even screenshots. However many of these will allow you to engrave projects. For cutting, SVG files work best for me because I design my files in SVG.
What I Have Made So Far
As a beginner to the xTool P2 I had a real fear of using the laser machine for the first time. To help with this, I watched a few YouTube videos and spent some time scrolling the xTool P2 Facebook page. But here’s the thing the best way to learn is to be aware of safety first but just have a go.
Start by logging into the xTool Creative Space and having a play. The beauty is you can load your material and connect your machine for a real-time view into the machine. This is great as it enables you to see your project in situ on the material. Plus, to get a closer view, you are able to zoom in with the close-range camera, which gives you vision precision to get positioning accurate.
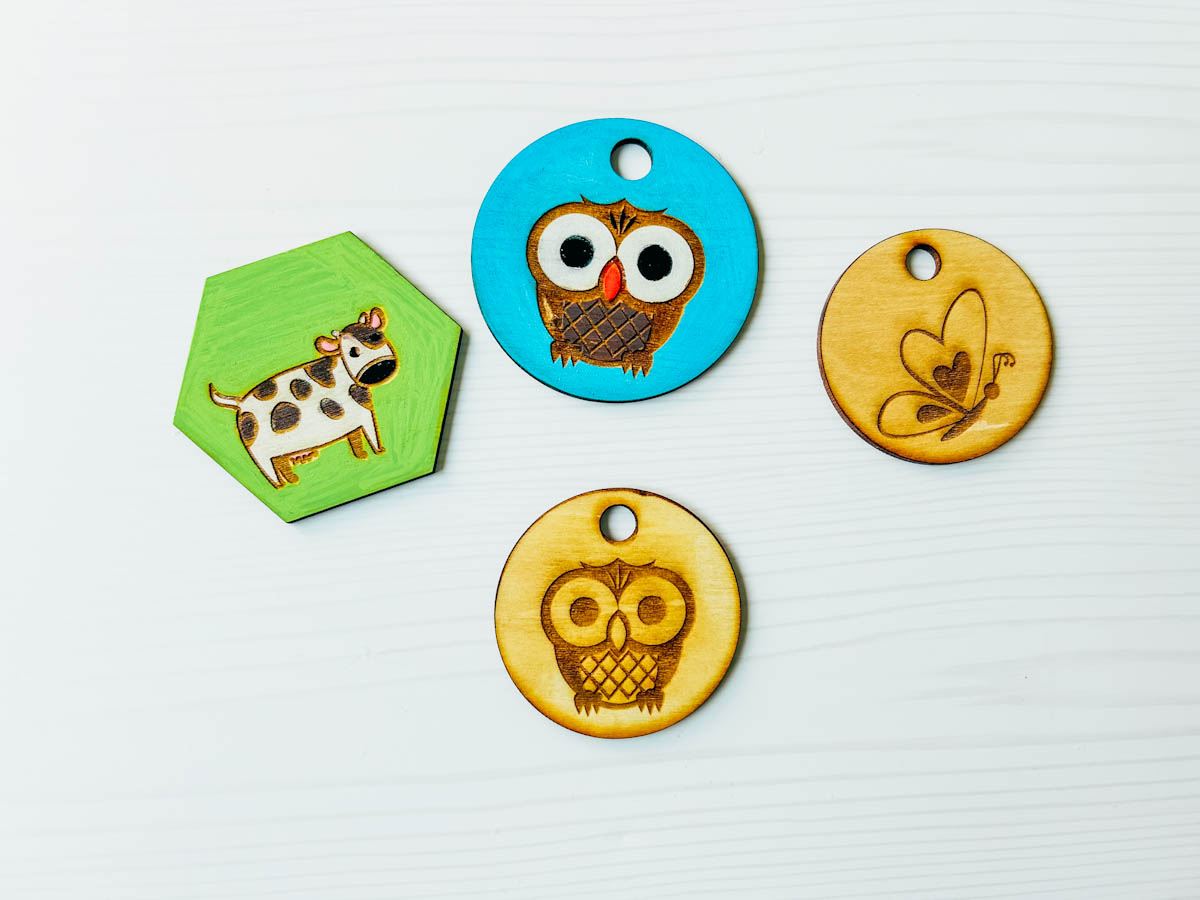
Cut and Engrave Wood Disks
This was an easy first project, I wanted to get to grips with the XCS software, I have used it before with my xTool M1. However, this machine can do more, and I really wanted to put it to the test.
These cute wood disks were super easy to make, and there are plenty of images to use as first projects in creative space. To finish the project I used acrylic paint pens to paint my disks and bring them to life.
Time Taken; so cut and engrave 7 minutes.
An Easy Acrylic Cake Topper
Cake toppers take minutes to create. I created mine outside of the creative space and imported it as an SVG. However, after a play, I quickly mastered creating cake toppers in xTool Creative Space. I will share this very soon; I used coloured acrylic for this project. But it is also an option to use clear acrylic and spray paint on the back, which gives you so many colour options.
Time Taken; 4 minutes.

Acrylic Birthday Cards
If you want to make or sell cards, these cards are so easy to create and look so effective. I used my star alphabet, which cut perfectly, and added it to a little patterned paper onto a blank card. However, you could use any letters or numbers to make truly unique cards.
Time Taken; 3 minutes per letter.

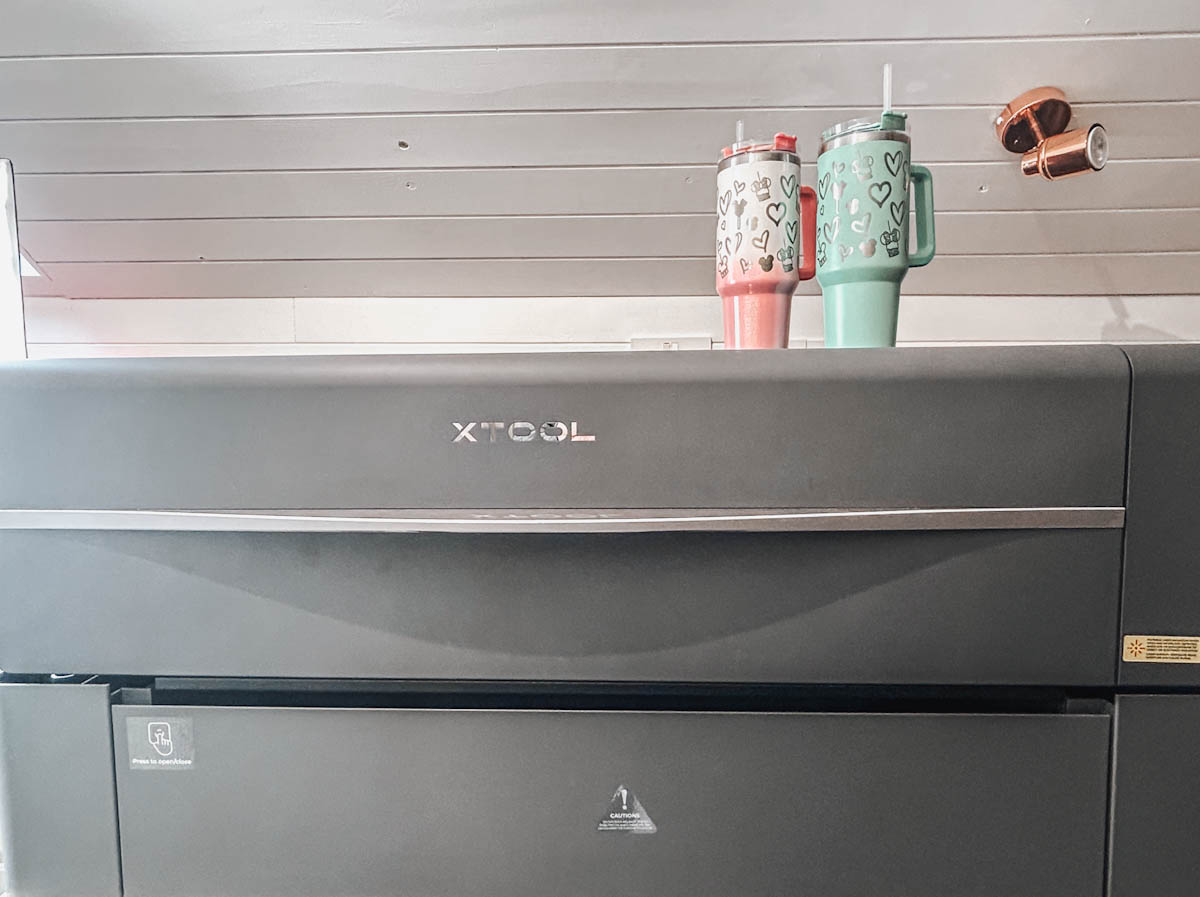
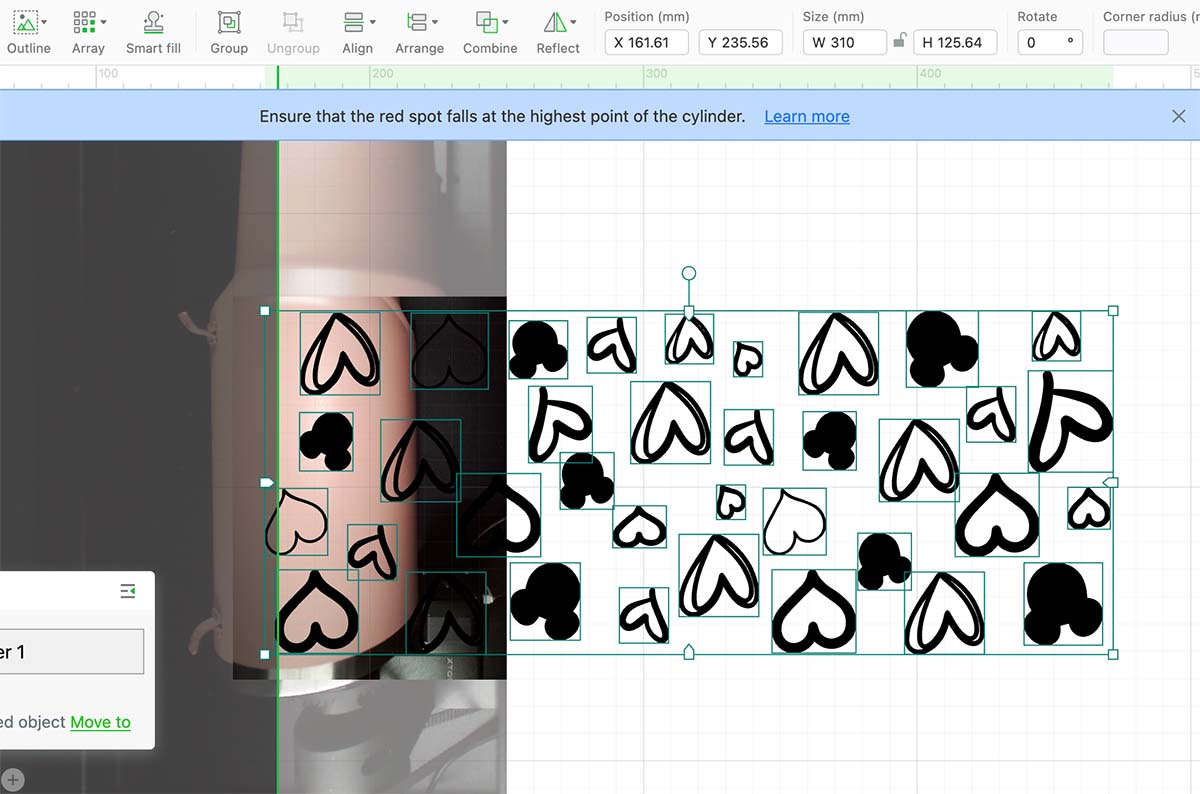
Engraved Stanley Tumbler’s
This was the project I was most excited about but most nervous as engraving a curved surface seemed so hard. But if you follow the instructions step by step, then it’s so easy, and the results are incredible. The key is to measure your tumbler, input the rotary engraving diameter into the XCS software, and spend time ensuring your tumbler is level and aligned with the laser head. It took an hour to engrave the tumbler, but I was thrilled with the results and went on to engrave four more tumblers, getting great results every time. If you fancy having a go you can get the wraps here.
Time Taken; 1 hour.
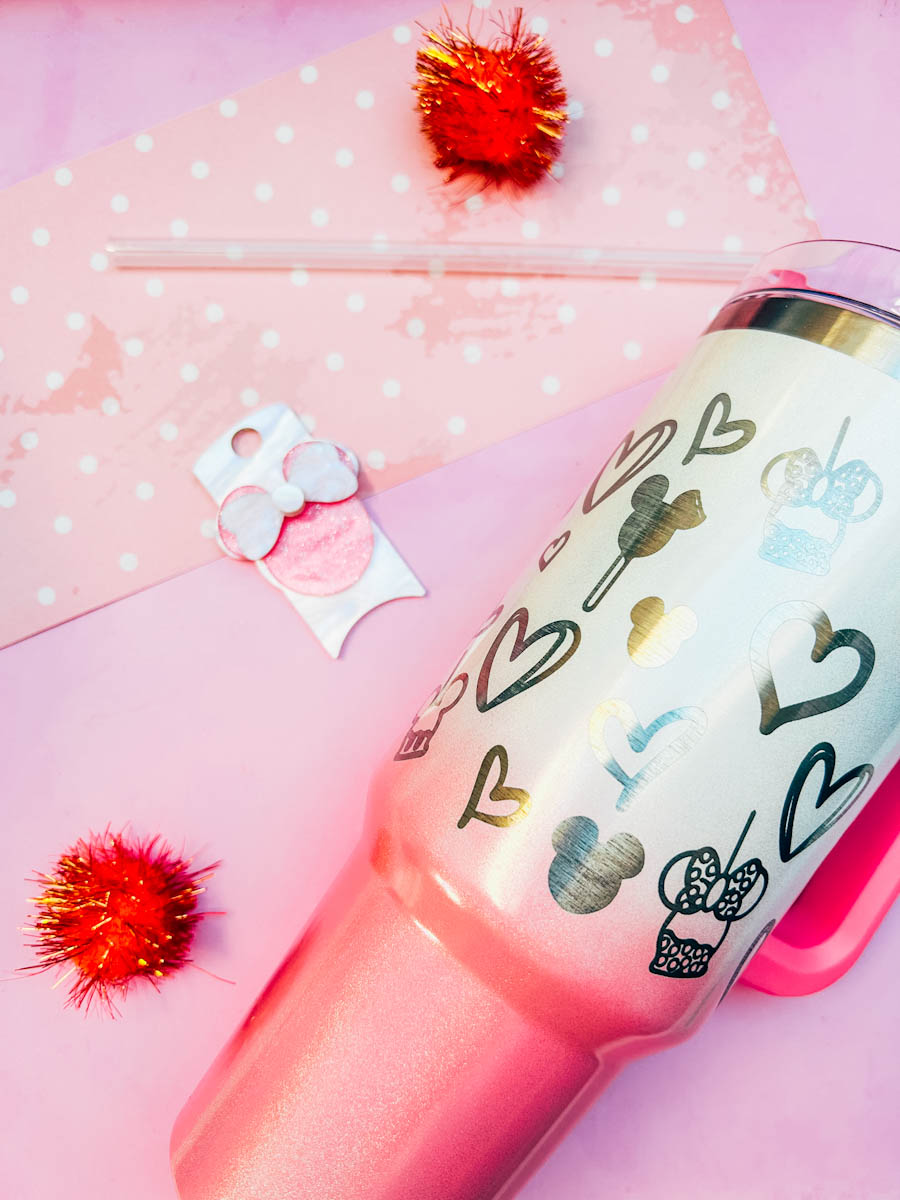
Acrylic Stanley Toppers
I mean, how cute are these Mickey Stanley Toppers? They are super easy to make and take minutes to make. Great for online sellers and these toppers can be made for all seasons.
Time Taken; To cut less that 2 minutes.

Slate Welcome Home Sign
Slate is an excellent material to engrave and great for online sellers to make coasters, signs, door signs, wedding signs, table signs and cheese boards. I started with a simple welcome home sign, which was easy to align and create in creative space.
Time Taken; 7 Minutes.

Heart Valentine’s Candy Holder
I made this simple, clear acrylic template, decorated it with red acrylic glue dots, and hung it with a ribbon for an effective candy holder. These would be wonderful as bridal favours decorating twigs or trees on a wedding table.
Time Taken; To cut, less than 2 minutes.

Custom Logo Sign
This project is made with a combination of acrylic and wood. I had wanted my logo made into an office sign for so long. To prevent wastage, I created the project in a corrugated card to ensure it all fits together, then went ahead and cut it in acrylic and wood.
Time Taken; To cut paint and put together 40 minutes. ( There was drying time in between)
Unicorn Papercuts
The xTool P2 cuts paper; this blew my mind. I was nervous about this because it’s a laser machine cutting paper, but wow, the cut was so polished and took 60 seconds. It took a bit of tweaking to get the setting right, but the P2s card-cutting capabilities are phenomenal. I love the quality of the cut, you can grab the unicorn SVG here.
Time Taken; Less than a minute.

Acrylic Keyrings
These took 3 minutes to make and are perfect to make as keyrings, tags and gifts. Who doesn’t love a glittery keyring? They are so pretty and quick to make.
Time Taken; Less than 2 minutes to cut.

Tips For Using Your xTool P2
Don’t be scared of the machine; it is a genius machine that, with a bit of direction, can create miraculous creations and personalised cards, cake toppers and gifts, perfect for small businesses and sellers.
Use the auto-measure tool; when I first started using it, I didn’t trust it. However, it’s never let me down.
Keep practising, watching videos and trying new ideas. I have really put the machine through its paces and will continue to do so. The more you do, the more you achieve.

xTool P2 is the Crafters Dream
Whether you’re a seasoned professional or a DIY enthusiast, the Xtool P2 caters to a diverse range of users. Its versatility allows for the customization of various materials, opening up a world of possibilities for artists, hobbyists, and entrepreneurs alike.
At the heart of the Xtool P2 is its powerful CO2 laser technology. This ensures precise cuts and provides the speed required for efficient project completion. Say goodbye to tedious manual labour and long cutting times and welcome the era of swift, laser-powered craftsmanship.
Please note I was gifted by xTool but honestly never anticipated how much I would love it.
I want one of this laser cutters in the worst way. Not sure how I could fully utilize it but if I had one I am pretty sure I would enjoy playing with it and if I can make some money on my crafts that would be the cherry on top. Great review.