
If you’re a scrapbook or journal lover who’s fed up with fussy cutting sticker sheets by hand, this tutorial is for you. I’m going to show you exactly how I design mini washi sticker sheets using the free version of Canva, then upload them to Cricut Design Space and turn them into planner-ready sheets that pop straight into your journal, no hand cutting required.
I made a fussy cut sticker sheet last week using the same method and was so thrilled with the result. So I set out to find a better way to make washi stickers, one that would let me create washi sheets that print and cut cleanly, ready to travel with me. That’s what we’re making today.

This post may contain affiliate links. Which means I may receive a small commission if you click a link and purchase something that I have recommended at no extra cost to yourself. As an amazon, Cricut and Glowforge associate, I earn from qualifying purchases.
What You Will Find Here
How to Make Free Mini Washi Sticker Sheets in Canva and Cricut
Watch The Step-by-Step Tutorial Here

What You’ll Need
- Cricut machine + Design Space
- Cutting mat or from Amazon
- Basic Cricut tools
- Printable Sticker Paper
- A free Canva account (Canva Pro is optional but not required)
- A home printer
- An idea of your theme, or colour palette
- A little patience while you get your head around the process
If you get stuck at any point, drop me a message and I’ll help where I can.
1. Set Up Your Canva Document
Head over to Canva and click Create, then search for A4 and choose a plain A4 document. In the side bar, click on colours and set your background to grey for now. This is just a placeholder colour so you can see your design clearly. You’ll change it to your final background colour later.

2. Add Your Base Shapes
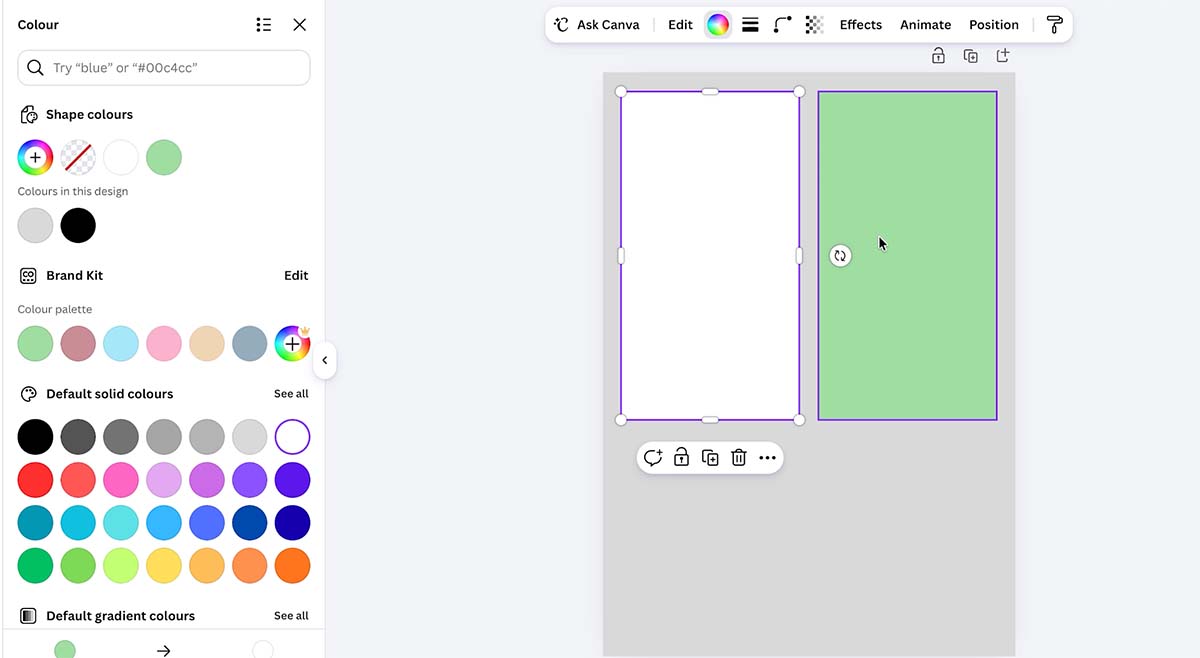
Go to the shapes bar and search for square. Squares work well here because you can adjust and reshape them freely. These squares are going to be the base your washi patterns sit on, so think about the size of your journal or planner before you start. I measured mine and made my shapes slightly smaller so they’d tuck neatly inside.
Once you’ve placed a square, click on it and you’ll see options along the bottom to lock, duplicate or delete it. Right click for more options like send to front or send to back, much like you’d do in Cricut Design Space.
3. Find Free Patterns and Elements
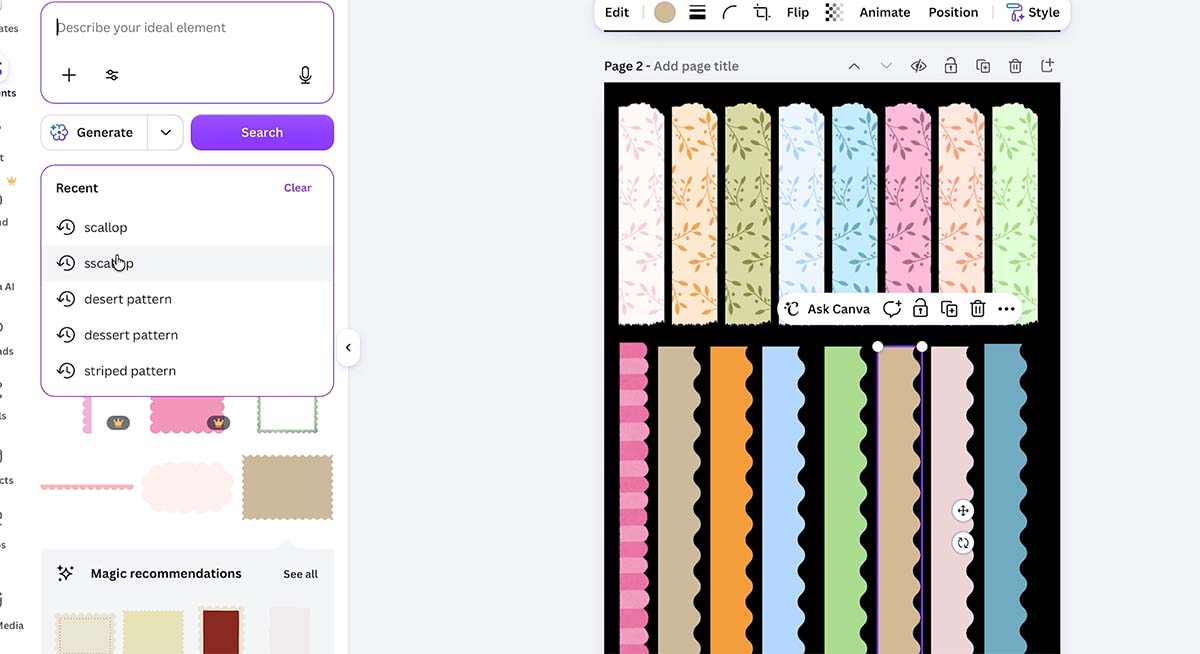
In the side bar, click Elements and search for things like strip, pattern strip or floral pattern. You’re looking for elements without a little crown icon in the corner, as the crown means it’s part of Canva’s paid plan. Scroll through and pick out anything free that catches your eye. You can resize, recolour and reshape most of these, so don’t be afraid to experiment.

4. Build Your Washi Designs
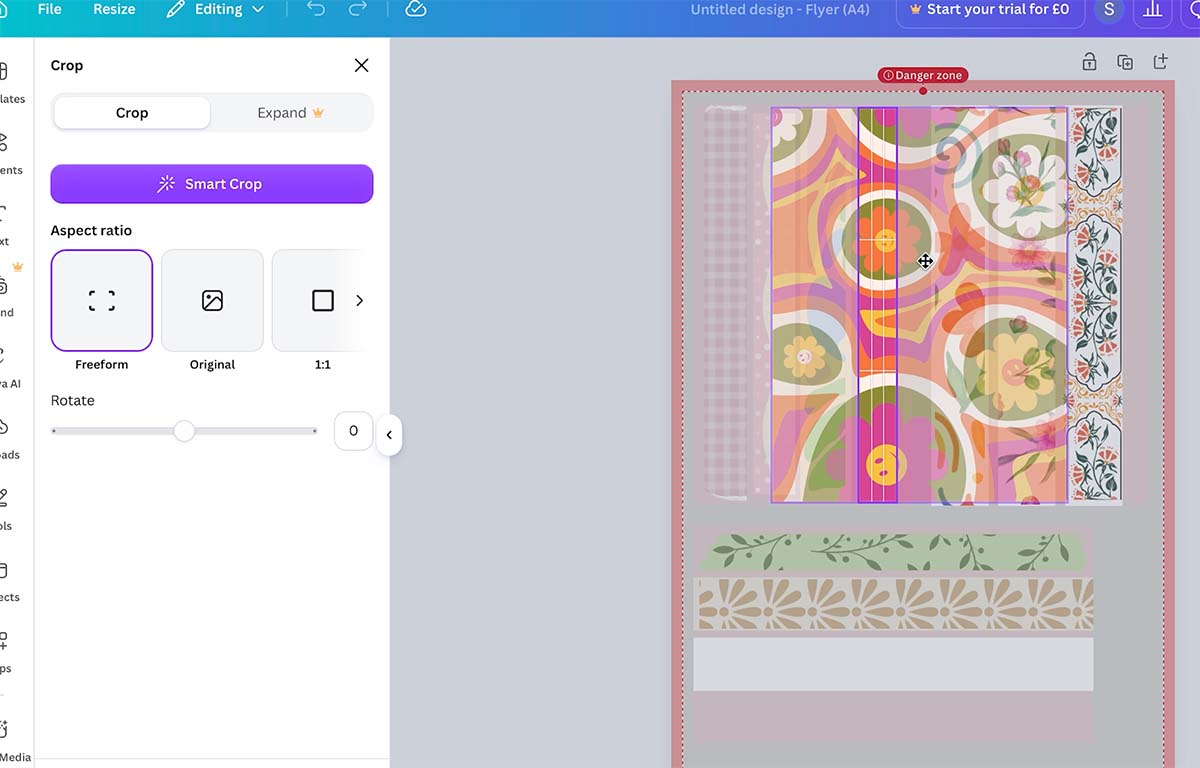
This is where the fun really starts. Drag your chosen pattern over one of your base squares and use the crop tool at the top to size it to fit your strip. Some patterns have a transparent background, which means you’ll need to duplicate your base square, drag it underneath the pattern and send it to the back using the Position panel in the side bar. Check out my video for help with this.
If a pattern has a colour dot showing at the top of the screen, that means you can recolour it. Use this to create several different colourways from a single pattern, which saves a lot of time.
You can also crop one pattern into two different designs. For example, if you have a striped pattern, crop it once for a single stripe, then duplicate and flip it to create a double stripe, then head to the colour bar and change one of the stripes to a different shade.
5. Add Backgrounds and Fix Overlaps
As you build up your washi strips, keep checking that each pattern sits cleanly within its square, with no jagged edges or overlap spilling outside the strip. This matters because anything that overlaps the edge will take much longer to cut cleanly in Cricut, and can leave you with rough edges.
If you’re using anything white in your design, remember that your final background colour cannot be white, or Cricut will remove your white details along with the background.

6. Choose Your Background Colour
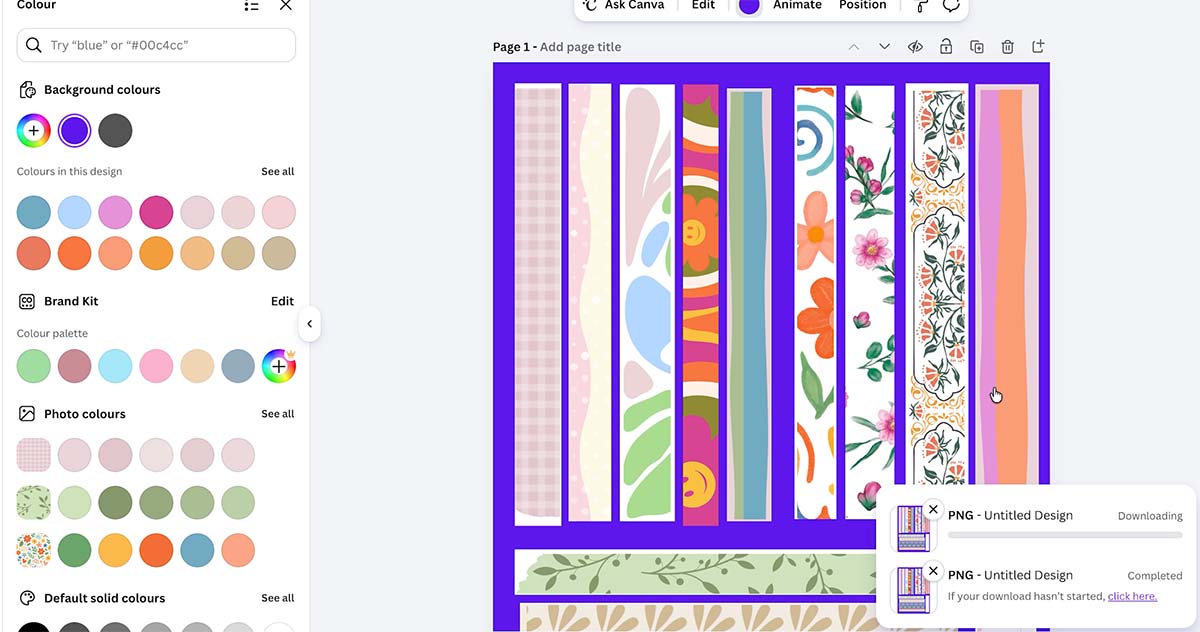
Once your washi strips are finished, look through your whole design and find a colour that doesn’t appear anywhere in your stickers. This is the colour you’ll use as your overall background, because when you upload to Cricut Design Space and remove that colour, only the background will disappear, leaving your stickers intact.
7. Download From Canva
Head to the top right corner and click Share, then Download. On the free plan you won’t be able to remove the background or resize automatically, but you can choose PNG or JPEG. Click download and save the file to your computer.
8. Upload to Cricut Design Space
Open a new project in Cricut Design Space and upload your file. Choose Complex, then click on your background colour to remove it. This is why picking a background colour that isn’t used anywhere else in your design matters so much, as it lets you remove the background cleanly, even around white details.

9. Create Your Sticker Sheet Sections
Once uploaded, resize your design as needed. Change your Cricut canvas background to grey so you can see clearly what you’re doing. Add a square shape, drag it over one section of your washi sheet, then duplicate it over the other sections. This creates a solid backing for each mini sticker sheet, which you’ll use to kiss cut and die cut in one go.
Move your stickers out of the way temporarily so you can position these backing shapes accurately, then bring your stickers back over the top once you’re happy with the layout.
10. Weld and Layer for Kiss Cut and Die Cut
Select all your backing shapes and weld them together, then colour the welded shape white. Duplicate it three times so you have four layers in total, then align and centre them before attaching. This means the kiss cut line will only cut once, while the backing square is cut through four times, giving a clean die cut edge.


Bring your washi stickers back over the top of this backing and attach again. Repeat this process for each sticker sheet section.
11. Size and Send to Print and Cut
Drag the corner of your project to resize it. Don’t worry about exact measurements, just pull until the red warning dot disappears, which tells you the size is workable. You can make your washi sheets wider or longer to get the most out of your sticker paper. Once you’re happy, click Send to Print and Cut.
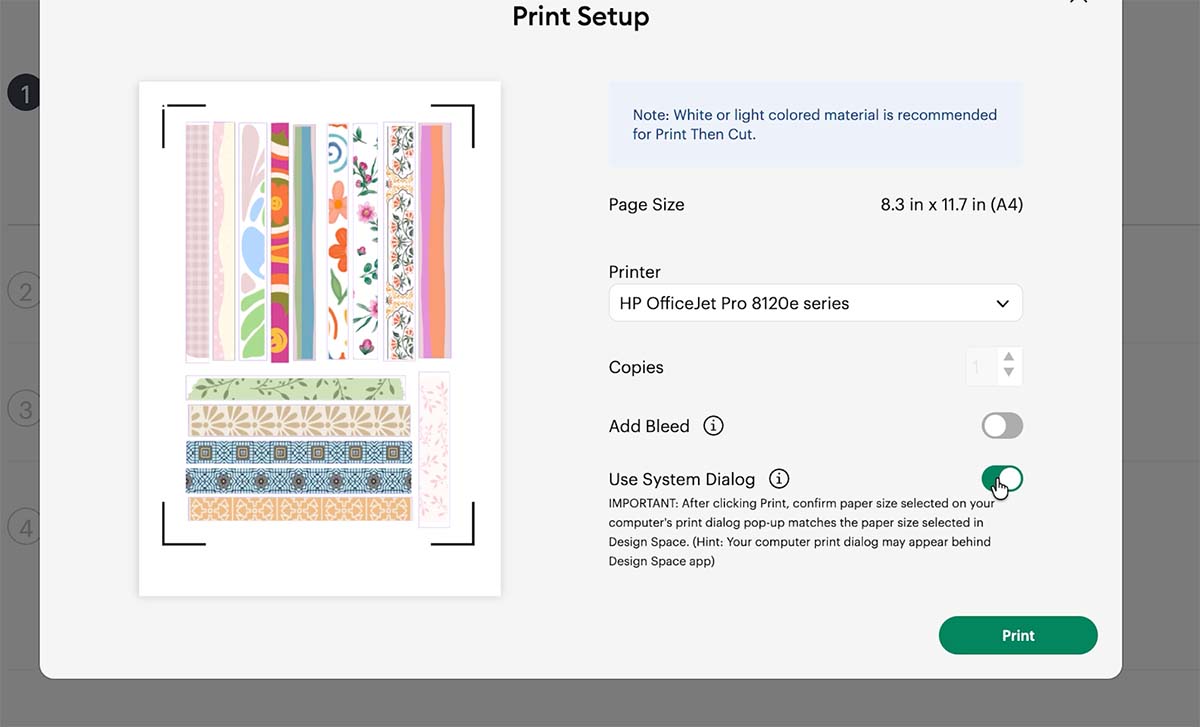
12. Print and Cut Your Stickers
Follow the prompts, turn off bleed, use the system dialogue and print at your best media quality setting. Once printed, place your sheet onto your Cricut cutting mat, being careful not to overstick if you’re using a new mat. Load it into your machine and let it cut around your kiss cut lines and die cut backing.
Once cutting is complete, reverse weed your sheet so it lies flat rather than being peeled upwards. This reduces curling and gives you a much neater finished sticker sheet.

Top Tips for Perfect Washi Sheets
- Always choose a background colour that doesn’t appear anywhere else in your design
- Keep checking for jagged edges or overlapping patterns before you upload to Cricut
- Use the Position panel in Canva to layer, duplicate and align your elements accurately
- Reverse weed your finished sheets to keep them flat and prevent curling
- Fast forward through your own design process, as everyone’s washi sheets will look different depending on the patterns and colours you choose

Get My Washi Sheets
If you don’t want to create your own or want to download my version, you can for a small fee in the shop. Click here, or the image below, to get your downloadable fussy cut Washi Sheets from our shop and follow these instructions to add to Cricut Design Space if you are using a Cricut Machine.

Your New Go-To Washi Hack
And that’s it, your very own mini washi sticker sheets, designed for free in Canva and cut perfectly in Cricut, ready to travel with you in your journal or planner. No more fussy cutting, no more scruffy edges, just clean, colourful stickers that pop straight into your pages.
I’d love to see what colours and themes you create. Let me know in the comments how you got on, and if you want to make your own ephemera for a travel scrapbook, this is such an easy way to do it.
