When I created my Burlap Christmas Hoop Wreath Post, I was surprised how many people messaged and thanked me for my bow tutorial. Thus I created a simple bow-making tutorial detailing step-by-step instructions would be useful. Crafts such as this are a great skill to have under your belt. You never know when you need a simple bow to decorate a gift or make hair bows.
Or make bows for home decor projects such as decorating a festive or celebration garland. Make mason jars with a DIY burlap bow for fall table decorations or a wreath bow on a pumpkin fall wreath. Plus, decorating Christmas trees with an oversized bow Christmas tree topper.
Bows can be puzzling, can’t they? They are, in fact, quite simple and can be created in 7 simple steps using a piece of burlap ribbon or burlap fabric, a hot glue gun and following our easy tutorial.

This post may contain affiliate links. This means I may receive a small commission if you click a link and purchase something that I have recommended at no extra cost to yourself. As an amazon, Cricut and Glowforge associate, I earn from qualifying purchases.
What You Will Find Here
Step-by-step Instructions to Make the Perfect Bow out of Burlap
What You Will Need
- Hot Glue Gun
- Scissors
- Tape Measure
- 1 Piece Of Burlap or burlap ribbon ( I used an old shopping bag)
- Iron On Vinyl (optional)
- A piece of twine or pipe cleaners from the craft store
Deciding On The Size Of Your Burlap Bow?
This depends on your chosen project. Are you making a huge DIY wreath for the door and want to decorate it with burlap ribbon bows or a bow that is the show-stopping centrepiece? Or are they bows to decorate gifts and adorn gift wrap?

How Long Does It Take To Make A Burlap Bow?
A conservative estimate would be half an hour. That is if you are using iron on vinyl to decorate your bow. However, if you are constructing a simple bow, expect it to take 10 minutes at the most.
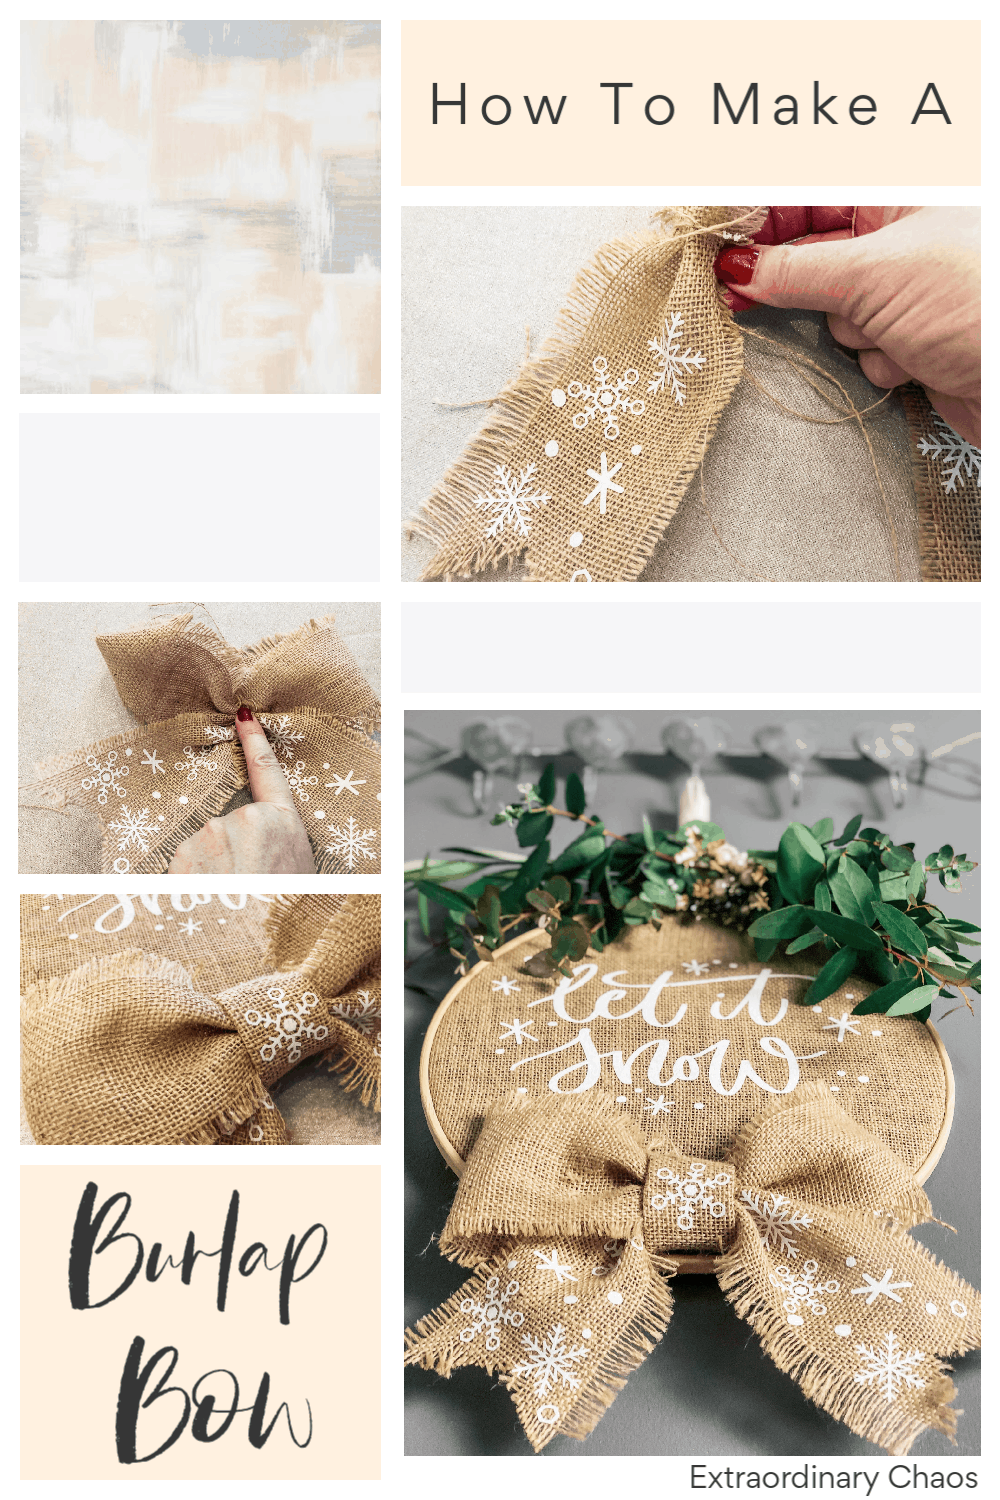
How To Make A DIY Burlap Bow in 7 Easy Steps
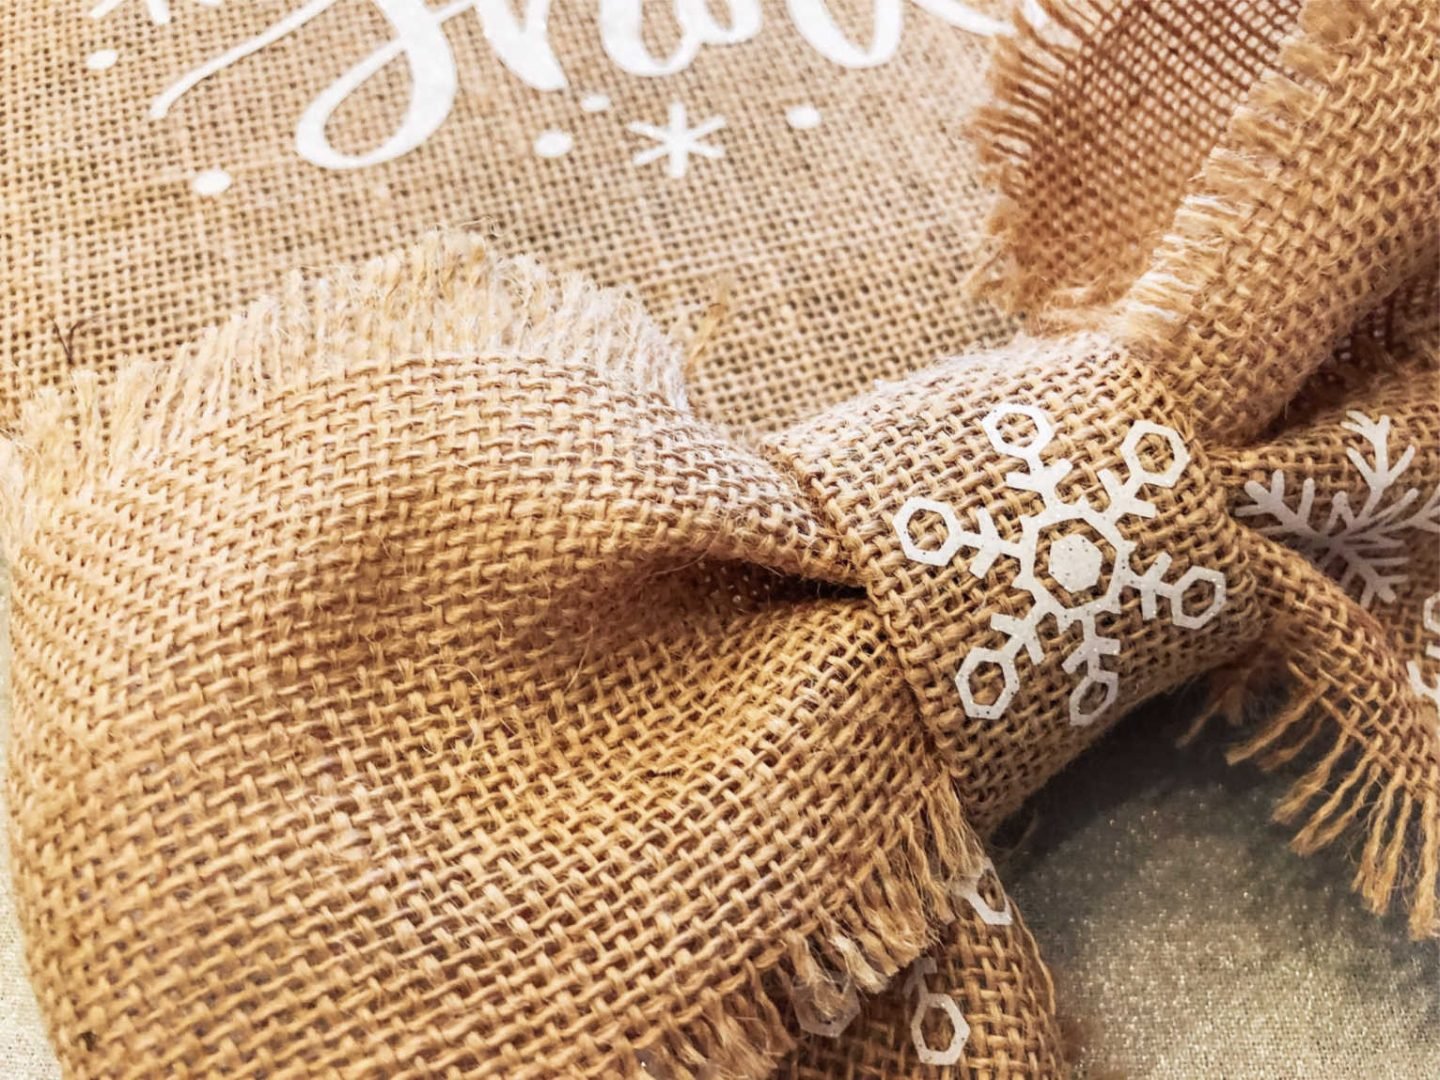
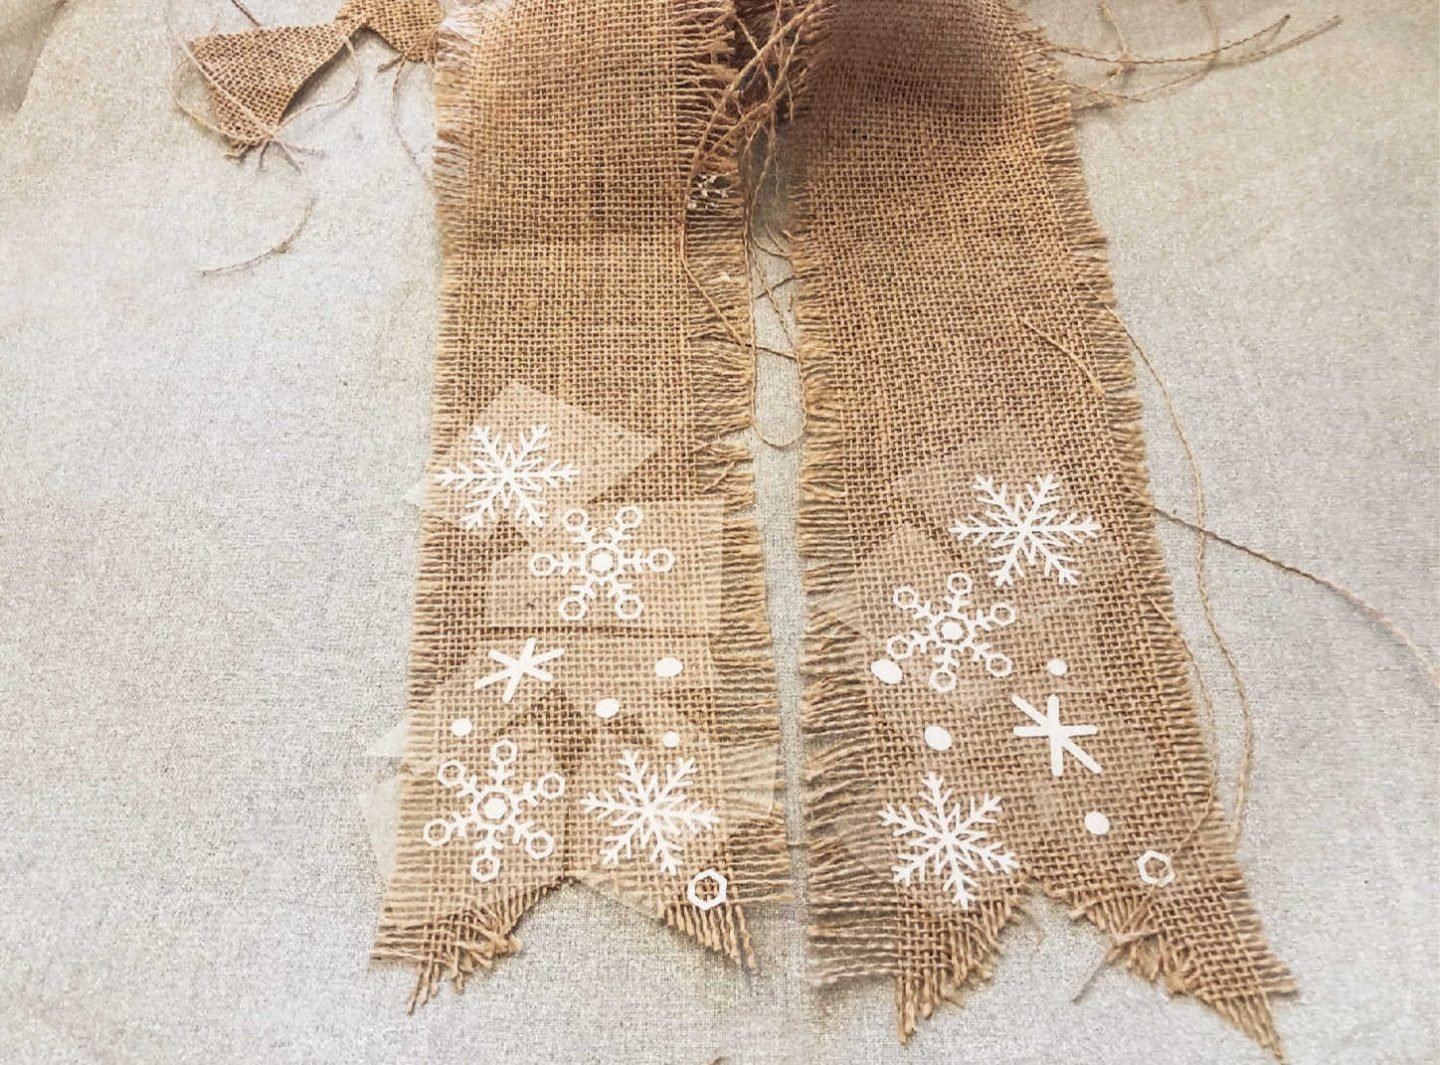
1. Cut out a strip of burlap, leaving a little room around the edge to fray. Remember to cut a v shape into each end for a little detail.
2. Gently fraying the edges of your burlap to creates a vintage look. Burlap will fray anyway. This way, you control the way it frays. Do it now if you want to add iron on vinyl to decorate your bow.
3. Now lie the burlap flat and then fold the ends inwards into a Loop in a U shape.
4. Tie some twine or twist pipe cleaners around each loose end to create a gather. This will be the hanging ribbon part of the bow.

5. Now pinch the hanging part in and up towards the center of the bow to create a bow shape and fasten it with string.

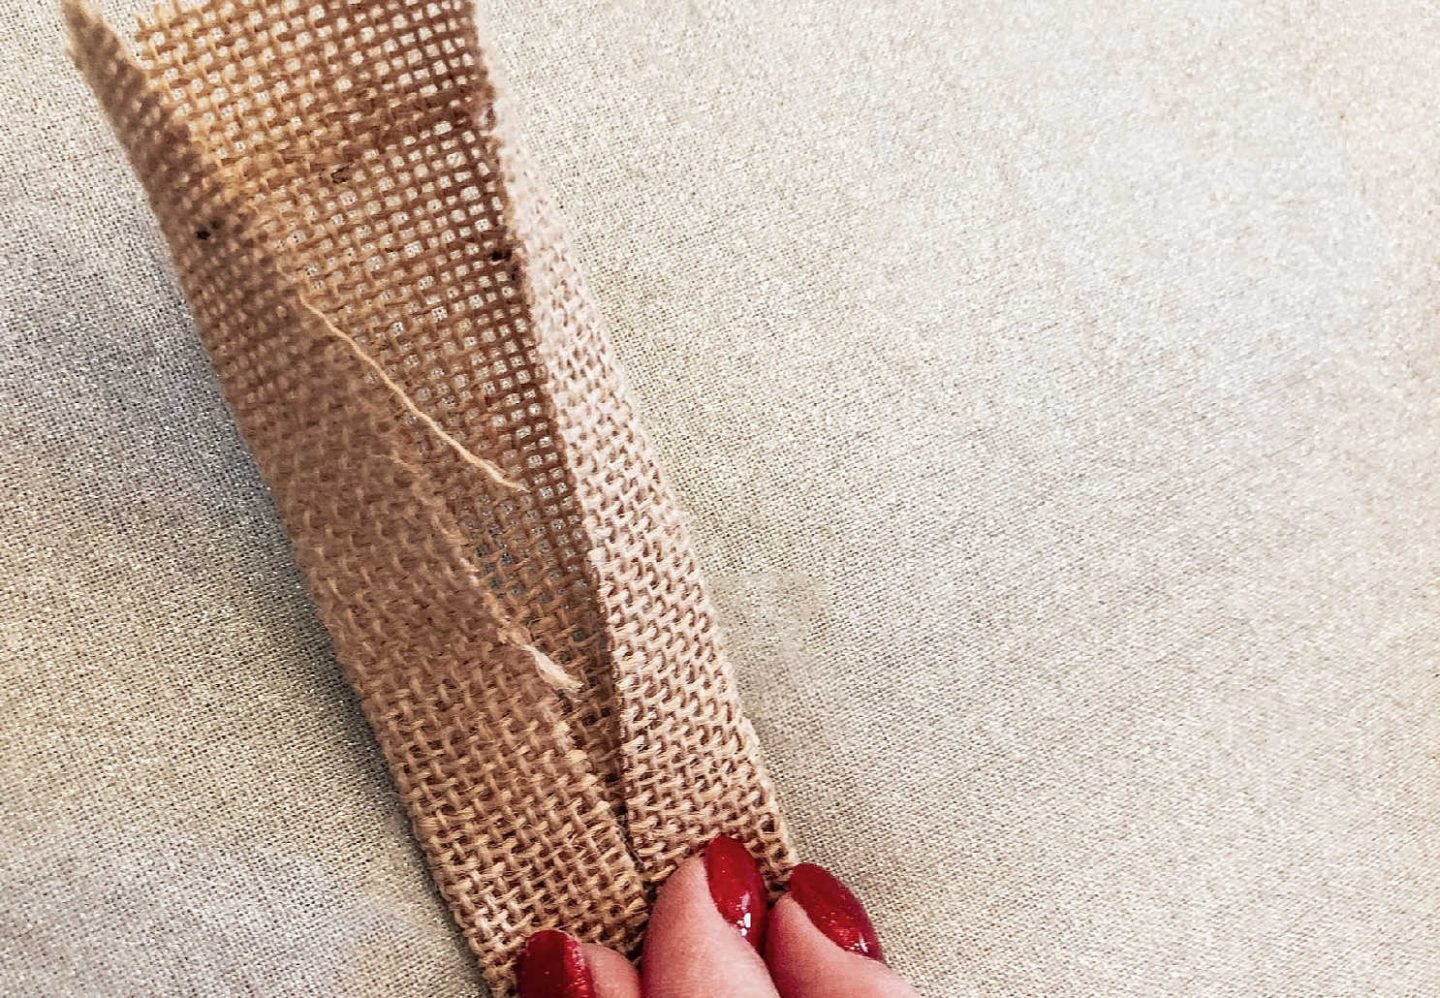
6. Get another strip on burlap, fold it inwards to remove rough edges and iron to create a seam on each side.
7. Wrap this around the centre of the bow and glue in place. Now fluff the bow out, and it will take its shape.