
Halloween is coming, and the spooky season is one of my favourite crafting times of the year. If you’re using a Cricut or Silhouette machine for your DIY Halloween party, it opens up a world of creative possibilities! And your cutting machine, whether it’s a Cricut, Silhouette or LokLik, can help you design personalised decorations, costumes, invitations, and party favours. Here’s a guide on incorporating your Cricut into your Halloween party planning.
What You Will Find Here
How To Create A DIY Halloween Party With Cricut or Silhouette
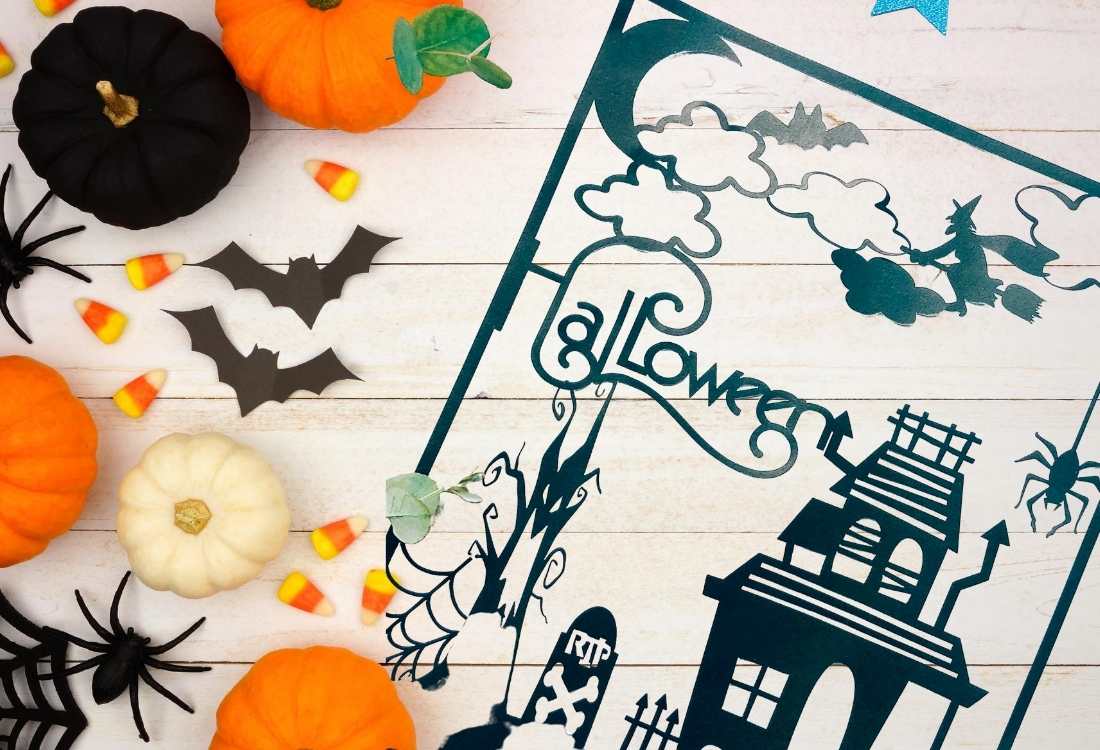
Start with a theme or a plan, which makes getting inspiration and ideas so much easier. Especially if you know what you want to achieve. Once you have your plan, you can start getting creative.
1. Make DIY Halloween Invitations

- Use your Cricut to cut out spooky shapes like bats, ghosts, and pumpkins, then layer them onto black or orange cardstock for unique invitations.
- Design Halloween Invitations in Canva and print them off. This is so easy to do and ensures you can make unique personalised invitations.
- Download or create SVG files with Halloween designs and cut them out on textured or glitter cardstock.
- Use glow in the dark vinyl to add text like “You’re Invited to a Spooktacular Halloween Party!” on your handmade cards.
2. DIY Halloween Decorations with Cricut and Silhouette

- Use your Cricut to cut out shapes like witches, skulls, pumpkins, or haunted houses, and string them together with twine or ribbon to create a garland.
- Make Printable Happy Halloween Banners to print off a decorate.
- Cut out vinyl decals of spiders, bats, or skeletons and apply them to your walls or windows for easy-to-remove decorations.
- Cut out Halloween-themed place cards or napkin rings featuring spooky designs like webs or ghost silhouettes.
- Create intricate Halloween designs (e.g., bats, spiders, or jack-o’-lantern faces) on black or orange cards to hang in the window.
3. Enhanced Costumes And Trick Or Treat Bags

- Use iron-on vinyl to create simple Halloween costumes like a skeleton, pumpkin, or ghost face on plain T-shirts. Iron-on vinyl makes this super easy.
- Cut felt or fabric with your cutting machine to create costume accessories like witch hats, masks, or capes.
- Use temporary tattoo paper to create fun and spooky designs for your guests to wear at the party.
- Decorate fabric trick or treat bags with iron on vinyl for a spooky effect.
4. Halloween-Themed Party Favours
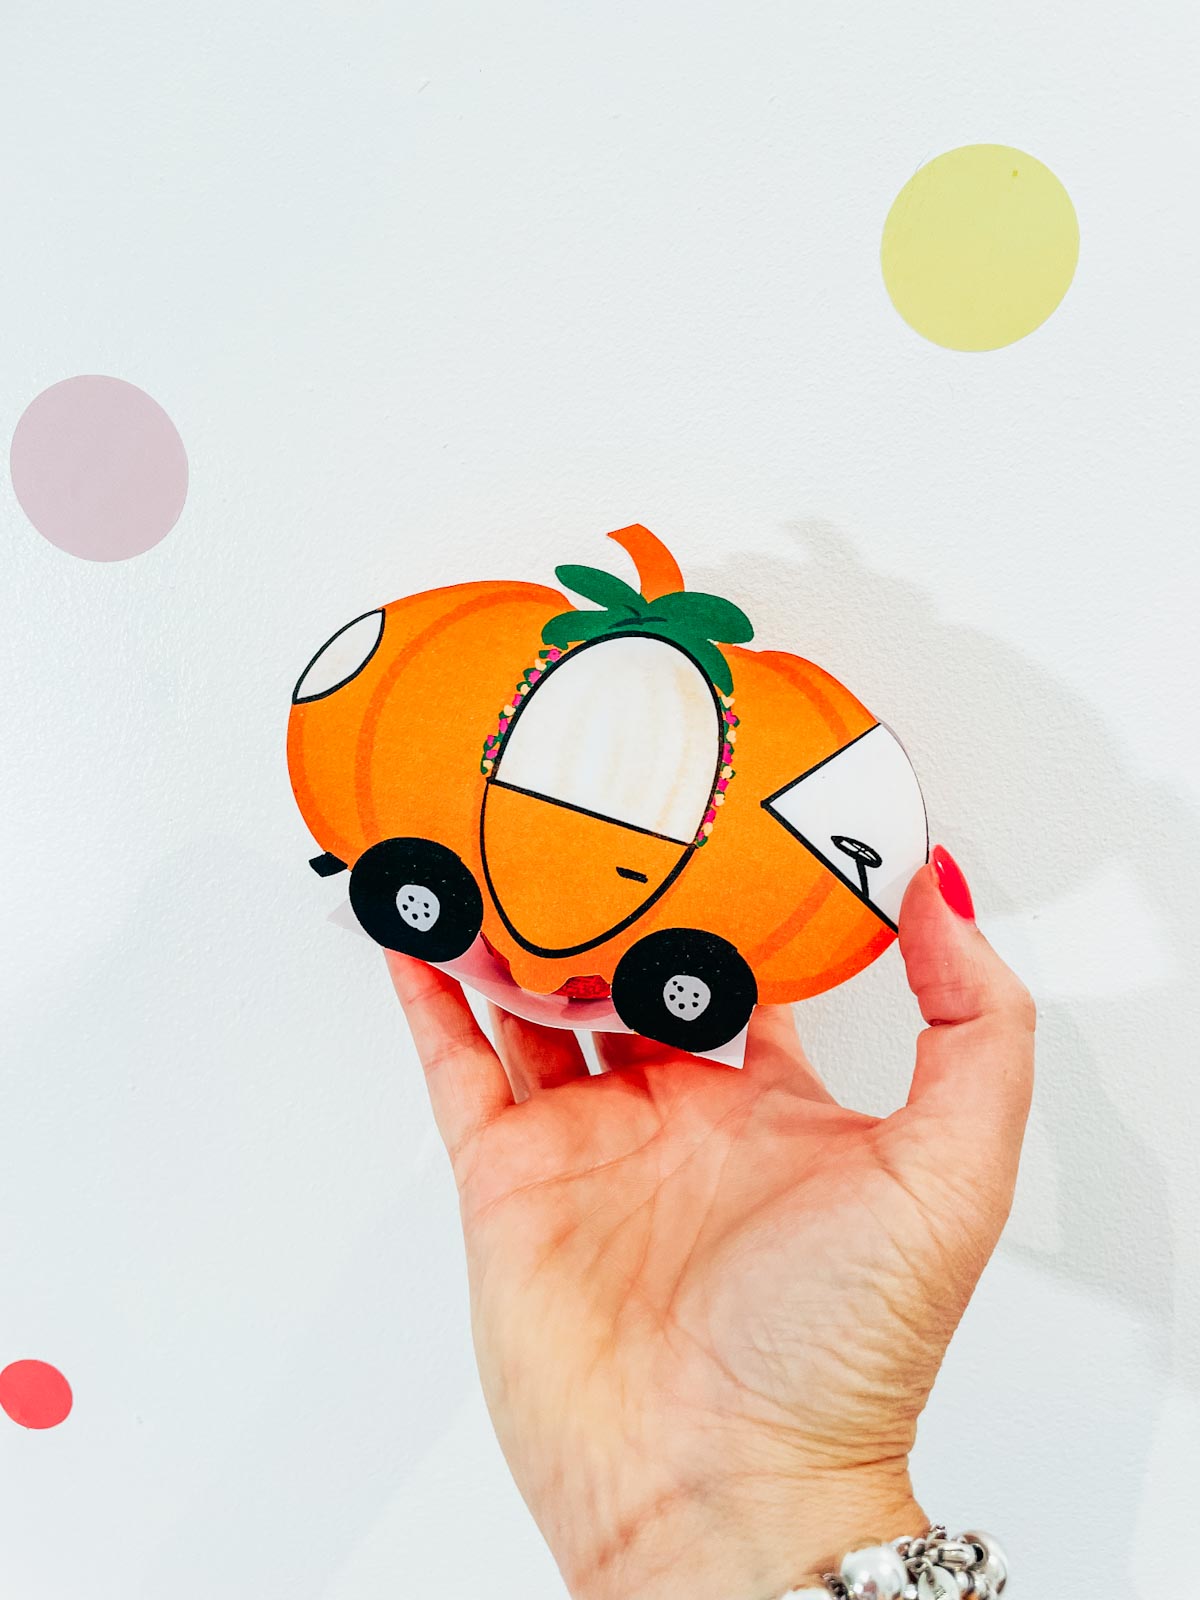
- Print out pumpkin candy holders for cute themed Halloween favours filled with a candy egg.
- Cut out small boxes with a Halloween theme, fill them with sweets (candy), and give them to your guests as a takeaway.
- Use your cutting machine to cut out acrylic or faux leather Halloween-themed keychains (ghosts, pumpkins, etc.) that your guests can take home.
5. Games & Activities Made with Cricut
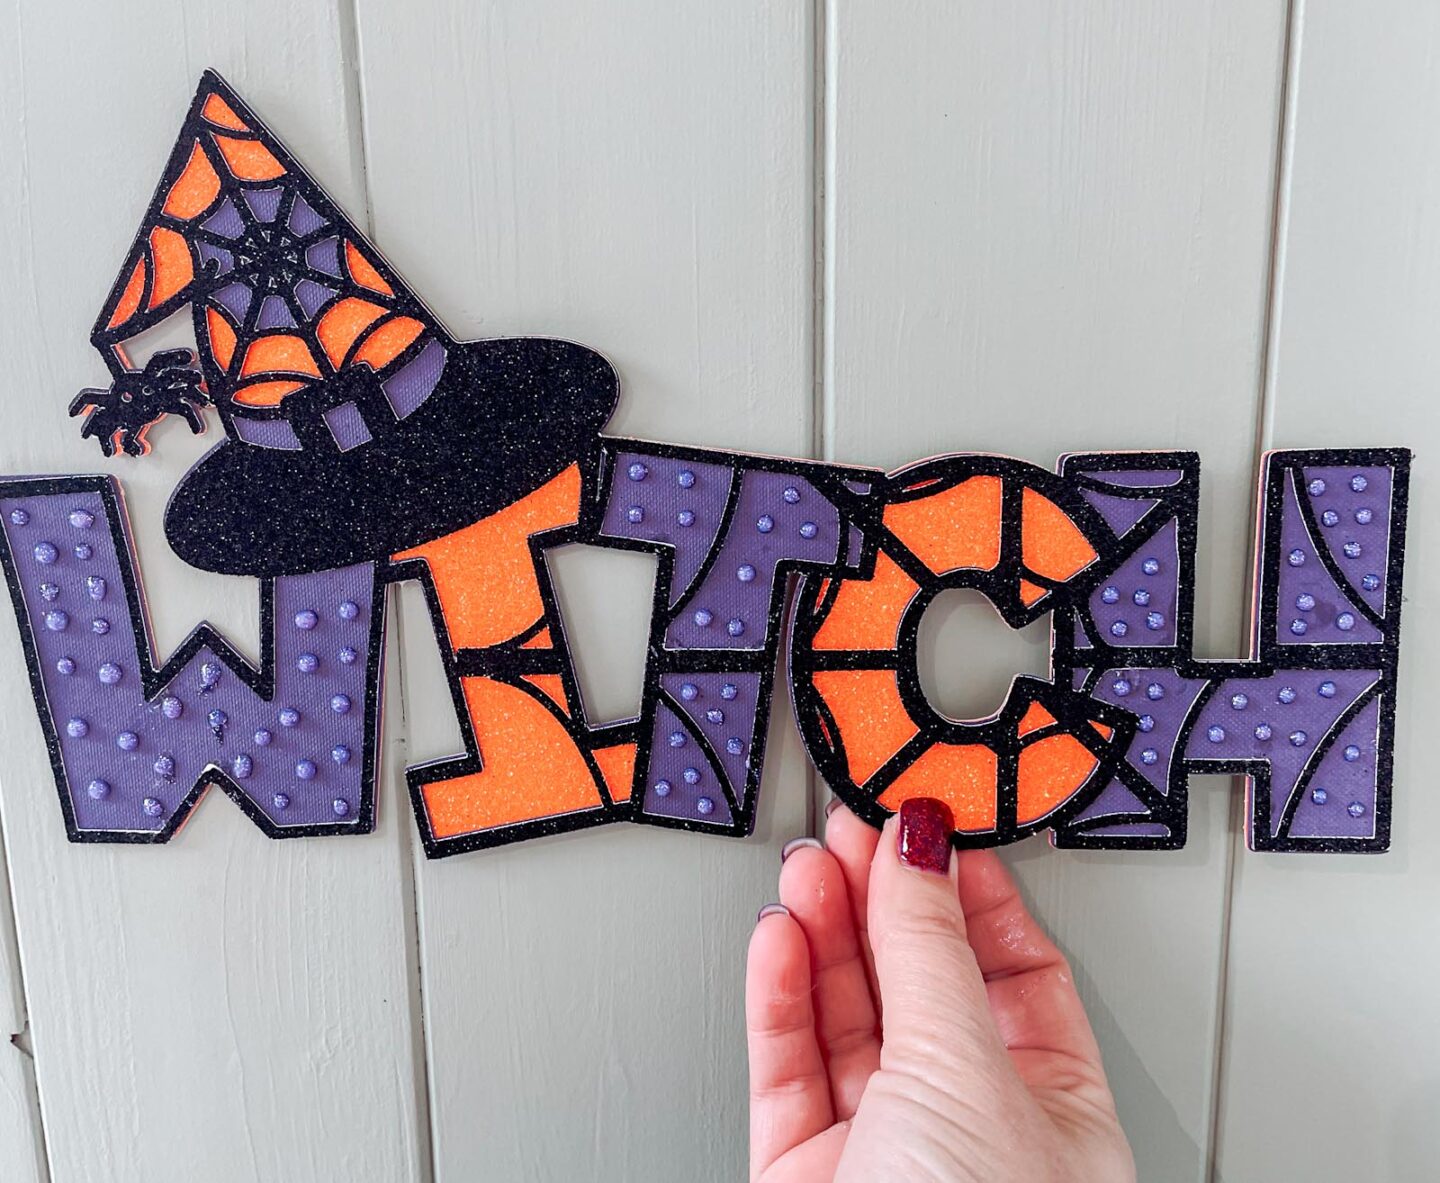
- Cut out a large poster or word of a witch and separate witch hats from coloured paper or felt. Have a game where guests try to pin the hat on while blindfolded.
- Create a Halloween bingo board with Cricut, complete with spooky symbols like spiders, black cats, witches, and pumpkins. Print them out for your guests to play.
- Use your cutting machine to create themed scavenger hunt clues with spooky designs for an interactive game.
- Use your Cricut to make props like bat glasses, witches’ hats, or vampire fangs from cardstock for guests to pose with in a photo booth.
6. Food & Drinks Decorations
- Create custom cupcake and cake toppers using your Cricut machine, cutting out mini pumpkins, spiders, or “BOO!” signs.
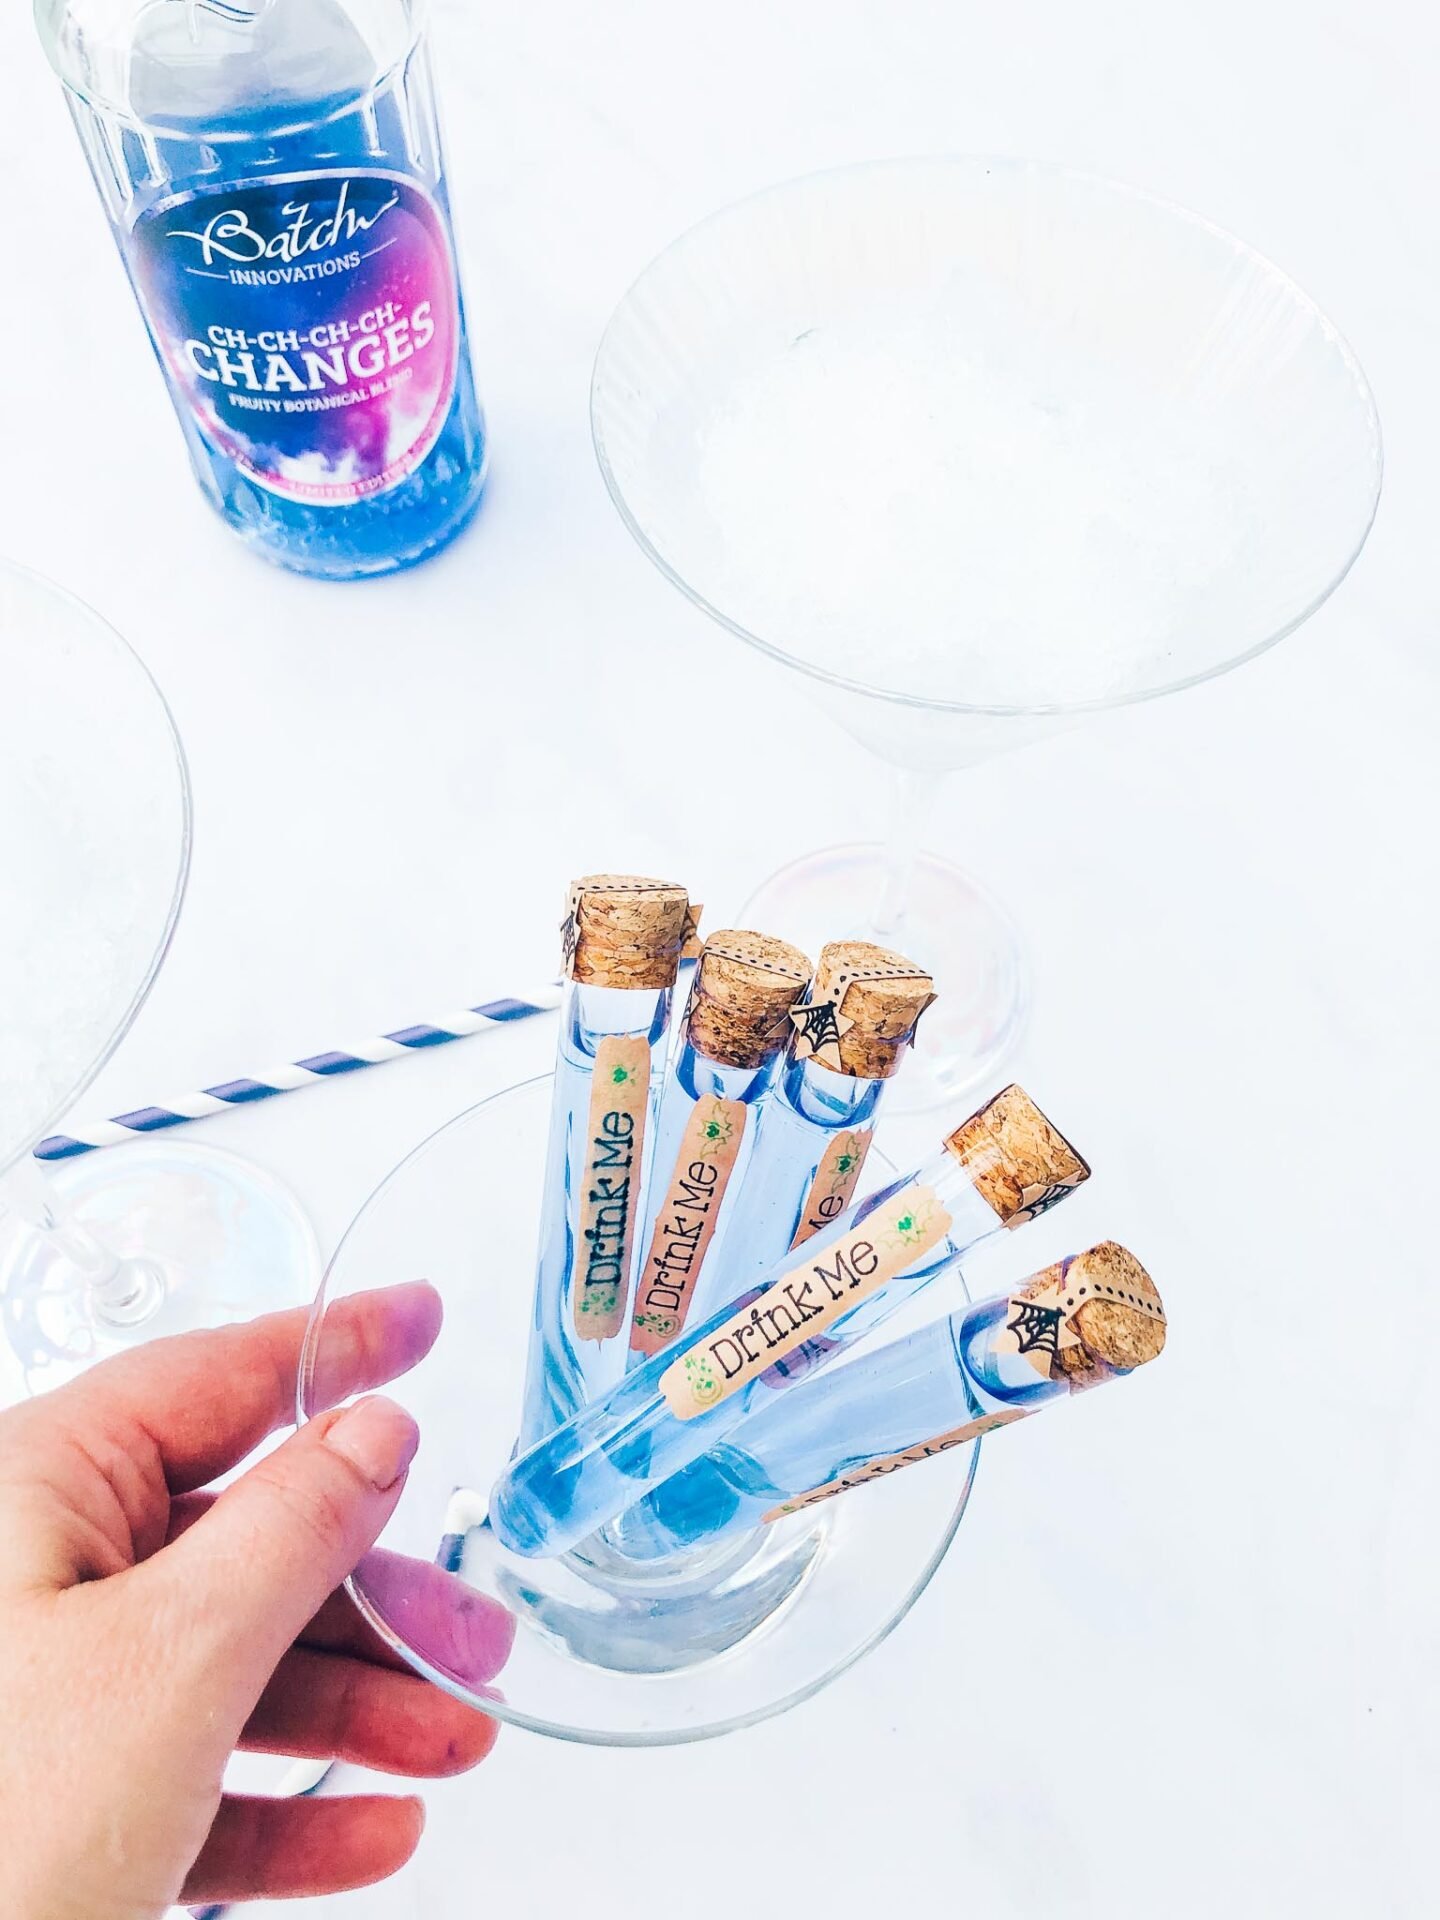
- Use adhesive vinyl or print-and-cut labels to personalise drink bottles with names like “Witch’s Brew” or “Poison Punch.”
- Make themed food and drink labels using print and cut, cutting out labels with spooky fonts and designs that match your Halloween theme.
- Decorate glasses with spooky pumpkin or ghost faces for spooky refreshments.
7. DIY Party Signage

- Cut a “Welcome to the Haunted House” or “Enter If You Dare!” sign from vinyl or cardstock and display it at the entrance.
- Use your Cricut or Silhouette to create directional signs for “Witches’ Lair,” “Potion Station,” or “Graveyard.” You can place these around your home or garden.
- Create a fun sign or scoreboard for your costume contest using vinyl or cutout letters.
8. Easy Cricut or Silhouette Projects for Last-Minute Touches

- Use window cling material to make spooky shapes like cats, bats, or creepy eyes and place them on your windows.
- Use your Cricut to create stencils for pumpkin carving or painting. Cut out intricate designs to trace onto your pumpkins.
- Print and cut stickers featuring Halloween characters or symbols. These are great to stick on treat bags, cups, or even as party favours.
Materials You’ll Need

- Cardstock (Black, orange, white, purple for Halloween themes)
- Iron-on vinyl (HTV for T-shirts and costumes)
- Adhesive vinyl (For wall art, windows, and decor)
- Printable Sticker Paper( For custom chocolate bars)
- Transfer tape (To easily apply vinyl)
- Mason jars (For lanterns or treat jars)
- LED tealight candles (Safe lighting for paper lanterns and pumpkin decorations)
- Temporary tattoo paper (For DIY Halloween tattoos)
- Ribbon and twine (To hang banners and decorations)
- Cricut tools (Weeding tools, scraper, and cutting mats)
A DIY Halloween Is So Easy To Craft
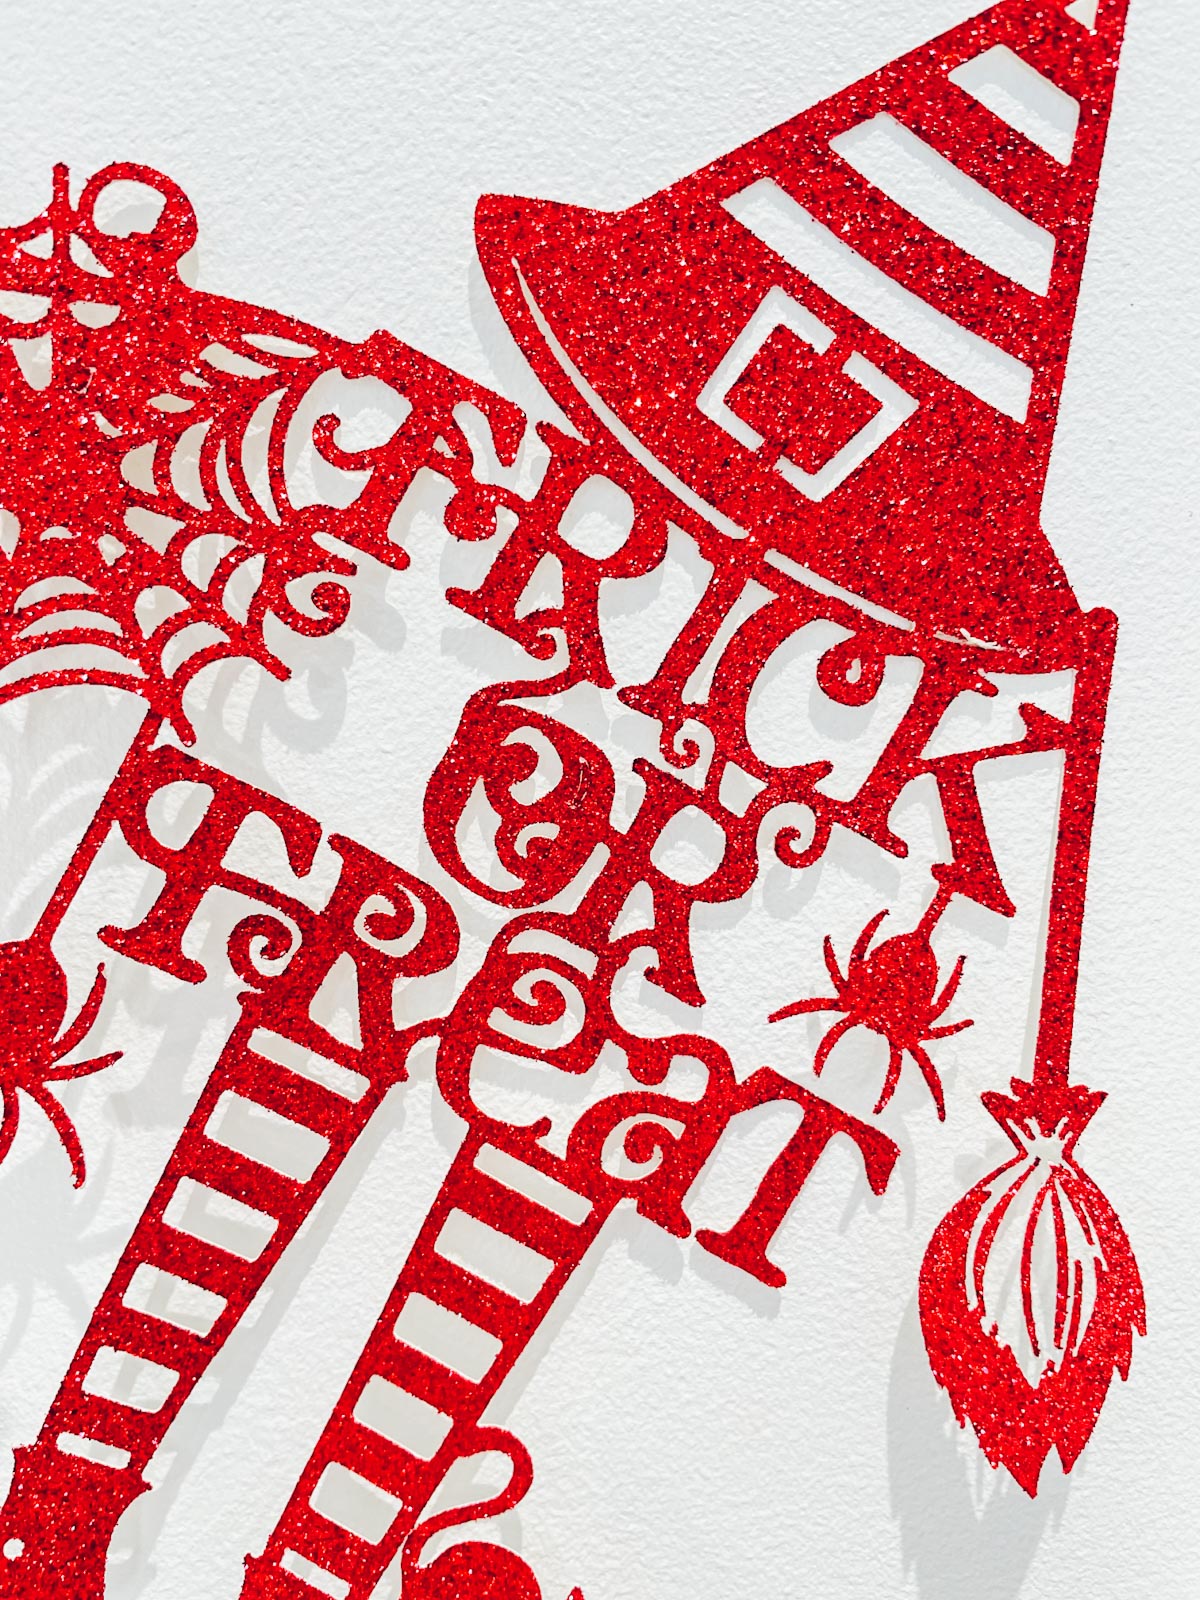
You can easily customise and personalise every aspect of your Halloween party, making it a truly one-of-a-kind event! Would you like help with specific Cricut projects or cutting files? Check out our Halloween files to create your own spooky party.
