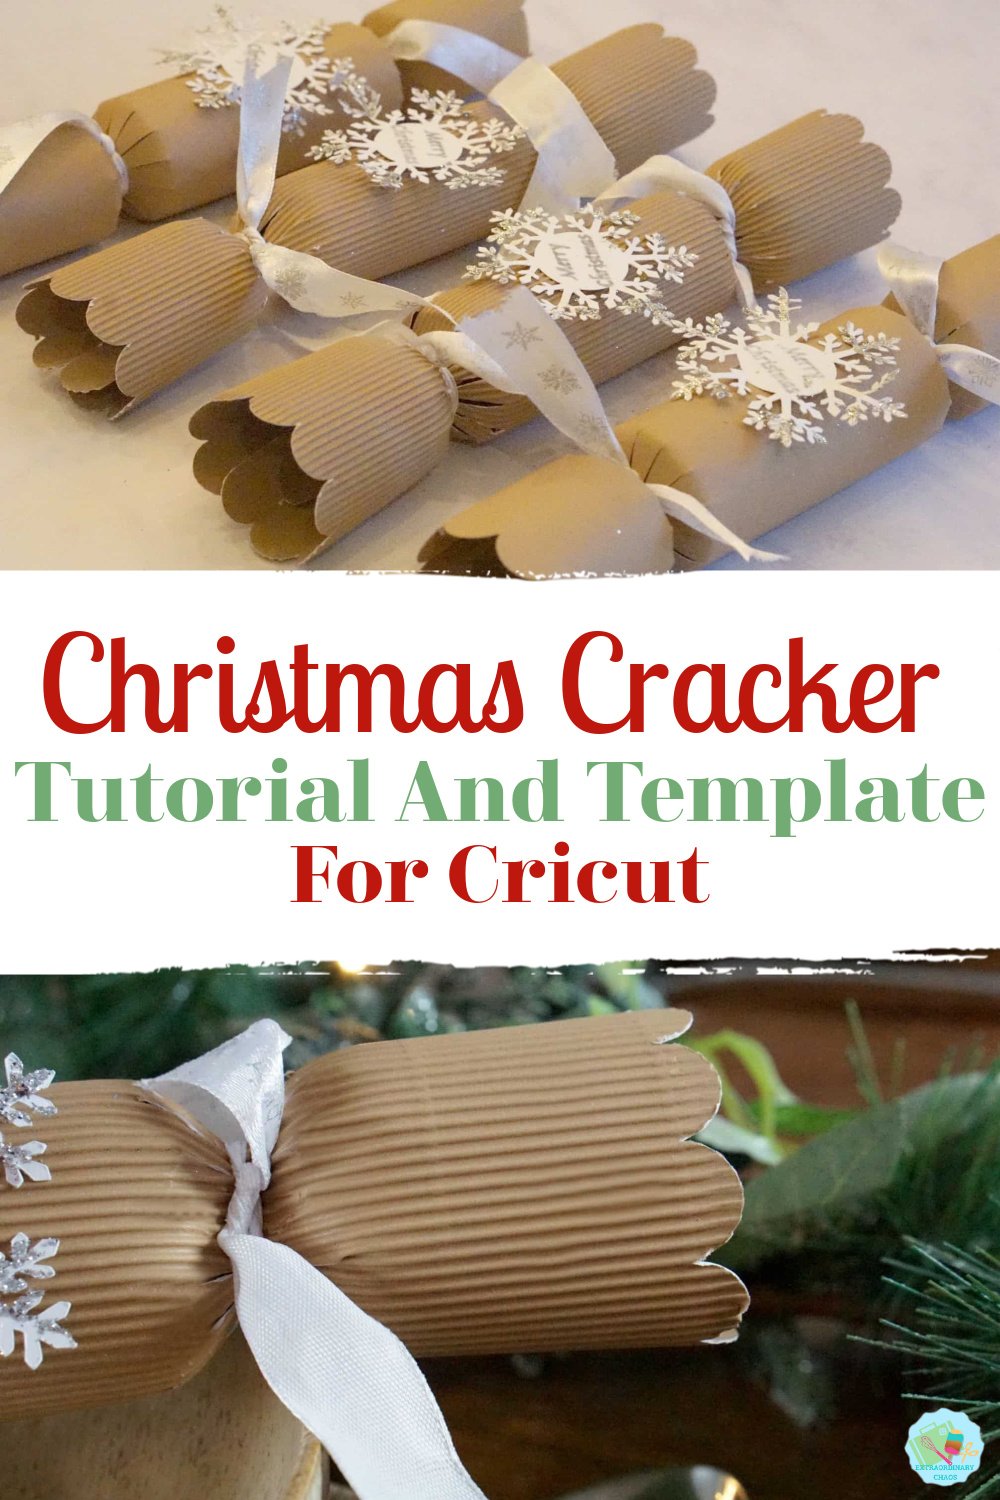
Woohoo it’s nearly Christmas, all the preparations are in full flow, the menu is planned and dinner is ordered. Also this year I have made Christmas Crackers to fit my rustic Christmas table. And this Homemade Christmas Cracker Template is super easy to follow.
Homemade Christmas Cracker Template With Gin And Chocolate To Be precise!
Christmas crackers are always such an anti climax aren’t they? You spend a small fortune on them they look so pretty and promise great things and then you end up with a set of silver dice.
If you want to see me create my projects, follow me on Tik Tok and Instagram.
So this year I decided to find or create a homemade Christmas cracker template and make meaningful cracker’s, something that would be of use. And what better surprise than a little bottle of your fave gin or a tasty treat.
This Home Made template means, crackers are made in minutes if you own a Cricut, however could be hand cut with a good craft knife and a lot of patience.
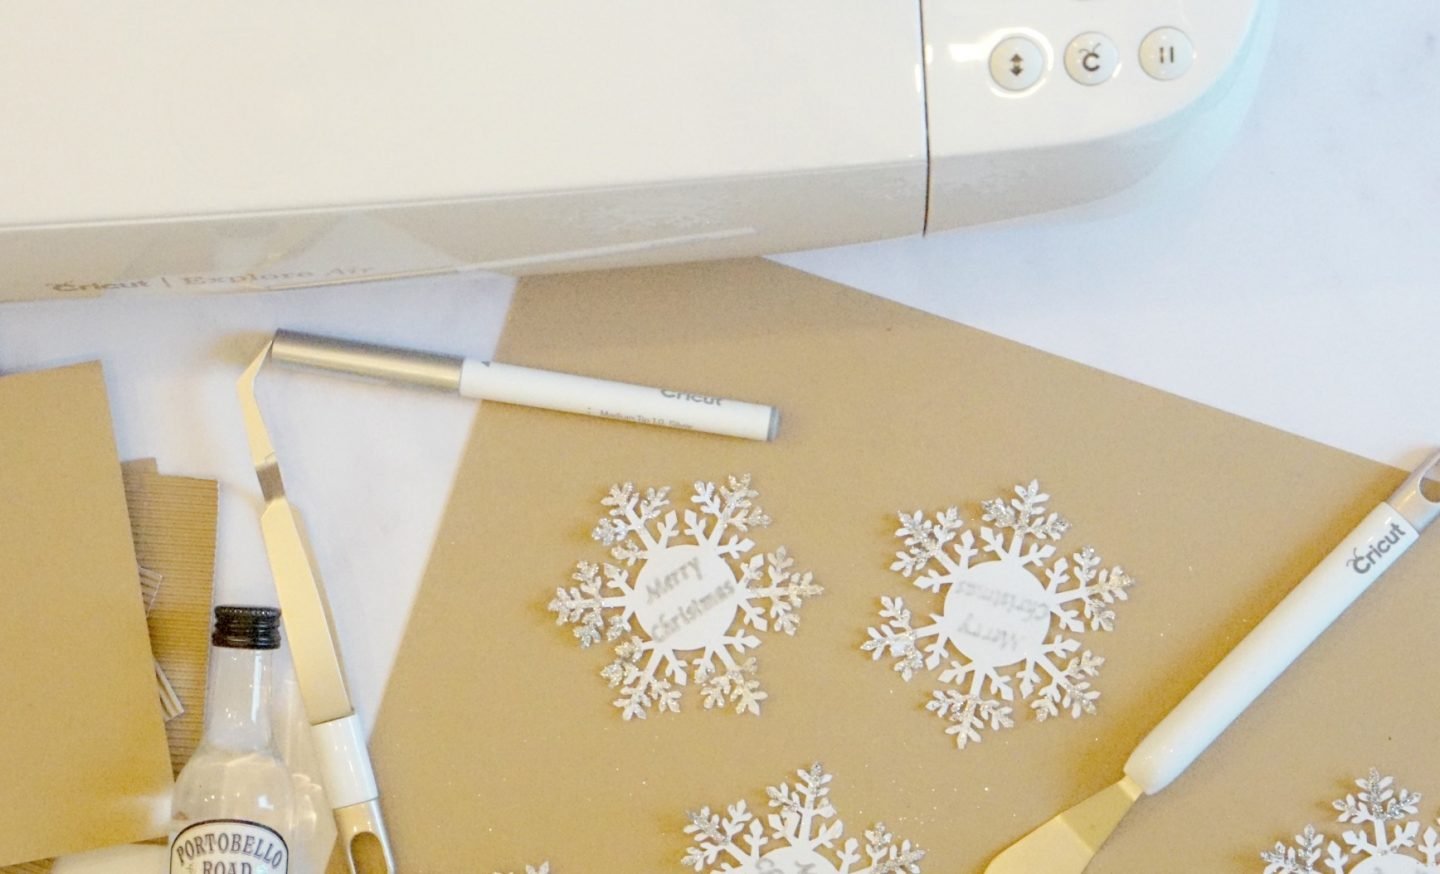
To Make Christmas Gin Crackers, You Will Need:
- A Christmas Cracker Template
- Cricut Machine or craft knife
- Cricut Cutting Matt
- Weeding Tool
- Brayer
- Scissors
- Super Glue
- 6 sheets of natural and corrugated cardstock
- 1 sheet of white card stock
- Ribbon to tie the crackers
- Cracker snaps and hats
- Pre printed jokes, check out my printable Disney Jokes.
How To Make A Homemade Christmas Crackers That Pop?
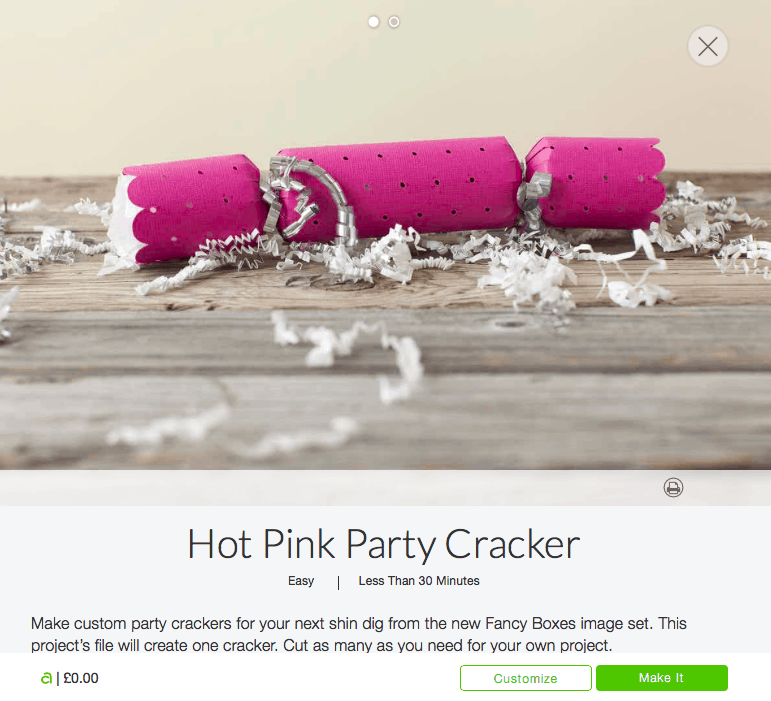
Start by finding a Christmas cracker template on Cricut Design space. The pattern in the design space has a polka dot contour, this did not work for the look I wanted to create. However by selecting the contour tool I was able to select and remove the dots to create a solid cracker.
To use the image below right click and save it and follow these instructions to pull into design space.
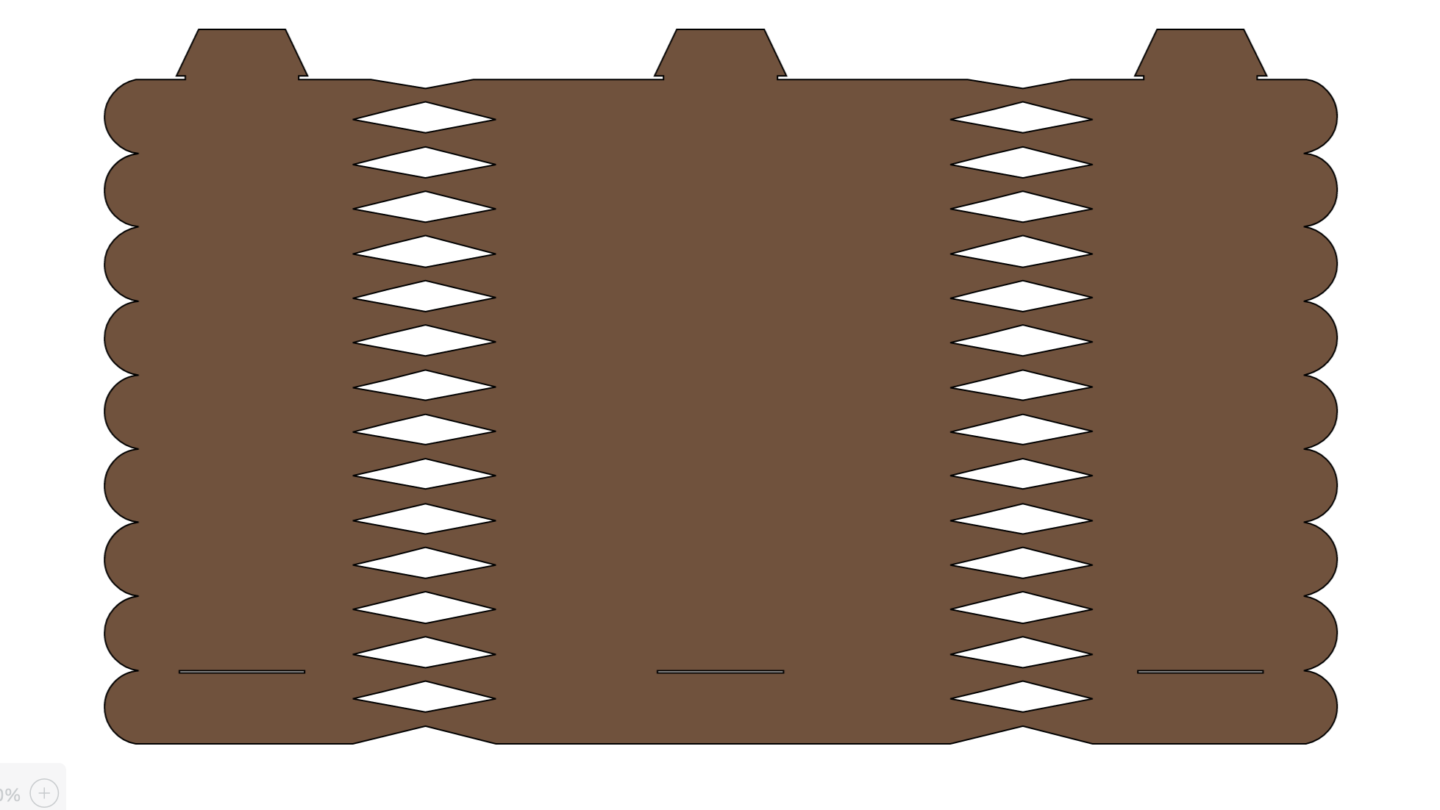
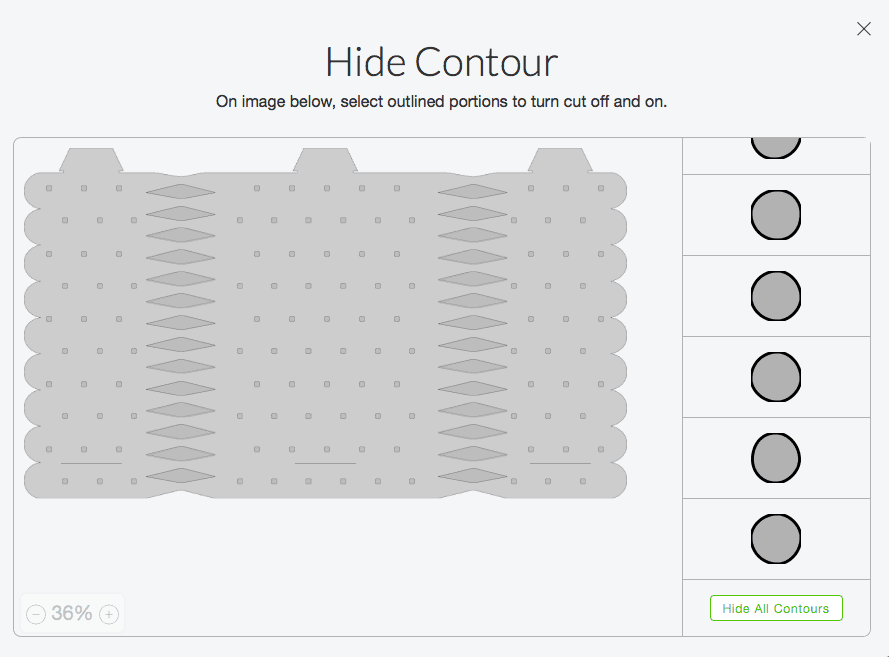
Firstly size the Christmas cracker template, the exact dimensions are on the mat below, I found this the best size to fit the cutting mat. Alternatively for a larger cracker you will need a 12×24 mat.
Also if cutting corrugated card ensure the ridges run the length of the cracker and not around it, it makes it hard to roll.
Choose a decoration to cut for the cracker, I chose a star which we decorated with glitter.
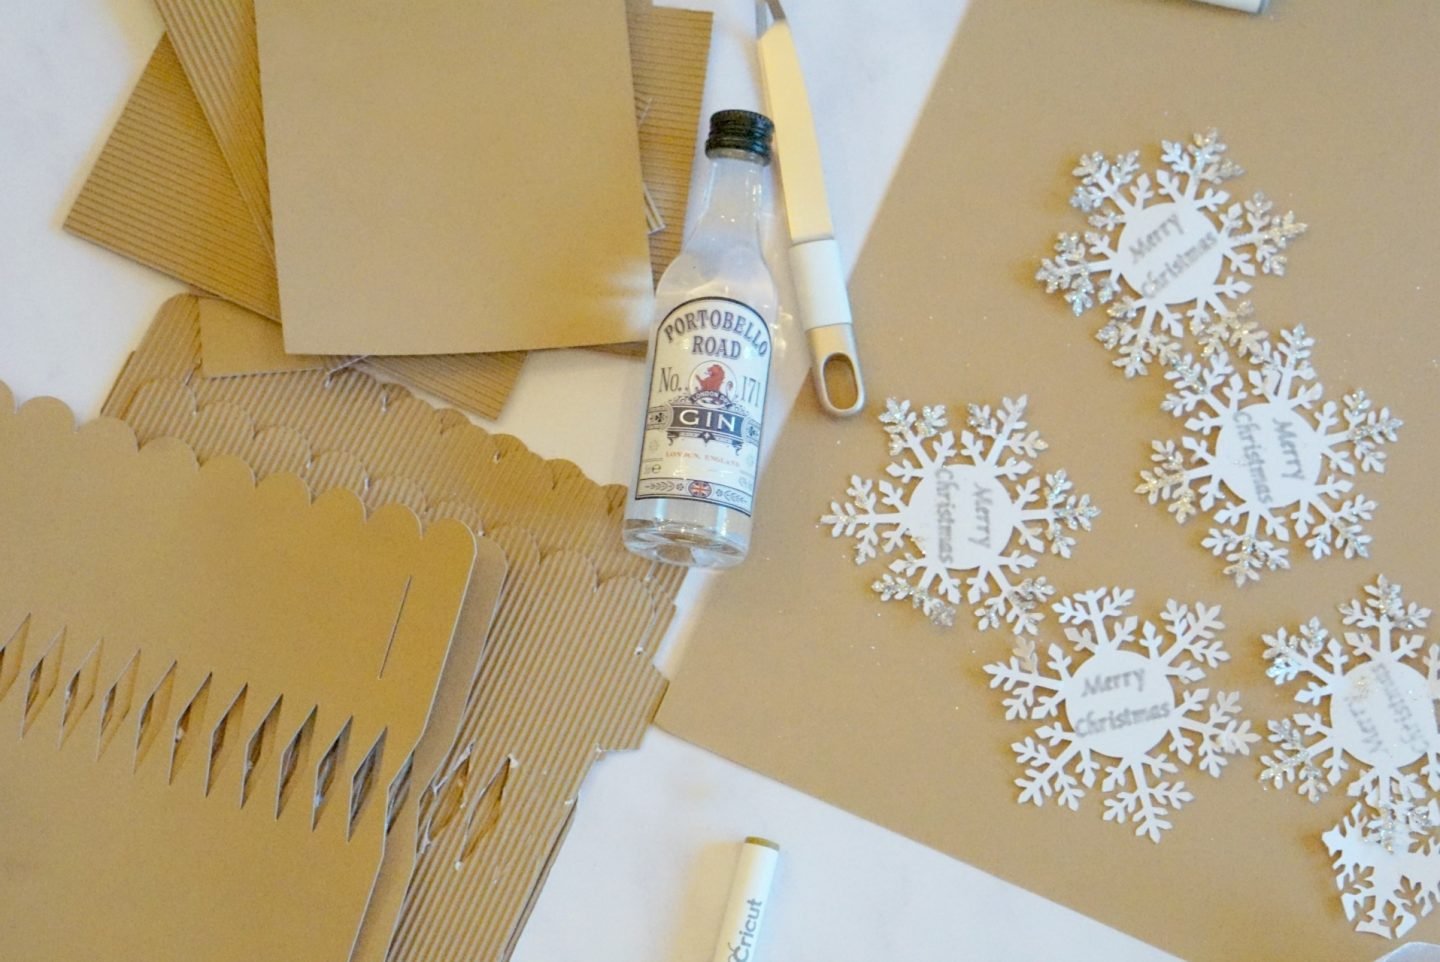
Secure the snap to the inside of the Christmas cracker template cut out with a little tape at each end of the cracker.
Now place double-sided sticky tape along the centre and each end of the top of the scored edge(Not the tab end)
Roll the cracker around a rolling-pin, being careful to tuck the tabs in and stick the edges down.
Cut out your jokes.
Secure one end of the cracker with ribbon before popping your gifts/gin and jokes inside before securing the opposite end.
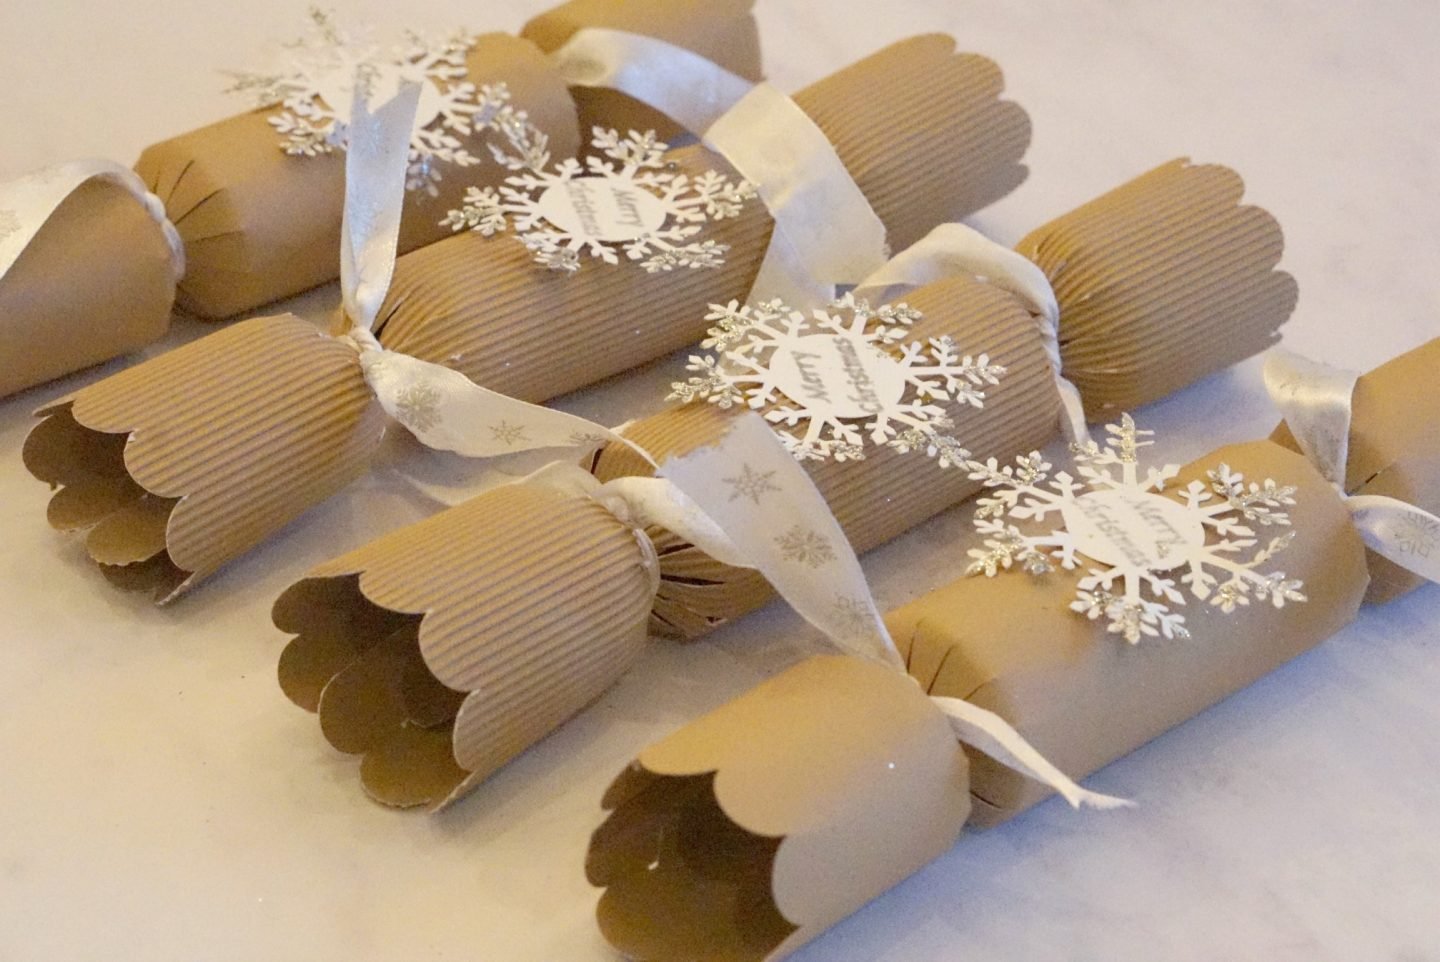
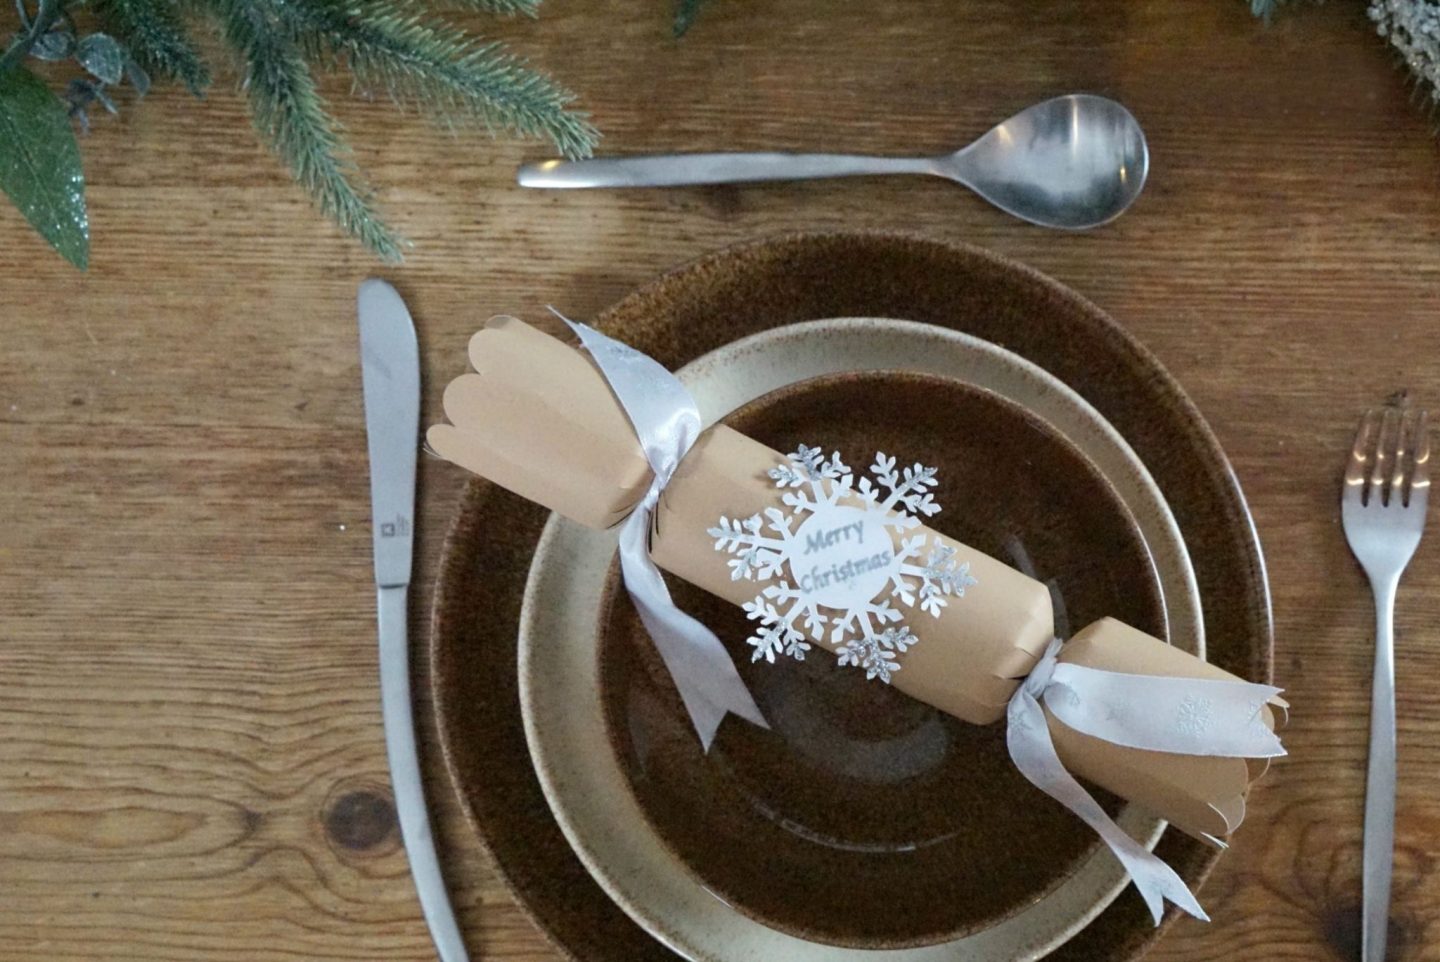
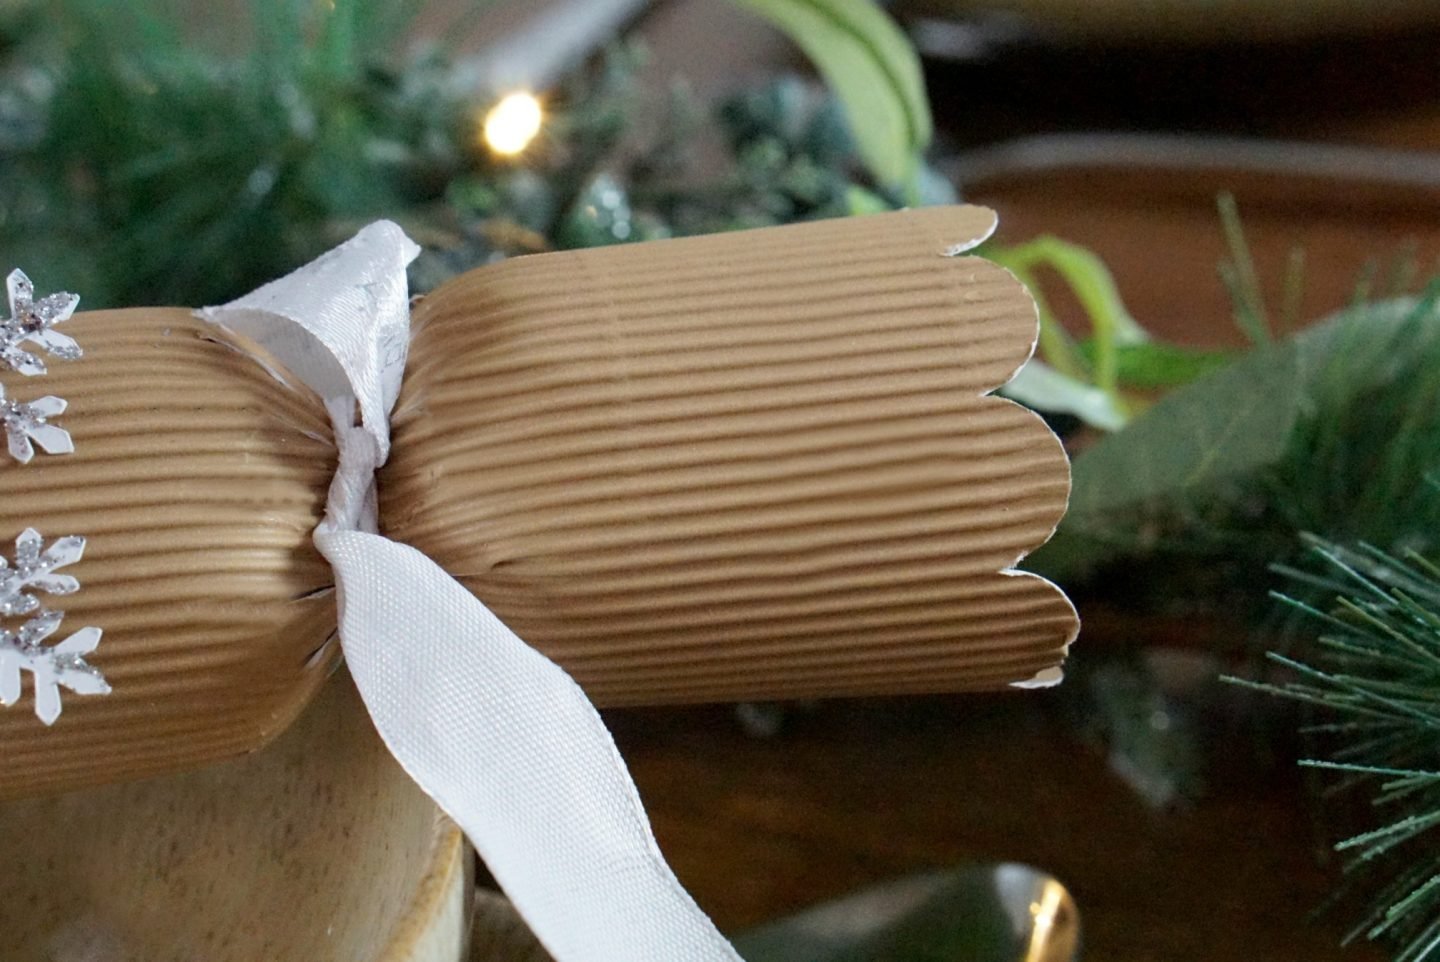
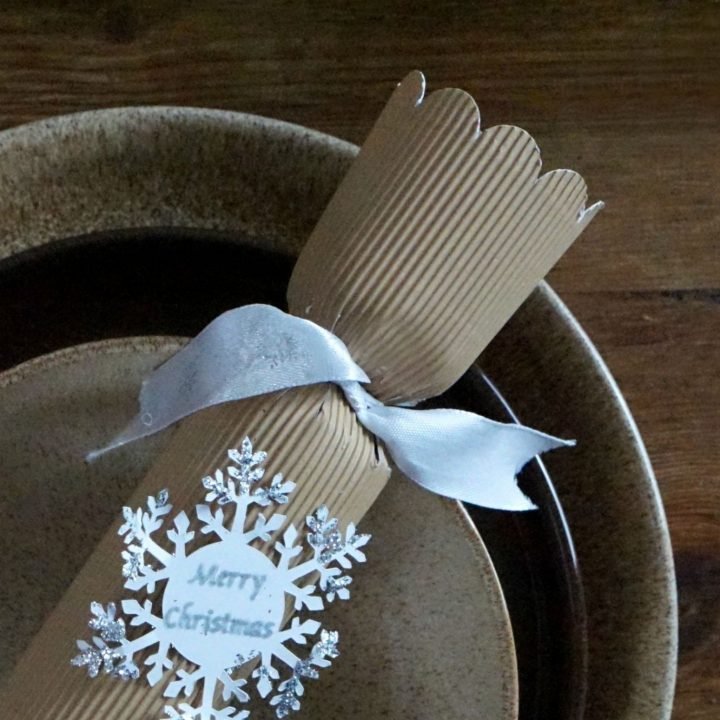
Lastly decorate with a snowflake of whatever cut-out you choose, these can be personalised which is a great idea, also if you have popped a bottle of gin inside (I would also advise the recipient of a gin cracker to hold the body of the cracker whilst pulling!)
Other Christmas Cracker Filling Ideas
- Chocolates
- Novelty Socks
- Pocket games or puzzles
- Mini stationery
- Make up
- Mini Aftershave/ Perfume
Happy home made cracker making, I hope this Christmas Cracker Template is useful? It’s so satisfying to be able to lay the table with personalised crackers. Also gin crackers make great stocking fillers and gifts. What not to love about a gin gift? x
Pin For Later
How To Make A Christmas Cracker With Cricut
An easy Cricut Project to make a Chritmas Cracker.
Materials
- Christmas Cracker Template
- 6 sheets of natural and corrugated cardstock
- 1 sheet of white card stock
- Ribbon to tie the crackers
- Cracker snaps and hats
- Pre printed jokes, these are fab or these cheeky jokes from Beano
- Super Glue
Tools
- A Cricut Machine or craft knife
- Cricut Cutting Matt
- Cricut Brayer
- Weeding Tool
- Scissors
Instructions
Start by finding a cracker template on Cricut Design space. The pattern in the design space has a polka dot contour, this did not work for the look I wanted to create. However by selecting the contour tool I was able to select and remove the dots to create a solid cracker.
Firstly size the cracker, the exact dimensions are on the mat below, I found this the best size to fit the cutting mat. Alternatively for a larger cracker you will need a 12×24 mat.
Also if cutting corrugated card ensure the ridges run the length of the cracker and not around it, it makes it hard to roll.
Choose a decoration to cut for the cracker, I chose a star which we decorated with glitter.
Secure the snap to the inside of the cracker with a little tape at each end of the cracker.
Now place double-sided sticky tape along the centre and each end of the top of the scored edge(Not the tab end)
Roll the cracker around a rolling-pin, being careful to tuck the tabs in and stick the edges down.
Cut out your jokes.
Secure one end of the cracker with ribbon before popping your gifts/gin and jokes inside before securing the opposite end.
Lastly decorate with a snowflake of whatever cut-out you choose, these can be personalised which is a great idea, also if you have popped a bottle of gin inside (I would also advise the recipient of a gin cracker to hold the body of the cracker whilst pulling!)
Notes
- Other Cracker Filling Ideas
- Chocolates
- Novelty Socks
- Pocket games or puzzles
- Mini stationery
- Make up
- Mini Aftershave/ Perfume

These are fabulous! I think I’m going to need a cricut machine next year!
Helen its blooming amazing I just love it x
These look so beautiful!
Ah thanks Nano, I love that I have been able to personalise them x
Thanks for sharing this! I always struggle to find fun crackers, but these are great. I had thought of making some using the Cricut, but then I didn’t know what to put inside them. Great idea, thanks! 🙂
Ah these are beautiful Sarah, and I would definitely be smiling if I found these crackers on my table this Christmas x
I NEED one of those machines!!!!! What a fab invention!!!! It made me smile that you said ‘Cricut or craft knife’ — I tried to make crackers with just a scalpel a couple of years ago — and it took FOREVER!!!! LOL!! I bet the Cricut does it super quickly!! Love these — love the contents too!! 😉 xx
I bet it did, the Cricut makes everything so much quicker and easier I love it x
thanks for sharing perfect article.