
If you’re decorating your child’s bedroom and want something truly personal (without spending a fortune on custom prints), this is the perfect DIY project. Not only will I show you how to create a beautiful layered cardstock shadow box letter using your Cricut, but I’m also sharing a FREE printable flower fairy alphabet and number set. Perfect for Cricut and Silhouette, available in two skin tones for inclusive, personalised nursery and kids’ bedroom décor.
In this step-by-step tutorial, I’ll walk you through exactly how to design, cut and assemble your layered 3D letter using Cricut Design Space. You’ll learn how to use Offset to create depth, how to layer your cardstock for that stunning shadow effect, and how to assemble everything neatly inside a shadow box frame.

This post may contain affiliate links. Which means I may receive a small commission if you click a link and purchase something that I have recommended at no extra cost to yourself. As an amazon, Cricut and Glowforge associate, I earn from qualifying purchases.
What You Will Find Here
How To Make A Flower Fairy Shadow Box Monogram With Our Free Alphabet and Numbers
What You Will Need/ Ad Affiliate
- Cricut Joy Xtra or Maker
- Cricut Design Space (free software)
- Standard Gripmat or The Maker Mat
- Weeding tool
- Brayer, great to use on older mats that are less sticky
- White Printable Card Stock
- Coloured Card Stock
- Hp Printer
- Box Frame
- Scroll Down for the Alphabet and Number Set
See My Step By Step Video Tutorial

You can use our free fairy alphabet and number set to:
- Create a single initial for above a bed
- Spell out your child’s full name
- Add numbers for birthdays or milestone displays
- Make printable wall decals
- Make a magical handmade baby shower gift
- Create birthday cards, invitations and cake toppers
This project is perfect for parents decorating a nursery, Cricut beginners looking to try layered cardstock, and crafters who love 3D paper art that looks professional yet easy to recreate. By the end of this guide, you’ll have a magical, personalised piece of wall art that’s completely unique and totally budget-friendly.
1. Upload and Print Your Printable Flower Fairy Alphabet Letters
Follow this step-by-step guide to upload images, SVG, and PNG files to Cricut Design Space, also see our step-by-step print and cut guide.
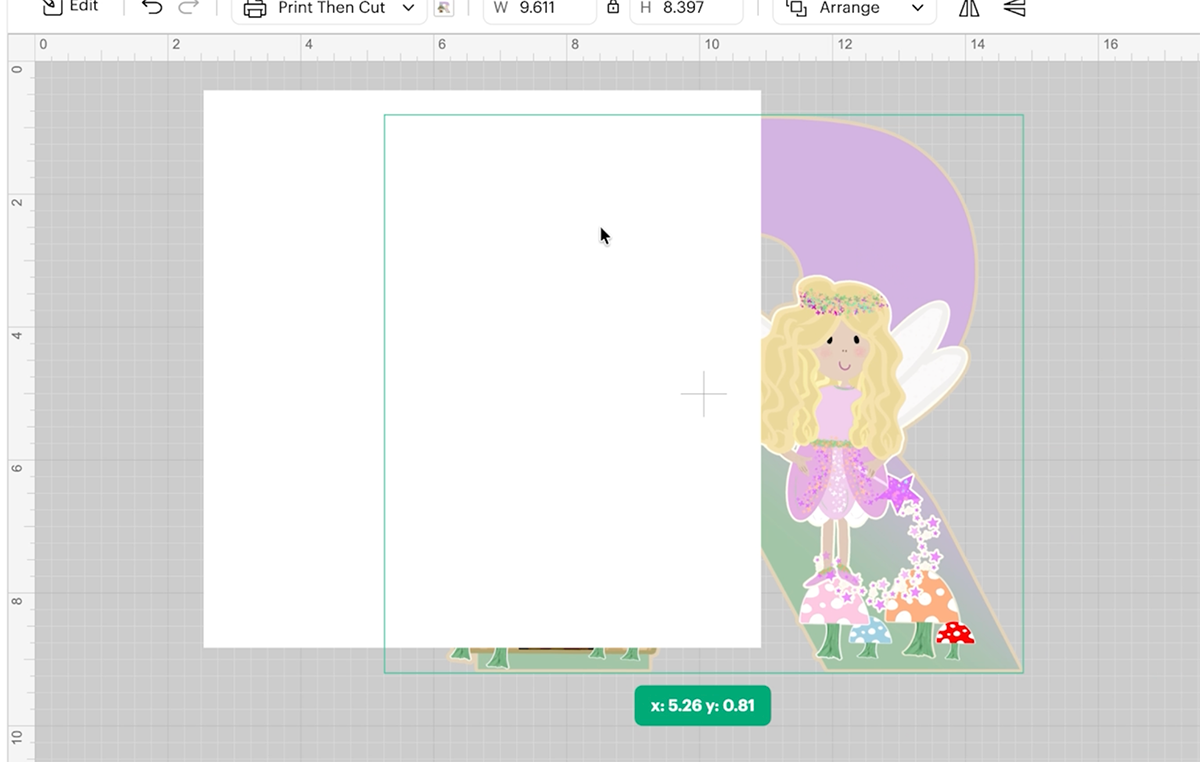
Create a square background, then size your fairy letter image on top. You don’t need to get the final size perfect, as you will size it before you send it to print and cut. It’s more important to get the proportions right.
If you’re spelling out a full name, make sure all letters are sized consistently before continuing.
Tip: I made my background grey so I could see it more easily. To do this, click on “Background Colour” on the bottom right of Cricut Design Space and choose your preferred colour.
2. Add A Cute Fairy Quote
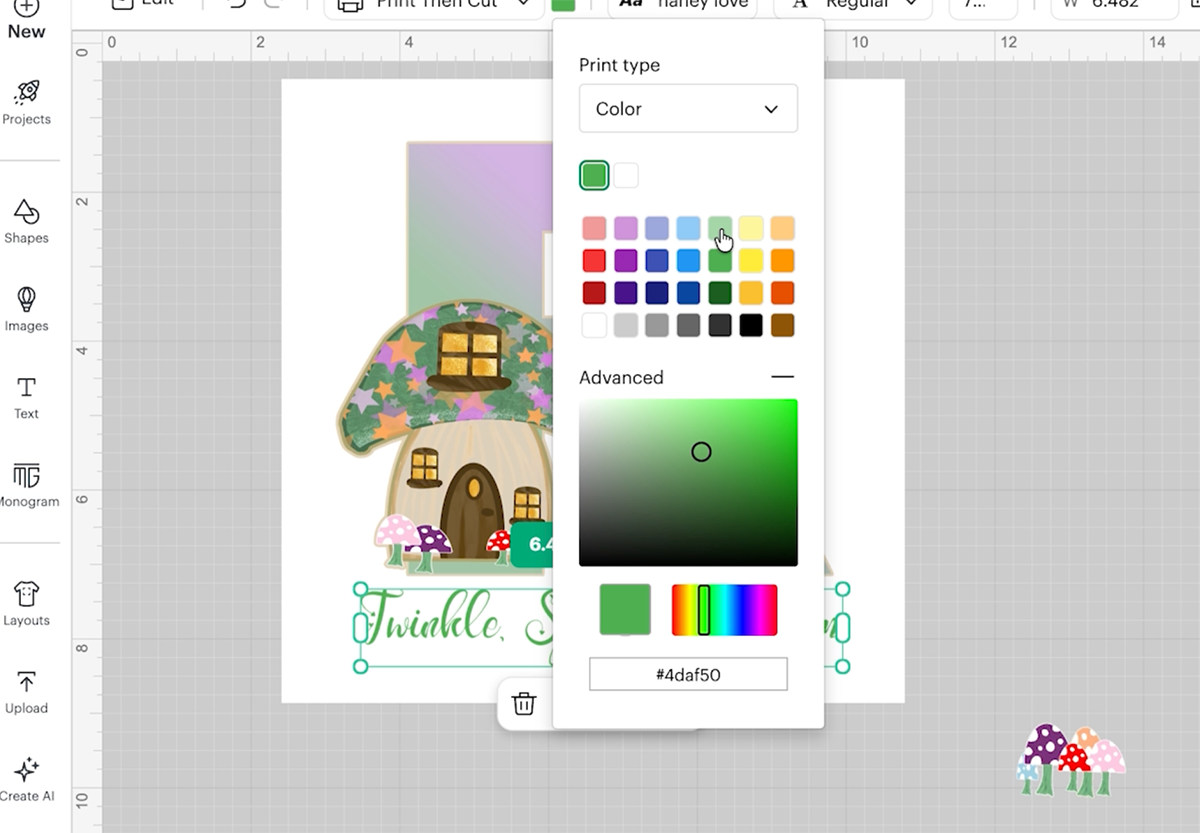
Add a fairy quote to your artwork. This is optional, but it is a great way of adding a personalised message that either means something or is inspiring. Click the text tool and type your message, go to the cut/action tool and choose print, then cut. Now choose your colour. (I used the Haney Love font, one I downloaded a while ago.)
Once you have added the text, remove your monogram letter; you will cut it differently, so put it to one side. Then you can select all and flatten.
Ten Fairy Themed Quotes For Fairy Kids Bedroom Artwork
Here are some ideas of fairy quotes to add to kids’ bedroom artwork or personalised cards.
- Believe in fairies and happy dreams
- This room is sprinkled with magic
- Sleep tight, the fairies are near
- Little dreamer, big magic
- Fairy dust and bedtime wishes
- Twinkle, sparkle, dream
- A little magic lives here
- Close your eyes and let the fairies fly
- Dreams grow where fairies glow
- Magic begins in your dreams
3. Create A Border on Your Project
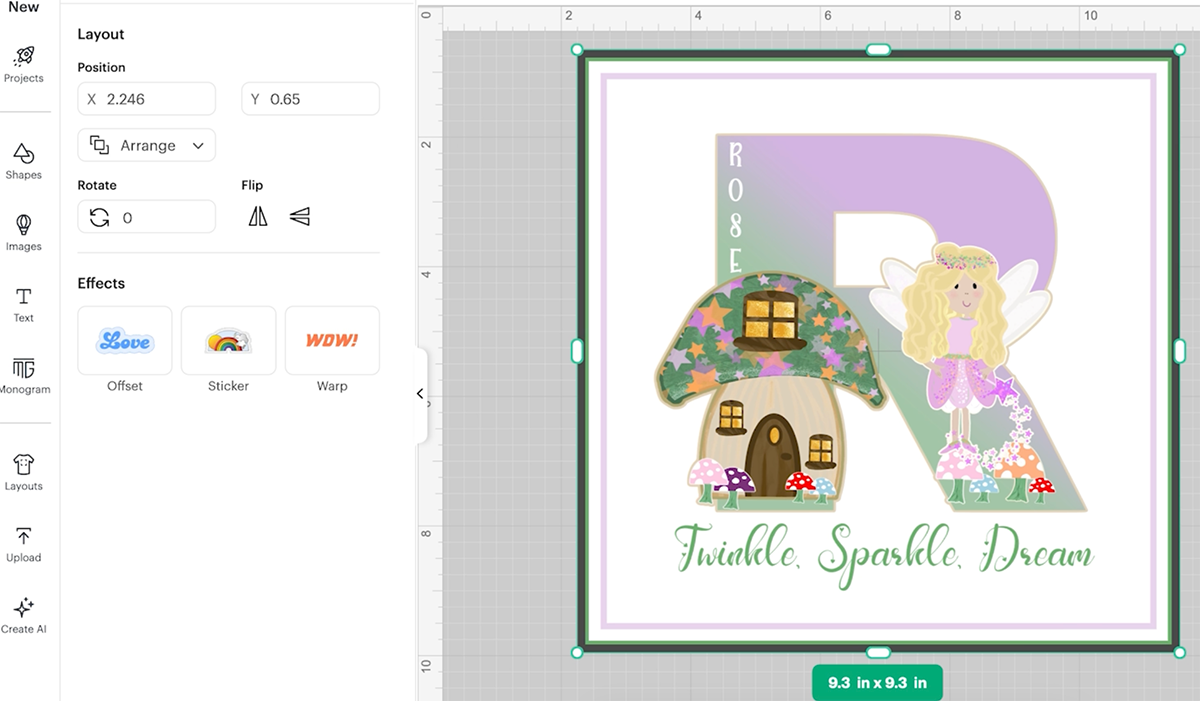
To add a border, click the outer square layer, click Edit in the top-left corner, then select the Offset tool in the left-hand panel. Add a small offset and colour it, I chose lilac. Next, create a white offset, next a green offset and lastly a white offset. This creates a coloured striped border that gives the project a great finish.
4. Add Any Design Elements
Now, add any design elements. I added mushrooms from the element downloads! You could also add another fairy.
5. Add Offset Layers To Your Fairy Letter or Number
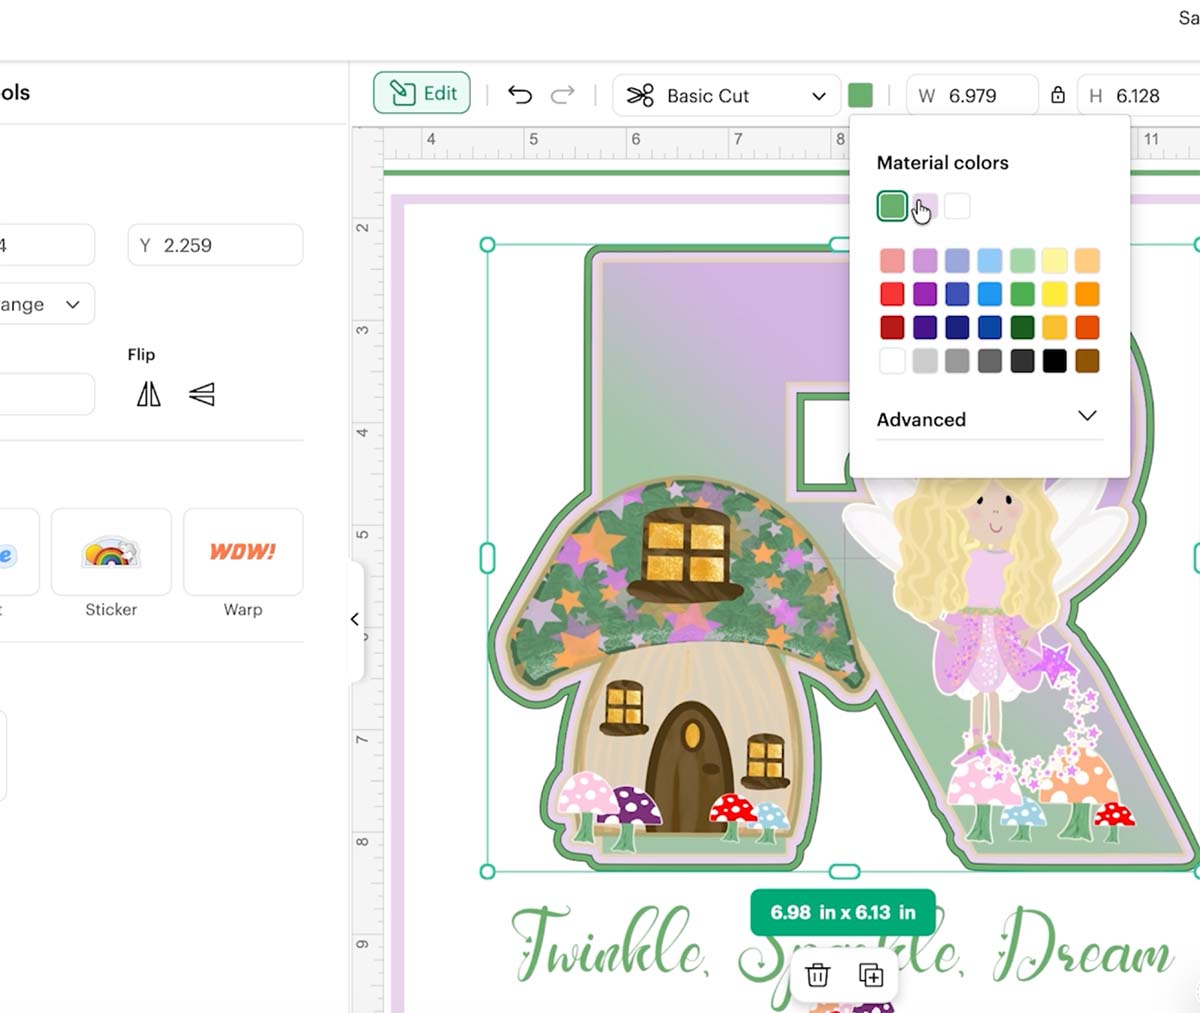
To add depth, we will add two offsets to your letter. Start by clicking on the letter, clicking edit and then offset. I chose a small offset by sliding the slider until I was happy (See video linked above). This will be cut in card stock, then click on the offset and add another. I coloured those so I could see if the colour way worked in the design.
Plus, it makes it easier to see what layer you are cutting when you are cutting the project.
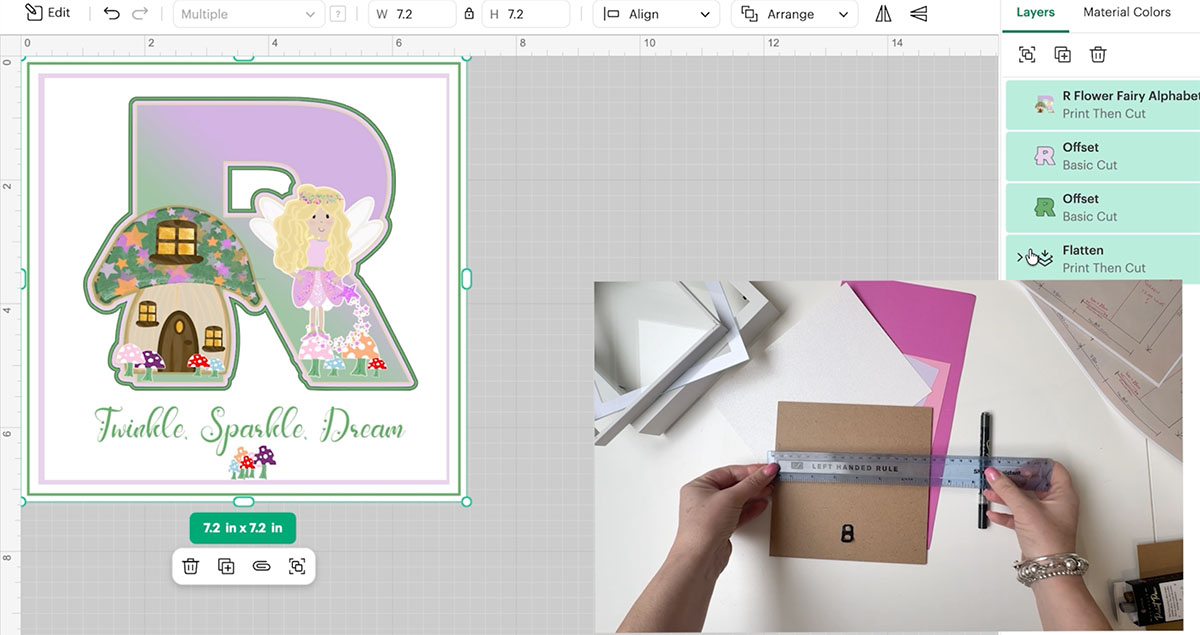
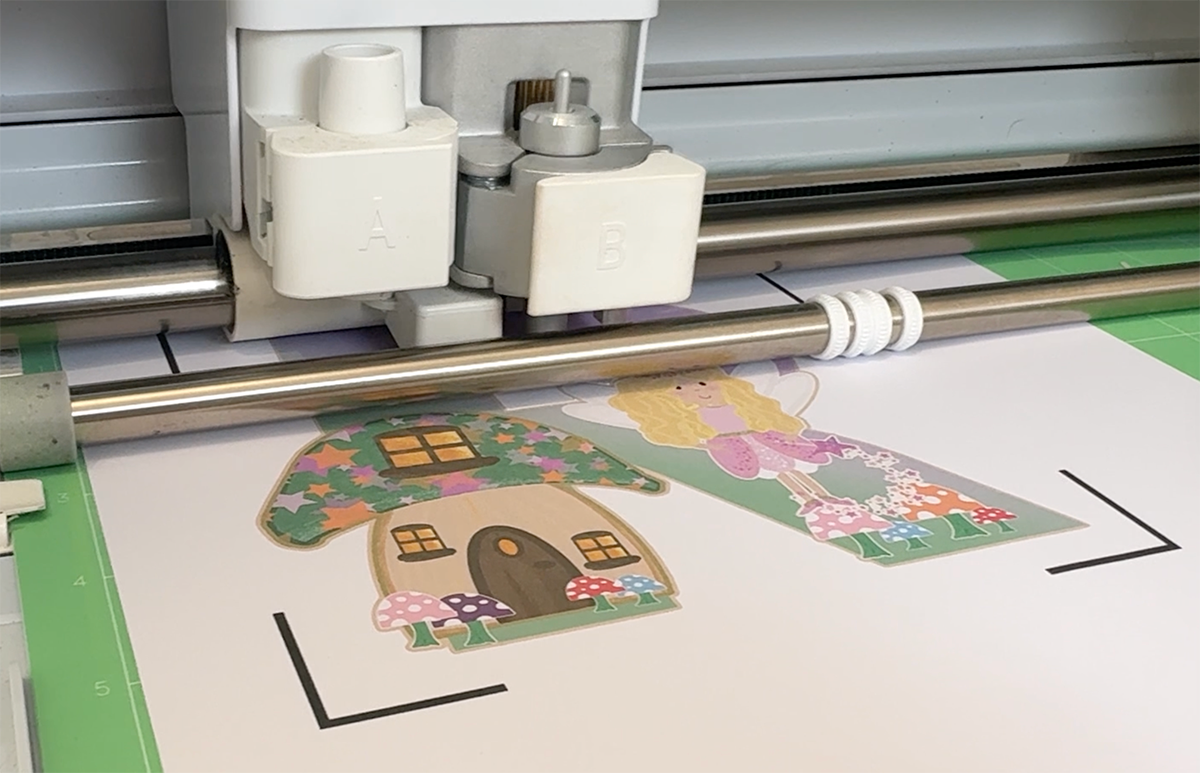
6. Size Your Project And Send To Print and Cut
Size it to fit your shadow box frame. I measured my frame (7×7 inches) and sized my background square to fit inside neatly.
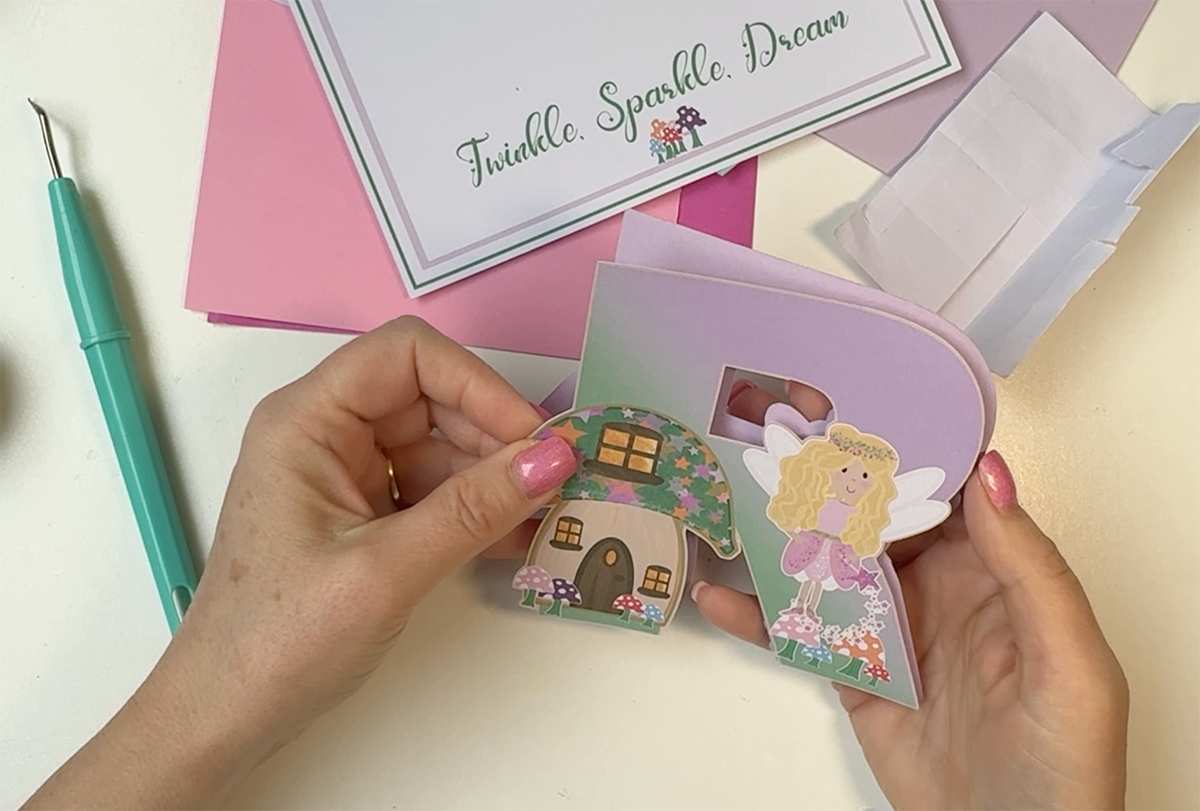
7. Build Your Box Frame
Use sticky pads to build the letter layers up from the back layer to create a layered effect and pop in a box frame.
If You Want To Use These Free Printable Flower Fairy PNG Alphabet Letters And Numbers Template?
Click here or on the image below to get your free download of our Printable Flower Fairy PNG cut files with a choice of two skin colours. They are instant downloads from our shop. Also, get our two flower fairies, fairy house, and blue, pink, peach, purple, and red mushroom elements here.
If You’re Having Problems?
Check out my troubleshooting page, hopefully it will answer any questions you may have.
Tips And Advice For Using Cricut
- Cricut Design Space Guide
- How to upload to Cricut Design Space
- How To Make Print And Cut Stickers In Cricut Design Space
- Where Else To Get Free SVG Files
Also please do pop over to Instagram, or TikTok and give me a follow and if you make a project please do tag me! I love seeing everyone else’s makes and chatting crafting. I could do that all day! This is also where I share all my projects in progress.

