
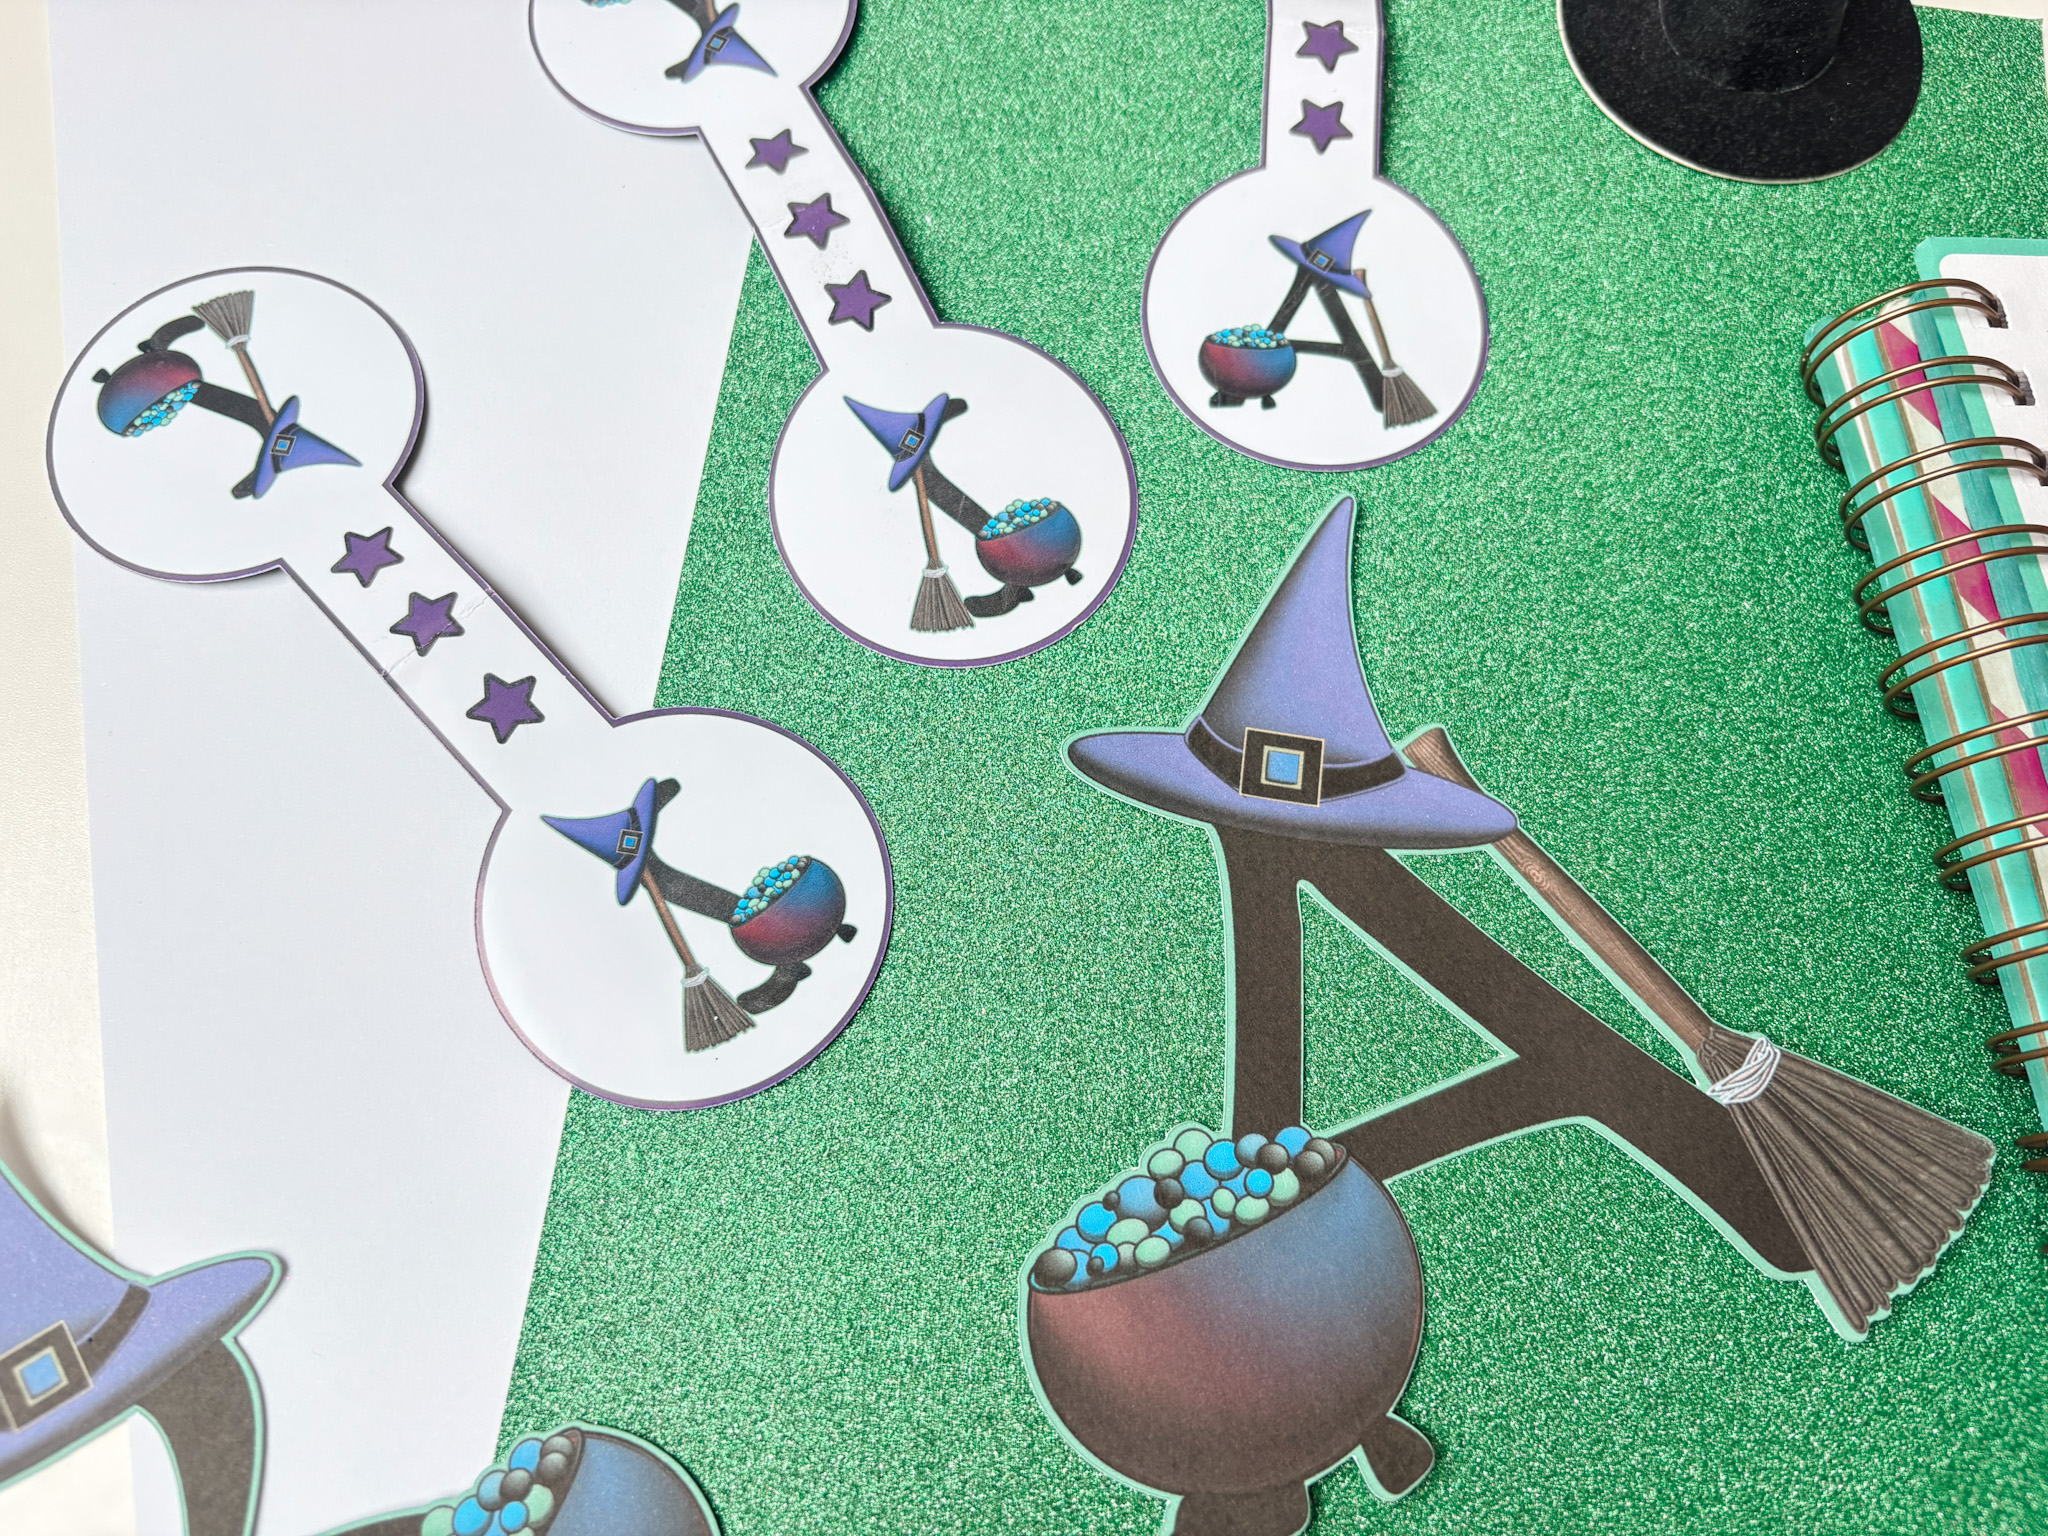
Today, we are sharing a super spooky Printable Halloween Witch PNG Alphabet and Number Set. This Witch Alphabet set is ideal for use with LOKLiK, Cricut and Silhouette or to cut out by hand. They are perfect for spooky Halloween-themed craft projects, from personalised cards to scrapbooking layouts, Halloween party banners and decorations. The Halloween craft possibilities are endless.
Also, if you have Halloween-loving kiddies, try printing letters to form words onto magnetic paper for great Spooky-themed fridge magnets and learning games.
This post may contain affiliate links. Which means I may receive a small commission if you click a link and purchase something that I have recommended at no extra cost to yourself. As an amazon, Cricut and Glowforge associate, I earn from qualifying purchases.
What You Will Find Here
Project Ideas For Our Free Printable Halloween Witch Clip Art PNG Alphabet
- Printed letters and words, perfect for Spooky Halloween Activities
- Themed Witch Halloween Parties
- Halloween Bookmarks
- Planner Stickers
- Witch-themed Cake Toppers
- Use Pegs And String For Hanging Personalised Halloween WitchBanners
- Framed Art
- Witch Sublimation Mugs
- Sublimation T Shirts
- Door Decals And Name Signs
- Scrapbooking Page Layouts
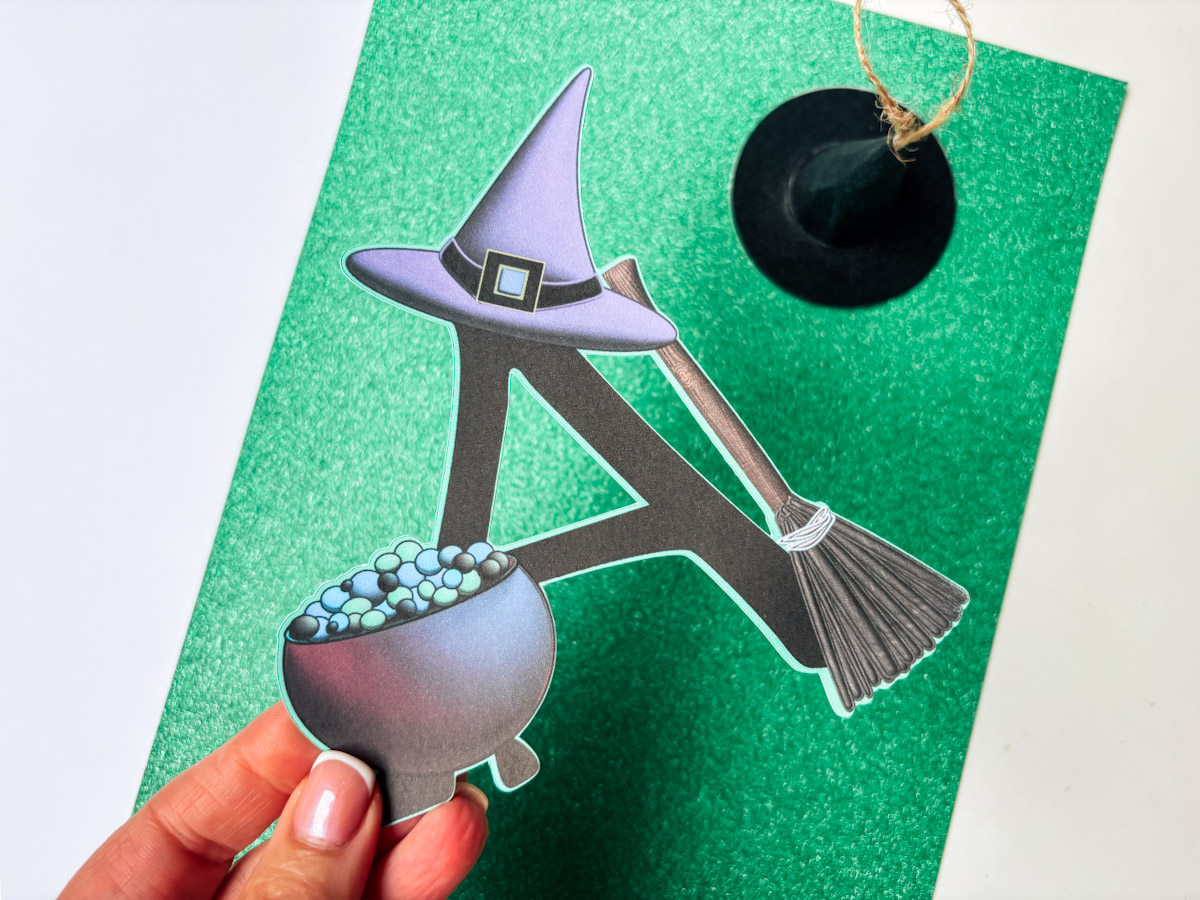
How To Upload and Print Your Printable Halloween Witch Clip Art Alphabet Letters And Numbers To Cricut Design Space.
Follow this step-by-step guide to upload images and SVG and PNG files to Cricut Design Space. Once uploaded, click Make it; if you need help with this, follow our step-by-step print and cut guide.
If You Don’t Have Cricut ?
You can upload our Witch Clip Art PNG Alphabet to Canva, a great program for making posters and cards, or to Word or Pages. Just arrange your letters or numbers with spaces between them and cut them with a guillotine.
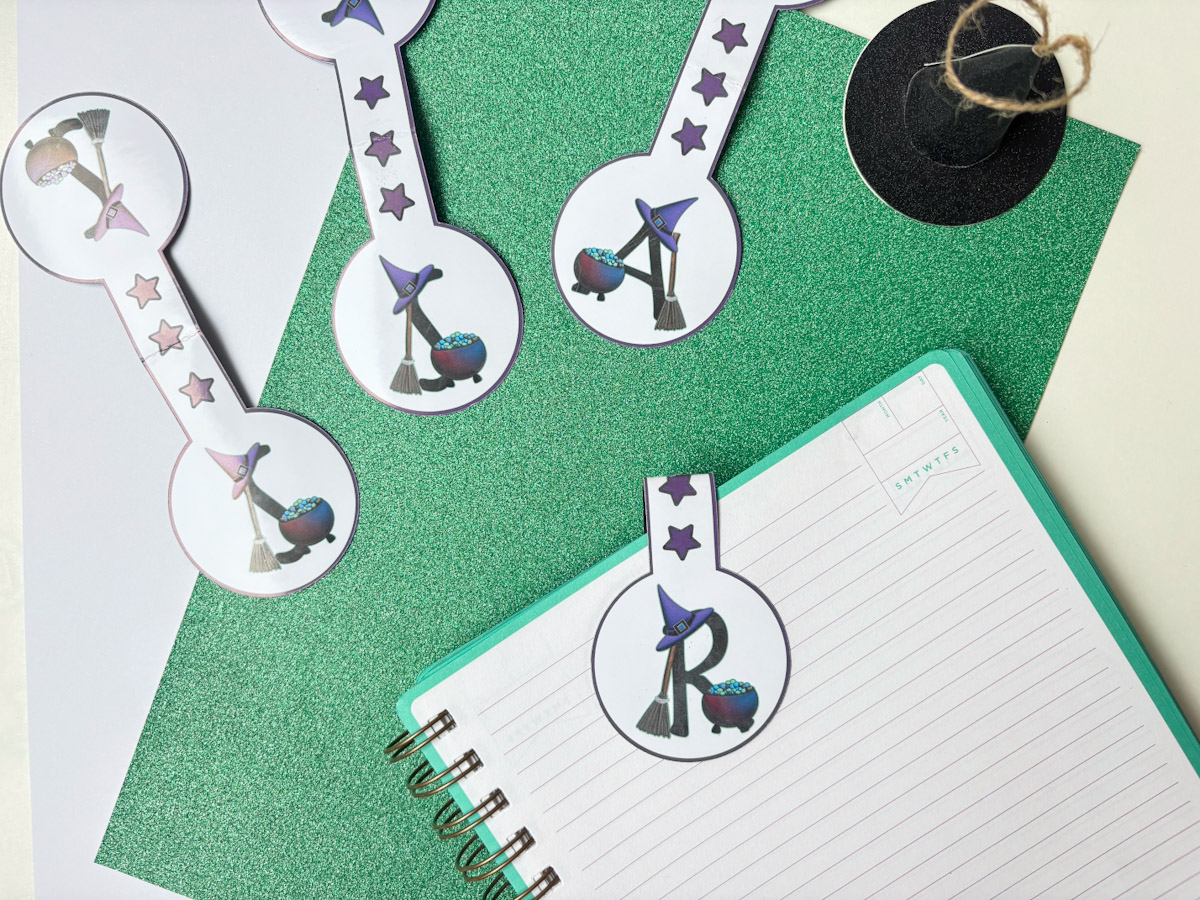
DIY Cricut Halloween Book Magnets: Step-by-Step Tutorial
Looking for a super cute and easy Halloween craft? These personalised book magnets are perfect for trick-or-treat gifts. Using a Cricut machine, magnetic paper, and this free Witch Alphabet, you can create adorable, custom magnets in no time! Follow this step-by-step tutorial to make your own.
Watch on Your Tube Tutorial Here
Materials Needed:
- Cricut machine + Design Space
- Cutting mat + basic Cricut tools
- Printable Magnet Paper
- Witch Alphabet
1: Prepare Your Design
- Open Cricut Design Space.
- Upload the letters or numbers you want to use. You can use my free Witch Alphabet or any images you like.
- Save your letters/images as a flat graphic for printing.
- Resize the letters to fit your magnets; I recommend 6 inches wide by 2 inches deep for a standard book magnet.
Tip: Upload extra letters if you plan to make multiple personalized magnets.
2: Create Your Magnet Base
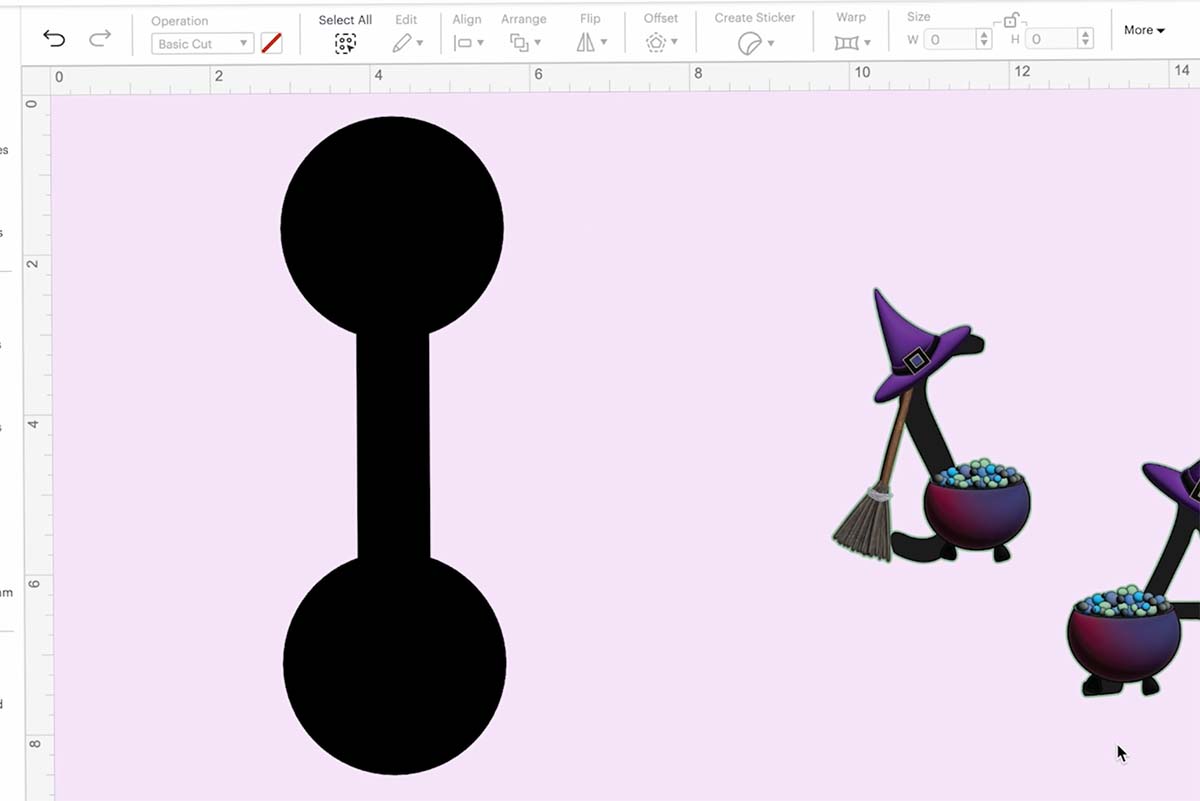
- From the Shapes menu, select a circle and a square to make the center.
- Resize the shape to your desired magnet size.
- Duplicate the circle, unlock the square and drag it thin to conect the circles
- Align the shapes centrally using the Align tool, select all a weld together.
Optional: Use a scalloped edge circle for a decorative touch.
3: Add Design Details
- Change the background color of your base to pale lilac for easier viewing.
- Create an offset around the shape for extra detail. Set it to a small size and choose a complementary colour (purple or black works well for Halloween).
- Flatten the layers so that your design becomes a single printable image.
4: Arrange Letters on the Magnet
- Place each letter on your magnet base.
- Duplicate letters and flip them horizontally for the opposite side of the book magnet.
- Make sure letters face outward, so they appear correctly when the magnet flips over the book.
- Add extra details, such as small stars or shapes, using offsets for a decorative effect.
Tip: Create a small row of decorations along the center for added visual interest.

5: Test Your Design
- Before printing on magnetic paper, do a test print on regular paper to check sizing and letter orientation.
- Adjust letters or resize shapes if necessary to avoid waste.
6: Print & Cut
- Click “Flatten” for all layers to prepare for Print then Cut.
- Send the design to print using your printer:
- Use best quality settings.
- Make sure to select the system dialog in Design Space.
- Place the printed magnetic sheet on your Cricut mat.
- Send to cut using “More Pressure” setting for magnetic paper.
- Remove the magnets carefully from the mat.
Your personalised Halloween book magnets are ready to give! They make perfect:
- Halloween treat bag gifts
- Crafty gifts for kids or godchildren
- Fun classroom or party favours

Pro Tips:
- Always do a test cut to save magnetic paper.
- Resize magnets if needed to fit multiple designs on one sheet.
- Personalize with letters, numbers, or small Halloween motifs.
- Use the offset tool in Cricut Design Space for professional-looking borders.
If You Want To Use These Free Printable Halloween Witch Clip Art PNG Alphabet Letters And Numbers Template?
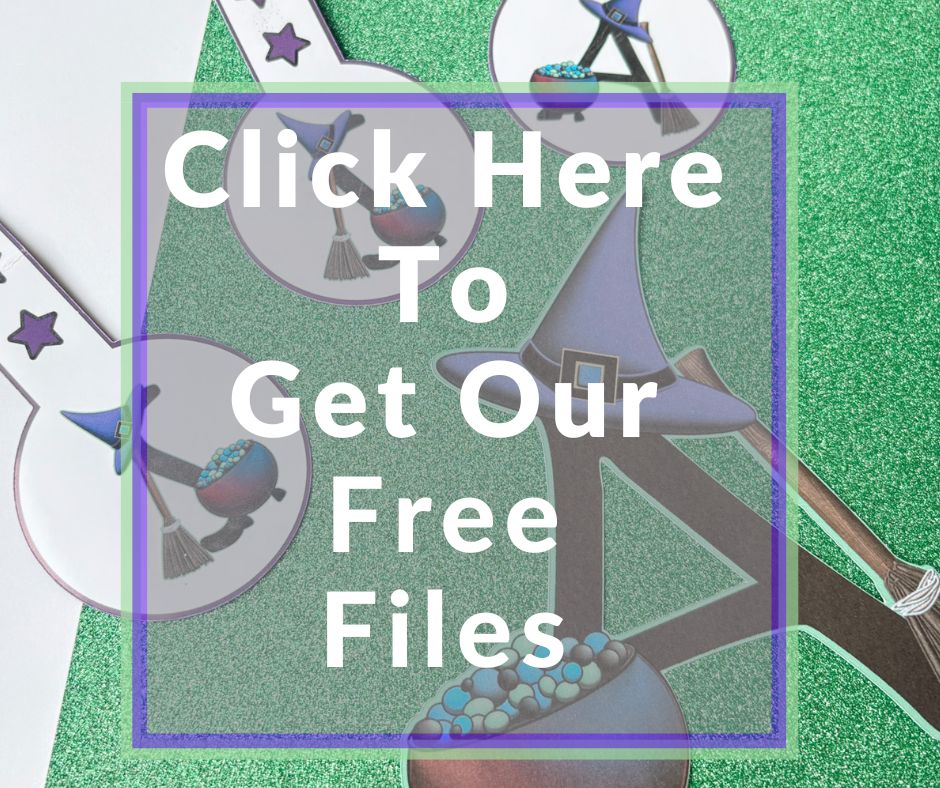
Click here or on the image below to get your free download of our Printable Halloween Witch PNG cut files. They are instant downloads from our shop. Also, get our cauldron, witches’ hat, and broomstick elements here. Also, get the witch elements here.
If You’re Having Problems?
Check out my troubleshooting page, hopefully it will answer any questions you may have.

Great idea to make magnetic book marks from these. They will work great in the recipe journal I am making for the DiL. She has an in-home baking business and I want to make her something special. These will definitely make it stand out. Thank you!
You are welcome Helen. And what a thoughful gift your DIL will love that x