
Today, I am sharing this free layered Winter Bliss SVG file for creating perfect winter weather-themed scrapbooking layouts. Perfect for snowy winter-themed layouts to save those precious memories. This layered winter bliss file can be cut on cutting machines such as Cricut, Silhouette Cameo, xTool and Glowforge. Plus my free file can be used as a multi-layered file. Or use one SVG layer for htv iron-on t-shirts.

This post may contain affiliate links. Which means I may receive a small commission if you click a link and purchase something that I have recommended at no extra cost to yourself.
What You Will Find Here
Project Ideas For Our Layered Winter Bliss Scrapbooking SVG
- Use With Vinyl For Wall Art
- Hanging Wooden Winter Signs
- Weather Charts
- Transferring onto Embroidery Hoops For Embroidery Projects
- Decoupage Cushions
- Scrapbooking Pages
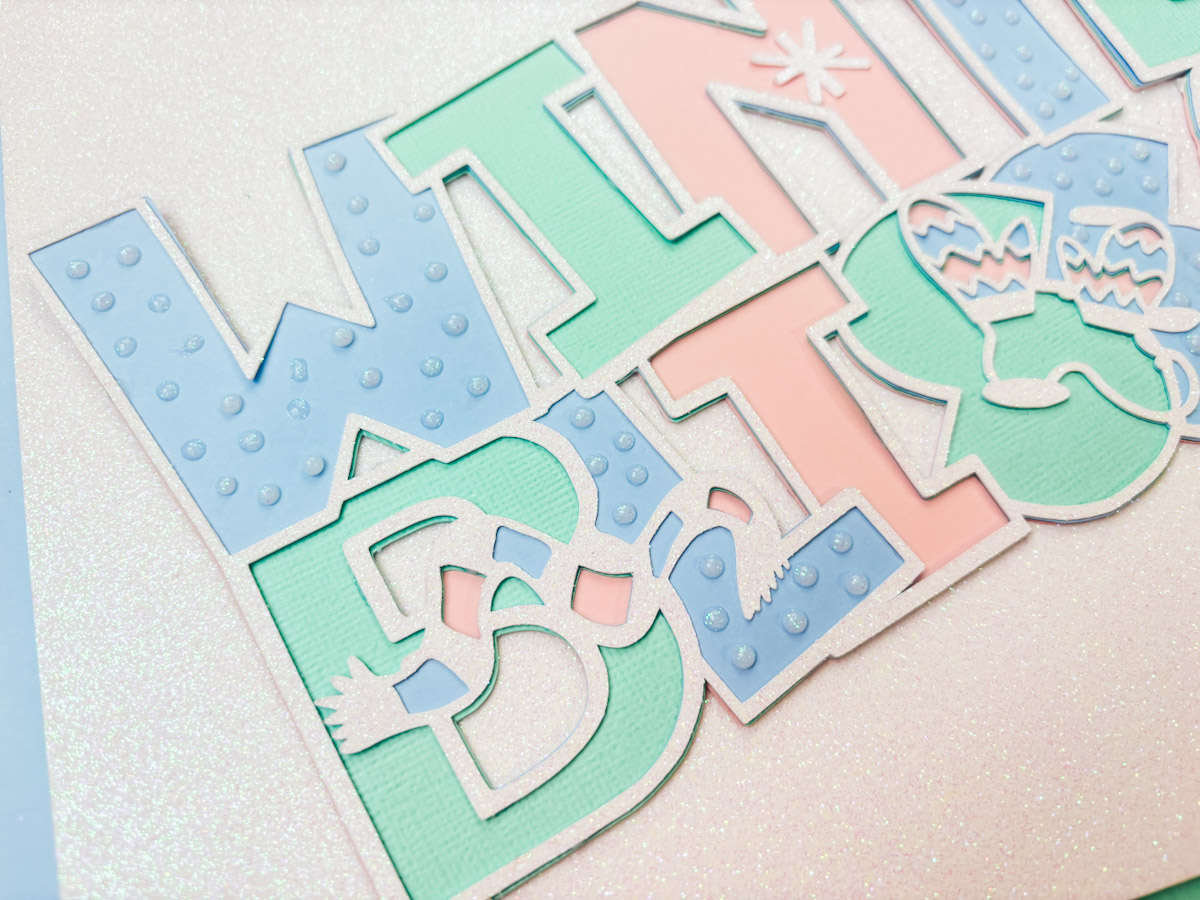
How To Make Our Free Layered Winter Bliss File
What You Will Need
- Cricut Maker, Cricut Explore Air Or Cricut Joy
- Weeding Tools
- Brayer
- Fine Point Blade
- Card Stock, White Glitter, Blue, Green and Pink card Stock
- Glue, I use Cosmic Shimmer Acrylic Glue
- Clear Glitter Nuvo Drops
Making Our SVG Layered Winter Scrapbooking SVG On Cricut
Upload the files to Cricut Design Space, (Click here to see how to upload to design space) once uploaded colour your files so you can see the designs on screen they way they will cut as it makes it easier when cutting the files.
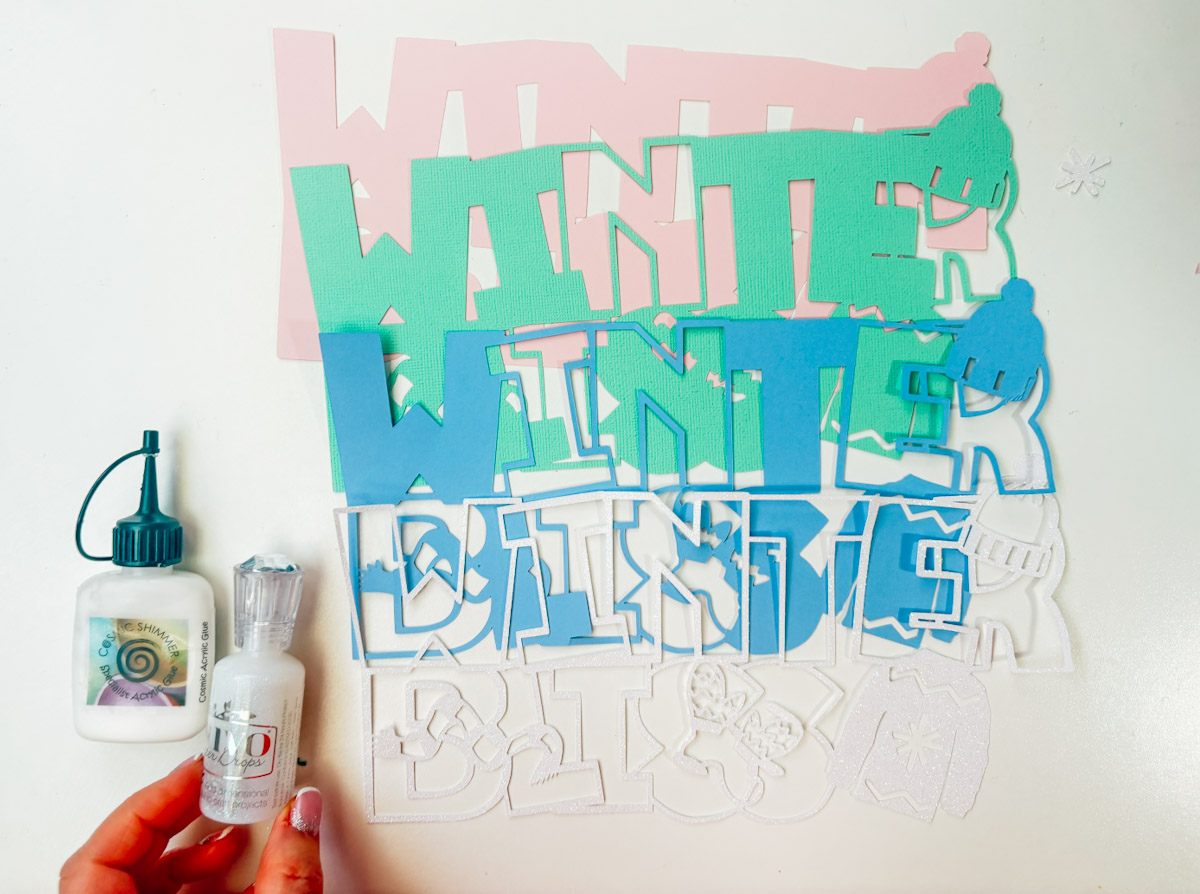
Line up all the layers of your scrapbooking free-cut files in the design space, and make sure they line up correctly and are exactly the same size. Remember you are using four colours, so have the card stock ready to hand and really think about the colours and layers….
- White Glitter
- Blue
- Green
- Pink
Cutting Your Free SVG Winter Bliss File On Cricut
When you send your Winter Scrapbooking File SVG/PNG files to your Cricut Maker, Explore or Joy to cut, ensure you use your brayer to roll the paper, vinyl or card to adhere to the mat. Movement will affect the cut.
I have suggested an order on the files, which makes sense. The layers are numbered accordingly to match the colours of the photos in the post. Of course, you can change the colour to fit your decor or scrapbooking theme.
Start by placing the top white SVG layer face down; add glue to the back and position the blue layer onto it, ensuring it lines up. Repeat this with the green, then the pink layer.
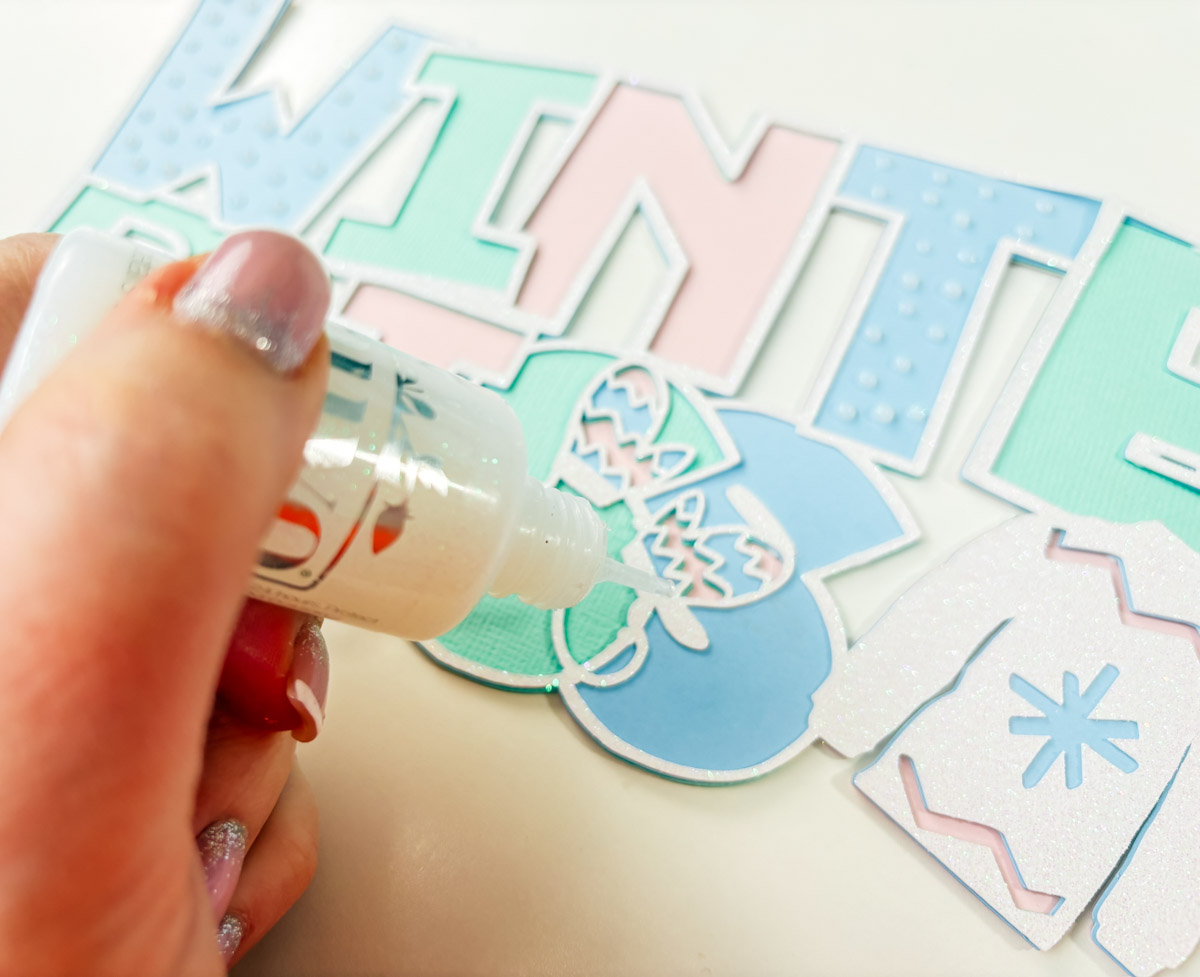
When it is all lined up and dry, decorate with crystal glitter Nuvo Drops for raindrops.
How To Get Your Free SVG/PNG Layered Winter Scrapbooking File
Click here or on the image below to get your free downloads in the form of your Winter Bliss File SVG/png files from our shop. You won’t get a physical product, just a single zip file with the following file types inside: SVG and PNG files with a transparent background. And follow these instructions to add to Cricut Design Space.

Note if you are using the xTool P2, Glowforge, you need SVG files to cut the image out of wood or acrylic. Or PNG or SVG to engrave. You can use these free downloads for personal use or see my commercial license page for more info on making products to sell for commercial use.
These files can also be uploaded to Brother Cut N Scan, Silhouette Designer Edition and the free Software version of silhouette, plus glow forge and xTool.
If You’re Having Problems?
Check out my trouble shooting page, hopefully it will answer any questions you may have.
Tips And Advice For Using Your Download For Cricut
Also please do pop over to these social media platforms; Instagram, TikTok Tok and Pinterest and say hi, and if you make a project tag me! I love seeing everyone else’s makes and chatting crafting. I could do that all day.

