
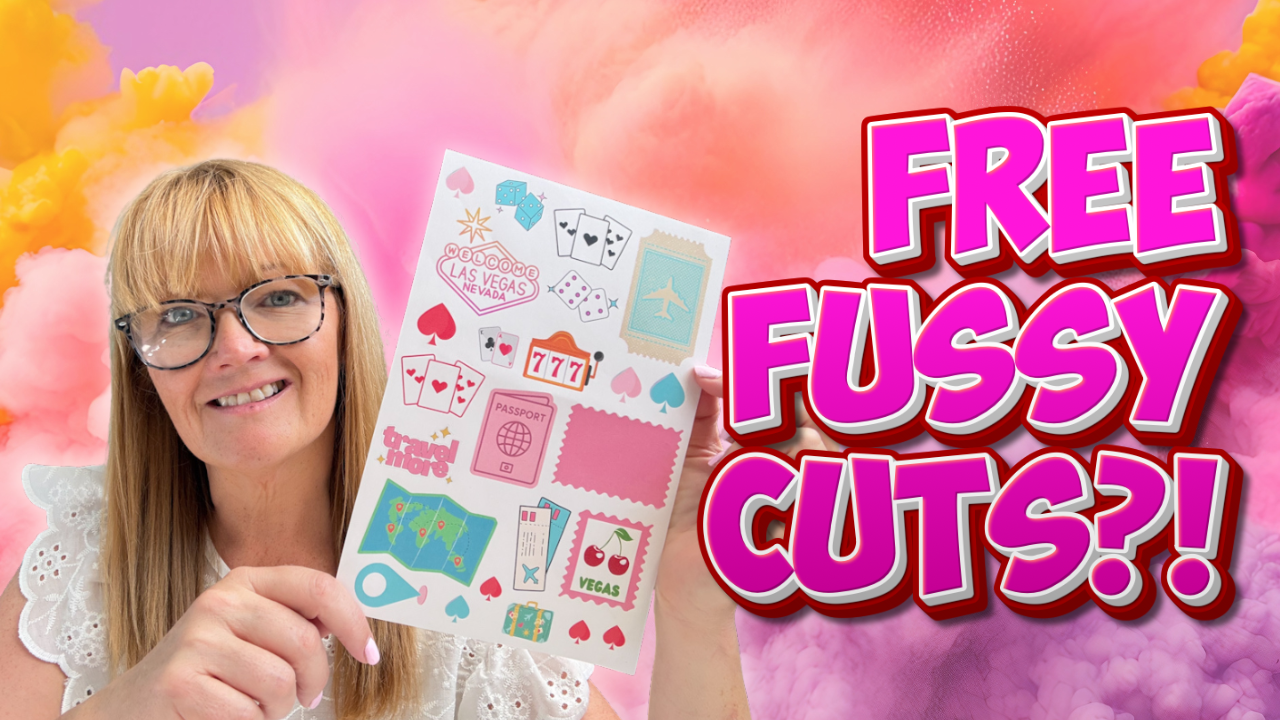
If you’ve ever gone hunting for the perfect fussy cuts for a travel journal or scrapbook layout and just couldn’t find exactly what you wanted, this one’s for you. I’m currently planning a road trip that starts in Las Vegas, and rather than searching endlessly for pre-made downloads, I decided to design my own Vegas-themed fussy cuts in Canva, completely free, then print and cut them on my Cricut.
Here’s exactly how I did it, step by step, so you can create a set for your own trip, gift, or scrapbook layout too.

This post may contain affiliate links. Which means I may receive a small commission if you click a link and purchase something that I have recommended at no extra cost to yourself. As an amazon, Cricut and Glowforge associate, I earn from qualifying purchases.
What You Will Find Here
What Is A Fussy Cut
A fussy cut is simply a small image that’s been carefully cut out around its actual shape, rather than trimmed into a plain square or rectangle. Instead of a rectangular sticker, you get a neatly shaped little cherry, teacup, playing card or travel stamp, ready to pop straight into a scrapbook layout, journal page or card.
They’re brilliant for adding detail and texture to your projects, and with a cutting machine like a Cricut, you can “print and cut” them so the machine trims precisely around the printed shape for you. Of course, we can add the odd stamp and break the rules, because crafting is about creating our own vision. And this is exactly what I am going to do today.

How To Make Vegas Fussy Cuts in Canva to Print and Cut on Cricut
Follow Along With The Step-By-Step Video
What You’ll Need
- Cricut machine + Design Space
- Cutting mat + basic Cricut tools
- Printable Magnet Paper
- A free Canva account (Canva Pro is optional but not required)
- A home printer
- An idea of your theme, event or location (mine is Vegas, obviously)
1. Set Up Your Canva Page
Open Canva and click Create, then choose an A4 document. This gives you the base to build your fussy cuts on.

2. Search for Free Elements Only
Click on Elements in the left hand sidebar and type in your theme, in my case “Las Vegas.” Click Select All at the top to see every option. The key thing here is to only choose elements without a little crown icon, as that crown means it’s a paid Canva element. Stick to the free ones and you’ll never need to upgrade.
3. Build Your Colour Scheme
I went for pinks and bluey greens for my Vegas set, with pops of red thrown in to keep that vibrant Vegas feel. The brilliant thing about designing this way is that almost any graphic in Canva can be recoloured. Click on an element and look at the colour palette that appears at the top, you can change it to match your own scheme completely.

4. Watch for White Edges
This one is really important. Any image with a white edge will cause problems later when you remove the background in Cricut Design Space, because it will remove all the white, including any white detail inside your image. Choose elements with coloured or contrasting edges instead.
5. Use the “Search Around It” Trick
Sometimes a specific graphic you want, like a cherry, will show up as entirely premium. Rather than giving up, try searching a plainer, more general term. I searched “cherry” on its own and found free versions that weren’t showing up before. Little search tweaks like this open up far more free content than you’d expect.
6. Create Your Own Custom Stamp Shapes
Want a shape Canva doesn’t offer for free? You can make your own. Take an oblong stamp shape, click Crop at the top and crop it down to roughly half. Duplicate it, flip it, and line the two halves up to create a smaller, more square stamp shape. Group it together and you’ve made something entirely custom without paying a penny.
To fill it with an image, add a square behind your graphic, colour it white, then use Position at the top to layer your image on top and drag it into place.

7. Add Your Details
This is where the fun really happens. I added travel stamps, playing cards, dice, the iconic Vegas sign, and a “travel” word element in a fun font. I also added a little journaling note so I can write in why we’re stopping in Vegas (it’s part of my son’s 21st birthday trip), which is a lovely little detail to include if you’re journaling as you go.
Keep working through your theme, deleting anything that doesn’t work and adding new elements as you go. It’s your layout, so there’s no right or wrong here.
8. Resize for Your Project
Since these were going into a small travel journal, I selected all my elements, right clicked, and resized everything down together so it would actually fit inside the journal pages.
9. Download Your Design
Click Share at the top, then Download. Choose JPEG or PNG and save it to your device. It’ll usually land straight in your downloads folder.
10. Upload to Cricut Design Space
Head into Cricut Design Space, click Upload, and find your file. Click Continue. This takes you into the background removal screen. Because you avoided white edges earlier, this step should go smoothly, click on the white background to remove it cleanly.
Choose Flat Graphic, click Continue, then Upload. It may say the image is poor quality, don’t worry about this, it prints perfectly fine as long as your printer settings are correct.
11. Add an Offset
In the bottom right corner, click Background Colour and change it to something you can actually see against, I used pale grey. Then go to Effects and click Offset. It will look huge to start with, drag it right in until there’s just a tiny gap around your stickers, then click Apply.

12. Flatten Your Sticker Layer
Select everything and flatten it so your whole sticker sheet becomes one single layer. This is your printed layer, the one with all your colour and detail on it.
13. Build Your Cutting Layer
Add a plain square behind your sticker sheet, send it to the back, and colour it white. This layer won’t be printed, it’s purely there to cut the outline shape.

14. Layer for a Proper Kiss Cut, Die Cut
This is the bit that trips a lot of people up. Move your stickers out of the way for a moment, then duplicate that white background square four times and centre align them all on top of each other. Attach them (not flatten), then place your printed sticker layer on top and attach that too.
You should now have five layers in total, one printed sticker sheet and four white cutting layers attached. This extra layering is what creates a proper kiss cut, so your Cricut cuts through the sticker but not all the way through the backing paper. Yes cuts right through around the edges.

15. Print and Cut
Click Make It. To get the best quality, choose system dialogue when the print box pops up. A box will pop up with your printer settings, find quality, which may be worded differently on your printer. And choose best or fine, this will override the Cricut print settings.
When the sticker sheet has been printed, choose your material settings (I use printable sticker paper) and let the Cricut do its thing.

16. Peel and Fold
Once cut, gently remove the excess paper around your stickers. If you’ve followed the layering step properly, your fussy cuts should kiss cut beautifully, ready to fold and pop straight into your travel journal or scrapbook layout.
A Few Troubleshooting Tips
If your Cricut cuts straight through your kiss cut instead of just scoring the top layer, this is a known glitch that’s cropped up since a recent Cricut update. I’ve got a video covering exactly how to fix it, so do check that out if you run into the same problem.
Get My Veges Themed Fussy Cuts
If you don’t want to create your own, or want to download my version, you can for a small fee in the shop, click here or the image below to get your downloadable Vegas-themed fussy cuts from our shop and follow these instructions to add to Cricut Design Space if you are using a Cricut Machine. Note, if you are using an xTool, you need SVG files to cut the image out of wood or acrylic. Or Png or SVG to engrave.

If You’re Having Problems?
Check out my troubleshooting page; hopefully, it will answer any questions you may have.
Design Your Own Fussy Cuts, Every Trip, Every Time
I absolutely love how much control this method gives you. You’re not stuck using someone else’s colour choices or someone else’s idea of what a “Vegas” sticker should look like, you get to design exactly what fits your project, your colours and your style, all for free.

I’ll be creating a fussy cut set for every stop on our road trip, so keep an eye out for more of these as the journey continues. If you make your own set, I’d love to know what theme you went for and how it turned out.
